Introduction
Removing the SIM card from an iPhone 5S may seem like a daunting task, especially for first-time users or those unfamiliar with the intricacies of mobile devices. However, with the right guidance and a clear understanding of the process, it can be a straightforward and manageable endeavor. Whether you're looking to switch to a new SIM card, troubleshoot connectivity issues, or simply inspect the SIM card for any signs of wear, this step-by-step guide will walk you through the process with ease.
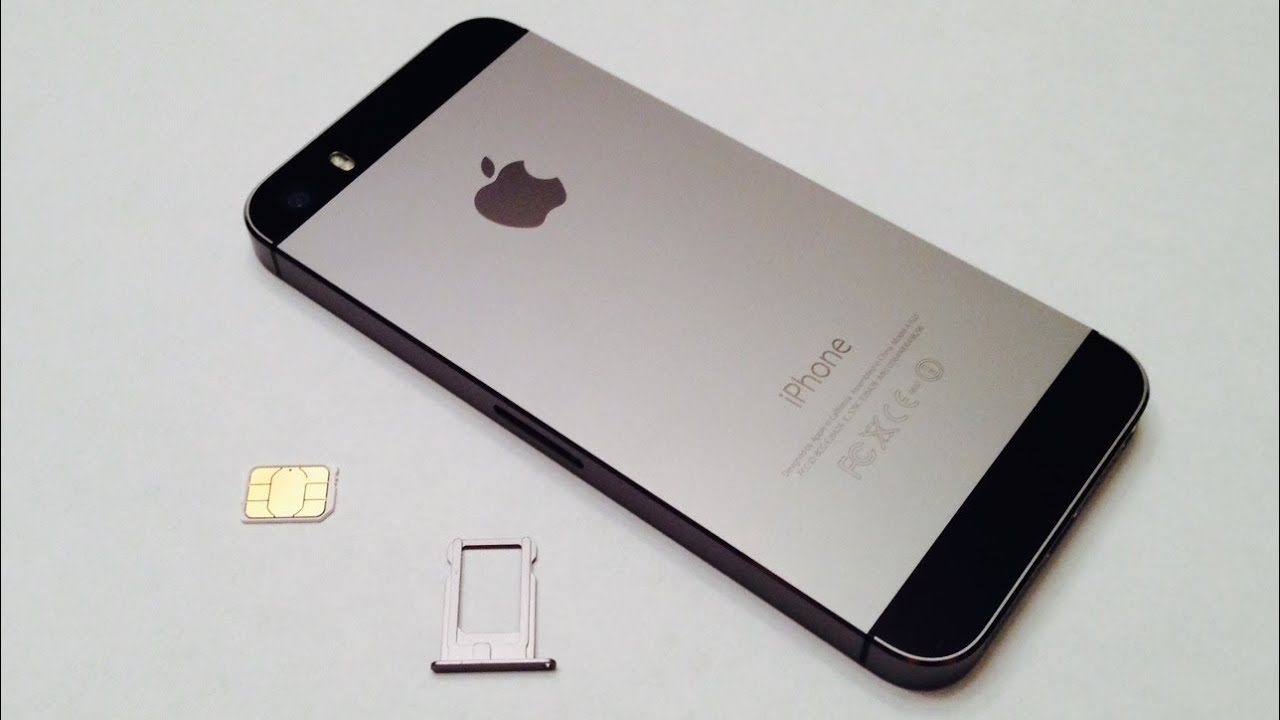
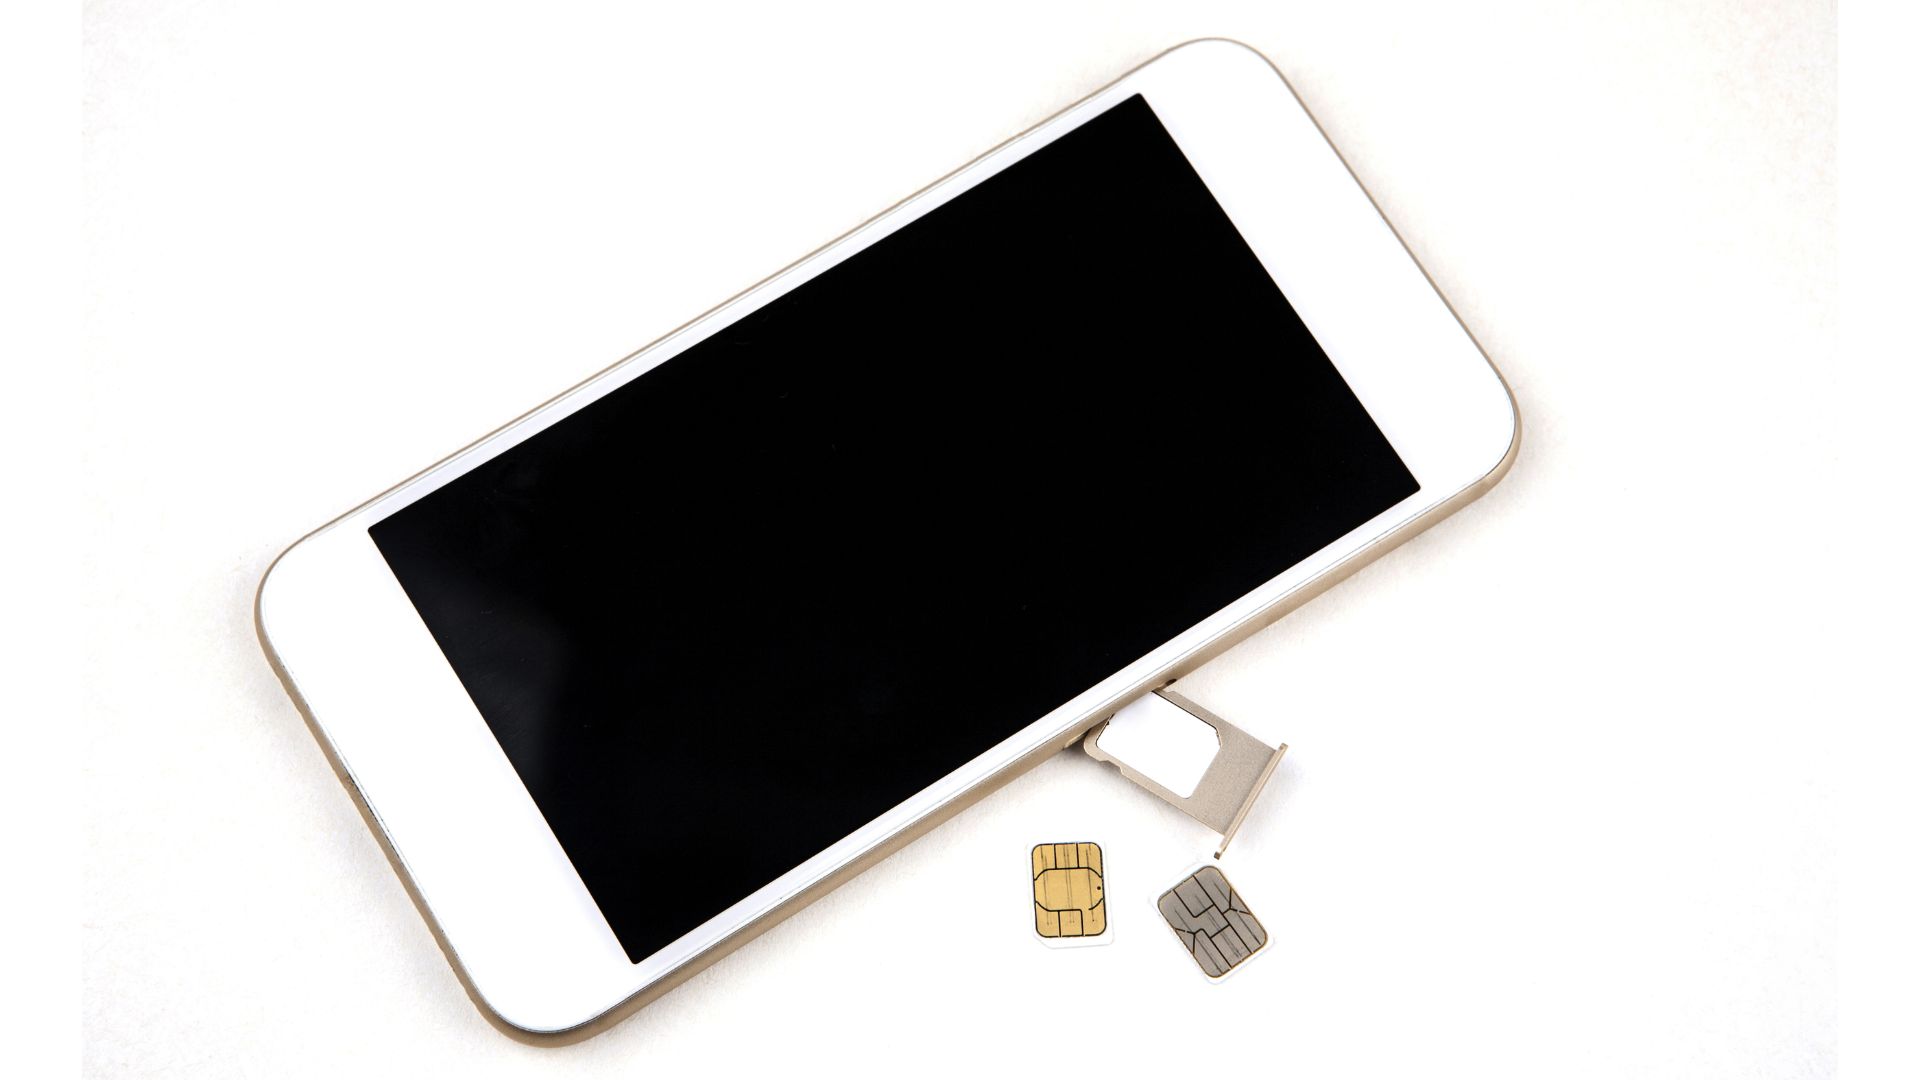
The SIM card, short for Subscriber Identity Module, is a small, removable card located within your iPhone 5S that stores essential information, such as your phone number, contacts, and text messages. It plays a crucial role in connecting your device to your mobile network, enabling you to make calls, send messages, and access mobile data. Understanding how to safely remove and reinsert the SIM card is valuable knowledge for any iPhone 5S user.
In this comprehensive guide, we'll cover everything you need to know about removing the SIM card from your iPhone 5S. From gathering the necessary tools to safely extracting the SIM card tray and handling the delicate components, each step will be outlined in detail to ensure a smooth and successful process. By following these instructions, you'll gain confidence in managing your device's SIM card, empowering you to address various connectivity-related tasks and maintenance procedures.
So, if you're ready to embark on this journey to uncover the inner workings of your iPhone 5S and gain a deeper understanding of its components, let's dive into the step-by-step process of removing the SIM card. With a clear focus and a steady hand, you'll soon master this essential skill, equipping yourself with the knowledge to navigate the intricate landscape of mobile device maintenance and troubleshooting.
Step 1: Gather Necessary Tools
Before embarking on the journey of removing the SIM card from your iPhone 5S, it's essential to gather the necessary tools to ensure a smooth and hassle-free process. Here's a comprehensive list of items you'll need to have on hand:
-
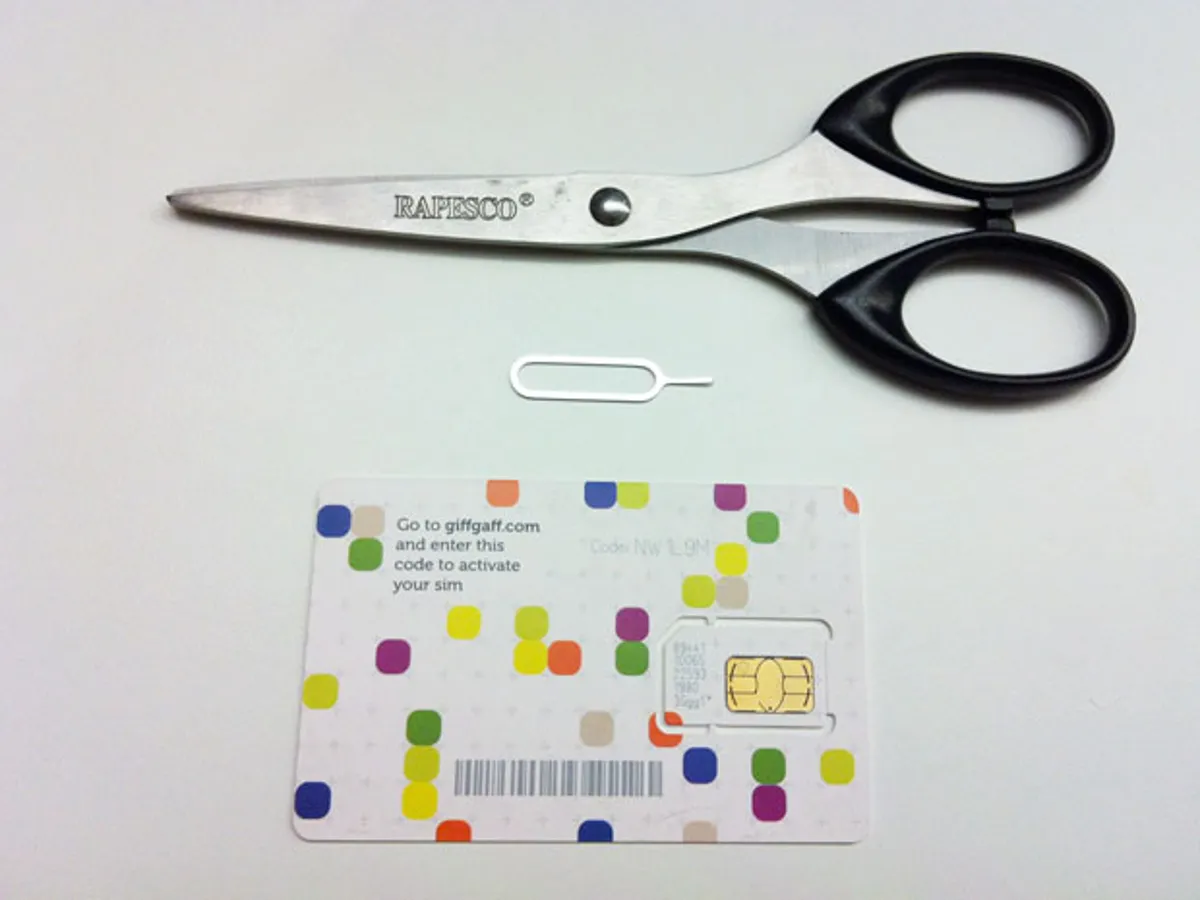
SIM Card Eject Tool: This small, specialized tool is designed to safely and effectively eject the SIM card tray from your iPhone 5S. It typically comes with the device's original packaging and resembles a tiny, metallic pin. If you no longer have the original eject tool, a paperclip can serve as an alternative, provided it is straightened and trimmed to an appropriate length.
-
Well-Lit Workspace: Find a well-lit and spacious area to work in, preferably with a clean, flat surface. Adequate lighting will allow you to clearly observe the SIM card tray and its surrounding components, reducing the risk of mishandling or overlooking crucial details.
-
Steady Hands: While not a physical tool, steady hands are invaluable during the SIM card removal process. Maintaining a calm and composed demeanor will help you handle the delicate components of the iPhone 5S with precision and care, minimizing the likelihood of accidental damage.
By ensuring that you have these essential tools at your disposal, you'll be well-prepared to proceed with the SIM card removal process. With the necessary items within reach, you can approach the subsequent steps with confidence, knowing that you have everything required to safely and effectively navigate the intricacies of your iPhone 5S.
Step 2: Locate the SIM Card Tray
Locating the SIM card tray is the pivotal first step in the process of removing the SIM card from your iPhone 5S. The SIM card tray serves as the gateway to the SIM card, securely housing it within the device. To begin this step, ensure that your iPhone 5S is powered off to prevent any potential disruption during the removal process.
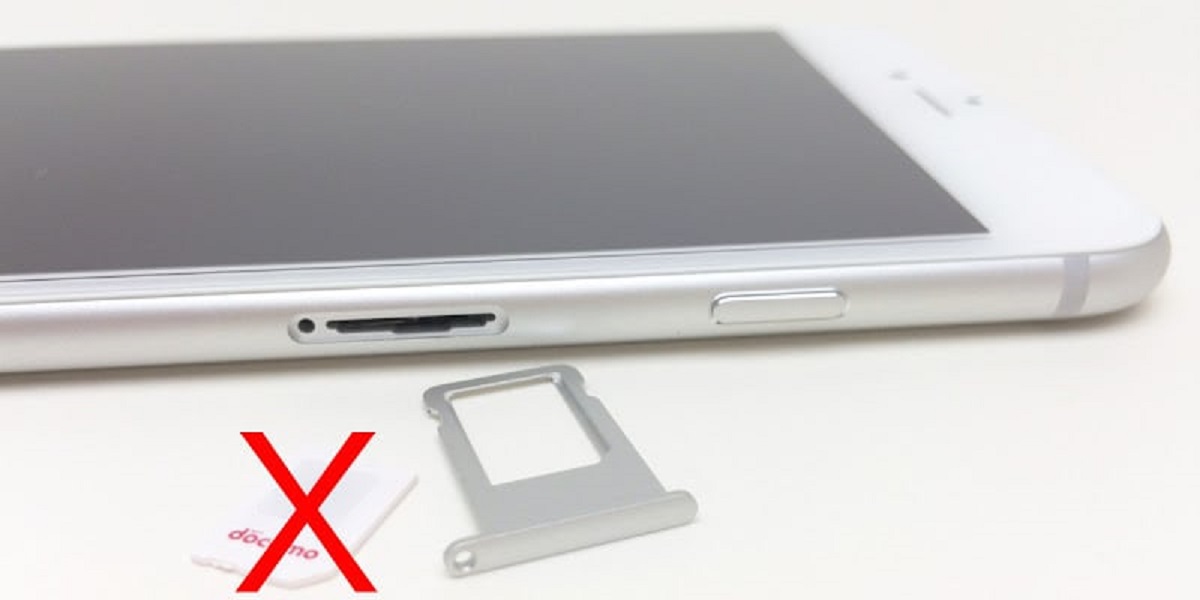
The SIM card tray is typically positioned on the right-hand side of the iPhone 5S, adjacent to the device's power button. It is identifiable by a small, recessed slot, often with a tiny pinhole located nearby. This pinhole serves as the entry point for the SIM card eject tool, allowing for the safe extraction of the SIM card tray.
Upon locating the SIM card tray, take a moment to familiarize yourself with its appearance and positioning. The tray itself may blend seamlessly with the device's exterior, so a keen eye and careful observation are essential. Once you have identified the SIM card tray's precise location, proceed to the next step, ensuring that you are prepared to handle the delicate components with care and precision.
Understanding the exact location of the SIM card tray is crucial for the subsequent steps of the removal process. By taking the time to pinpoint its position and recognize the accompanying features, such as the pinhole for the eject tool, you set the stage for a smooth and successful SIM card extraction. With this foundational knowledge in place, you are now ready to proceed to the next step, where you will utilize the SIM card eject tool to access the SIM card tray and initiate the removal process.
With the SIM card tray now within your sights, the journey toward removing the SIM card from your iPhone 5S continues to unfold. As you prepare to engage with the SIM card eject tool, maintain a focused and attentive approach, ensuring that each movement is deliberate and precise. By mastering this crucial step, you will pave the way for a seamless transition to the subsequent stages of the SIM card removal process.
Step 3: Insert the SIM Card Eject Tool
With the SIM card tray located and the necessary tools at hand, it's time to proceed to the next pivotal step: inserting the SIM card eject tool. This small, specialized tool, often resembling a tiny metallic pin, is designed to facilitate the safe removal of the SIM card tray from your iPhone 5S. If you don't have the original eject tool, a straightened and trimmed paperclip can serve as a suitable alternative.
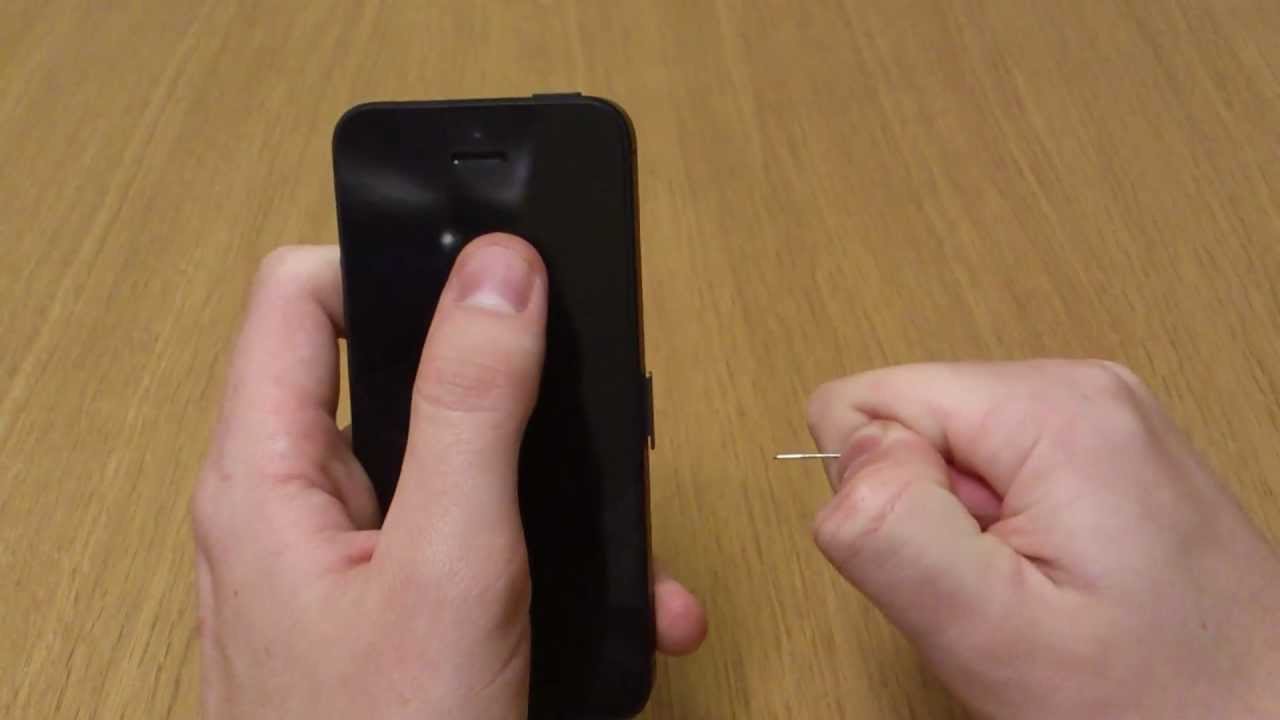
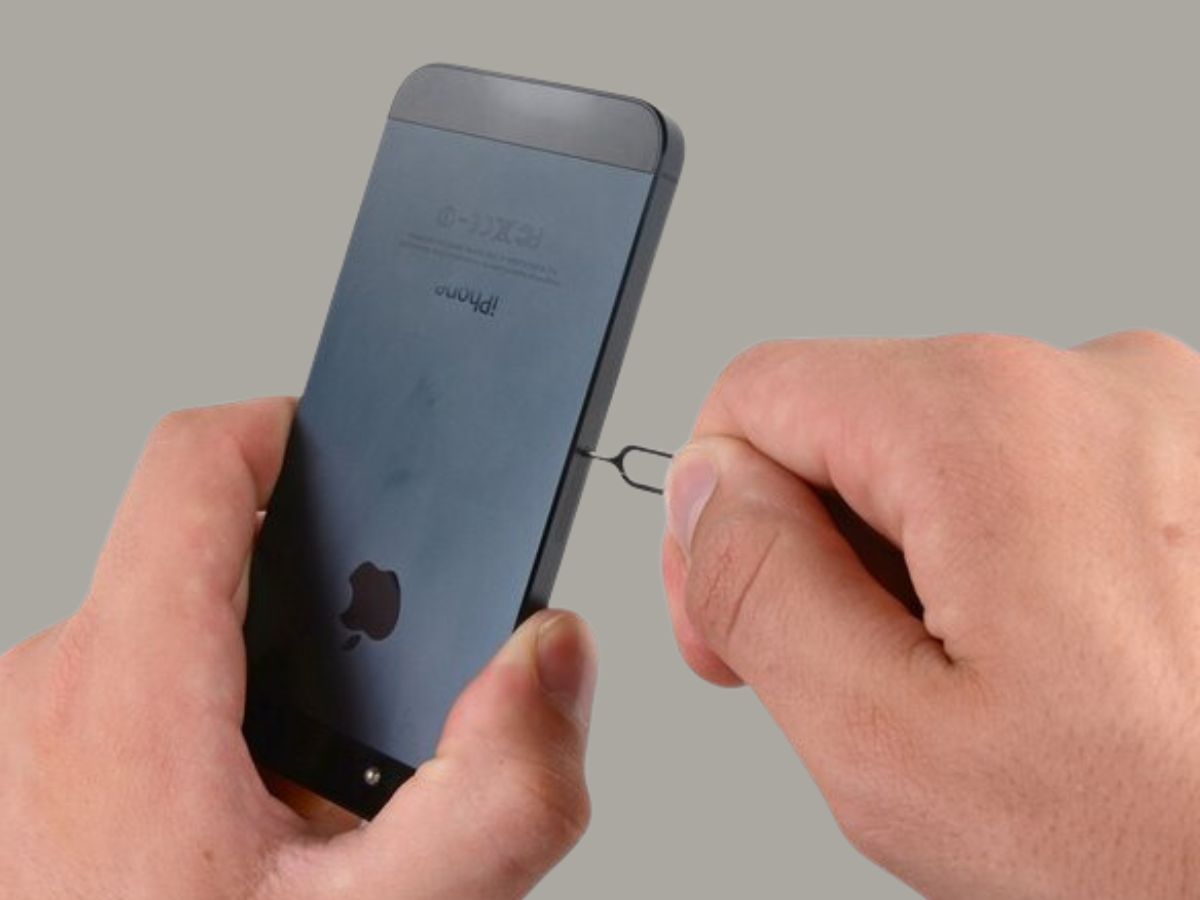
Begin by grasping the SIM card eject tool between your thumb and index finger, ensuring a firm but gentle grip. Position yourself in a well-lit workspace, ideally with a clean, flat surface, to provide an optimal environment for the upcoming task. With the iPhone 5S powered off and the SIM card tray identified, it's time to carefully approach the insertion of the eject tool.
Locate the small pinhole adjacent to the SIM card tray, designed specifically for the insertion of the eject tool. Gently but firmly insert the tool into the pinhole, applying a steady, even pressure. As you engage with the pinhole, you may encounter a subtle resistance, signaling the tool's interaction with the internal mechanism of the SIM card tray.
Maintain a focused and attentive approach, ensuring that the tool is inserted straight and true, aligning with the internal components of the device. As you navigate this step, exercise patience and precision, as the delicate nature of the SIM card tray requires careful handling to avoid any potential damage.
Upon successful insertion, you should feel a slight give, indicating that the eject tool has engaged with the internal mechanism of the SIM card tray. This pivotal moment sets the stage for the subsequent step, where the SIM card tray will be safely extracted from the iPhone 5S, allowing for the seamless removal of the SIM card.
As the eject tool establishes its connection with the SIM card tray, take a moment to appreciate the precision and finesse required for this task. By executing this step with care and attention to detail, you are one step closer to accessing the SIM card and proceeding with the removal process.
With the SIM card eject tool now securely inserted, the journey toward removing the SIM card from your iPhone 5S continues to unfold. Each carefully executed movement brings you closer to successfully accessing the SIM card tray and initiating the removal process with confidence and precision.
Step 4: Remove the SIM Card Tray
With the SIM card eject tool securely inserted into the pinhole adjacent to the SIM card tray, the next crucial step is to carefully remove the tray from your iPhone 5S. This process demands a steady hand and a focused approach to ensure the safe extraction of the tray without causing any damage to the delicate internal components.
Applying gentle but consistent pressure to the SIM card eject tool, begin to steadily push inward, maintaining a straight and even trajectory. As you do so, you may feel a subtle release of the tray from its secured position within the device. It's essential to exercise patience and precision during this pivotal moment, allowing the internal mechanism to disengage smoothly and without resistance.
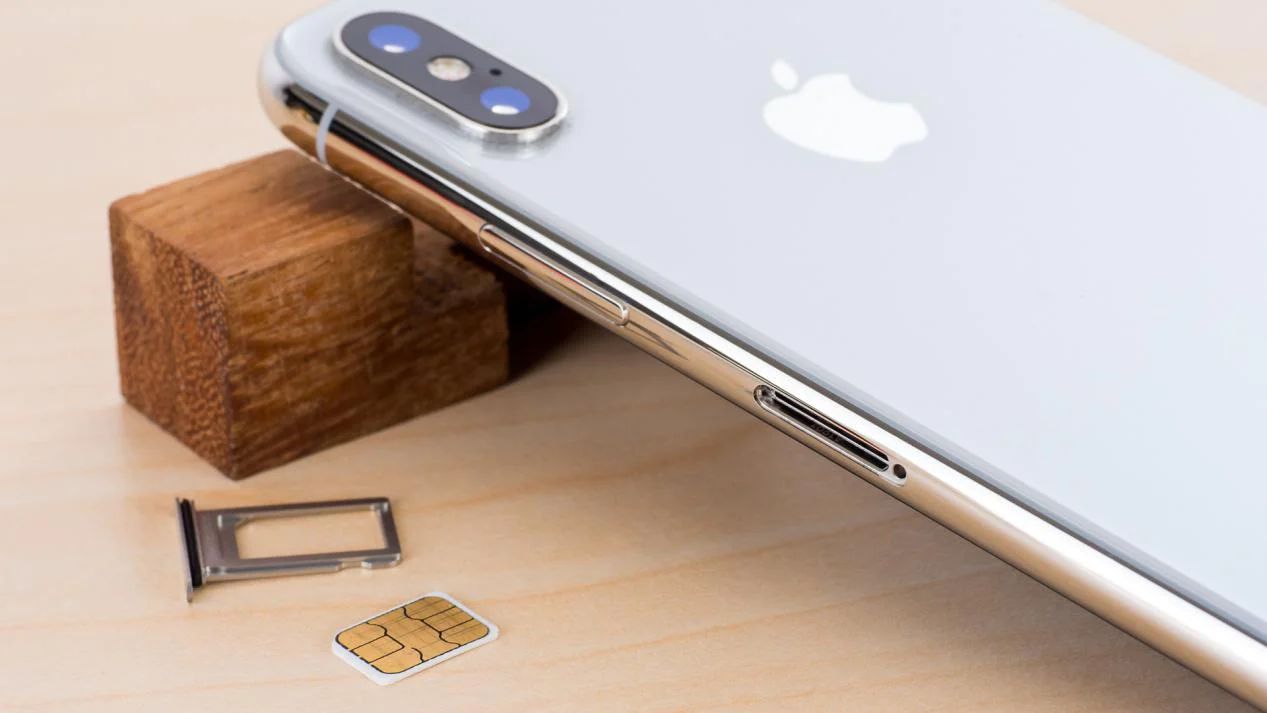
As the SIM card tray begins to emerge from the iPhone 5S, continue to apply steady pressure while keeping a watchful eye on its movement. The tray should slide out gradually, revealing the SIM card housed within. If you encounter any unexpected resistance or difficulty, refrain from forcing the tray out, as this could lead to potential damage to both the tray and the device.
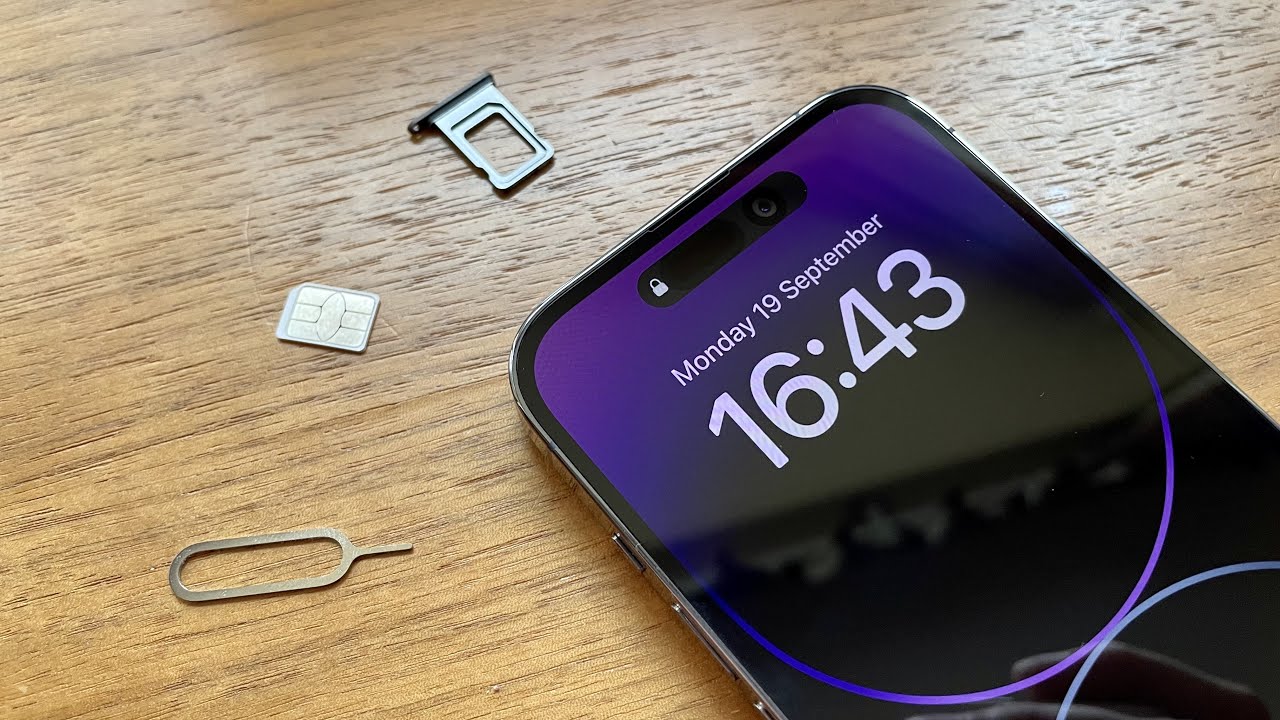
Once the SIM card tray is fully extracted, carefully set it aside on a clean, stable surface. Take a moment to inspect the tray and its contents, ensuring that the SIM card remains securely in place. If you intend to replace the SIM card or perform any maintenance on it, this is an opportune time to assess its condition and make any necessary adjustments.
As you successfully remove the SIM card tray from your iPhone 5S, acknowledge the precision and attention to detail required for this task. By executing this step with care and patience, you have navigated a critical phase of the SIM card removal process, setting the stage for the next pivotal step of extracting the SIM card itself.
With the SIM card tray now safely removed, the journey toward accessing and handling the SIM card within your iPhone 5S continues to unfold. Each deliberate action brings you closer to successfully managing the SIM card and navigating the subsequent steps with confidence and precision.
Step 5: Remove the SIM Card
With the SIM card tray now extracted from your iPhone 5S, the next critical step is to carefully remove the SIM card from its designated slot within the tray. The SIM card is a small, rectangular chip that plays a pivotal role in connecting your device to the mobile network, storing essential information such as your phone number and contact details. As you proceed with this step, it's essential to exercise caution and precision to ensure the safe handling of the SIM card.
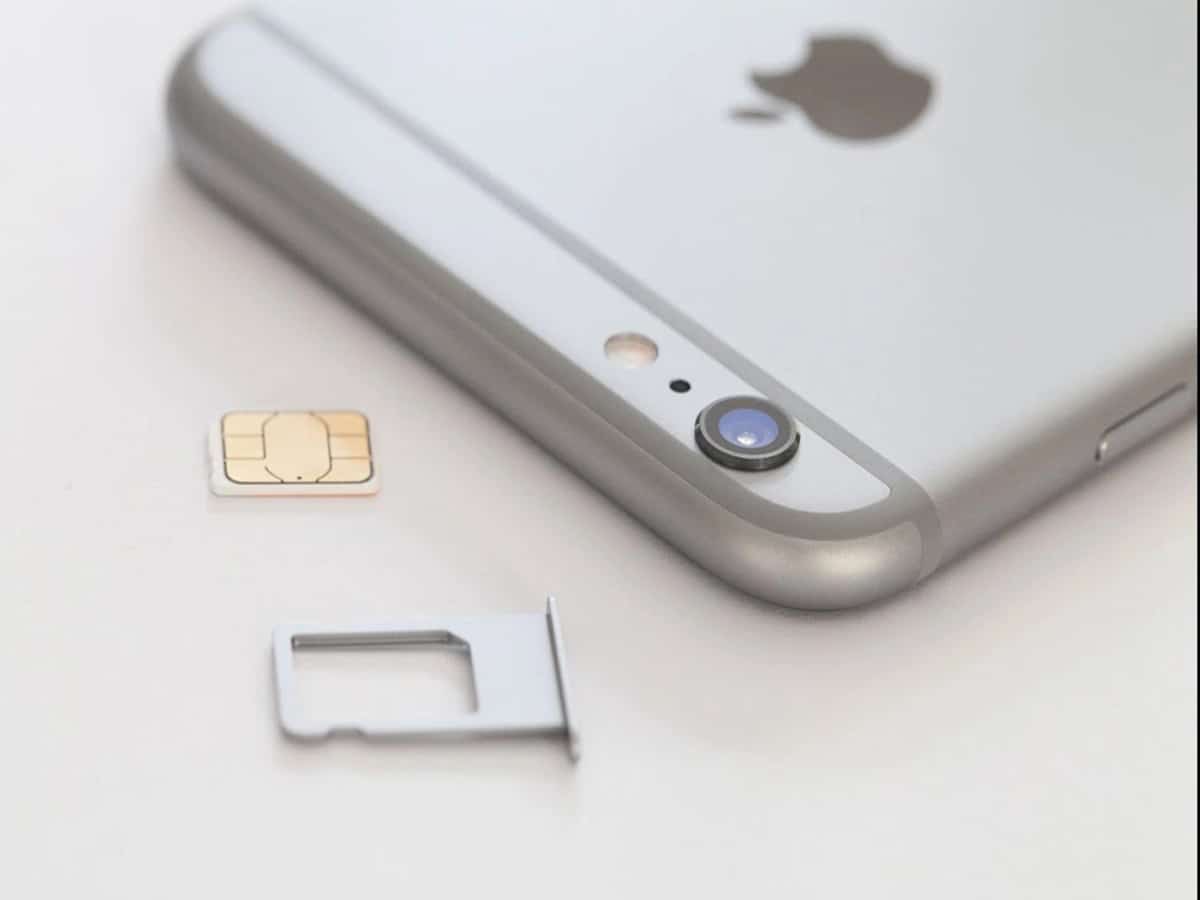
Begin by gently examining the SIM card tray, taking note of the position of the SIM card within its designated slot. The SIM card is typically secured in place by a small, spring-loaded mechanism, ensuring that it remains firmly positioned within the tray. To remove the SIM card, delicately press down on the exposed edge of the card, allowing it to disengage from the securing mechanism.
As the SIM card loosens from its secured position, carefully lift it from the tray, ensuring a smooth and controlled movement. Avoid applying excessive force or bending the card, as this could potentially cause damage to its delicate components. Take a moment to inspect the SIM card, observing its condition and ensuring that no visible damage or irregularities are present.
If you intend to replace the SIM card with a new one or perform any maintenance on it, this is an opportune time to proceed with the necessary actions. Whether you're switching to a new SIM card or simply examining the current one for any signs of wear, handling the SIM card with care is paramount to maintaining its functionality and integrity.
As you successfully remove the SIM card from the tray, appreciate the precision and attention to detail required for this task. By executing this step with care and patience, you have navigated a critical phase of the SIM card removal process, setting the stage for the subsequent steps of reinserting the SIM card tray and powering on your iPhone 5S.
With the SIM card now safely removed and the subsequent steps within reach, the journey toward managing and maintaining the SIM card within your iPhone 5S continues to unfold. Each deliberate action brings you closer to successfully navigating the intricacies of mobile device maintenance and troubleshooting, equipping you with valuable knowledge and confidence in handling essential components.
Step 6: Re-insert the SIM Card Tray
After successfully removing the SIM card and inspecting its condition, the final step in the process of managing your iPhone 5S's SIM card is to re-insert the SIM card tray back into the device. This step is crucial to ensure the secure placement of the SIM card and the tray within the iPhone 5S, allowing for seamless connectivity and functionality.
Begin by carefully aligning the SIM card tray with the designated slot on the side of your iPhone 5S. Take note of the orientation of the tray to ensure that it is positioned correctly, allowing for a smooth and secure insertion. With a steady hand and a focused approach, gently guide the tray back into its original position, ensuring that it sits flush with the device's exterior.
As you re-insert the SIM card tray, listen for a subtle click or indication that it has securely engaged with the internal mechanism of the iPhone 5S. This reassuring sound signifies that the tray is properly seated within the device, ready to house the SIM card and facilitate seamless connectivity with your mobile network.
Once the SIM card tray is securely re-inserted, take a moment to power on your iPhone 5S and ensure that it recognizes the SIM card. If you encounter any unexpected difficulties or connectivity issues, consider re-checking the tray's positioning and the SIM card's condition to address any potential concerns.
With the SIM card tray successfully re-inserted and the device powered on, you have completed the essential process of managing the SIM card within your iPhone 5S. Your attention to detail and precision throughout each step have contributed to the smooth and successful handling of this vital component, empowering you to confidently navigate various connectivity-related tasks and maintenance procedures in the future.
As you reflect on the completion of this process, take pride in your newfound knowledge and capability to manage the SIM card within your iPhone 5S. By mastering this essential skill, you have enhanced your understanding of mobile device maintenance and troubleshooting, positioning yourself as a confident and capable user of your iPhone 5S.
Conclusion
In conclusion, the process of removing the SIM card from an iPhone 5S encompasses a series of carefully orchestrated steps that require attention to detail, precision, and a steady hand. By following this comprehensive guide, you have gained valuable insight into the intricacies of managing and maintaining the SIM card within your iPhone 5S. From gathering the necessary tools to safely re-inserting the SIM card tray, each step has equipped you with the knowledge and confidence to navigate this essential aspect of mobile device maintenance.
As you reflect on the journey of removing the SIM card from your iPhone 5S, it's important to recognize the significance of this process in understanding the inner workings of your device. The SIM card plays a pivotal role in facilitating connectivity and communication, storing essential information that enables seamless interaction with your mobile network. By mastering the skill of safely removing and re-inserting the SIM card, you have empowered yourself to address various connectivity-related tasks and maintenance procedures with ease and confidence.
Throughout this guide, you have honed your ability to identify the SIM card tray, utilize the SIM card eject tool, and delicately handle the SIM card, all while maintaining a focused and attentive approach. These skills not only enhance your understanding of mobile device maintenance but also instill a sense of proficiency and self-reliance in managing essential components of your iPhone 5S.
As you move forward, the knowledge and expertise gained from this experience will serve you well in troubleshooting connectivity issues, switching to a new SIM card, or simply inspecting the SIM card for signs of wear. Your newfound capability to manage the SIM card within your iPhone 5S positions you as a confident and capable user, ready to navigate the intricate landscape of mobile device maintenance and troubleshooting with ease.
By mastering this essential skill, you have elevated your understanding of the iPhone 5S and its components, paving the way for a seamless and enjoyable user experience. As you continue to explore the capabilities of your device, the knowledge gained from this process will remain a valuable asset, empowering you to confidently manage and maintain the essential components that drive the connectivity and functionality of your iPhone 5S.