Introduction
Inserting a SIM card into your iPhone 5S is a straightforward process that allows you to connect to your mobile network and enjoy the full functionality of your device. Whether you're setting up a new iPhone or replacing an existing SIM card, understanding the steps involved can make the process seamless and hassle-free.
The SIM (Subscriber Identity Module) card serves as the key to accessing your mobile network. It contains essential information that identifies your device and allows you to make calls, send messages, and access mobile data. When you insert a SIM card into your iPhone 5S, you're essentially providing it with the means to communicate with your mobile carrier's network, enabling you to stay connected wherever you go.
In this guide, we'll walk you through the step-by-step process of inserting a SIM card into your iPhone 5S. By following these simple instructions, you'll be able to complete the setup quickly and enjoy the full range of features and services offered by your mobile carrier.
Now, let's dive into the easy steps to insert a SIM card into your iPhone 5S and ensure that you're ready to stay connected on the go.
Step 1: Locate the SIM card tray
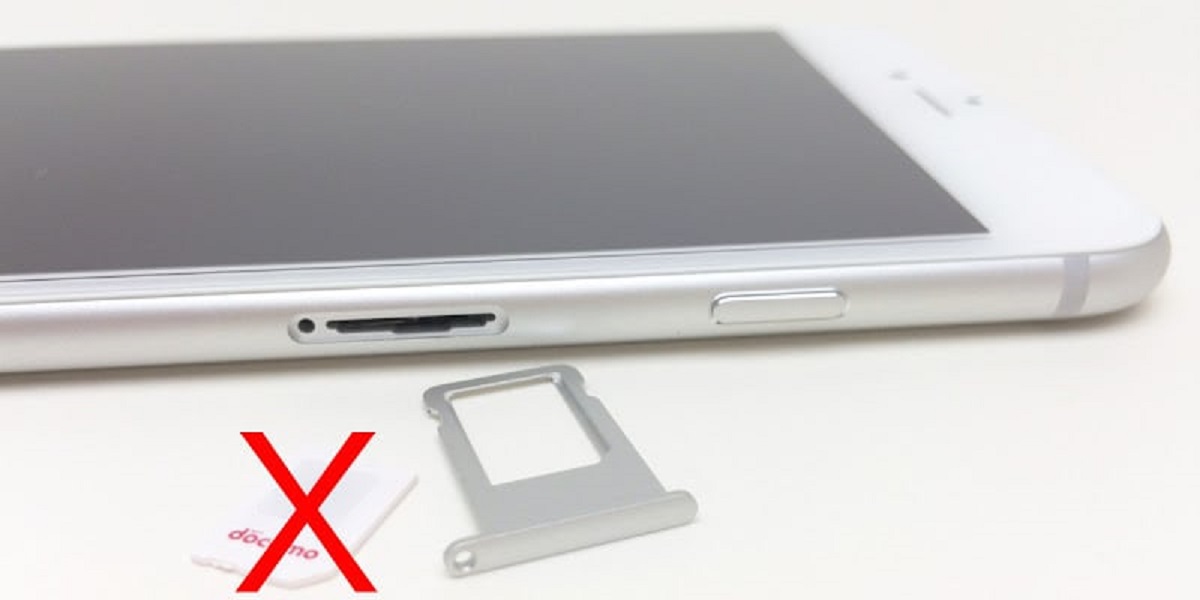
The first step in the process of inserting a SIM card into your iPhone 5S is to locate the SIM card tray. The SIM card tray is a small, rectangular slot located on the side of your device. On the iPhone 5S, the SIM card tray is situated on the right-hand side of the device, near the top edge. It's important to note that the location of the SIM card tray may vary depending on the iPhone model, so it's essential to identify the specific location on your device.
To locate the SIM card tray on your iPhone 5S, start by examining the sides of the device. Look for a small pinhole or a narrow slot that appears to be slightly recessed. This is where the SIM card tray is housed. Once you've identified the slot, you can proceed to the next step in the process.
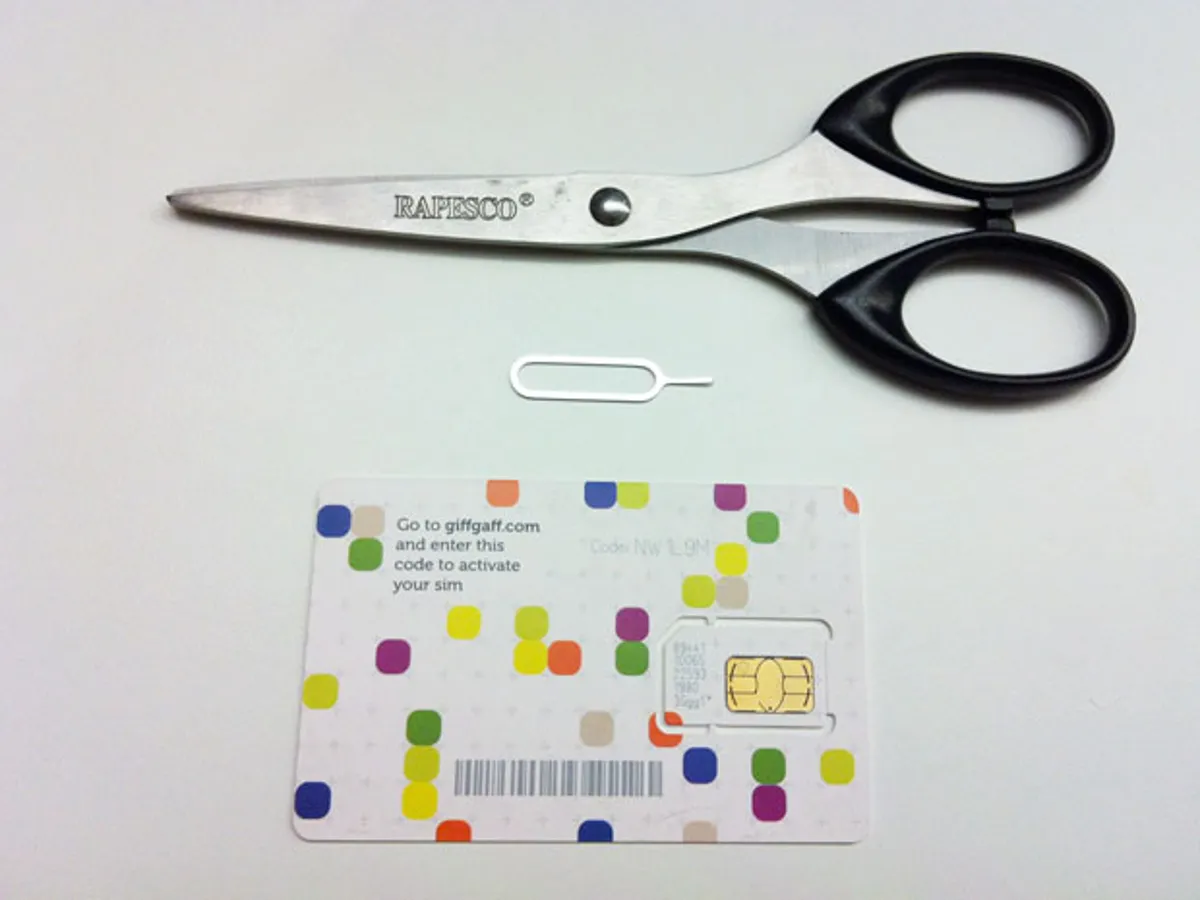
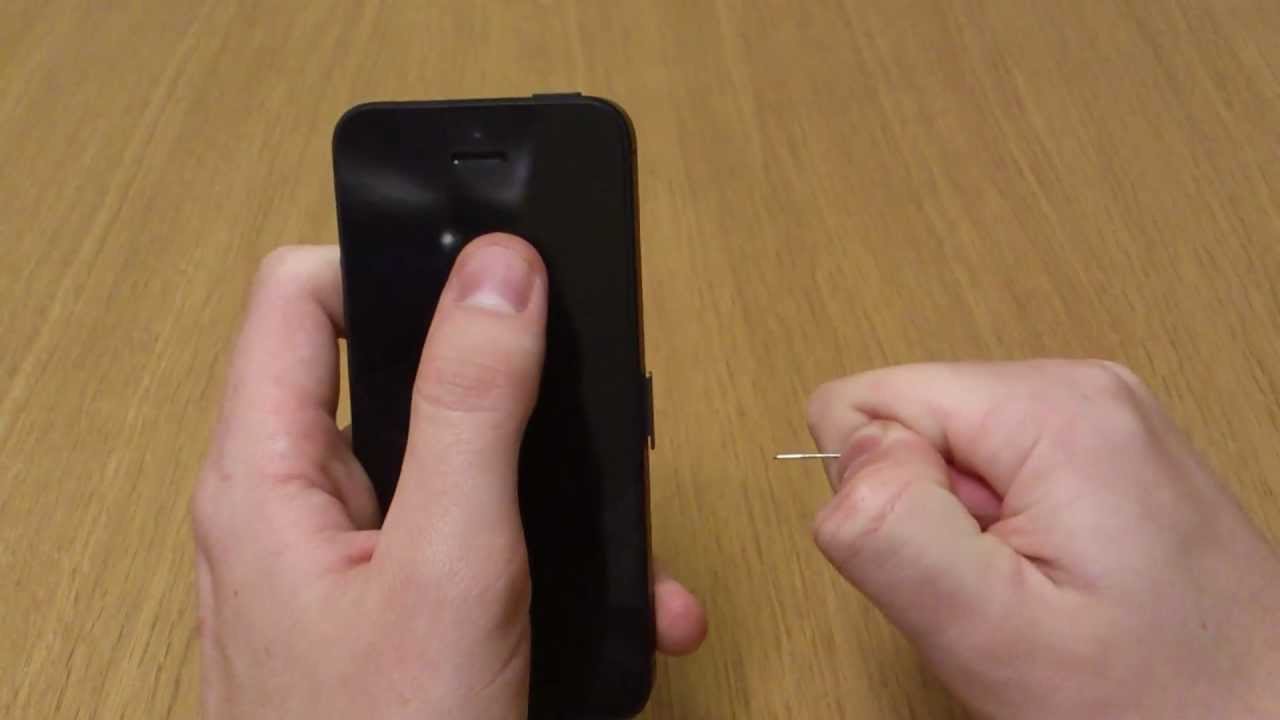
It's worth mentioning that Apple provides a SIM card removal tool with the iPhone 5S, which is a small, metal pin designed to eject the SIM card tray. If you have this tool, it can be particularly useful in locating the SIM card tray, as it often comes with instructions on how to access the tray. If you don't have the removal tool, a paperclip can be used as an alternative for ejecting the SIM card tray.
By carefully locating the SIM card tray on your iPhone 5S, you're taking the initial step towards preparing your device for seamless connectivity. This foundational step sets the stage for the subsequent actions involved in the process of inserting and activating your SIM card, ensuring that you can fully utilize the capabilities of your iPhone 5S. Now that you've successfully identified the SIM card tray, you're ready to proceed to the next step and continue with the SIM card insertion process.
Step 2: Eject the SIM card tray
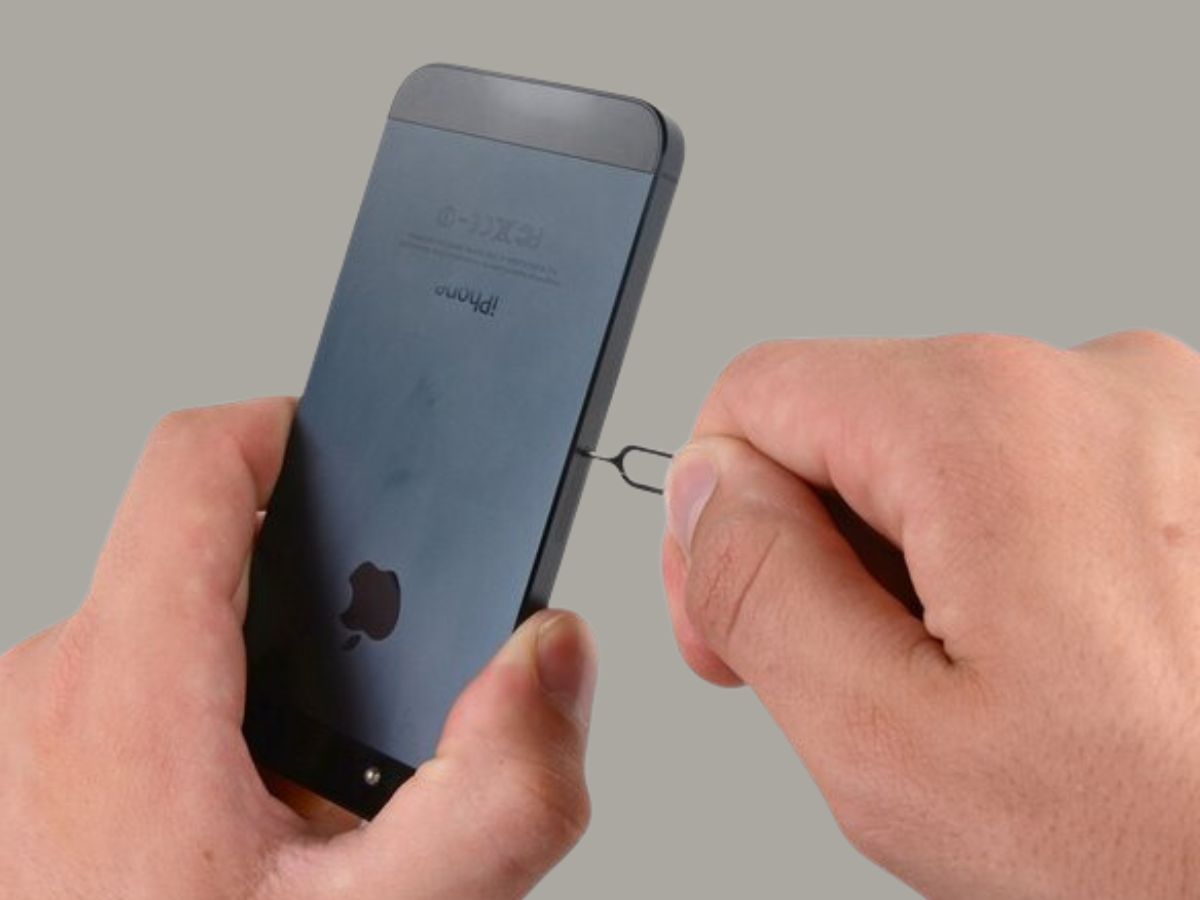
Ejecting the SIM card tray is a crucial step in the process of inserting a SIM card into your iPhone 5S. This step allows you to access the SIM card tray and prepare it for the insertion of the SIM card. To eject the SIM card tray, you'll need to use the SIM card removal tool provided by Apple or a suitable alternative, such as a paperclip.
Begin by locating the small pinhole or slot on the side of your iPhone 5S, which houses the SIM card tray. Once you've identified the slot, take the SIM card removal tool and insert it into the pinhole. Apply gentle pressure to push the tool into the pinhole until the SIM card tray begins to emerge from the device. If you're using a paperclip, straighten one end and carefully insert it into the pinhole, exerting a slight amount of force to initiate the ejection process.
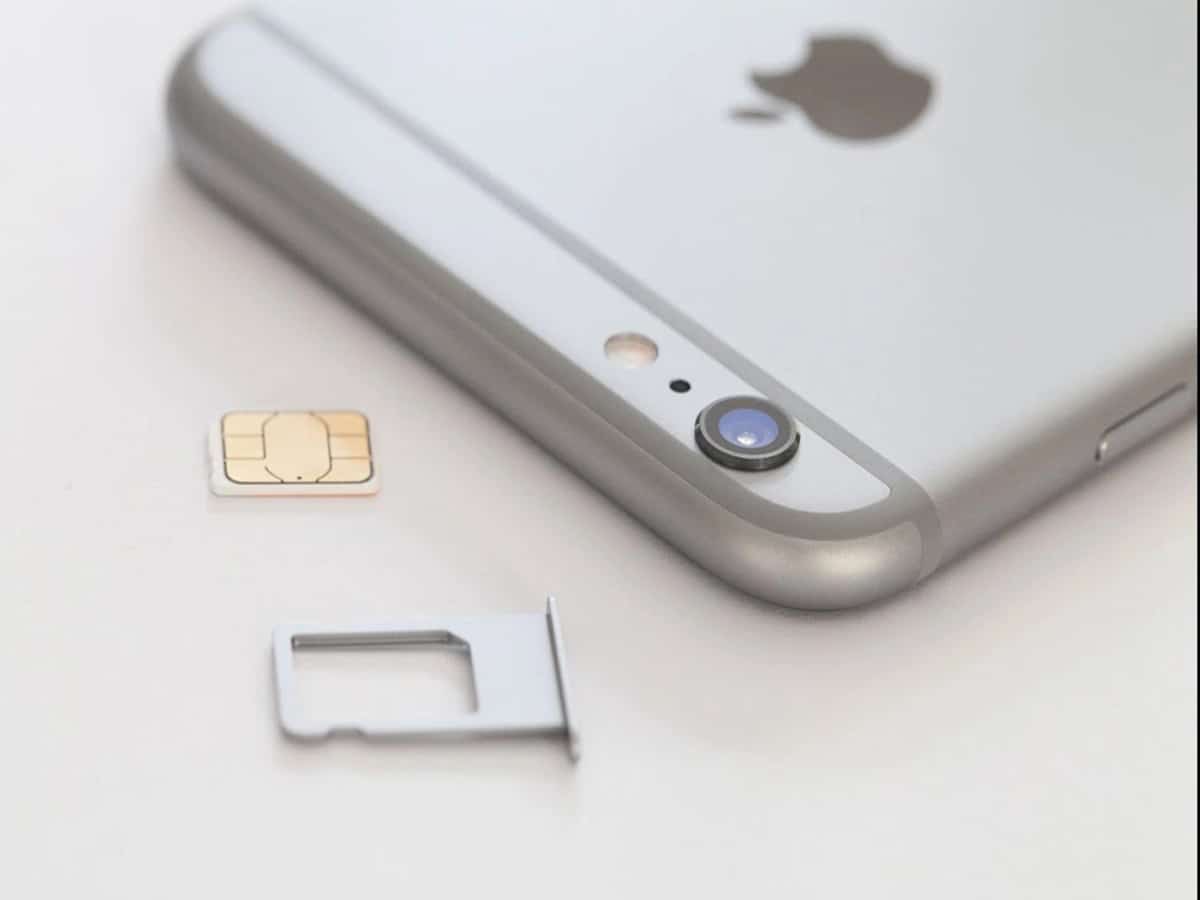
As the SIM card tray starts to slide out, grasp it firmly and pull it out of the device. The SIM card tray is designed to slide out smoothly, allowing you to access the compartment where the SIM card will be inserted. Be cautious when ejecting the tray, ensuring that you don't apply excessive force that could potentially damage the device.
Once the SIM card tray is fully ejected, set it aside in a secure location, as you'll need it to reinsert the tray after inserting the SIM card. Take a moment to inspect the tray and familiarize yourself with its design, noting the position where the SIM card will be placed. This brief examination can help you orient yourself with the tray's layout, making it easier to insert the SIM card correctly in the subsequent step.
By successfully ejecting the SIM card tray, you've now gained access to the compartment where the SIM card will be installed. This pivotal step sets the stage for the next phase of the process, allowing you to proceed with confidence as you prepare to insert the SIM card into your iPhone 5S. With the SIM card tray in hand, you're ready to move on to the next step and complete the SIM card insertion process, bringing you one step closer to seamless connectivity on your device.
Step 3: Insert the SIM card
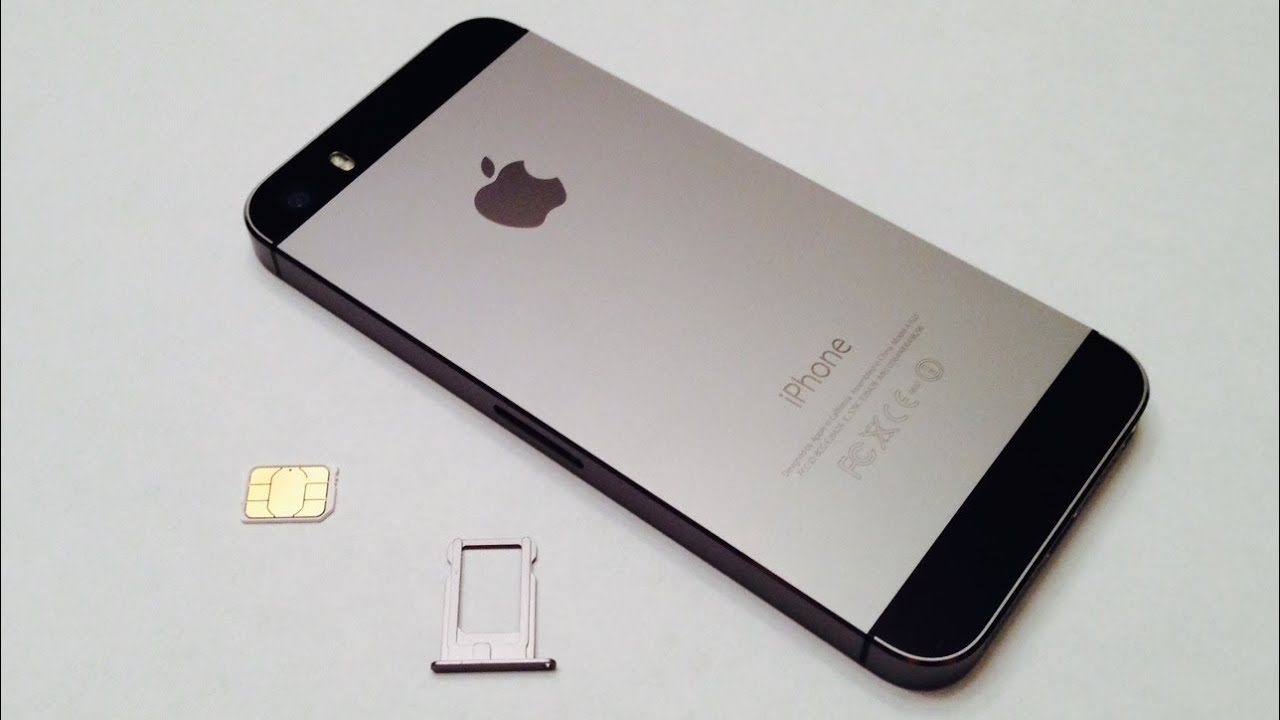
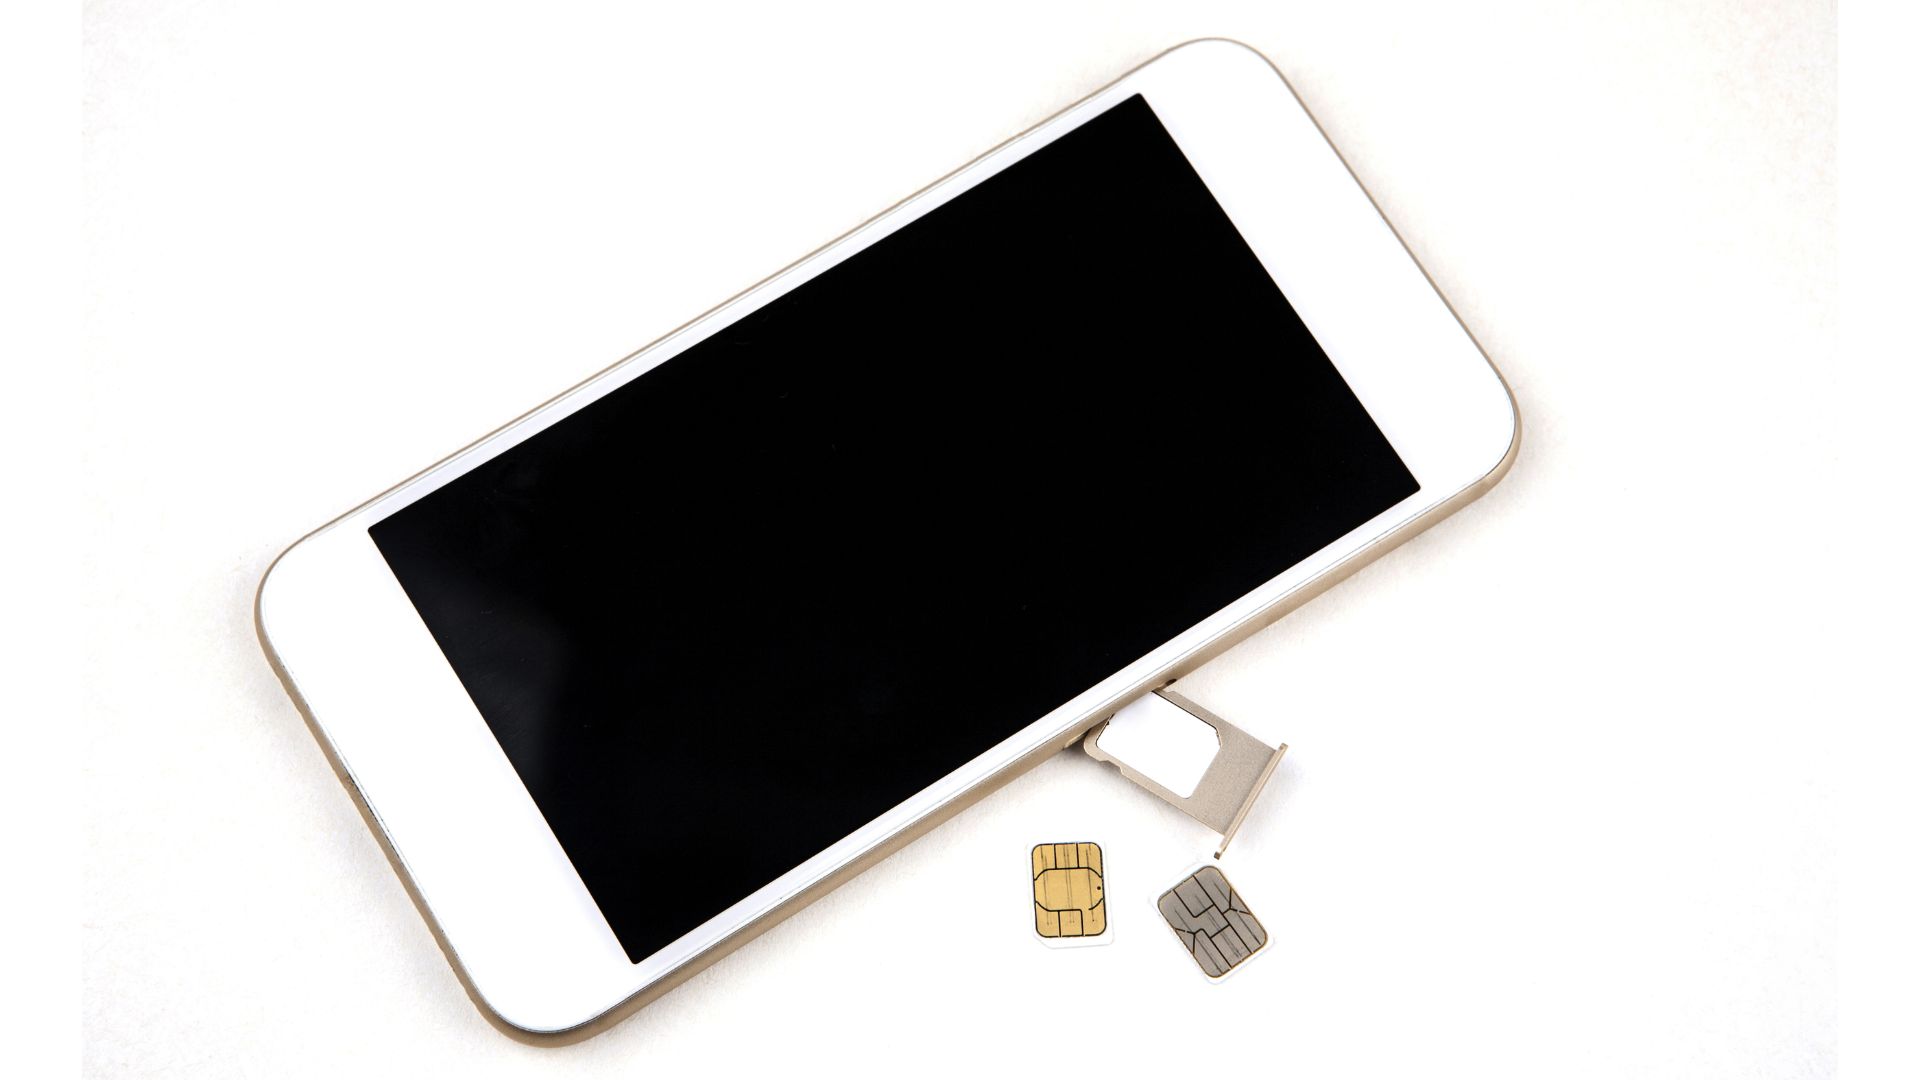
With the SIM card tray in hand, you're now ready to proceed with the vital step of inserting the SIM card into your iPhone 5S. The SIM card itself is a small, rectangular card that contains crucial information, including your mobile network credentials and unique identification details. Properly inserting the SIM card ensures that your iPhone 5S can establish a connection with your mobile carrier's network, enabling you to make calls, send messages, and access mobile data.
To begin the SIM card insertion process, carefully examine the SIM card tray that you previously ejected from your device. You'll notice a designated area within the tray where the SIM card should be placed. This area is typically marked with a small diagram or outline that indicates the correct positioning of the SIM card.
Next, take the SIM card and position it according to the guidelines provided within the SIM card tray. The SIM card will fit into the designated area with a specific orientation, aligning with the shape and size of the slot. It's essential to ensure that the SIM card is placed securely and correctly within the tray, as improper insertion could lead to connectivity issues and hinder the functionality of your device.
As you carefully place the SIM card into the tray, pay attention to the orientation of the card to align it properly with the designated area. The SIM card should fit snugly within the tray, with no protruding edges or misalignment. Gently press the SIM card into place, ensuring that it sits flush within the tray and rests securely in the allocated space.
Once the SIM card is inserted correctly, take a moment to inspect the placement and confirm that it is positioned accurately within the tray. This quick verification can help prevent potential issues and ensure that the SIM card is ready to be reinserted into your iPhone 5S.
By successfully inserting the SIM card into the tray, you've completed a crucial step in the process of setting up your iPhone 5S for seamless connectivity. With the SIM card securely in place, you're now prepared to proceed to the final step of reinserting the SIM card tray into your device, bringing you closer to enjoying the full range of mobile services and features on your iPhone 5S.
Step 4: Reinsert the SIM card tray
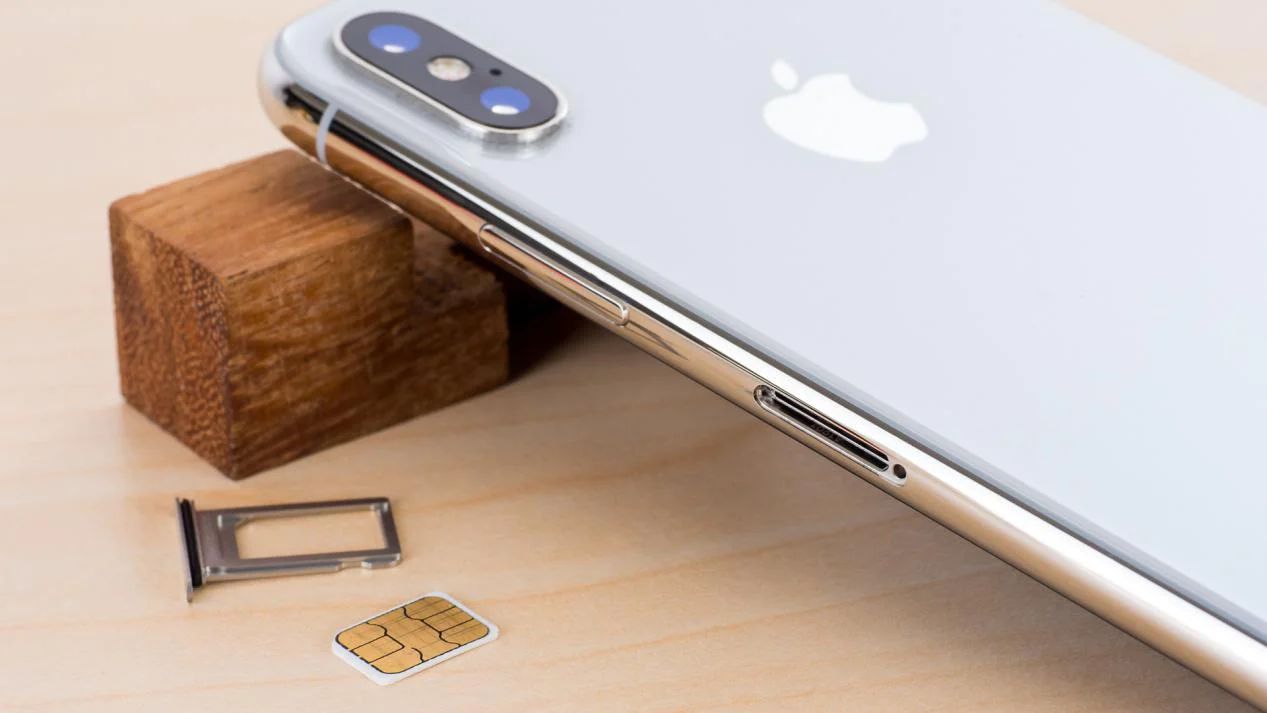
After successfully inserting the SIM card into the designated area within the SIM card tray, the final step in the process is to reinsert the tray back into your iPhone 5S. This step is essential for securing the SIM card within the device and ensuring that it establishes a reliable connection with your mobile carrier's network. By carefully reinserting the SIM card tray, you'll be one step closer to enjoying seamless connectivity and the full range of mobile services on your iPhone 5S.
Begin by holding the SIM card tray with the inserted SIM card, ensuring that the card remains securely in place within the tray. Align the tray with the slot on the side of your iPhone 5S, taking note of the orientation to ensure proper insertion. The tray is designed to fit into the slot in a specific manner, allowing for a smooth and secure reintegration into the device.
Carefully position the SIM card tray near the slot, aligning it with the corresponding opening on the device. With gentle and steady pressure, begin to slide the tray back into the iPhone 5S, taking care to avoid any abrupt movements that could dislodge the SIM card. The tray should glide smoothly into the slot, ultimately resting flush with the device's exterior.
As the SIM card tray is reinserted, you may feel a slight resistance before it seamlessly slots back into place. This resistance is normal and ensures that the tray is securely positioned within the device. Once the tray is fully inserted, take a moment to verify that it sits level with the iPhone 5S's exterior, indicating a successful reintegration.
With the SIM card tray securely back in place, you've completed the process of inserting a SIM card into your iPhone 5S. This final step ensures that the SIM card is safely housed within the device, ready to facilitate seamless communication with your mobile carrier's network. By reinserting the SIM card tray, you've prepared your iPhone 5S to harness the full potential of mobile connectivity, allowing you to make calls, send messages, and access mobile data with ease.
Now that you've successfully reinserted the SIM card tray, your iPhone 5S is fully equipped to keep you connected wherever you go. With the SIM card securely integrated into the device, you're ready to power on your iPhone 5S and begin enjoying the comprehensive range of mobile services and features it has to offer.
Conclusion
Congratulations! By following the simple and precise steps outlined in this guide, you've successfully inserted a SIM card into your iPhone 5S. This essential process has equipped your device to establish a seamless connection with your mobile carrier's network, enabling you to make calls, send messages, and access mobile data with ease. As you've navigated through the steps, you've gained valuable insights into the foundational aspects of preparing your iPhone 5S for optimal connectivity.
By locating the SIM card tray, ejecting it with precision, inserting the SIM card correctly, and reinserting the tray back into your device, you've demonstrated a keen understanding of the essential procedures involved in setting up your iPhone 5S for mobile communication. Each step has contributed to the seamless integration of the SIM card, ensuring that your device is ready to deliver a comprehensive range of mobile services.
As you reflect on the process you've completed, it's important to recognize the significance of these steps in enabling your iPhone 5S to fulfill its potential as a reliable communication tool. The successful insertion of the SIM card has laid the foundation for a smooth and uninterrupted mobile experience, allowing you to stay connected on the go and leverage the full capabilities of your device.
With the SIM card securely in place, your iPhone 5S is now primed to provide you with the means to stay connected, whether for personal or professional communication. The completion of this process marks a significant milestone in ensuring that your device is fully equipped to support your mobile lifestyle, empowering you to engage with the world around you through seamless connectivity.
As you embark on your journey with your iPhone 5S, you can take pride in the knowledge that you've taken the necessary steps to optimize its connectivity. Whether you're making your first call, sending your first text, or accessing your favorite mobile apps, the successful insertion of the SIM card sets the stage for a rewarding and enriching mobile experience.
Now that you've completed the SIM card insertion process, it's time to power on your iPhone 5S and immerse yourself in the world of mobile communication. With the SIM card seamlessly integrated into your device, you're now poised to explore the myriad possibilities that await you, confident in the knowledge that your iPhone 5S is fully equipped to keep you connected and engaged.
Enjoy your journey with your iPhone 5S, and may it continue to serve as a reliable companion in your everyday adventures.