Introduction
The iPhone 14 Pro Max is a remarkable device that offers cutting-edge technology and seamless connectivity. One essential aspect of setting up your iPhone 14 Pro Max is inserting the SIM card, which is crucial for making calls, sending messages, and accessing mobile data. Whether you're upgrading from an older iPhone model or transitioning from a different smartphone, understanding how to insert the SIM card is fundamental to optimizing your mobile experience.
In this comprehensive tutorial, we will guide you through the step-by-step process of inserting a SIM card into your iPhone 14 Pro Max. By following these instructions, you will ensure that your device is ready to connect to your mobile network and enjoy the full range of features and services offered by your carrier.
Let's delve into the details and embark on this journey to seamlessly integrate your SIM card with your iPhone 14 Pro Max. Whether you're a tech enthusiast or a newcomer to the world of smartphones, this tutorial will equip you with the knowledge and confidence to complete this essential task effortlessly. So, without further ado, let's get started with the first step in this insightful tutorial.
Step 1: Locate the SIM card tray
The first step in the process of inserting a SIM card into your iPhone 14 Pro Max is to locate the SIM card tray. This tray is designed to securely hold the SIM card and ensure proper connectivity with your mobile network. To begin, you will need to identify the precise location of the SIM card tray on your device.
The SIM card tray on the iPhone 14 Pro Max is typically situated on the right-hand side of the device. It is important to note that the exact placement of the SIM card tray may vary slightly depending on the specific model of the iPhone 14 Pro Max. However, the general location remains consistent across most iterations of the device.
Upon inspecting the right-hand side of your iPhone 14 Pro Max, you will notice a small, recessed slot. This slot is the housing for the SIM card tray. It is often accompanied by a small pinhole, which serves as the entry point for the SIM card ejection tool. The design of the SIM card tray ensures that it remains discreet and seamlessly integrated into the sleek profile of the iPhone 14 Pro Max.
As you familiarize yourself with the external features of your device, take a moment to locate the SIM card tray and observe its positioning relative to the other components of the iPhone 14 Pro Max. This initial step sets the stage for the subsequent actions required to insert the SIM card and prepare your device for seamless connectivity.
By successfully identifying the location of the SIM card tray, you have taken the first significant stride in the process of integrating your SIM card with your iPhone 14 Pro Max. With this essential groundwork laid, you are now ready to proceed to the next step and continue the journey towards complete SIM card insertion.
Now that you have successfully located the SIM card tray on your iPhone 14 Pro Max, let's move on to the next step, where we will delve into the process of ejecting the SIM card tray in preparation for inserting the SIM card.
Step 2: Eject the SIM card tray
Ejecting the SIM card tray is a crucial step in the process of inserting a SIM card into your iPhone 14 Pro Max. This action allows you to access the interior compartment where the SIM card will be securely placed. To initiate this step, you will need the SIM card ejection tool that is provided with your iPhone 14 Pro Max.
The SIM card ejection tool is a small, metallic pin that is specifically designed for the purpose of releasing the SIM card tray. It is conveniently stored within the packaging of your iPhone 14 Pro Max, ensuring that it is readily available when needed. If you are unable to locate the SIM card ejection tool, it is advisable to check the original box or consult the user manual for guidance.
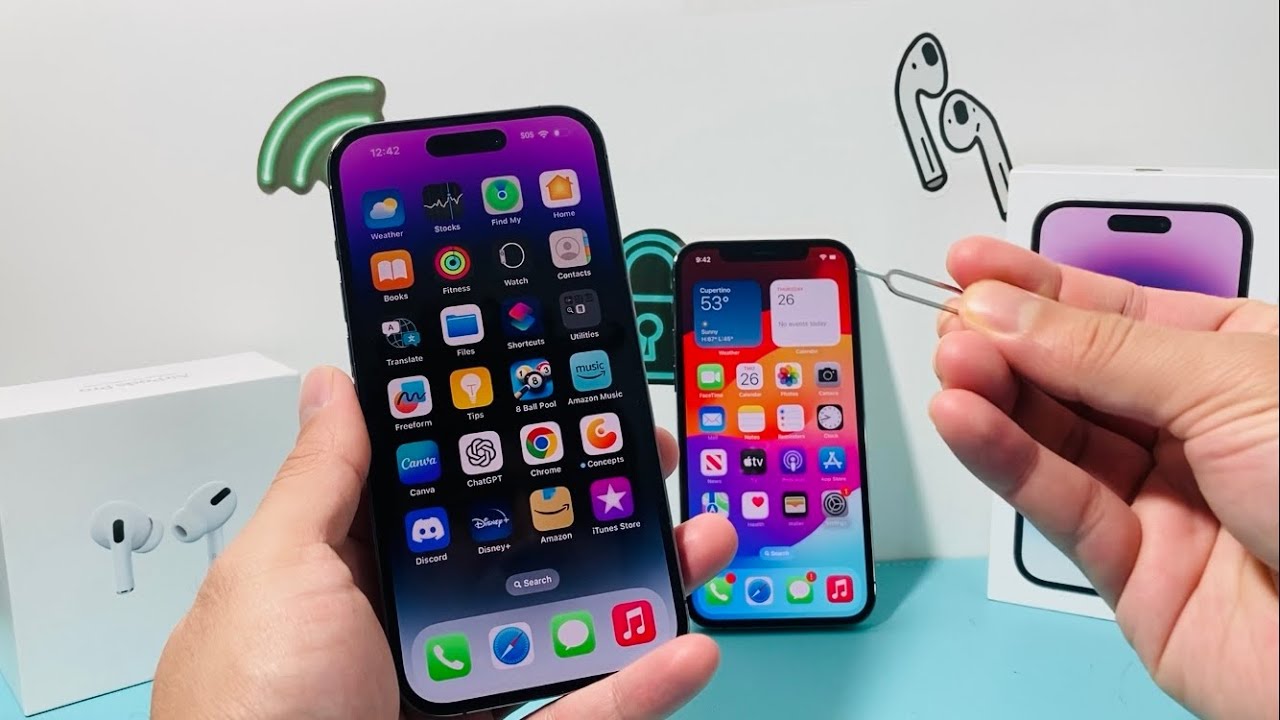
Once you have the SIM card ejection tool in hand, carefully examine the right-hand side of your iPhone 14 Pro Max, where the SIM card tray is located. Direct your attention to the small pinhole adjacent to the SIM card tray. This pinhole serves as the entry point for the SIM card ejection tool and is strategically positioned to facilitate the effortless removal of the SIM card tray.
Insert the SIM card ejection tool into the pinhole with a gentle, but firm, pressure. As you apply this pressure, you will feel a slight resistance, indicating that the tool has engaged with the internal mechanism of the SIM card tray. With a steady hand, continue to exert pressure until you sense a subtle release, signifying that the SIM card tray is being ejected from its housing.
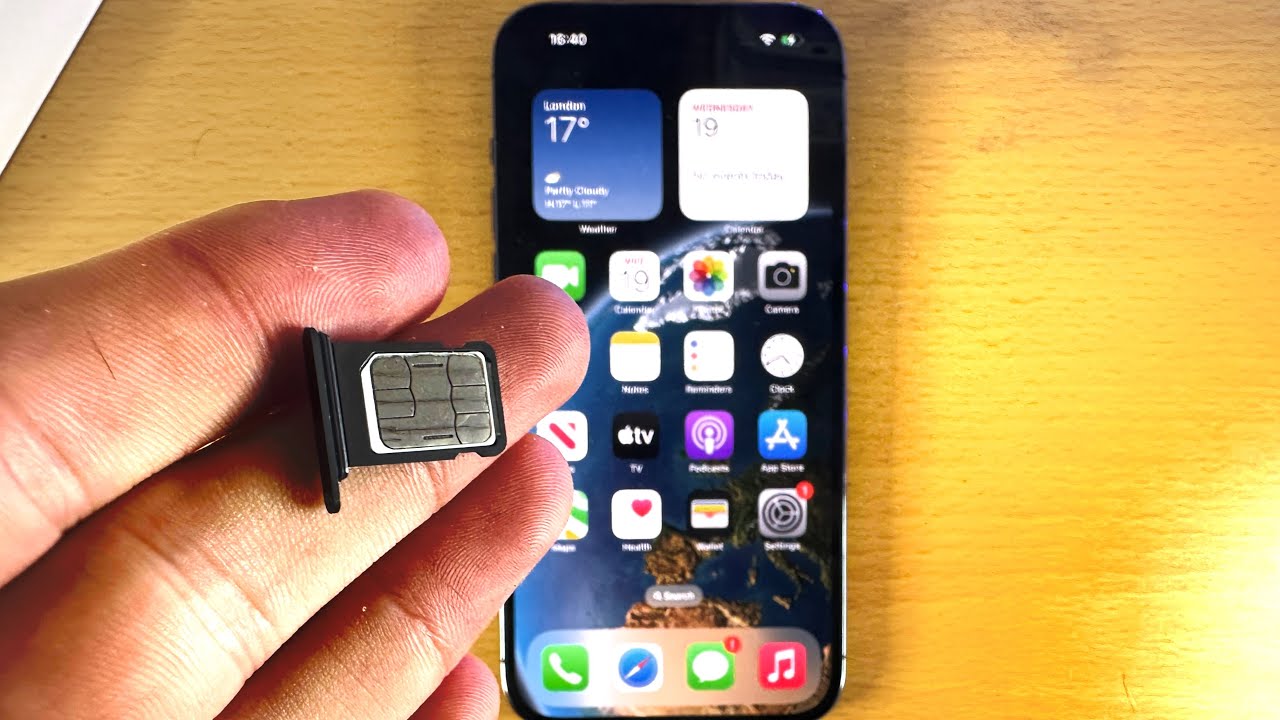
Upon successful ejection, the SIM card tray will emerge partially from the exterior of the iPhone 14 Pro Max. Carefully grasp the exposed edge of the tray and pull it outwards, ensuring a smooth and controlled motion to avoid any potential damage to the tray or the device. As the tray extends outward, you will gain access to the compartment where the SIM card will be inserted.
With the SIM card tray now ejected, you have completed a pivotal phase in the process of preparing your iPhone 14 Pro Max for SIM card insertion. This seamless action sets the stage for the subsequent step, where you will proceed to insert the SIM card into the designated slot within the tray.
Having successfully ejected the SIM card tray, you are now poised to transition to the next step, which entails the precise and secure insertion of the SIM card into your iPhone 14 Pro Max. Let's move forward with confidence as we proceed to the subsequent phase of this comprehensive tutorial.
Step 3: Insert the SIM card
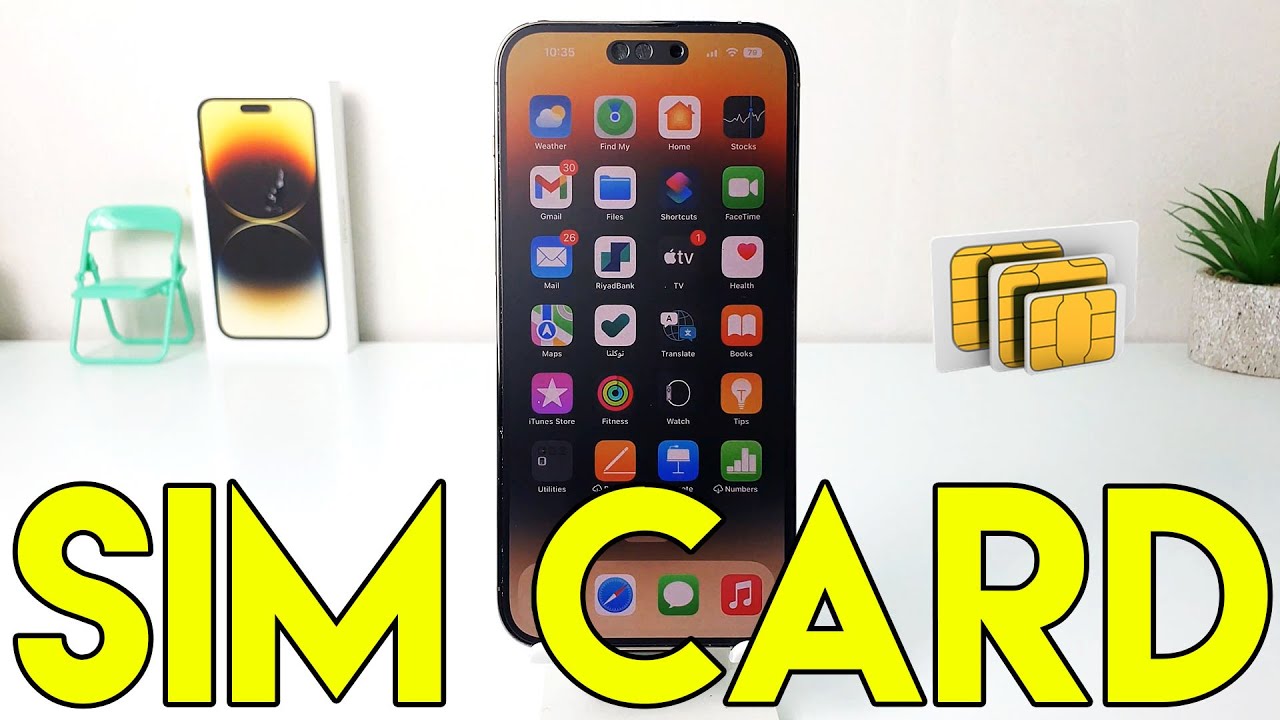
With the SIM card tray successfully ejected from your iPhone 14 Pro Max, the next crucial step is to insert the SIM card into the designated slot within the tray. Before proceeding, it is important to ensure that the SIM card is compatible with your device and that it has been obtained from your mobile carrier. This ensures that the SIM card is activated and ready for use.
Inspect the SIM card tray and identify the specific slot designed to accommodate the SIM card. The tray typically features a small, rectangular cutout that corresponds to the size and shape of the SIM card. This precision-engineered slot ensures that the SIM card fits securely within the tray, establishing a stable connection with your mobile network.
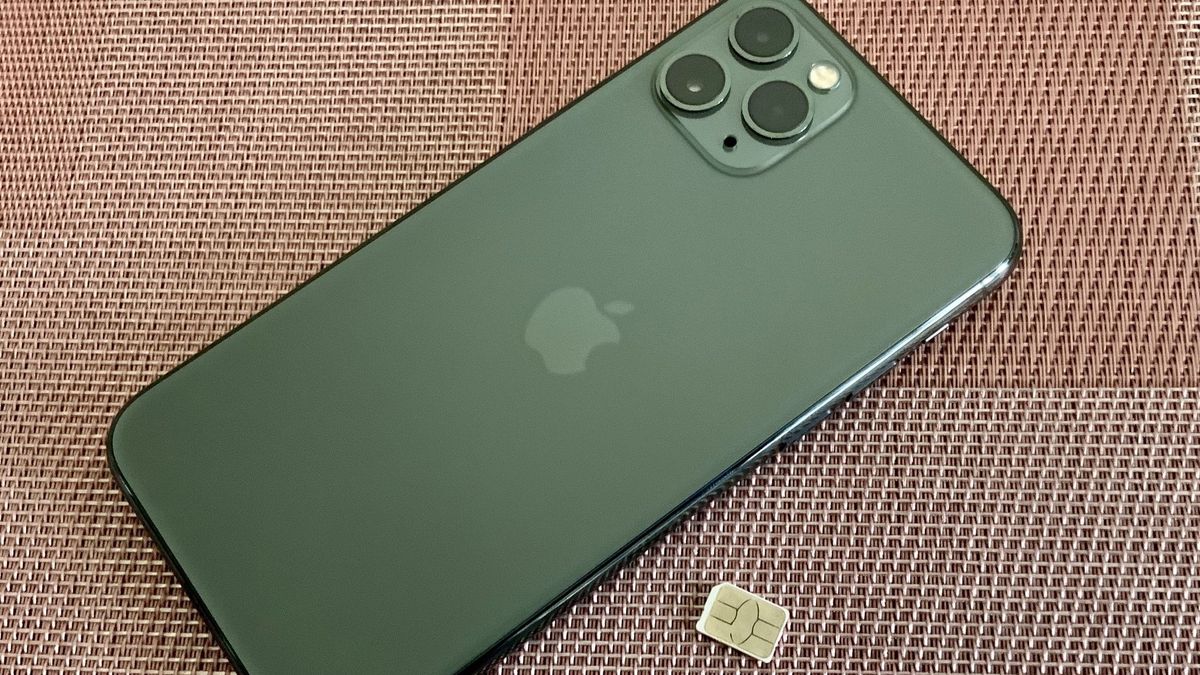
Carefully position the SIM card in alignment with the designated slot on the tray. Take note of the orientation of the SIM card, ensuring that it is inserted in the correct position to facilitate seamless connectivity. Most SIM cards are designed with a notch or corner cutout, which corresponds to a similar notch or guideline within the slot. Align these features to ensure that the SIM card is inserted in the proper orientation.
Gently place the SIM card onto the designated slot, applying light pressure to secure it in place. Take care to avoid excessive force, as this may damage the SIM card or the internal components of the tray. The SIM card should fit snugly within the slot, with minimal movement once it is correctly positioned.
Once the SIM card is securely placed within the tray, carefully guide the tray back into its original position within the iPhone 14 Pro Max. Ensure that the tray aligns seamlessly with the exterior of the device, maintaining a flush and uniform profile. Exercise caution to prevent any misalignment or resistance during this process, as it may indicate that the SIM card or tray is not inserted correctly.
As the SIM card tray slides back into place, you will feel a subtle click, signifying that it has been securely reinstalled within the iPhone 14 Pro Max. This action completes the process of inserting the SIM card into your device, setting the stage for the final step of reinserting the SIM card tray and finalizing the integration of your SIM card with your iPhone 14 Pro Max.
With the SIM card successfully inserted into the designated slot within the tray, you have achieved a significant milestone in the process of preparing your iPhone 14 Pro Max for seamless connectivity. This pivotal step ensures that your device is primed to establish a reliable connection with your mobile network, enabling you to harness the full spectrum of features and services offered by your carrier.
Now that the SIM card has been securely inserted into your iPhone 14 Pro Max, let's progress to the subsequent step, where we will guide you through the process of reinserting the SIM card tray and completing the final phase of this comprehensive tutorial.
Step 4: Re-insert the SIM card tray
With the SIM card securely inserted into your iPhone 14 Pro Max, the final step in this comprehensive tutorial involves re-inserting the SIM card tray back into its original position within the device. This crucial action ensures that the SIM card remains securely housed within the iPhone 14 Pro Max, establishing a stable connection with your mobile network and enabling seamless access to essential communication services and mobile data.
Carefully align the SIM card tray with the corresponding slot on the right-hand side of your iPhone 14 Pro Max. Take note of the orientation of the tray, ensuring that it is positioned correctly to facilitate a smooth and effortless reinsertion. The tray should slide seamlessly into the device, maintaining a flush and uniform profile with the exterior of the iPhone 14 Pro Max.
Gently guide the SIM card tray back into its original position, exerting steady and controlled pressure to ensure that it seamlessly integrates with the device. As the tray glides inward, you will feel a subtle resistance, indicating that it is aligning with the internal components of the iPhone 14 Pro Max. Continue to apply gentle pressure until the tray is fully reinserted, ensuring that it sits securely within the device.
Once the SIM card tray is successfully re-inserted, take a moment to inspect the right-hand side of your iPhone 14 Pro Max. Ensure that the tray is flush with the exterior of the device, with no protrusions or misalignments. This visual confirmation provides assurance that the SIM card tray has been securely reinstated within your iPhone 14 Pro Max, completing the final phase of the SIM card insertion process.
With the SIM card tray seamlessly re-inserted into your iPhone 14 Pro Max, you have accomplished the essential task of integrating your SIM card with your device. This seamless process ensures that your iPhone 14 Pro Max is primed to establish a reliable connection with your mobile network, enabling you to enjoy uninterrupted access to calls, messages, and mobile data.
By following this comprehensive tutorial, you have gained valuable insights into the precise steps required to insert a SIM card into your iPhone 14 Pro Max. This foundational knowledge equips you with the confidence and expertise to seamlessly integrate your SIM card with your device, ensuring that you can harness the full spectrum of features and services offered by your carrier.
With the SIM card securely inserted and the tray seamlessly repositioned within your iPhone 14 Pro Max, you are now ready to embark on your mobile journey with confidence, knowing that your device is optimized for seamless connectivity and optimal performance.
Conclusion
Congratulations! You have successfully completed the comprehensive tutorial on inserting a SIM card into your iPhone 14 Pro Max. By following the step-by-step instructions outlined in this tutorial, you have gained valuable insights into the precise process of integrating your SIM card with your device, ensuring seamless connectivity and access to essential communication services.
The journey began with the essential task of locating the SIM card tray on your iPhone 14 Pro Max, setting the stage for the subsequent actions required to prepare your device for SIM card insertion. With careful attention to detail, you identified the precise location of the SIM card tray, familiarizing yourself with its positioning relative to the external features of the device.
Ejecting the SIM card tray was a pivotal phase in the process, requiring the use of the SIM card ejection tool to seamlessly release the tray from its housing. By following the precise instructions and exercising caution, you successfully accessed the interior compartment where the SIM card would be securely placed, laying the groundwork for the subsequent step.
The precise and secure insertion of the SIM card into the designated slot within the tray marked a significant milestone in the process. By aligning the SIM card with the designated slot and reinserting the tray into your iPhone 14 Pro Max, you ensured that the SIM card was securely housed within the device, establishing a stable connection with your mobile network.
Finally, re-inserting the SIM card tray back into its original position within the device completed the process, providing assurance that the SIM card was seamlessly integrated with your iPhone 14 Pro Max. This final step set the stage for your device to establish a reliable connection with your mobile network, enabling uninterrupted access to calls, messages, and mobile data.
By diligently following this tutorial, you have not only successfully inserted a SIM card into your iPhone 14 Pro Max but also gained valuable expertise in performing this essential task. This foundational knowledge equips you with the confidence to navigate the intricacies of your device and ensures that you can optimize its capabilities for seamless connectivity and optimal performance.
As you embark on your mobile journey with your iPhone 14 Pro Max, armed with the knowledge acquired from this tutorial, you can confidently explore the full spectrum of features and services offered by your carrier. With your device primed for seamless connectivity, you are ready to harness the power of communication and mobile data, empowered by the seamless integration of your SIM card with your iPhone 14 Pro Max.