Introduction
Welcome to this quick guide on how to locate the SIM card slot on your iPhone 5. Whether you're a new iPhone user or simply in need of a refresher, understanding the process of accessing and inserting a SIM card is essential for seamless connectivity. The SIM card, short for Subscriber Identity Module, is a small, removable card that stores your phone's information, such as your phone number, contacts, and text messages.
In this guide, we'll walk you through the simple steps to access the SIM card slot on your iPhone 5, allowing you to effortlessly insert or replace your SIM card when necessary. By following these steps, you'll be equipped with the knowledge to ensure that your iPhone 5 remains connected to your cellular network, enabling you to make calls, send texts, and access mobile data.
Now, let's dive into the practical steps for locating and accessing the SIM card slot on your iPhone 5. Whether you're preparing to travel internationally, switching to a new carrier, or simply need to replace a damaged SIM card, understanding this process is an essential aspect of managing your iPhone's connectivity. Let's get started!
Step 1: Turn off your iPhone 5
Before beginning the process of locating and accessing the SIM card slot on your iPhone 5, it's crucial to ensure that the device is powered off. Turning off your iPhone 5 not only prevents any potential damage to the device during the SIM card insertion process but also guarantees a smooth and uninterrupted experience as you prepare to handle the SIM card slot.
To power off your iPhone 5, follow these simple steps:
-
Locate the Power Button: The Power button, also known as the Sleep/Wake button, is situated at the top right-hand side of the device. It is essential to identify this button as it is the primary control for turning the device on or off.
-
Press and Hold the Power Button: With a firm and steady touch, press and hold the Power button until the "slide to power off" option appears on the screen. This action prompts the iPhone 5 to initiate the power-off sequence.
-
Slide to Power Off: Once the "slide to power off" option is displayed, use your finger to swipe the slider from left to right. This gesture confirms your intention to power off the device and initiates the shutdown process.
-
Wait for the Shutdown: Allow your iPhone 5 a few moments to power down completely. You may notice the screen dimming before it turns off entirely, indicating that the device is successfully shutting down.
By following these steps, you have effectively powered off your iPhone 5 in preparation for accessing the SIM card slot. This simple yet crucial action ensures that the device is in a safe state for handling the SIM card, minimizing the risk of any potential damage to the device's internal components.
With your iPhone 5 now powered off, you're ready to proceed to the next step of locating the SIM card slot. This essential preparatory step sets the stage for a seamless and hassle-free experience as you navigate the process of inserting or replacing your SIM card.
Step 2: Locate the SIM card slot
Now that your iPhone 5 is powered off, the next step is to locate the SIM card slot. The SIM card slot on the iPhone 5 is strategically positioned to ensure easy access while maintaining the device's sleek design. To locate the SIM card slot, follow these simple steps:
-
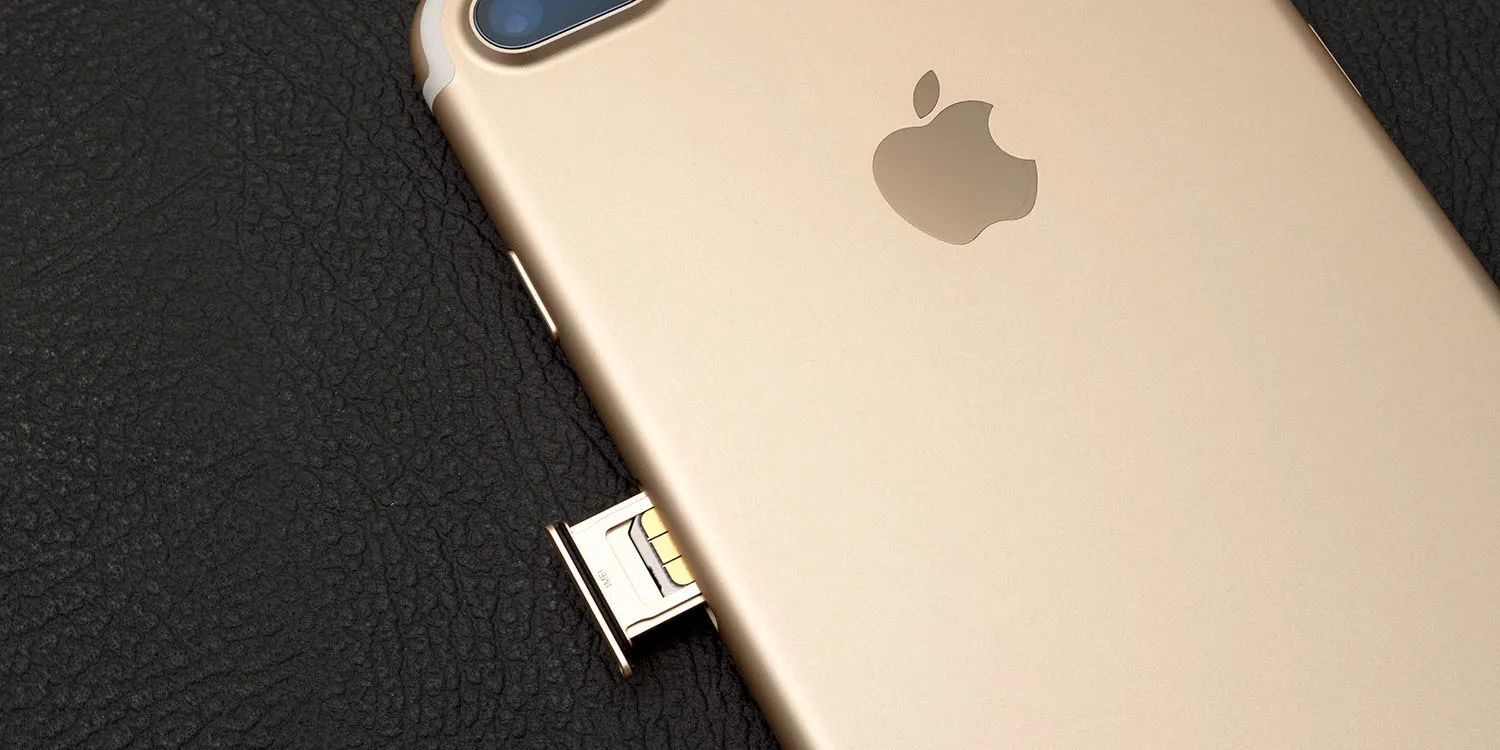
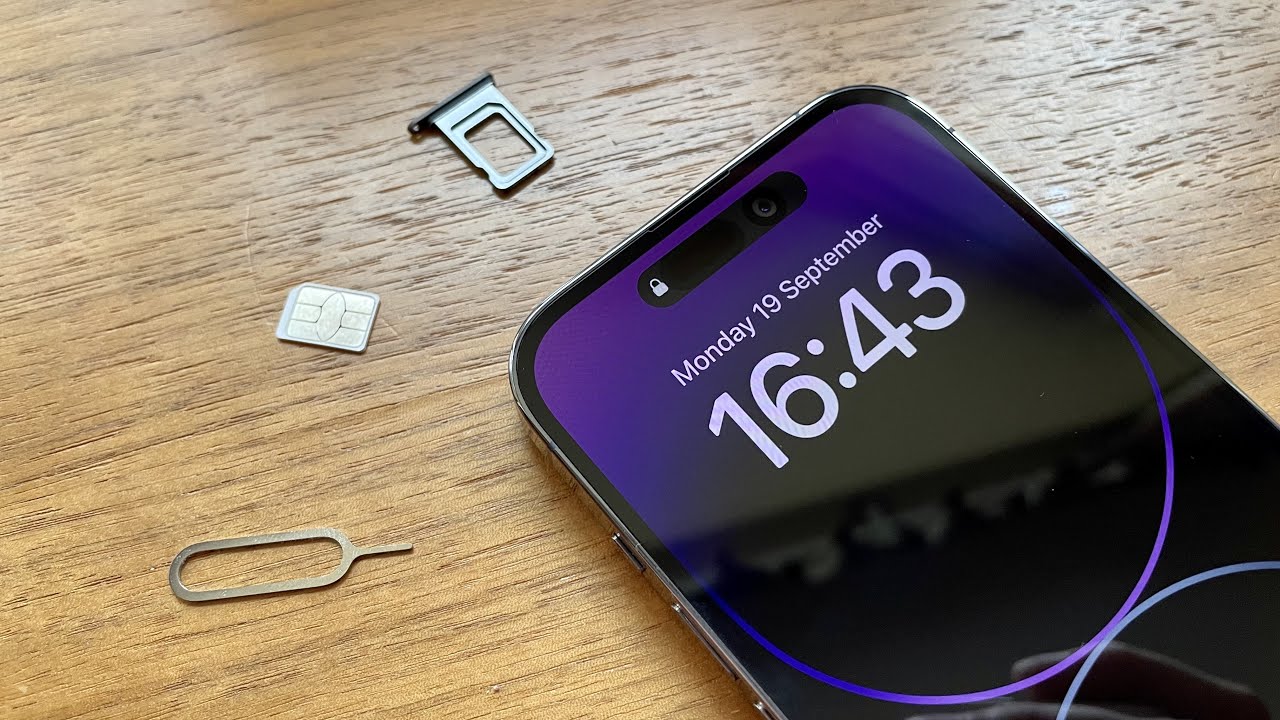
Identify the SIM Card Tray: The SIM card slot on the iPhone 5 is housed within a small tray located on the right-hand side of the device. This tray is designed to hold the SIM card securely in place, preventing it from dislodging during regular use.
-
Locate the SIM Card Tray Ejection Hole: Positioned adjacent to the SIM card tray is the SIM card tray ejection hole. This minuscule opening allows for the insertion of a SIM card tray ejection tool or a suitable alternative to facilitate the removal of the SIM card tray from the device.
-
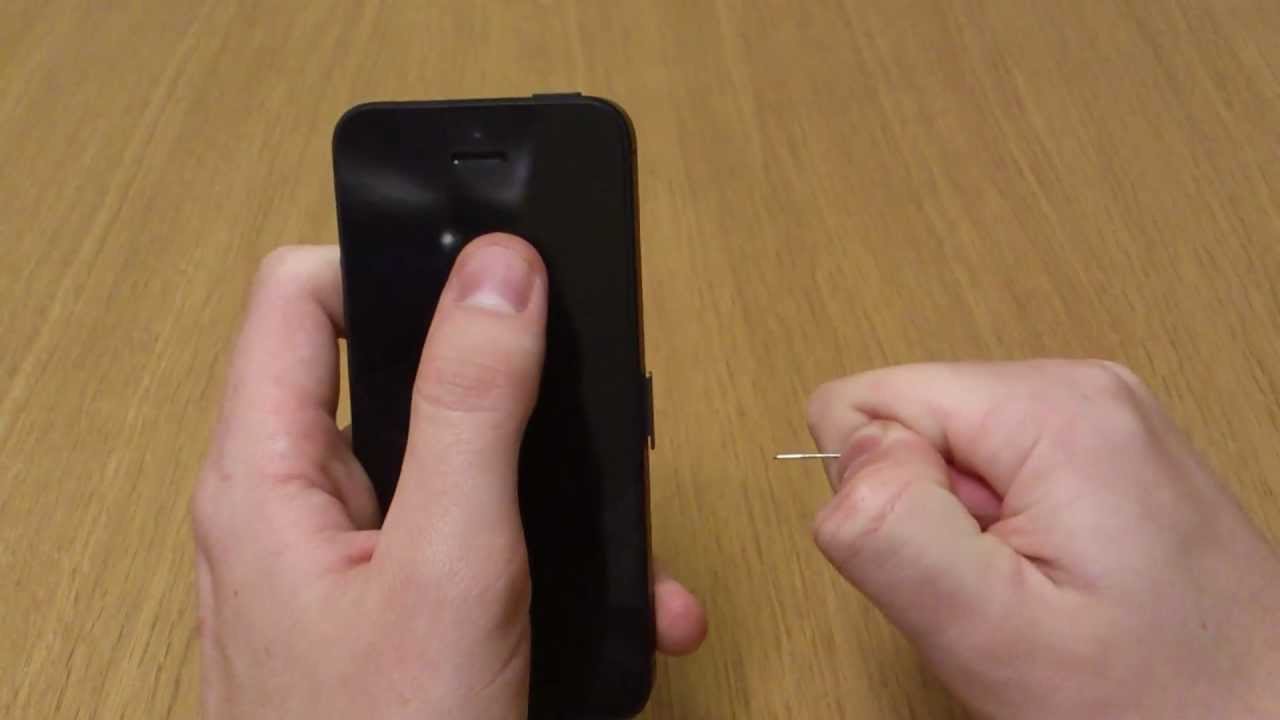
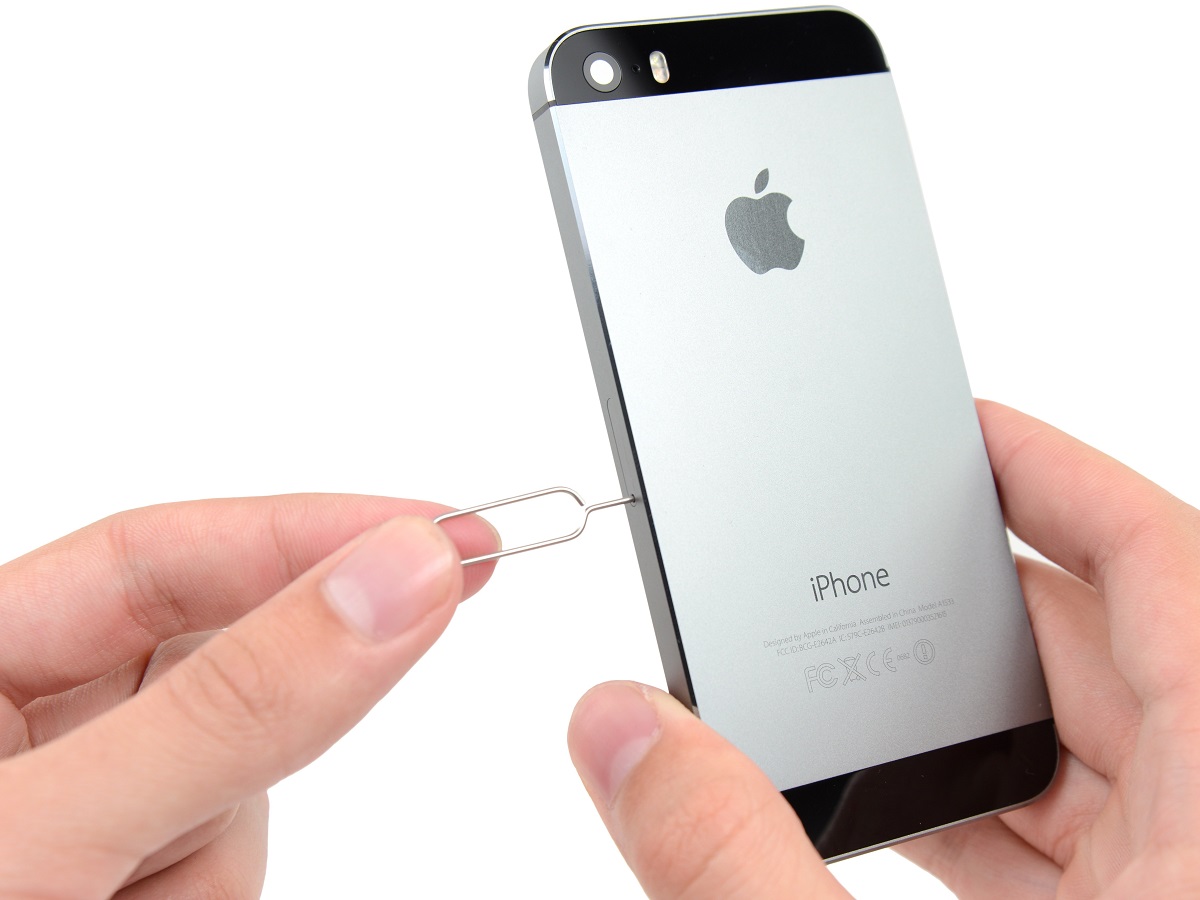
Use the SIM Card Tray Ejection Tool: If you have the original SIM card tray ejection tool that came with your iPhone 5, locate it and ensure it is readily available. Alternatively, a small paperclip or a similar tool can be used to gently press into the SIM card tray ejection hole, initiating the release of the SIM card tray.
-
Gently Eject the SIM Card Tray: With the SIM card tray ejection tool or a suitable alternative in hand, carefully insert it into the SIM card tray ejection hole. Apply gentle pressure to activate the internal mechanism, causing the SIM card tray to protrude from the device, allowing for easy removal.
By following these steps, you can effectively locate the SIM card slot on your iPhone 5. This knowledge empowers you to confidently access the SIM card slot whenever the need arises, whether it's for inserting a new SIM card, replacing an existing one, or simply inspecting the SIM card slot for maintenance purposes.
With the SIM card slot now located, you're prepared to proceed to the next step of inserting or replacing the SIM card, ensuring that your iPhone 5 remains seamlessly connected to your chosen cellular network.
Step 3: Insert the SIM card
Now that you've located the SIM card slot on your iPhone 5, the next crucial step is to insert the SIM card. This process ensures that your device is equipped with the necessary information to connect to your chosen cellular network, allowing you to make calls, send texts, and access mobile data. Follow these detailed steps to seamlessly insert the SIM card into your iPhone 5:
-
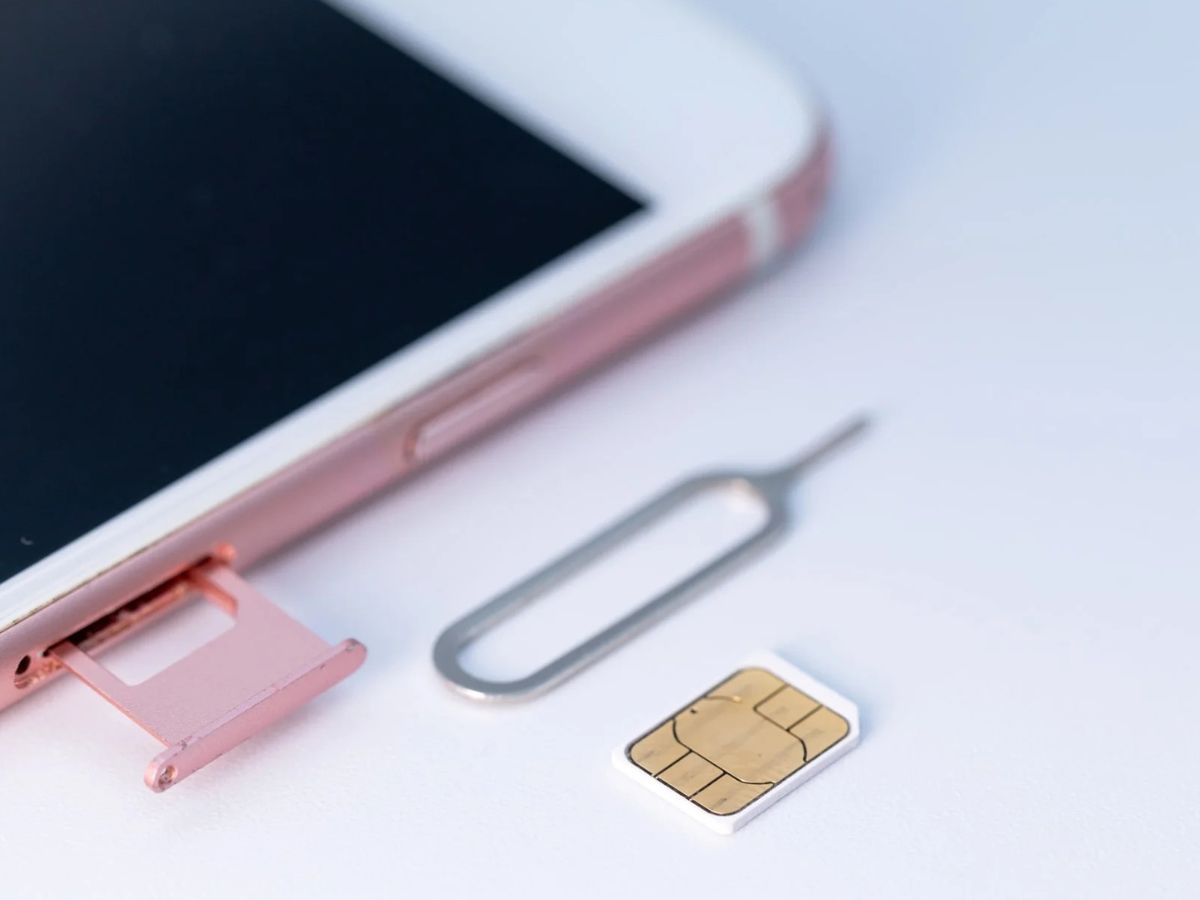
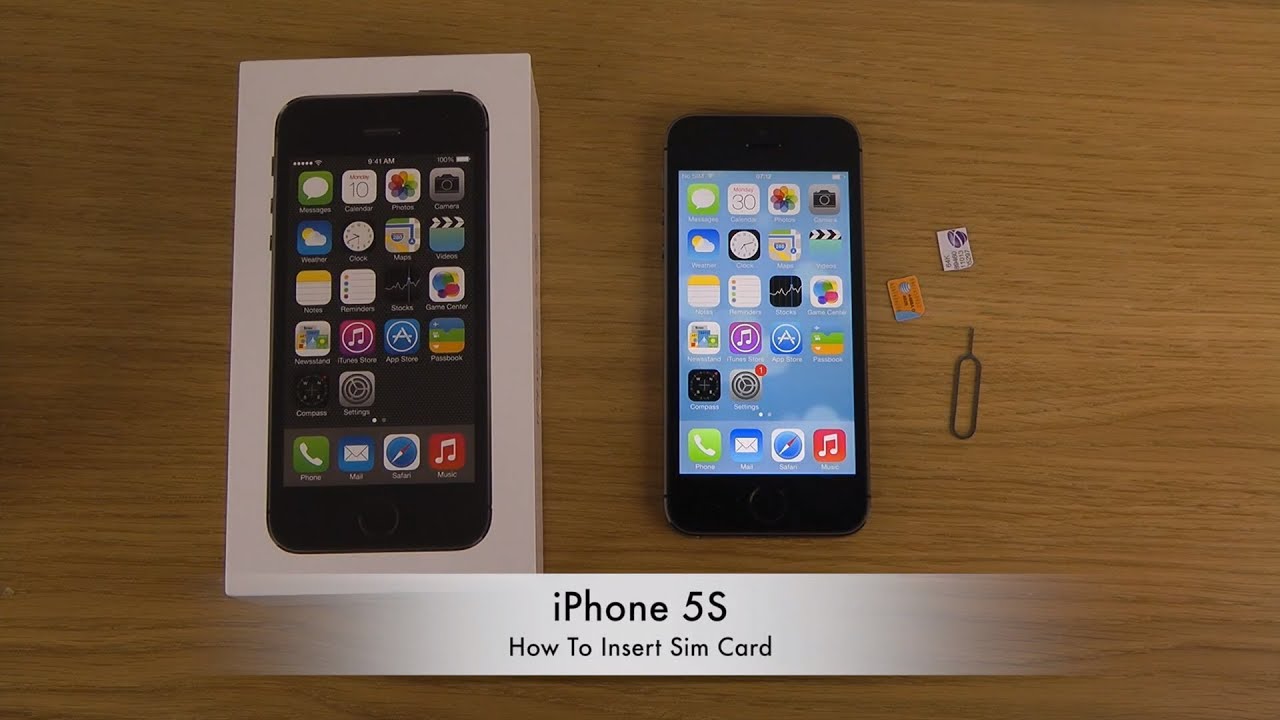
Prepare the SIM Card: Before inserting the SIM card, ensure that it is compatible with your iPhone 5. The SIM card should match the specific size and form factor required for the device. If you're using a new SIM card, carefully remove it from its packaging, handling it by the edges to avoid any contact with the metal contacts or circuitry.
-
Align the SIM Card: Take a close look at the SIM card and identify the corner that aligns with the SIM card tray. Most SIM cards are designed with a notched corner or a subtle indication that aids in proper alignment. Orient the SIM card accordingly to ensure a seamless fit within the SIM card tray.
-
Place the SIM Card in the Tray: Gently place the SIM card into the designated area within the SIM card tray, ensuring that it rests securely and aligns with the tray's contours. Exercise caution to avoid applying excessive force, as the SIM card should slot into place smoothly without resistance.
-
Insert the SIM Card Tray: With the SIM card securely positioned within the SIM card tray, carefully align the tray with the corresponding slot on your iPhone 5. Slowly and steadily guide the tray back into the device, ensuring that it glides in smoothly without any obstructions.
-
Secure the SIM Card Tray: Once the SIM card tray is fully inserted, apply gentle pressure to ensure that it sits flush with the device's exterior. The tray should seamlessly integrate with the iPhone 5's design, maintaining a sleek and seamless appearance.
By following these detailed steps, you have successfully inserted the SIM card into your iPhone 5. This crucial process ensures that your device is equipped with the necessary components to establish and maintain connectivity with your chosen cellular network. With the SIM card securely in place, you're now ready to proceed to the final step of turning on your iPhone 5, allowing you to enjoy uninterrupted access to essential communication and mobile services.
Step 4: Turn on your iPhone 5
With the SIM card securely inserted into the SIM card tray, the final step in this quick guide is to power on your iPhone 5. Turning on your device initiates the process of recognizing the newly inserted SIM card, allowing the device to establish connectivity with your chosen cellular network. Follow these straightforward steps to power on your iPhone 5 and ensure seamless access to essential communication and mobile services:
-
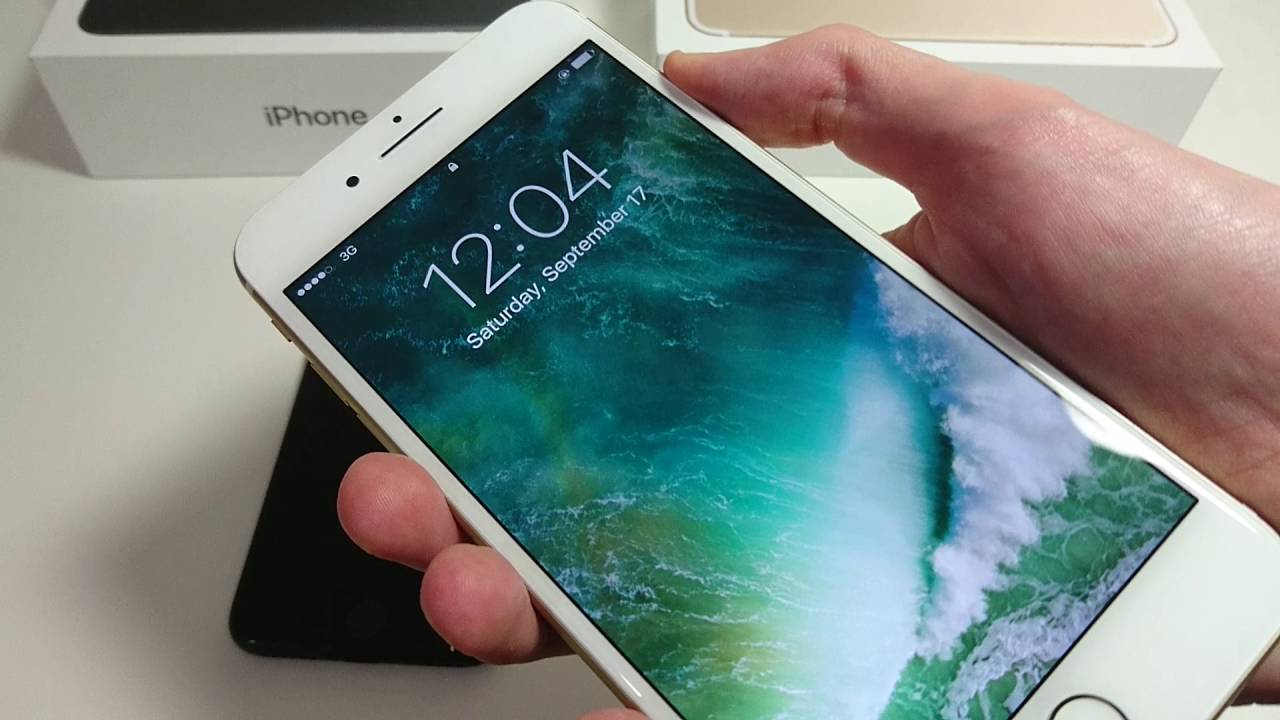
Press and Hold the Power Button: Located on the top right-hand side of your iPhone 5, the Power button, also known as the Sleep/Wake button, serves as the primary control for turning the device on. Firmly press and hold the Power button until the screen lights up, indicating that the device is powering on.
-
Wait for the Apple Logo: As your iPhone 5 begins to power on, the screen will display the iconic Apple logo, signifying that the device is booting up. Allow the device a few moments to complete the startup process, during which it will initialize the SIM card and establish connectivity with the cellular network.
-
Enter the Passcode (if applicable): If your iPhone 5 is protected by a passcode, the device will prompt you to enter it after powering on. Enter the designated passcode to access the device's features and functionalities. This security measure ensures that only authorized users can access the device's contents and settings.
-
Confirm Network Connectivity: Once your iPhone 5 has powered on and the startup process is complete, verify that the device successfully recognizes the inserted SIM card and establishes connectivity with your cellular network. Check for the presence of signal bars or the network carrier name in the device's status bar, indicating that the device is connected to the cellular network.
By following these simple steps, you have successfully powered on your iPhone 5, allowing the device to recognize the inserted SIM card and establish seamless connectivity with your chosen cellular network. With the device now powered on, you can confidently make calls, send texts, and access mobile data, ensuring that you remain connected and accessible at all times.
Now that you've completed the process of locating the SIM card slot, inserting the SIM card, and powering on your iPhone 5, you're equipped with the knowledge and practical skills to manage your device's connectivity with ease. Whether you're embarking on international travel, switching to a new carrier, or simply maintaining your device, this guide empowers you to navigate the essential aspects of managing your iPhone 5's SIM card and connectivity.
These simple yet crucial steps ensure that your iPhone 5 remains seamlessly connected to your chosen cellular network, enabling you to stay in touch with family, friends, and colleagues while enjoying the convenience of mobile communication and data access.
Conclusion
Congratulations! You've successfully navigated the process of locating the SIM card slot on your iPhone 5, inserting or replacing the SIM card, and powering on your device. By following these simple yet essential steps, you've gained the knowledge and practical skills necessary to manage your iPhone 5's connectivity with confidence and ease.
Understanding the intricacies of handling the SIM card slot empowers you to address various scenarios, from international travel and carrier switching to routine maintenance. The ability to effortlessly access and manage the SIM card slot ensures that your iPhone 5 remains seamlessly connected to your chosen cellular network, allowing you to stay connected and accessible at all times.
By turning off your iPhone 5 before handling the SIM card slot, you've taken a proactive step to safeguard the device and ensure a smooth insertion process. Locating the SIM card slot and understanding its design features, such as the SIM card tray and ejection hole, equips you with the practical knowledge to access the slot whenever necessary.
Inserting the SIM card into the tray and securely placing it within your iPhone 5 ensures that the device is equipped with the essential components to establish connectivity with your chosen cellular network. Finally, by powering on your device and verifying its network connectivity, you've confirmed that your iPhone 5 is ready to deliver seamless communication and mobile services.
As you continue to explore the capabilities of your iPhone 5, remember that the knowledge and skills acquired in managing the SIM card slot are invaluable. Whether you're embarking on new adventures, embracing technological advancements, or simply maintaining your device, the ability to confidently handle the SIM card slot ensures that you remain connected and accessible in today's dynamic and interconnected world.
With this guide, you've not only mastered the practical aspects of managing the SIM card slot but also embraced the empowerment that comes with understanding and navigating essential features of your iPhone 5. By seamlessly integrating the SIM card into your device, you've unlocked a world of connectivity and communication, allowing you to harness the full potential of your iPhone 5.
Now, armed with the knowledge and practical insights gained from this guide, you're well-prepared to navigate the intricacies of managing your iPhone 5's connectivity with ease and confidence. Whether it's a new SIM card, a carrier switch, or routine maintenance, you can approach the process with the assurance that comes from understanding and mastering this fundamental aspect of your device.
Embrace the seamless connectivity, stay connected, and enjoy the boundless possibilities that your iPhone 5 offers. With the SIM card securely in place, your device is ready to accompany you on your journey, keeping you connected, informed, and empowered every step of the way.