Introduction
Welcome to this quick guide on locating the SIM card slot on the iPhone 3GS. If you've recently acquired an iPhone 3GS or are simply curious about its inner workings, you've come to the right place. The SIM card slot is a crucial component of the iPhone 3GS, as it allows you to connect to your mobile network and enjoy seamless communication and data services.
In this comprehensive guide, we will walk you through the process of locating the SIM card slot on your iPhone 3GS and inserting the SIM card correctly. Whether you're a tech enthusiast, a new iPhone 3GS owner, or simply seeking to expand your knowledge of mobile devices, this guide will provide you with the essential steps and insights to accomplish this task with ease.
So, grab your iPhone 3GS, and let's dive into the process of locating and accessing the SIM card slot. Whether you're preparing to switch SIM cards, troubleshoot network connectivity issues, or simply exploring the device's internal architecture, understanding the location and functionality of the SIM card slot is a fundamental aspect of utilizing your iPhone 3GS to its fullest potential.
Now, without further ado, let's embark on this informative journey to uncover the SIM card slot on your iPhone 3GS and ensure that you can confidently manage your device's connectivity features. Whether you're a seasoned iPhone user or new to the world of mobile devices, this guide aims to equip you with the knowledge and skills to handle the SIM card slot on the iPhone 3GS like a pro.
Step 1: Turn off the iPhone 3GS
Before delving into the intricate process of locating and accessing the SIM card slot on your iPhone 3GS, it is essential to ensure that the device is powered down. This initial step is crucial as it minimizes the risk of potential damage to the SIM card or the device itself during the subsequent actions.
To turn off your iPhone 3GS, begin by locating the power button, which is situated at the top of the device. This button, also known as the sleep/wake button, serves the dual function of both powering off and waking up the device. Press and hold this button until the "slide to power off" slider appears on the screen.
Once the slider is displayed, simply swipe it from left to right to power off the iPhone 3GS. As the device shuts down, you will notice the screen dimming and eventually turning black, indicating that the device is successfully powered off.
Turning off your iPhone 3GS is a critical preliminary step before manipulating the SIM card slot, as it prevents any potential interference from the device's internal processes and safeguards against accidental damage to the SIM card or the device itself. By ensuring that the device is powered down, you create a safe and controlled environment to proceed with the subsequent steps of locating and accessing the SIM card slot with confidence.
With your iPhone 3GS now powered off, you are ready to move on to the next step in this comprehensive guide, where we will explore the precise location of the SIM card slot on the device and the correct method for accessing and managing the SIM card. So, let's proceed to the next step and continue our journey to uncover the inner workings of the iPhone 3GS.
Step 2: Locate the SIM card slot
Now that your iPhone 3GS is safely powered off, the next crucial step is to locate the SIM card slot. The SIM card slot on the iPhone 3GS is strategically positioned to facilitate easy access while ensuring the security of the SIM card once inserted.
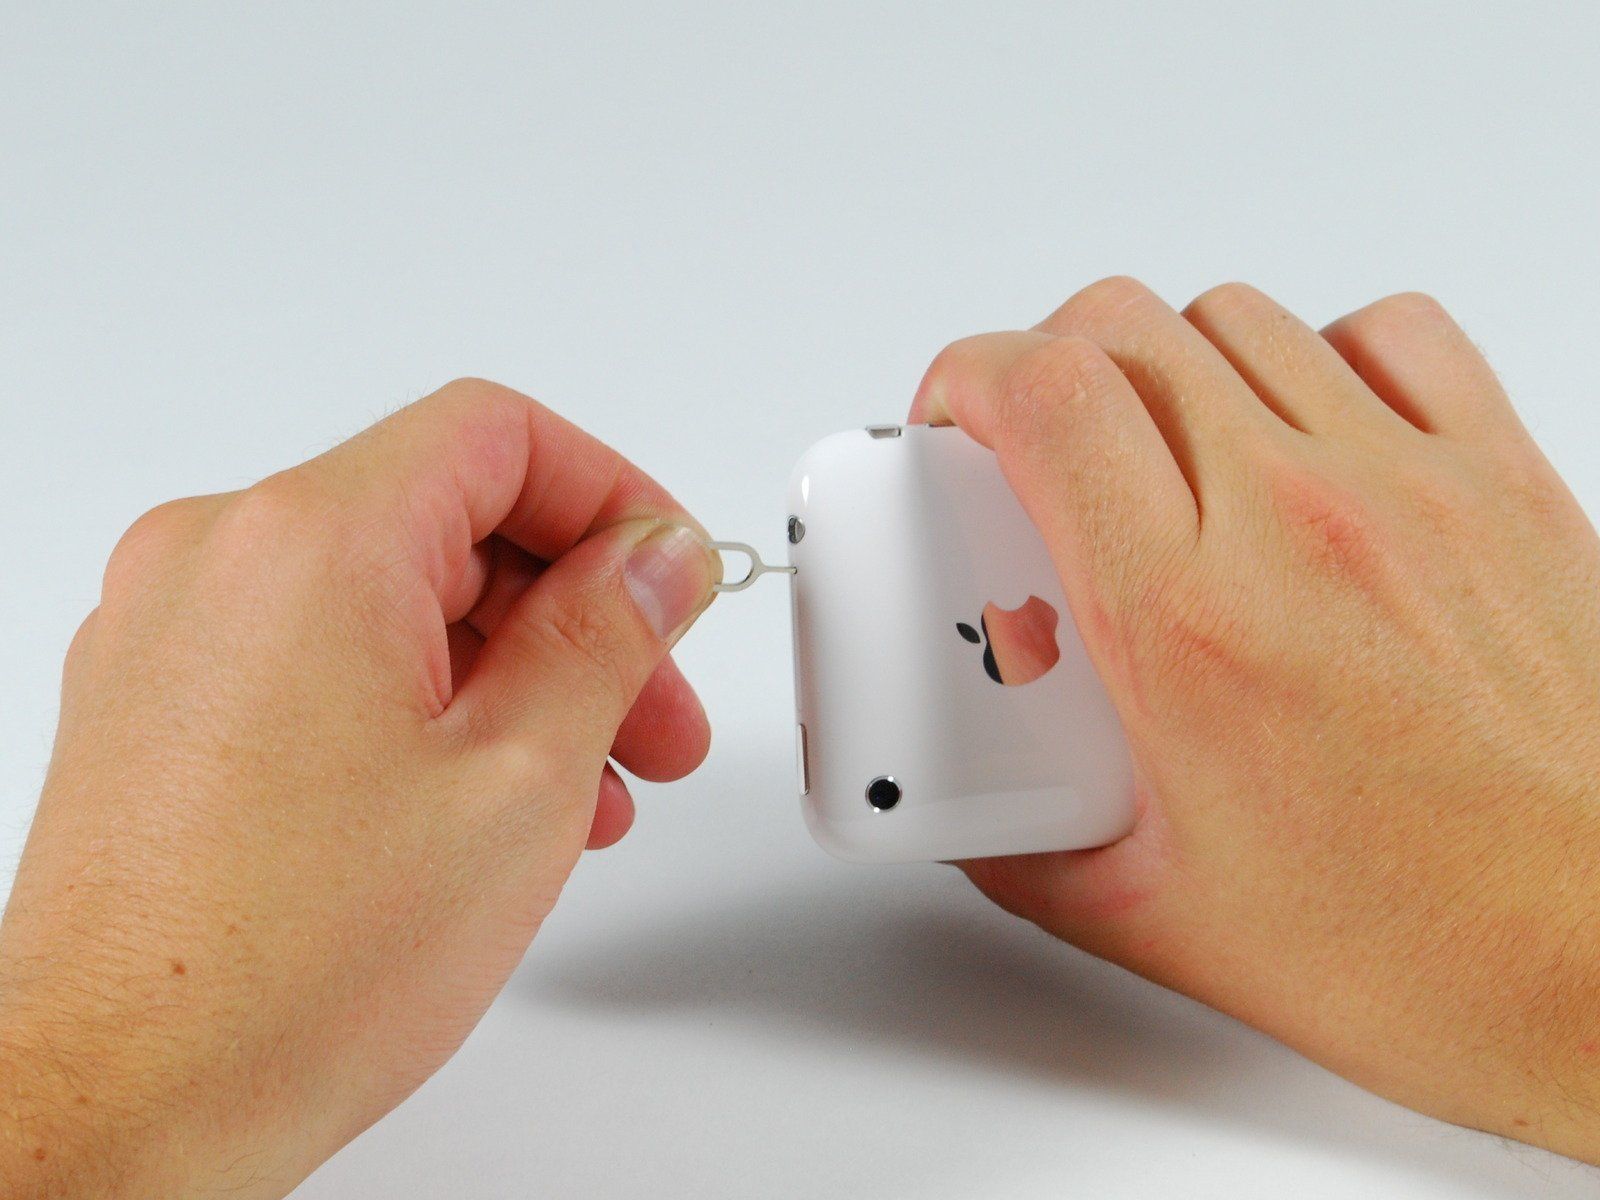
To uncover the SIM card slot, you will need to locate the top edge of the iPhone 3GS. Positioned near the top of the device, you will find a small, recessed tray that houses the SIM card slot. This tray is typically located on the right-hand side of the device, just above the power button.
Upon locating the tray, you will notice a tiny pinhole adjacent to it. This pinhole serves as a pivotal component for accessing the SIM card slot. To open the tray and reveal the SIM card slot, you will require a SIM card removal tool or a small, unfolded paperclip. Gently insert the tool or paperclip into the pinhole and apply slight pressure to release the tray.
As the tray pops out, you will have successfully unveiled the SIM card slot on your iPhone 3GS. The SIM card slot is designed to accommodate a standard-sized SIM card, which is essential for establishing connectivity with your mobile network and accessing telecommunication services.
The precise location of the SIM card slot on the iPhone 3GS exemplifies Apple's commitment to user-friendly design and accessibility. By situating the SIM card slot on the top edge of the device and incorporating a convenient tray mechanism, Apple has streamlined the process of managing the SIM card while maintaining the device's sleek and ergonomic appeal.
With the SIM card slot now located, you are one step closer to gaining a comprehensive understanding of your iPhone 3GS and optimizing its functionality. The next step involves carefully inserting the SIM card into the slot, ensuring that it is positioned correctly to enable seamless connectivity and network access.
As you proceed to the next step, bear in mind the significance of the SIM card slot's location and the thoughtful engineering behind its design. This pivotal component plays a central role in facilitating your iPhone 3GS's connectivity and communication capabilities, underscoring the importance of mastering its location and operation.
So, let's transition to the subsequent step and delve into the process of inserting the SIM card into the slot, further enhancing your proficiency in managing the essential components of your iPhone 3GS.
Step 3: Insert the SIM card
With the SIM card slot now located and accessible, the next pivotal step is to correctly insert the SIM card into the designated slot on your iPhone 3GS. This process is essential for establishing a seamless connection with your mobile network and unlocking the full spectrum of telecommunication features offered by your device.
To begin, carefully retrieve your SIM card from its protective casing or the SIM card holder provided by your mobile service provider. The SIM card is a small, rectangular card that contains crucial information, including your mobile number, network authentication details, and other pertinent data necessary for network connectivity.
Inspect the SIM card and identify the notched corner, which corresponds to the orientation of the SIM card slot on your iPhone 3GS. Aligning the notched corner of the SIM card with the corresponding notch within the SIM card slot, gently place the SIM card into the slot, ensuring a snug and secure fit.
As you insert the SIM card, it is imperative to exercise caution and precision to avoid any damage to the SIM card or the device. Apply gentle pressure to seat the SIM card firmly within the slot, ensuring that it is positioned flush with the surface of the slot.
Once the SIM card is correctly inserted, carefully push the tray back into its original position until it clicks securely into place. This action ensures that the SIM card remains firmly housed within the slot, safeguarding it from accidental dislodgment or damage.
The successful insertion of the SIM card into the slot marks a significant milestone in the process of managing your iPhone 3GS's connectivity features. By correctly positioning the SIM card within the slot, you have set the stage for seamless network access and the utilization of essential telecommunication services.
With the SIM card securely in place, you are now prepared to power on your iPhone 3GS and initiate the activation process. The proper insertion of the SIM card paves the way for a smooth and uninterrupted connection to your mobile network, enabling you to harness the full potential of your device's communication capabilities.
As you proceed to power on your iPhone 3GS and embark on the activation process, take pride in successfully completing the crucial step of inserting the SIM card into the designated slot. Your adept handling of this fundamental task underscores your growing proficiency in managing the intricate components of your iPhone 3GS, positioning you to fully leverage its connectivity and communication features.
With the SIM card securely in place, you are now poised to power on your iPhone 3GS and immerse yourself in the boundless possibilities offered by this iconic device.
Step 4: Turn on the iPhone 3GS
With the SIM card securely inserted into the designated slot, the final step in this comprehensive guide involves powering on your iPhone 3GS to initiate the activation process. Turning on the device not only brings it to life but also sets the stage for establishing a seamless connection with your mobile network, enabling you to harness the full spectrum of communication and data services offered by the iPhone 3GS.
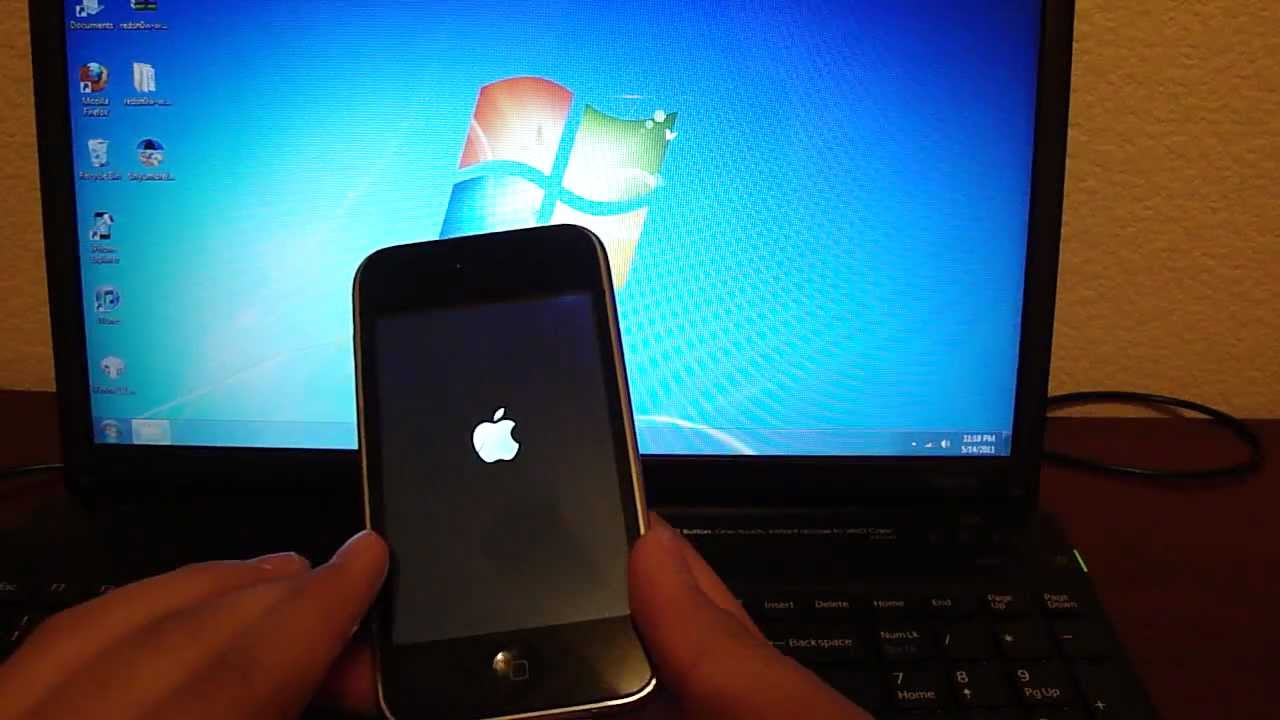
To power on your iPhone 3GS, begin by locating the same power button, also known as the sleep/wake button, which was used to turn off the device. Positioned at the top of the device, this button serves as the gateway to awakening the iPhone 3GS from its powered-down state. Press and hold the power button until the iconic Apple logo appears on the screen, signaling that the device is booting up.
As the iPhone 3GS powers on, you will notice the screen illuminating and the Apple logo taking center stage, indicating that the device is initializing its operating system and preparing for activation. This pivotal moment marks the transition from a powered-down state to an active and functional device, poised to deliver a seamless and immersive user experience.
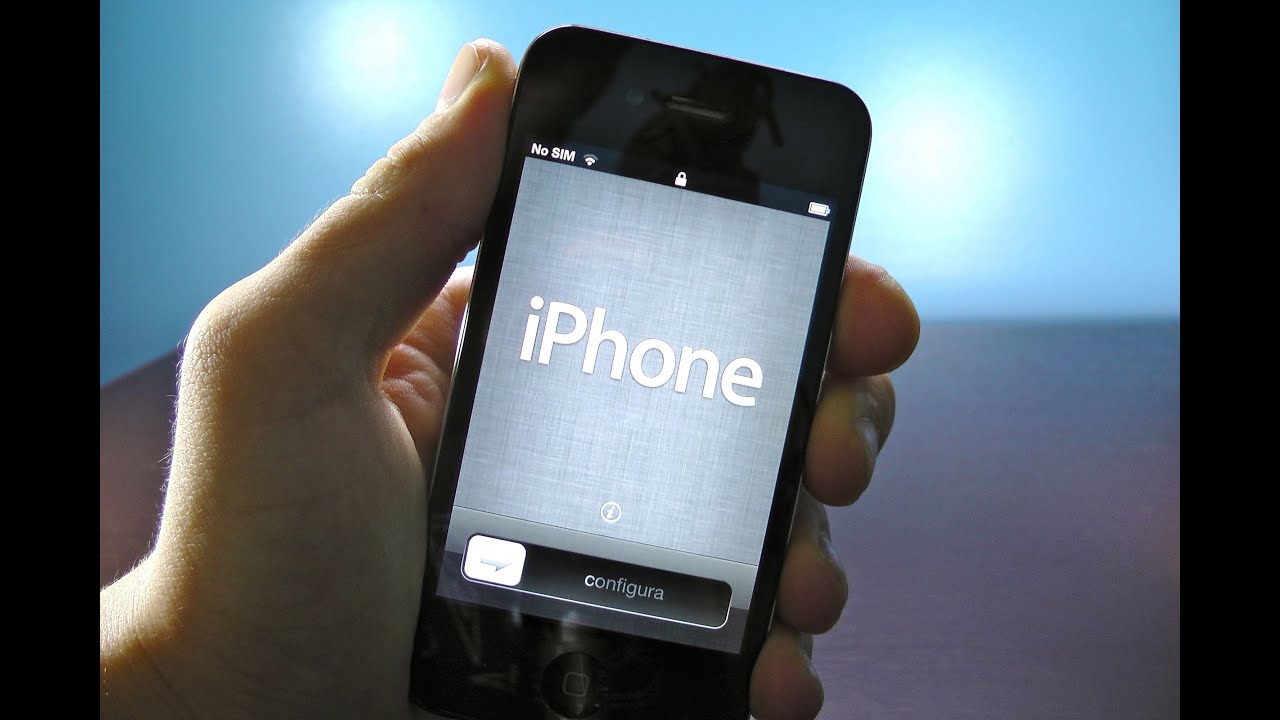
Once the iPhone 3GS completes its boot-up process, you will be prompted to enter the necessary credentials to activate the device and establish a connection with your mobile network. This may involve entering your SIM card PIN, if applicable, and following the on-screen instructions to complete the activation process.
As the activation process unfolds, your iPhone 3GS will seamlessly establish a connection with your mobile network, enabling you to make calls, send messages, and access data services with unparalleled convenience and reliability. The successful activation of your device signifies the culmination of this comprehensive guide, affirming your adept navigation of the essential steps to manage the SIM card slot on the iPhone 3GS.
With your iPhone 3GS now powered on and activated, you are poised to embark on a captivating journey of exploration and utilization, leveraging the device's myriad features to enrich your communication and connectivity experiences. Whether you're a seasoned iPhone enthusiast or a newcomer to the world of mobile devices, the successful activation of your iPhone 3GS marks the beginning of a seamless and enriching user journey, underpinned by the device's exceptional capabilities and user-friendly design.
As your iPhone 3GS comes to life, take a moment to appreciate the intricate engineering and thoughtful design that have culminated in a device that seamlessly integrates into your lifestyle, empowering you to stay connected and engaged with the world around you. With the SIM card securely in place and the iPhone 3GS powered on, you are now primed to embark on a transformative mobile experience, characterized by seamless connectivity, intuitive functionality, and boundless possibilities.
Conclusion
In conclusion, the process of locating and managing the SIM card slot on the iPhone 3GS encompasses a series of essential steps that are fundamental to optimizing the device's connectivity and communication capabilities. By diligently following the steps outlined in this guide, you have gained a comprehensive understanding of the precise location of the SIM card slot, the correct method for inserting the SIM card, and the pivotal role of powering on the device to initiate the activation process.
Mastering the location and operation of the SIM card slot on the iPhone 3GS empowers you to confidently manage your device's connectivity features, ensuring seamless network access and the utilization of essential telecommunication services. The strategic positioning of the SIM card slot, coupled with the user-friendly design of the device, exemplifies Apple's commitment to delivering an intuitive and accessible user experience.
As you navigate the intricacies of the iPhone 3GS and familiarize yourself with its internal architecture, the knowledge and skills acquired through this guide position you to leverage the device's full potential. Whether you are preparing to switch SIM cards, troubleshoot network connectivity issues, or simply explore the device's functionality, your adept handling of the SIM card slot underscores your growing proficiency in managing the intricate components of the iPhone 3GS.
The successful completion of the activation process marks the beginning of a transformative mobile experience, characterized by seamless connectivity, intuitive functionality, and boundless possibilities. With the SIM card securely in place and the iPhone 3GS powered on, you are now poised to immerse yourself in the myriad features and capabilities of the device, enriching your communication and connectivity experiences.
As your iPhone 3GS comes to life, take pride in your adept navigation of the essential steps to manage the SIM card slot, positioning yourself to fully harness the device's exceptional capabilities and seamlessly integrate it into your lifestyle. The successful completion of this guide signifies your readiness to embark on a captivating journey of exploration and utilization, underpinned by the iPhone 3GS's exceptional features and user-friendly design.
With the SIM card securely in place and the iPhone 3GS powered on, you are now primed to embrace the seamless and enriching user journey offered by this iconic device, empowering you to stay connected and engaged with the world around you.