Introduction
Removing a SIM card from your Razor phone is a straightforward process, but it's essential to do it carefully to avoid damaging the SIM card or the device. Whether you're switching to a new phone, replacing the SIM card, or troubleshooting connectivity issues, knowing how to safely remove the SIM card from your Razor phone is a valuable skill for any mobile device user.
In this comprehensive guide, we will walk you through the step-by-step process of safely removing the SIM card from your Razor phone. By following these instructions, you can ensure that the SIM card removal process is smooth and hassle-free, allowing you to handle the delicate components of your phone with confidence.
Understanding the layout of your Razor phone and the location of the SIM card slot is the first step in successfully removing the SIM card. Additionally, familiarizing yourself with the proper method for ejecting the SIM card tray and safely removing the SIM card will help you avoid potential issues such as accidental damage to the SIM card or the phone itself.
Whether you're a seasoned mobile device user or a newcomer to the world of smartphones, this guide will equip you with the knowledge and skills needed to handle your Razor phone with care and precision. Let's dive into the step-by-step process of safely removing the SIM card from your Razor phone, ensuring that you can carry out this task confidently whenever the need arises.
Step 1: Turn off the Razor phone
Before initiating the process of removing the SIM card from your Razor phone, it is crucial to power off the device. This step is essential to prevent any potential damage to the SIM card or the phone itself. By turning off the Razor phone, you minimize the risk of disrupting the SIM card removal process and ensure a safe and smooth experience.
To power off your Razor phone, locate the power button, typically situated on the side or the top of the device. Press and hold the power button until the power-off menu appears on the screen. Depending on the model of your Razor phone, the power-off menu may display options such as "Power off," "Restart," or "Emergency mode."
Select the "Power off" option to initiate the shutdown process. Once confirmed, the Razor phone will begin powering down, and the screen will display a shutting down animation or a confirmation message. It is important to wait for the device to completely power off before proceeding to the next step.
Ensuring that the Razor phone is fully powered off before removing the SIM card is crucial for preventing any potential data loss or hardware damage. Additionally, powering off the device minimizes the risk of disrupting the SIM card and safeguards against accidental disconnection from the mobile network.
By following this initial step and powering off your Razor phone, you set the stage for a secure and controlled SIM card removal process. This simple yet vital precaution demonstrates the importance of handling mobile devices with care and attention to detail, ultimately contributing to the overall longevity and functionality of your Razor phone.
With the Razor phone powered off, you are now ready to proceed to the next step and locate the SIM card slot, setting the stage for the safe removal of the SIM card from your device.
Step 2: Locate the SIM card slot
Locating the SIM card slot on your Razor phone is a crucial step in the process of safely removing the SIM card. The SIM card slot is the designated area where the SIM card is inserted and securely housed within the device. By identifying the precise location of the SIM card slot, you can proceed with confidence and precision, ensuring that the SIM card removal process is executed seamlessly.
The location of the SIM card slot may vary depending on the specific model of your Razor phone. However, most Razor phones feature a SIM card slot positioned either on the side or the top of the device. To locate the SIM card slot, visually inspect the exterior of your Razor phone, paying close attention to the edges and corners for a small, discreet compartment.
In some Razor phone models, the SIM card slot may be accompanied by a small pinhole or a removable tray, serving as the access point for the SIM card. This design element is intended to facilitate the removal and insertion of the SIM card, allowing users to access the SIM card slot with ease.
If you are unable to locate the SIM card slot through visual inspection, referring to the user manual or the manufacturer's official website can provide valuable guidance. The user manual typically contains detailed illustrations and instructions for locating and accessing the SIM card slot specific to your Razor phone model.
Furthermore, in the absence of a physical user manual, the manufacturer's official website often offers comprehensive support resources, including visual aids and instructional videos that guide users through the process of locating the SIM card slot on their specific Razor phone model.
By taking the time to locate the SIM card slot with precision, you set the stage for a successful SIM card removal process. This proactive approach not only enhances your understanding of the physical layout of your Razor phone but also instills confidence in handling the device with care and accuracy.
With the SIM card slot identified, you are now prepared to proceed to the next step and eject the SIM card tray, marking a significant milestone in the safe removal of the SIM card from your Razor phone.
Step 3: Eject the SIM card tray
Ejecting the SIM card tray from your Razor phone is a pivotal step in the process of safely removing the SIM card. The SIM card tray serves as the gateway to accessing the SIM card, allowing for its seamless removal without causing any damage to the delicate components of the device.
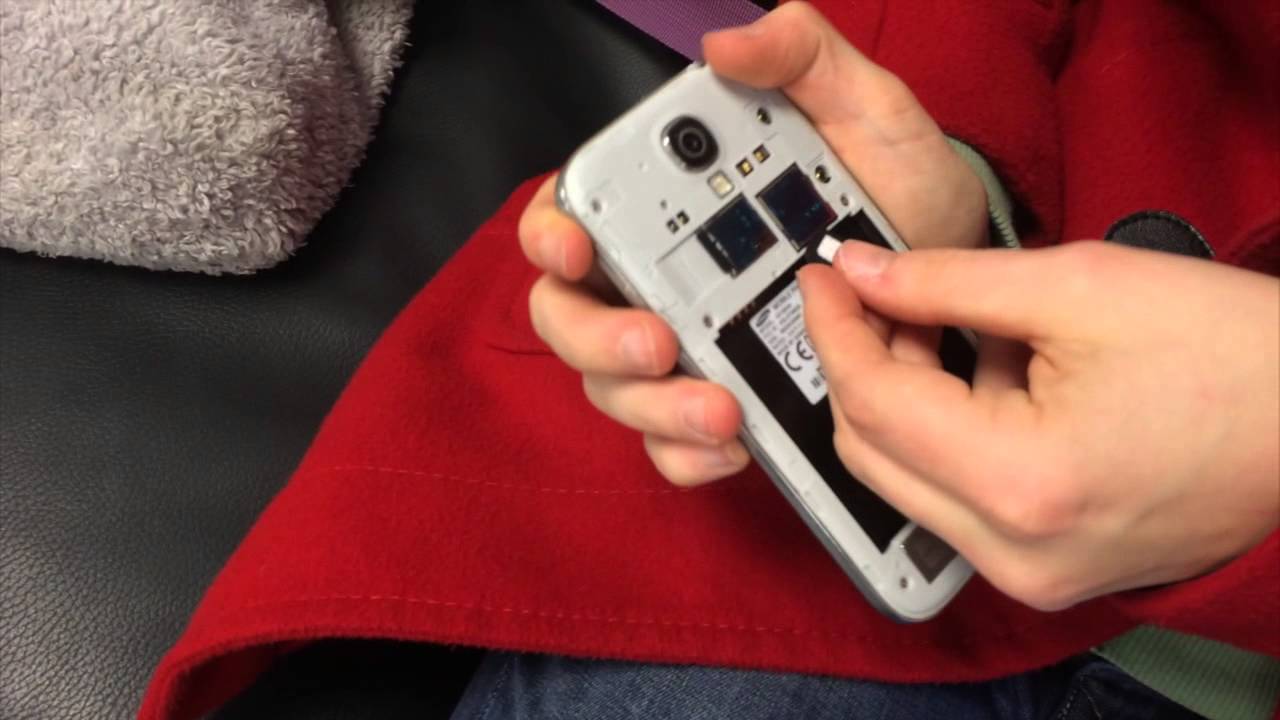
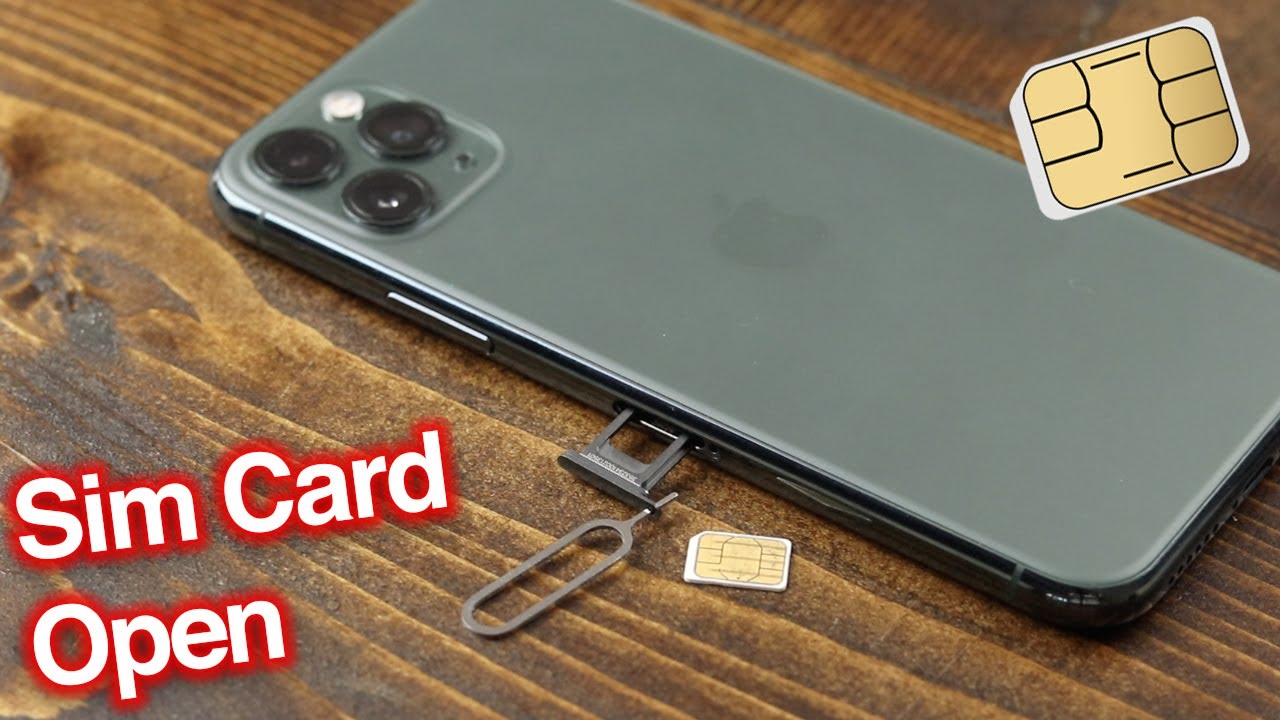
To begin the process of ejecting the SIM card tray, you will need to locate the small pinhole or the designated slot on your Razor phone. This pinhole or slot is strategically positioned near the SIM card slot and is designed to accommodate the SIM card tray ejection tool, which is often included with the phone at the time of purchase. If the ejection tool is not readily available, a small paperclip or a similar slender object can be used as an alternative.
Once you have obtained the SIM card tray ejection tool or a suitable substitute, gently insert the tool into the pinhole or slot, applying a slight amount of pressure. This action triggers the release mechanism, causing the SIM card tray to protrude from the device's body, allowing for easy access to the SIM card housed within.
Carefully grasp the exposed edge of the SIM card tray and slowly pull it out of the Razor phone, taking care to avoid applying excessive force or causing any sudden movements that may lead to damage. The SIM card tray is designed to slide out smoothly, granting you unobstructed access to the SIM card without any complications.
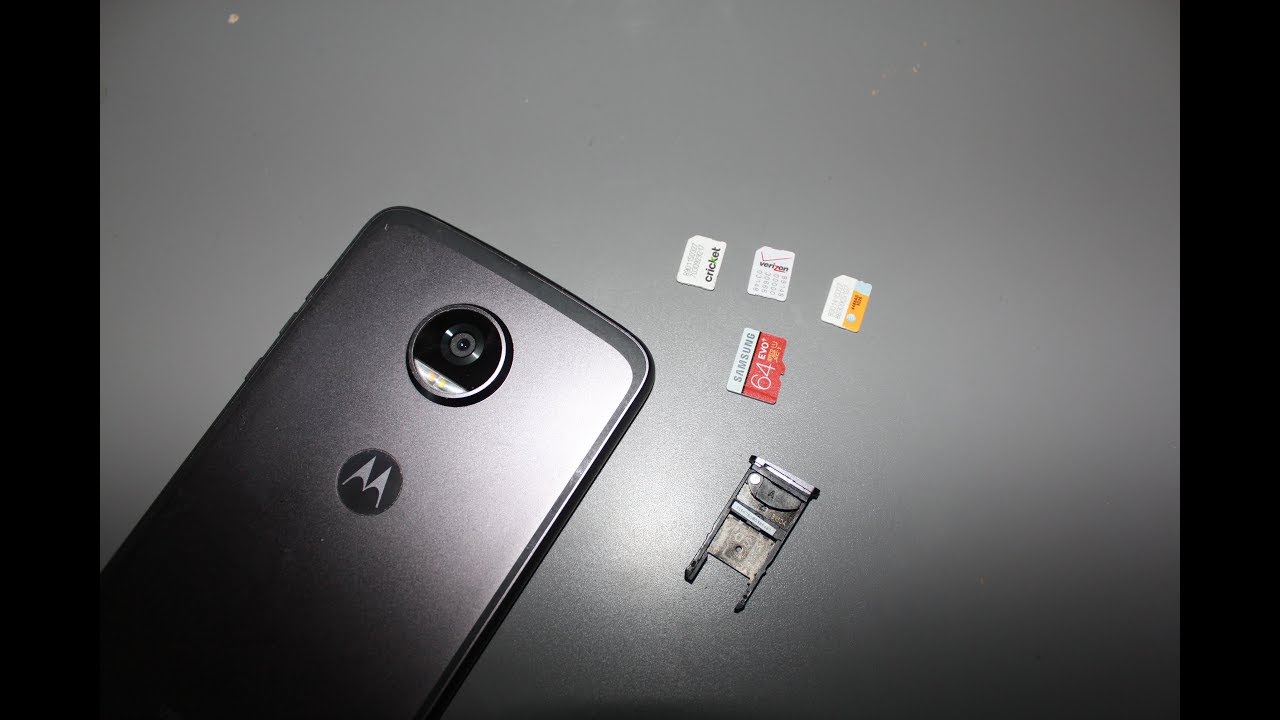
As the SIM card tray is extended from the Razor phone, take a moment to examine its structure and orientation. Note the position of the SIM card within the tray, ensuring that you maintain awareness of its placement to facilitate a seamless removal process. By remaining attentive to these details, you can proceed with the subsequent step of removing the SIM card with precision and confidence.
With the SIM card tray successfully ejected and the SIM card within sight, you have reached a significant milestone in the process of safely removing the SIM card from your Razor phone. This deliberate and meticulous approach underscores the importance of handling the SIM card and the device with care, ultimately contributing to a smooth and hassle-free experience.
The successful ejection of the SIM card tray sets the stage for the final step of removing the SIM card, marking a crucial transition in the overall process. By following these instructions with diligence and attention to detail, you are well-prepared to proceed to the next step and safely remove the SIM card from your Razor phone, ensuring a seamless and controlled experience.
Step 4: Remove the SIM card
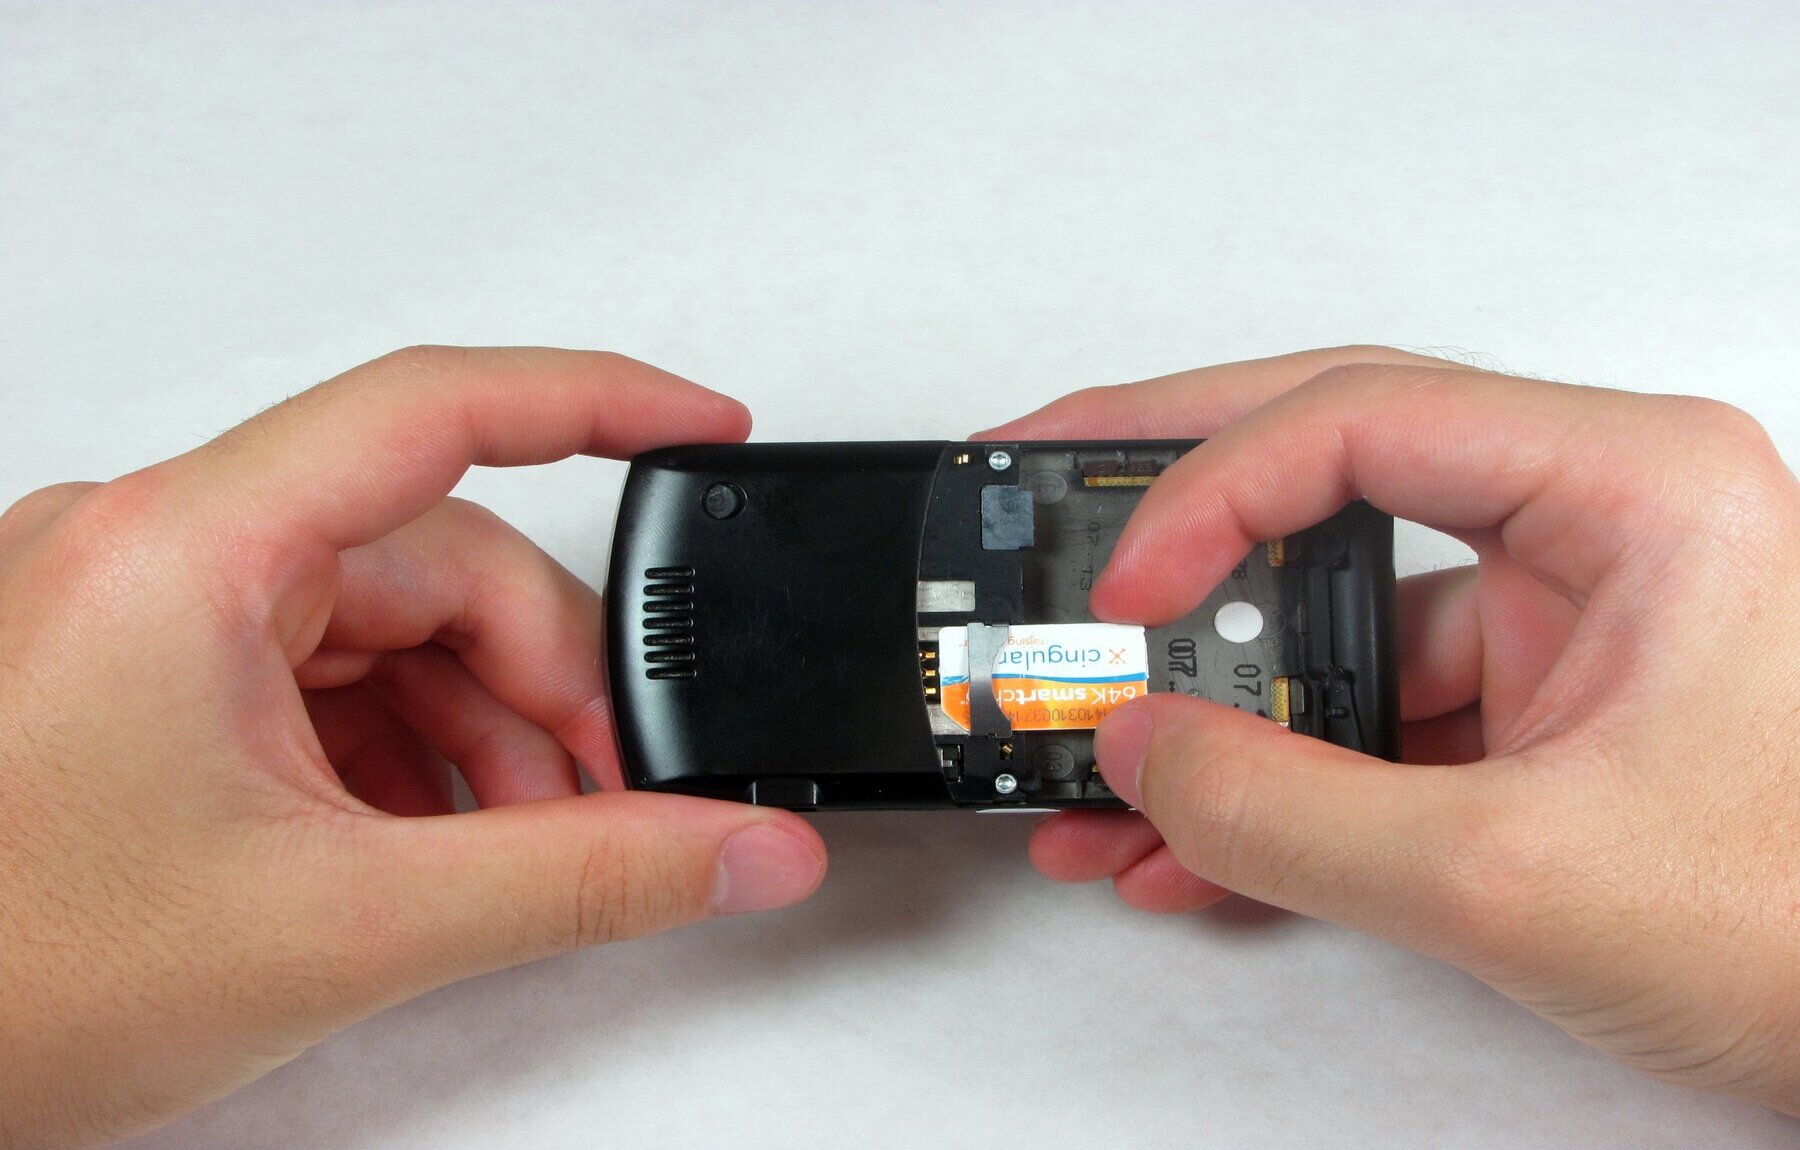
With the SIM card tray extended from your Razor phone, the next step involves carefully removing the SIM card from its housing within the tray. The SIM card is a small, rectangular chip that contains crucial information related to your mobile network connectivity, and handling it with care is essential to prevent any damage.
Begin by gently identifying the SIM card within the tray, taking note of its orientation and position. The SIM card is typically nestled within a designated slot or holder, ensuring that it remains secure during normal usage. When removing the SIM card, it is important to exercise caution and precision to avoid any bending, scratching, or accidental damage to the delicate chip.
Using your fingertips, carefully grasp the edges of the SIM card, ensuring that you maintain a firm yet gentle grip. Slowly and steadily lift the SIM card from its housing within the tray, taking care to maintain a level and controlled movement. It is crucial to avoid any abrupt or jerky motions that may lead to the bending or misalignment of the SIM card, which can compromise its functionality.
As you lift the SIM card from the tray, observe any resistance or sticking that may occur. If the SIM card seems to be firmly secured, avoid forcing its removal and instead reassess your grip and the angle of extraction. By approaching this process with patience and attentiveness, you can ensure that the SIM card is removed smoothly and without any unintended complications.
Once the SIM card is successfully removed from the tray, take a moment to inspect it for any signs of damage or irregularities. Check for any visible scratches, dents, or deformation that may have occurred during the removal process. Additionally, verify that the metallic contact points on the SIM card remain clean and free from any foreign particles or debris.
With the SIM card safely removed from the tray and inspected for any potential issues, you have completed the final step in the process of removing the SIM card from your Razor phone. This meticulous and deliberate approach underscores the importance of handling the SIM card with care and precision, ultimately contributing to a smooth and controlled experience.
By following these instructions with diligence and attention to detail, you have successfully navigated the process of safely removing the SIM card from your Razor phone. With the SIM card now in hand, you are equipped to proceed with confidence, whether it involves transferring the SIM card to a new device or addressing any connectivity-related tasks.
Conclusion
In conclusion, the process of safely removing the SIM card from your Razor phone is a fundamental skill that empowers mobile device users to handle their devices with care and precision. By following the step-by-step guide outlined in this comprehensive article, you have gained valuable insights into the essential procedures for safely removing the SIM card, ensuring a seamless and controlled experience.
Throughout this guide, we emphasized the importance of approaching the SIM card removal process with diligence and attention to detail. From powering off the Razor phone to locating the SIM card slot, ejecting the SIM card tray, and carefully removing the SIM card, each step was meticulously crafted to prioritize the safety and integrity of both the SIM card and the device itself.
By turning off the Razor phone before initiating the SIM card removal process, you mitigated the risk of potential data loss and hardware damage, setting the stage for a secure and controlled experience. Locating the SIM card slot with precision and understanding the layout of your Razor phone provided valuable insights into the physical aspects of the device, fostering a deeper connection with your mobile device.
The deliberate and cautious approach to ejecting the SIM card tray underscored the importance of handling the delicate components of the Razor phone with care, ultimately leading to a successful and unobstructed access to the SIM card. Lastly, the careful removal of the SIM card from its housing within the tray highlighted the significance of exercising patience and precision to prevent any damage to the chip.
As a result of following this comprehensive guide, you have not only acquired the knowledge and skills necessary to safely remove the SIM card from your Razor phone but also developed a deeper appreciation for the intricacies of mobile device care and maintenance. The deliberate and meticulous approach outlined in this guide serves as a testament to the value of handling mobile devices with care and attention, ultimately contributing to their longevity and optimal functionality.
With the SIM card now safely removed from your Razor phone, you are equipped to proceed with confidence, whether it involves transferring the SIM card to a new device, replacing it with a new one, or addressing any connectivity-related tasks. By incorporating the insights and techniques from this guide into your mobile device management routine, you can navigate the process of SIM card removal with ease and assurance, fostering a seamless and hassle-free experience.
In essence, the knowledge and skills acquired through this guide serve as a valuable asset in your journey as a mobile device user, empowering you to handle your Razor phone with care, precision, and confidence.