Introduction
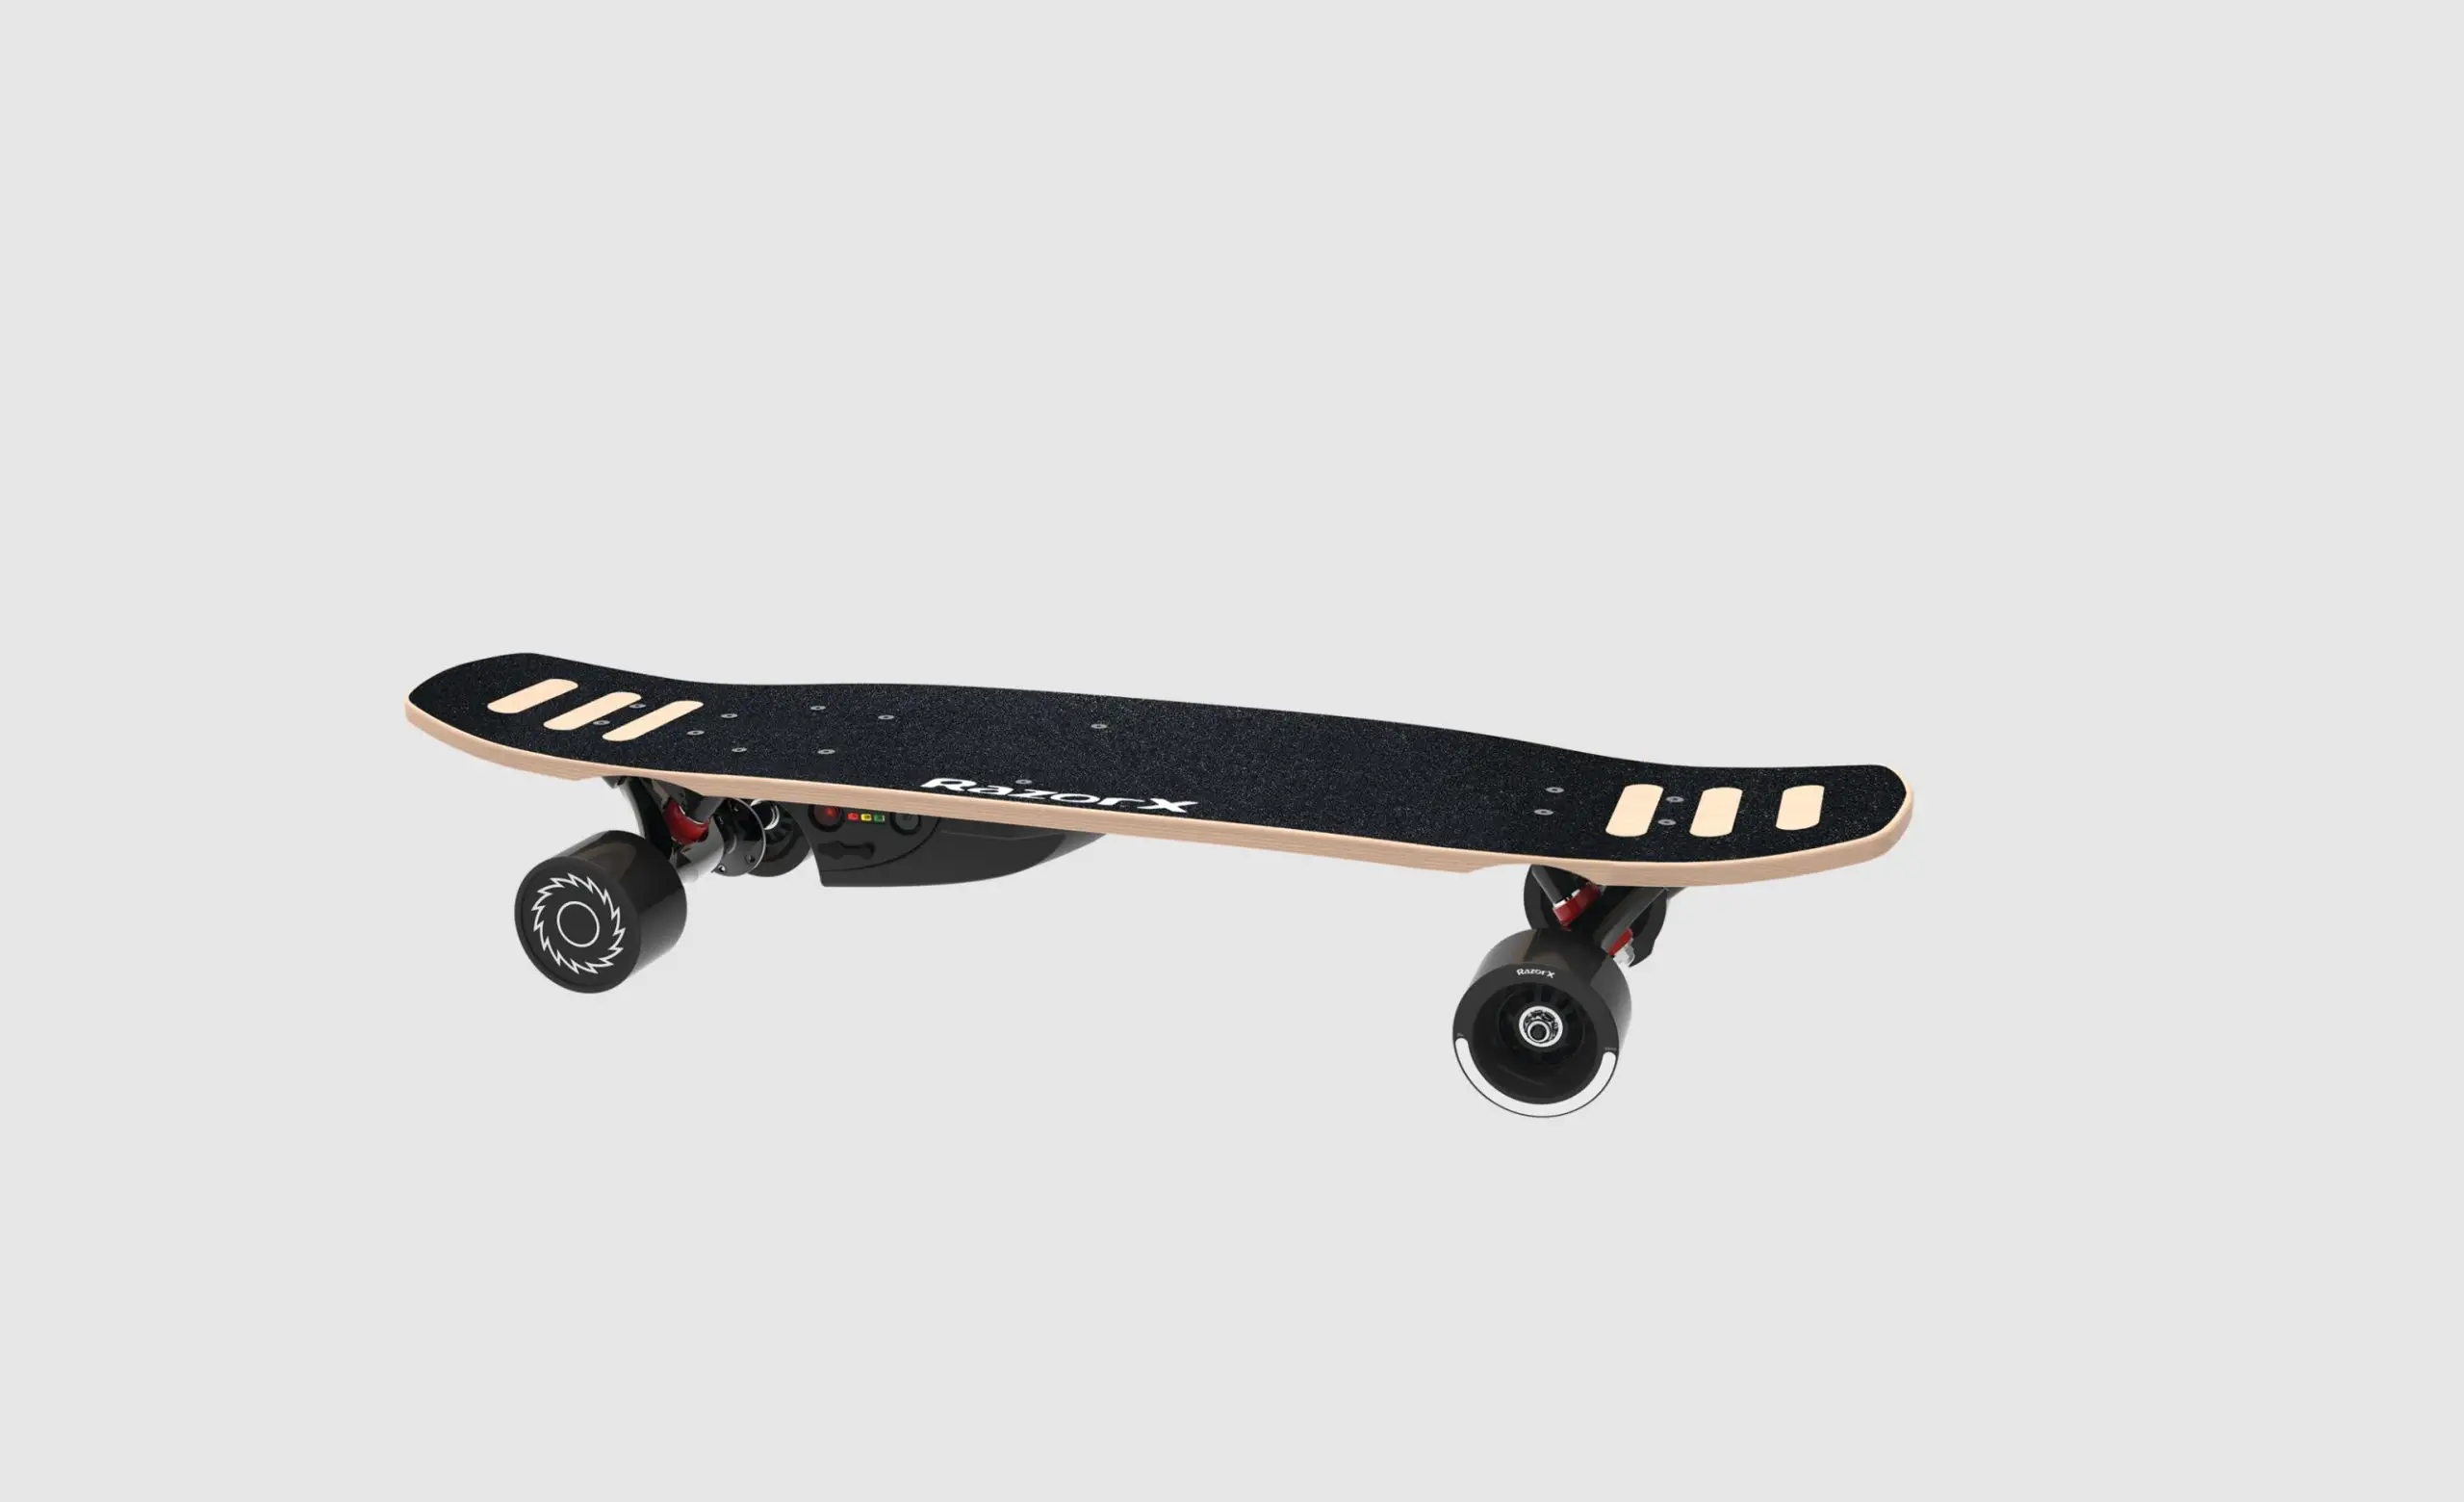
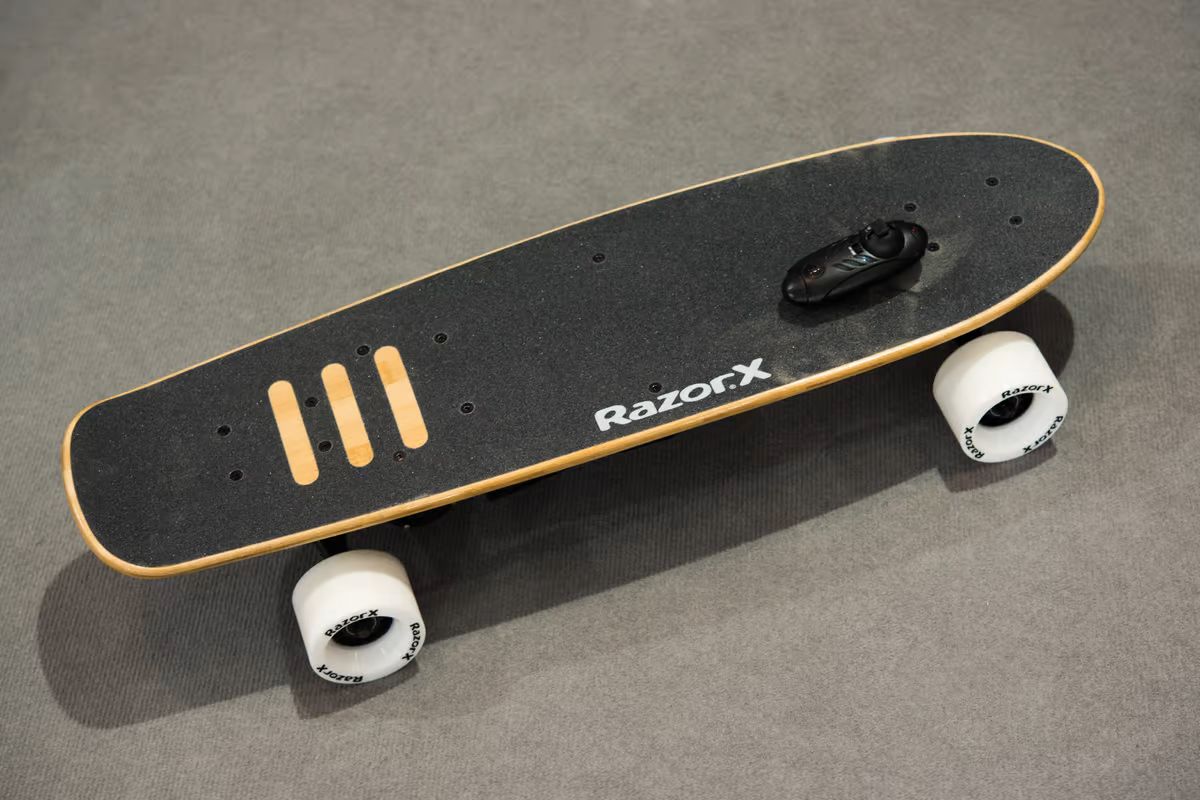
The Razor DLX Electric Skateboard is an impressive piece of technology that offers an exhilarating riding experience. However, if you want to take your electric skateboard to the next level, customization is key. By making a few upgrades and personal touches, you can truly make your Razor DLX a reflection of your style and preferences.
Customizing your Razor DLX electric skateboard not only allows you to enhance its performance but also gives you the opportunity to stand out from the crowd. From upgrading the motor to installing LED lights, there are plenty of modifications you can make to take your skateboarding game to new heights.
This guide will provide you with step-by-step instructions on how to customize your Razor DLX Electric Skateboard. Whether you’re a seasoned rider or just starting out, this article will equip you with the knowledge and tools you need to create a one-of-a-kind skateboard that suits your individual needs and style.
Before we delve into the customization process, it’s important to note that modifying your electric skateboard may void any warranties. Additionally, customization carries risks, so it’s crucial to follow safety precautions and guidelines outlined in this article.
Now, let’s dive into the exciting world of customizing your Razor DLX Electric Skateboard and discover the possibilities that await!
Choosing the Right Upgrades for Your Razor DLX Electric Skateboard
When it comes to customizing your Razor DLX Electric Skateboard, it’s important to choose upgrades that align with your riding style and preferences. Here are a few factors to consider when selecting the right upgrades:
- Performance: If you’re looking to boost your skateboard’s speed and power, consider upgrading the motor or increasing the battery capacity. These upgrades can provide a thrilling riding experience with improved acceleration and longer range.
- Comfort: Enhancing the comfort of your ride can make a significant difference in your overall skateboarding experience. Upgrading the wheels and bearings can improve the smoothness of your ride and reduce vibrations, while upgrading the grip tape can enhance stability and control.
- Safety: Safety should always be a top priority when customizing your electric skateboard. Upgrading the braking system can ensure reliable and responsive stopping power, giving you peace of mind while riding at higher speeds.
- Personalization: One of the joys of customization is personalizing your skateboard to reflect your unique style. Consider adding LED lights for a cool visual effect, or use stickers or paint to give your deck a personalized touch.
It’s important to note that individual preferences may vary, so take the time to research and read reviews before making any upgrades. Additionally, make sure that the upgrades you choose are compatible with your Razor DLX Electric Skateboard to ensure a seamless installation process.
Now that you have a better idea of what upgrades to consider, it’s time to gather the necessary tools and equipment for your customization project. Let’s explore the essential items you’ll need in the next section.
Tools and Equipment Needed for Customization
Before you begin customizing your Razor DLX Electric Skateboard, it’s important to gather the necessary tools and equipment. Having these items on hand will ensure a smooth and efficient customization process. Here’s a list of the essential tools and equipment you’ll need:
- Screwdrivers: You’ll need a set of screwdrivers, including both flathead and Phillips-head, to remove and install various components on your skateboard.
- Allen Wrenches: Many parts of the Razor DLX Electric Skateboard are fastened with Allen screws, so having a set of Allen wrenches in different sizes will be vital for disassembly and reassembly.
- Pliers: Pliers will come in handy for gripping and holding small parts, such as nuts and bolts, during the customization process.
- Socket Set: A socket set will be useful for removing and tightening larger nuts that secure components like the wheels.
- Wire Cutters/Crimpers: Depending on the upgrades you choose, you may need wire cutters or crimpers for dealing with electrical connections and wiring.
- Measuring Tape: A measuring tape will help you ensure precise placement when installing some components, such as the grip tape or LED lights.
- Safety Equipment: Don’t forget to prioritize safety! Wear protective gear such as gloves, goggles, and a helmet to protect yourself during the customization process.
It’s essential to have these tools readily available before you begin customizing your electric skateboard. Additionally, make sure to have a clean, well-lit workspace where you can comfortably work on your skateboard without any distractions.
Now that you have all the necessary tools and equipment, it’s time to dive into the customization process. However, before we start, it’s important to address safety precautions and guidelines to ensure a secure and successful customization experience. Let’s explore those in the next section.
Safety Precautions and Guidelines
Customizing your Razor DLX Electric Skateboard can be an exciting and fulfilling project, but it’s crucial to prioritize safety throughout the process. Here are some safety precautions and guidelines to follow:
- Read the Manual: Before you begin any customization, read the manual provided by Razor for your electric skateboard. Familiarize yourself with the skateboard’s components and specifications.
- Work in a Well-Ventilated Area: Ensure that your workspace is well-ventilated to avoid inhaling any dust or fumes that may be generated during the customization process.
- Disconnect the Battery: Before you start disassembling and modifying your electric skateboard, always disconnect the battery and make sure it’s turned off to prevent accidental activation.
- Use Proper Tools and Techniques: Use the correct tools and techniques recommended for each customization task. Improper tools or techniques can lead to damage or injury.
- Securely Fasten Components: Ensure that all components are securely fastened and tightened. Loose components can result in accidents and compromise the integrity of your skateboard.
- Inspect Regularly: After customization, regularly inspect your skateboard for any signs of wear or damage. Replace any worn-out or damaged parts promptly to maintain optimal safety and performance.
- Ride Responsibly: Even with custom modifications, always ride your electric skateboard responsibly and adhere to local traffic laws and regulations. Be aware of your surroundings and ride within your skill level.
- Practice Makes Perfect: If you have made significant modifications to your skateboard, familiarize yourself with the changes before attempting any advanced riding maneuvers.
Remember, safety should always be your top priority when customizing and riding your Razor DLX Electric Skateboard. By following these precautions and guidelines, you’ll not only ensure a safe customization process but also enjoy a secure and thrilling riding experience.
Now that we’ve covered safety precautions and guidelines, let’s move on to the step-by-step guide on how to customize your Razor DLX Electric Skateboard.
Step-by-Step Guide to Customizing Your Razor DLX Electric Skateboard
Now that you’re equipped with the right upgrades, tools, and safety information, it’s time to dive into the step-by-step process of customizing your Razor DLX Electric Skateboard. Follow these instructions to transform your skateboard into a personalized and high-performance ride:
- Upgrading the Motor: Start by upgrading the motor for improved speed and power. Remove the old motor by disconnecting the wires and unscrewing it. Install the new motor by attaching the wires and securely fastening it to the skateboard.
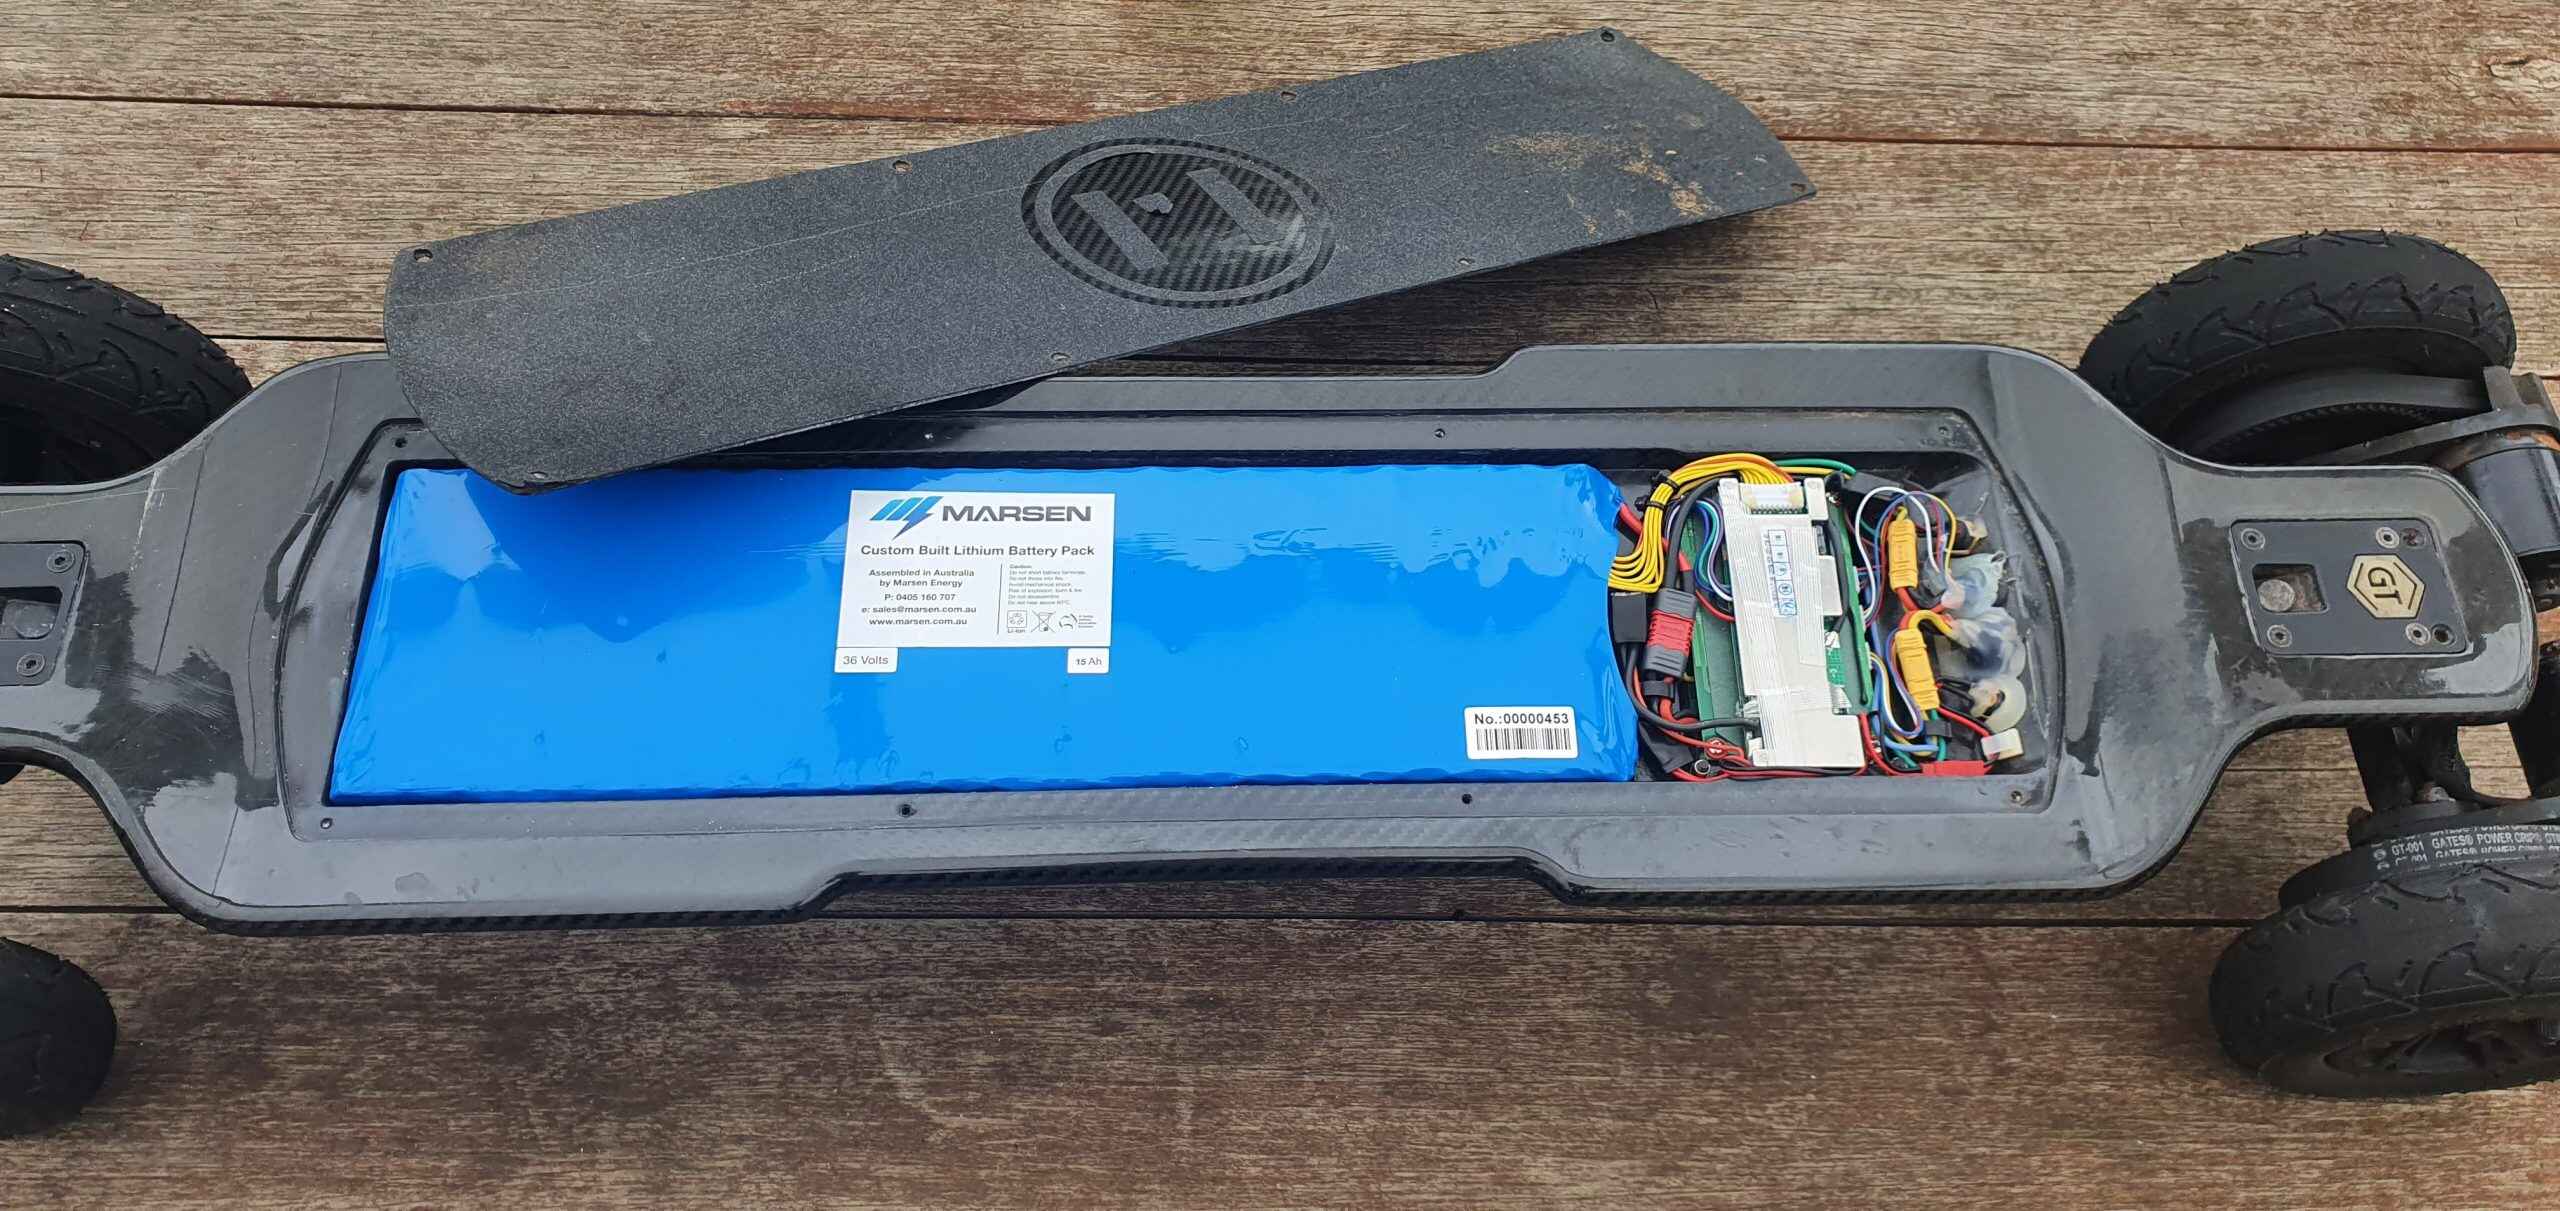
- Installing a Larger Battery: Upgrade your skateboard’s battery by removing the old one and installing a larger capacity battery. Make sure to connect the wires correctly and secure the battery in place.
- Replacing the Wheels and Bearings: Enhance the comfort and performance of your ride by replacing the wheels and bearings with high-quality alternatives. Remove the old wheels and bearings using appropriate tools and install the new ones, ensuring they are properly aligned and tightened.
- Enhancing the Braking System: Upgrade your skateboard’s braking system for improved safety and control. Follow the manufacturer’s instructions to modify or replace the brake components, ensuring they are securely fastened.
- Upgrading the Grip Tape: Improve your skateboard’s grip by removing the old grip tape and applying a new one. Measure and cut the grip tape to fit the deck properly, making sure to smooth out any air bubbles or wrinkles.
- Installing LED Lights: Add a touch of style and visibility by installing LED lights on your skateboard. Choose lights that are specifically designed for skateboards and follow the manufacturer’s instructions for proper installation.
- Personalizing the Deck with Stickers or Paint: Make your Razor DLX Electric Skateboard truly unique by personalizing the deck with stickers or paint. Clean the deck surface and apply your chosen stickers or paint design, allowing sufficient time for drying or curing.
Remember to refer to the instruction manuals or video tutorials for each specific customization task to ensure proper installation. Take your time and double-check your work at each step to guarantee a successful and safe customization process.
Once you’ve completed all the customization steps, it’s time to enjoy the fruits of your labor. Take your newly customized Razor DLX Electric Skateboard for a test ride, and revel in the enhanced performance and personalized style that you’ve created.
Now that you have the knowledge to customize your skateboard, go ahead and embark on an exciting journey of making your Razor DLX Electric Skateboard truly your own!
Upgrading the Motor
One of the key upgrades you can make to your Razor DLX Electric Skateboard is upgrading the motor. This upgrade can significantly enhance the speed and power of your skateboard, providing an exhilarating ride. Follow these steps to upgrade the motor:
- Disconnect the Battery: Before you begin any work, make sure to disconnect the battery and turn off the skateboard to prevent any electrical accidents.
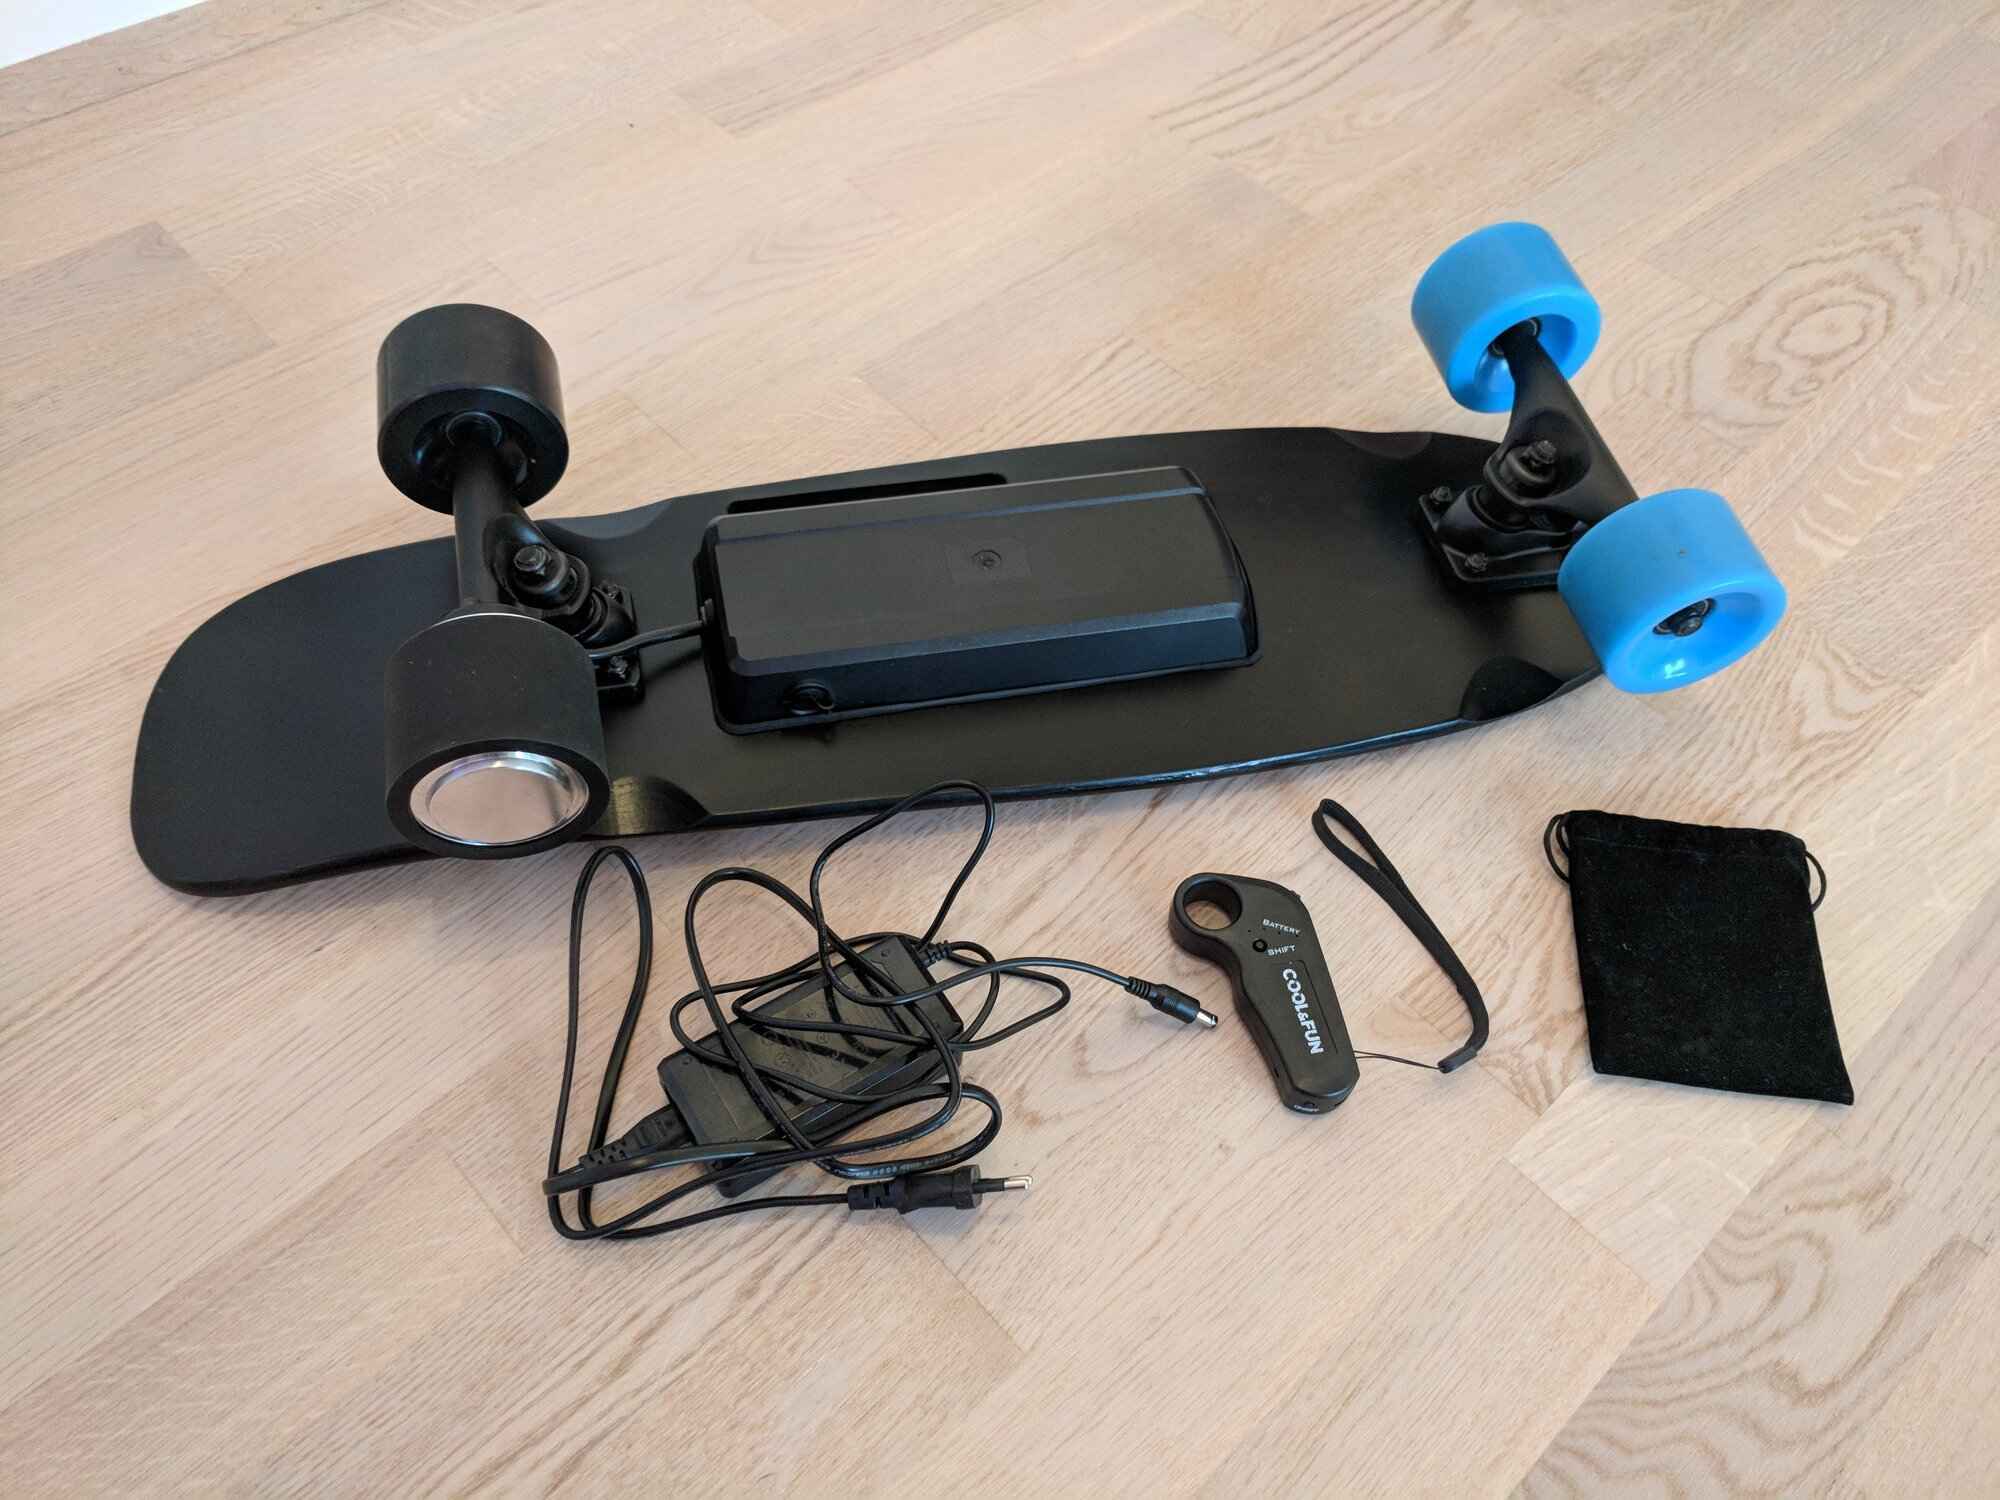
- Remove the Old Motor: Locate the motor on the underside of the skateboard. Use a screwdriver to remove the screws or bolts that secure the motor to the skateboard. Disconnect the motor wires from the controller board or any other connectors. Carefully remove the old motor from its position.
- Install the New Motor: Take the new motor and align it with the mounting holes on the skateboard. Make sure the motor wires are facing in the correct direction. Securely fasten the motor to the skateboard using the appropriate screws or bolts.
- Connect the Motor Wires: Connect the wires from the new motor to the corresponding connectors on the controller board. Make sure the connections are secure to ensure proper functionality.
- Test the Motor: Before riding the skateboard, test the motor by turning it on and checking that it spins smoothly and without any unusual noises. If there are any issues, double-check the wiring connections and make any necessary adjustments.
- Reassemble the Skateboard: Once you’ve confirmed that the motor is working correctly, reassemble the skateboard by attaching any panels or covers that were removed during the motor upgrade process. Make sure all screws or bolts are tightened securely.
By upgrading the motor, you can experience a significant boost in speed and acceleration, taking your skateboarding adventures to new levels. However, it’s important to note that motor upgrades may require specific tools and expertise. If you’re unsure about the process, it’s recommended to seek assistance from a professional or consult the manufacturer’s instructions.
Now that you’ve successfully upgraded the motor, you’re one step closer to customizing your Razor DLX Electric Skateboard to meet your desired performance and style.
Installing a Larger Battery
Upgrading the battery of your Razor DLX Electric Skateboard is a fantastic way to increase its range and ride time. With a larger capacity battery, you can enjoy longer rides and go further distances. Follow these steps to install a larger battery:
- Disconnect the Battery: Start by disconnecting the existing battery from the skateboard. Ensure that the skateboard is turned off and safely remove the battery from its compartment.
- Choose the Right Battery: Research and choose a larger capacity battery that is compatible with your Razor DLX Electric Skateboard. Check the specifications and ensure it matches the required voltage and dimensions of your skateboard.
- Preparation: Clear out any debris or dirt from the battery compartment. Ensure that the area is clean and free from any potential hazards.
- Install the New Battery: Carefully slot the new battery into the battery compartment, ensuring that it is oriented correctly and securely fits into place. Connect the wires of the new battery to the corresponding connectors on the skateboard, following the manufacturer’s instructions.
- Test the Battery: Once the new battery is installed, turn on the skateboard and test the battery’s functionality. Ensure that the board powers on and that the new battery is being properly recognized.
- Secure the Battery: To prevent any movement or damage during rides, ensure that the new battery is securely fastened in its compartment. Confirm that all screws or straps are tightened appropriately.
Replacing the battery with a larger capacity one can greatly enhance your skateboarding experience, allowing for longer rides before the need to recharge. However, it’s essential to consider the weight and balance of the skateboard, as a larger battery may affect the overall handling. Take the time to familiarize yourself with the performance changes and adjust your riding style accordingly.
Remember to recycle the old battery responsibly and dispose of it according to your local regulations. Lithium-ion batteries should never be thrown in the trash.
Now that you’ve successfully installed a larger battery, you can enjoy extended ride times and explore further distances on your newly customized Razor DLX Electric Skateboard.
Replacing the Wheels and Bearings
Upgrading the wheels and bearings of your Razor DLX Electric Skateboard can greatly improve the comfort, stability, and overall performance of your ride. Here’s a step-by-step guide on how to replace the wheels and bearings:
- Prepare Your Skateboard: Start by turning your skateboard upside down on a clean and flat surface. This will give you easy access to the wheels and bearings.
- Remove the Old Wheels: Use a skateboard wrench or a socket set to remove the nuts and washers that secure the old wheels to the skateboard. Set these aside in a safe place as you’ll need them later.
- Take Out the Old Bearings: Place your skateboard wheels on a sturdy surface and use a skateboard bearing press tool or a screwdriver to gently pry out the old bearings from the wheels. Take care not to damage the wheels or the bearings.
- Install the New Bearings: Apply a small amount of skateboard bearing lubricant to the new bearings for smoother performance. Press the new bearings into the wheels using a bearing press tool or a specialized skate tool. Make sure they are seated properly and spin freely.
- Attach the New Wheels: Place the new wheels onto the skateboard, aligning them with the axle. Slide the washers and nuts onto the axle and tighten them securely using your skateboard wrench or socket set.
- Test the Wheels: Spin each wheel to ensure that they rotate smoothly and without any wobbling. If you notice any issues, double-check the tightness of the nuts and make any necessary adjustments.
By replacing the wheels and bearings of your Razor DLX Electric Skateboard, you can enjoy improved stability, smoother rides, and better overall control. Choose wheels and bearings that suit your riding style, terrain preferences, and desired performance.
Remember to regularly inspect your wheels and bearings for wear and tear, and replace them when necessary to maintain optimal performance and safety.
Now that you’ve successfully replaced the wheels and bearings, get ready to experience a smoother and more enjoyable ride on your customized Razor DLX Electric Skateboard.
Enhancing the Braking System
Upgrading the braking system of your Razor DLX Electric Skateboard is essential for improving safety and control during your rides. Here’s a step-by-step guide on how to enhance the braking system:
- Assess Your Current Braking System: Take a close look at your skateboard’s existing braking system to understand its components and functionality. This will help you identify the specific upgrades you need.
- Choose the Right Brake Components: Research and select the appropriate upgrades for your braking system. This may include replacing brake pads, upgrading to larger brake discs, or improving the responsiveness of the braking mechanism.
- Remove Old Brake Components: Carefully remove the old brake pads or discs by loosening the bolts or screws that secure them to the skateboard. Follow the instructions provided by the manufacturer or consult online resources if needed.
- Install the New Brake Components: Attach the new brake components to the skateboard, making sure they are aligned properly and securely fastened. Refer to the manufacturer’s instructions to ensure correct installation.
- Test the Braking System: Before riding the skateboard, test the new braking system to ensure its effectiveness. Start with small test rides at low speeds, gradually increasing to higher speeds to evaluate the performance and responsiveness of the brakes.
- Make Adjustments if Necessary: If you notice any issues with the braking system, such as insufficient stopping power or poor response, re-evaluate the installation and make any necessary adjustments, such as tightening bolts or checking alignment.
Enhancing the braking system of your Razor DLX Electric Skateboard can greatly improve your riding experience by providing better control and safety. With an upgraded braking system, you’ll have peace of mind knowing that stopping quickly and effectively is within your grasp.
Remember to regularly inspect and maintain your braking system to ensure optimal performance. Replace brake pads or discs as needed and make any necessary adjustments to keep your skateboard’s braking system in top condition.
Now that you’ve enhanced the braking system of your skateboard, enjoy the improved control and safety during your rides on your customized Razor DLX Electric Skateboard.
Upgrading the Grip Tape
Upgrading the grip tape on your Razor DLX Electric Skateboard can greatly enhance your stability and control while riding. Here’s a step-by-step guide on how to upgrade the grip tape:
- Prepare Your Skateboard: Start by placing your skateboard on a flat and stable surface. This will make the process of removing the old grip tape and applying the new one easier.
- Remove the Old Grip Tape: Use a hairdryer or a heat gun to heat up the old grip tape. This will soften the adhesive, making it easier to peel off. Carefully lift one corner of the grip tape and slowly peel it away from the deck. Take your time to avoid damaging the deck surface.
- Clean the Deck: Once the old grip tape is removed, take a cloth or paper towel and wipe off any residual adhesive or debris from the deck. This will ensure a clean surface for applying the new grip tape.
- Measure and Cut the New Grip Tape: Roll out the new grip tape and place it on the deck, ensuring it covers the entire surface. Use a pen or marker to mark the outline of the deck on the grip tape. Cut along the marked lines using a sharp utility knife or grip tape cutting tool.
- Apply the New Grip Tape: Peel off the backing of the new grip tape and carefully position it on the deck, aligning it with the edges. Start from one end and press down firmly, smoothing out any air bubbles or wrinkles as you go. Use your hands or a grip tape roller to ensure proper adhesion.
- Trim Excess Grip Tape: Once the new grip tape is firmly secured, use the utility knife or grip tape cutting tool to trim off any excess tape along the edges of the deck. Be careful while cutting to avoid scratching the deck.
Upgrading your skateboard’s grip tape can provide you with better traction and grip, improving your overall control and preventing your feet from slipping while riding. Choose a grip tape that suits your preference in terms of texture, design, and durability.
Regularly check and replace the grip tape when it becomes worn or loses its effectiveness to maintain optimal performance and safety.
Now that you’ve successfully upgraded the grip tape, enjoy the enhanced stability and control during your rides on your customized Razor DLX Electric Skateboard.
Installing LED Lights
Installing LED lights on your Razor DLX Electric Skateboard can add a cool and stylish touch to your rides while enhancing visibility in low-light conditions. Here’s a step-by-step guide on how to install LED lights:
- Choose the Right LED Lights: Research and select LED lights that are specifically designed for skateboards. Make sure they are waterproof, durable, and easy to install.
- Plan the Lighting Layout: Decide where you want to place the LED lights on your skateboard. This can include the deck, trucks, or even the wheels. Consider the wiring and how the lights will be powered.
- Prepare the Skateboard: Clean the areas where you will be installing the LED lights. Remove any dirt or debris to ensure proper adhesion.
- Attach the LED Lights: Remove the adhesive backing from the LED light strips or pods and carefully adhere them to the desired locations on your skateboard. Press and hold firmly to ensure they are securely attached.
- Wire the LED Lights: Connect the LED lights to the power source following the manufacturer’s instructions. Depending on the type of LED lights you choose, this may involve connecting wires, using battery packs, or utilizing a USB connection.
- Test the LED Lights: Turn on the LED lights to check their functionality. Ensure that all the lights are working correctly and that they provide the desired lighting effect.
- Secure the Wiring: To prevent the wires from getting tangled or damaged during rides, use zip ties or adhesive clips to secure them along the underside of the skateboard. This will help maintain a clean and organized look.
Installing LED lights on your skateboard not only enhances your visibility and safety but also adds a fun and eye-catching element. Be sure to check local regulations regarding the use of lights on vehicles to ensure compliance.
Regularly check the LED lights and wiring for any signs of damage or wear. Replace or repair as necessary to maintain a functioning lighting system.
Now that you’ve successfully installed LED lights on your skateboard, enjoy the enhanced style and visibility during your rides on your customized Razor DLX Electric Skateboard.
Personalizing the Deck with Stickers or Paint
Adding a personal touch to your Razor DLX Electric Skateboard is a fun and creative way to make it truly your own. Whether you choose to use stickers or paint, customizing the deck allows you to express your style and personality. Here’s a step-by-step guide on how to personalize the deck:
- Clean the Deck: Start by cleaning the deck surface with a mild detergent or rubbing alcohol. This will remove any dirt, grease, or residue that may hinder the adhesion of stickers or paint.
- Choose Your Design: Decide on the design or theme you want to incorporate on the deck. This can be anything from your favorite band logo to an abstract pattern. Consider using stencils or sketching the design beforehand to help guide your creativity.
- Using Stickers: If you opt for stickers, carefully place them on the deck surface, adhering them firmly to avoid peeling or lifting. Experiment with different arrangements and angles to create a visually appealing composition. Ensure there are no air bubbles trapped beneath the stickers.
- Painting: If you prefer to use paint, gather the necessary supplies such as high-quality acrylic paint, brushes, and masking tape. Create an outline using the tape to guide your paint application. Apply multiple thin coats of paint, allowing each layer to dry before adding the next. Use different brushes and techniques to achieve the desired effect.
- Sealing the Design: Once your design is complete, consider sealing it with a clear varnish or epoxy coat. This step will protect the stickers or paint from wear and tear, ensuring the longevity of your customization.
Personalizing the deck with stickers or paint allows you to showcase your creativity and make a statement with your skateboard. It’s an opportunity to reflect your unique style and interests.
Be mindful of the materials you use and their durability over time. Stickers may eventually fade or peel, while painted designs may require touch-ups or occasional resealing. Regularly inspect and maintain your customized deck to keep it looking fresh and vibrant.
Now that you’ve personalized the deck of your Razor DLX Electric Skateboard, enjoy showcasing your unique style and personality as you ride.
Conclusion
Customizing your Razor DLX Electric Skateboard allows you to elevate your riding experience to new heights. From upgrading the motor and battery to replacing the wheels and bearings, enhancing the braking system, and personalizing the deck with stickers or paint, there are numerous ways to make your skateboard truly your own.
Throughout the customization process, it’s important to prioritize safety by following precautions and guidelines. Take the time to gather the necessary tools and equipment, and always work in a well-ventilated area. Disconnect the battery, use proper techniques, and securely fasten all components to ensure a safe and enjoyable ride.
Remember to choose upgrades that align with your riding style and preferences. Enhance performance, comfort, and safety by selecting the right motor, battery, wheels, and braking system upgrades. Additionally, customization is an opportunity to showcase your unique style, so personalize the deck with stickers or a carefully painted design.
Regularly maintain and inspect your customized Razor DLX Electric Skateboard to ensure optimal performance and safety. Replace worn-out parts, clean the grip tape, and check the functionality of the LED lights. By doing so, you’ll ensure that your customized skateboard continues to provide an exhilarating and personalized riding experience.
Now that you have the knowledge and step-by-step instructions for customizing your Razor DLX Electric Skateboard, it’s time to unleash your creativity and embark on the exciting journey of creating a one-of-a-kind skateboard. So get out there, ride with style, and enjoy the thrill of your customized Razor DLX Electric Skateboard!


