Introduction
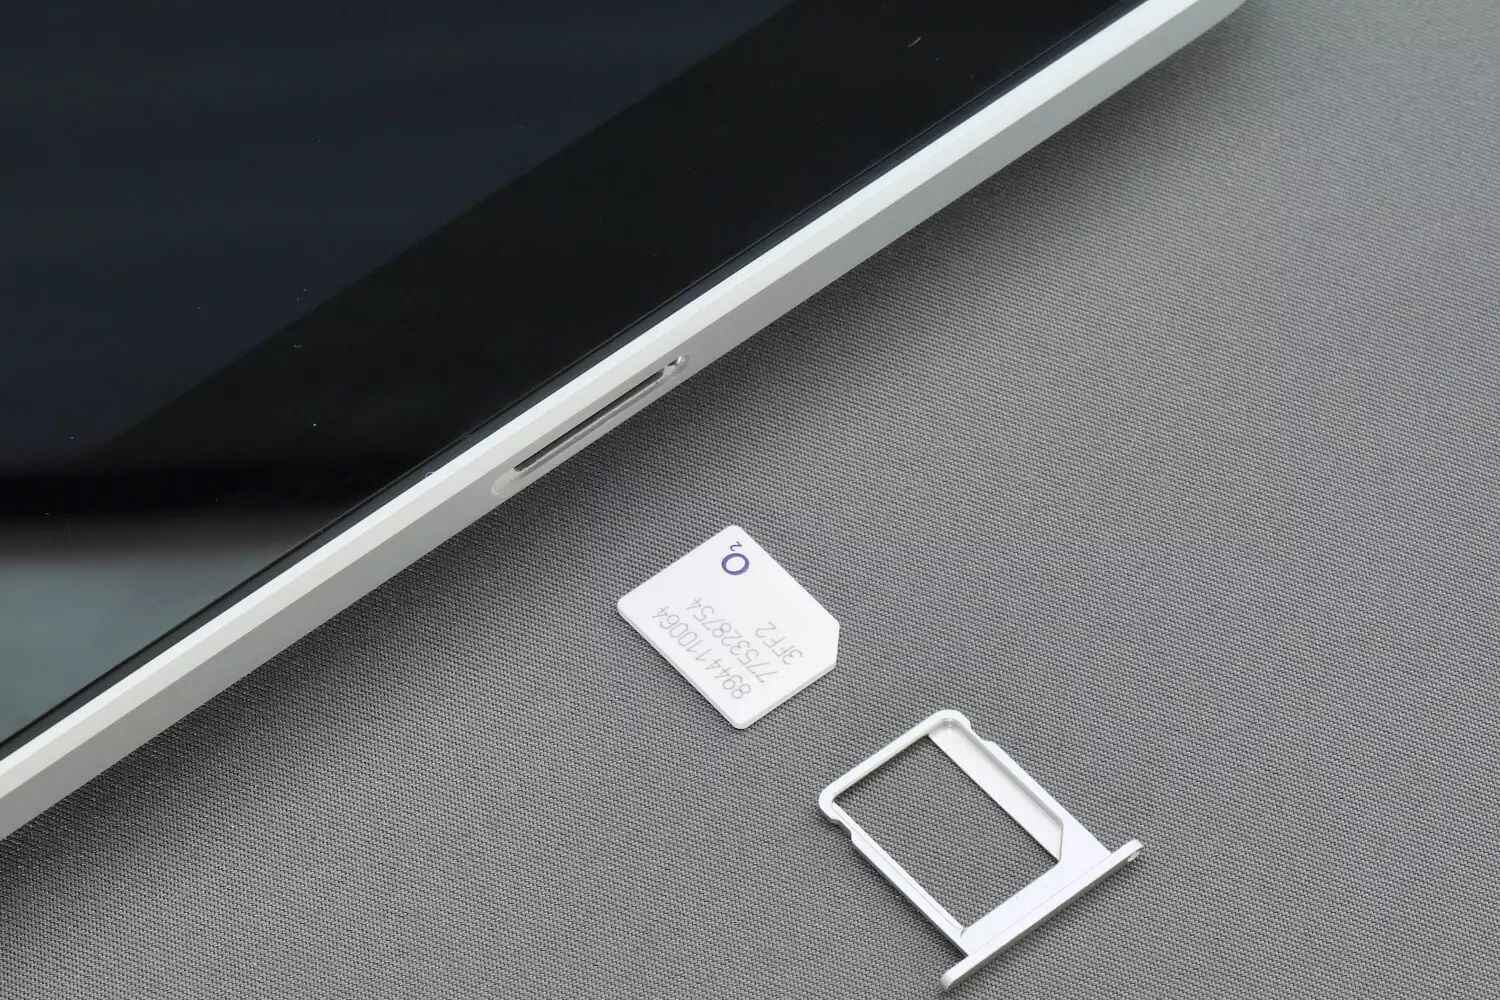
When it comes to safeguarding valuable data on your iPhone, such as contacts, having a backup plan is crucial. While cloud storage and syncing services offer convenient solutions, some users prefer the simplicity and reliability of a physical backup, and that's where the SIM card comes into play.
In this tutorial, we will delve into the process of saving iPhone contacts to a SIM card, providing you with a practical and secure method to preserve your essential contact information. Whether you're upgrading to a new device, switching to a different phone platform, or simply seeking an additional layer of protection for your contacts, this tutorial will equip you with the necessary steps to accomplish this task seamlessly.
By following the instructions outlined in this guide, you can ensure that your contacts are not only stored on your iPhone but also securely duplicated on your SIM card, providing a tangible backup that can be easily transferred to another device when needed. This approach offers peace of mind, knowing that your contacts are not solely reliant on digital synchronization methods, which can occasionally encounter technical glitches or connectivity issues.
Now, let's embark on this journey of preserving your iPhone contacts by transferring them to your SIM card. This straightforward process will empower you to take control of your contact information, ensuring that it remains accessible and secure, regardless of the circumstances. Let's get started!
Step 1: Accessing the Contacts App
Accessing the Contacts app on your iPhone is the initial step towards transferring your valuable contact information to the SIM card. This process is straightforward and can be accomplished by following the steps below:
-
Unlock Your iPhone: Begin by unlocking your iPhone using either Face ID, Touch ID, or your passcode. This will grant you access to the home screen, where all your applications are located.
-
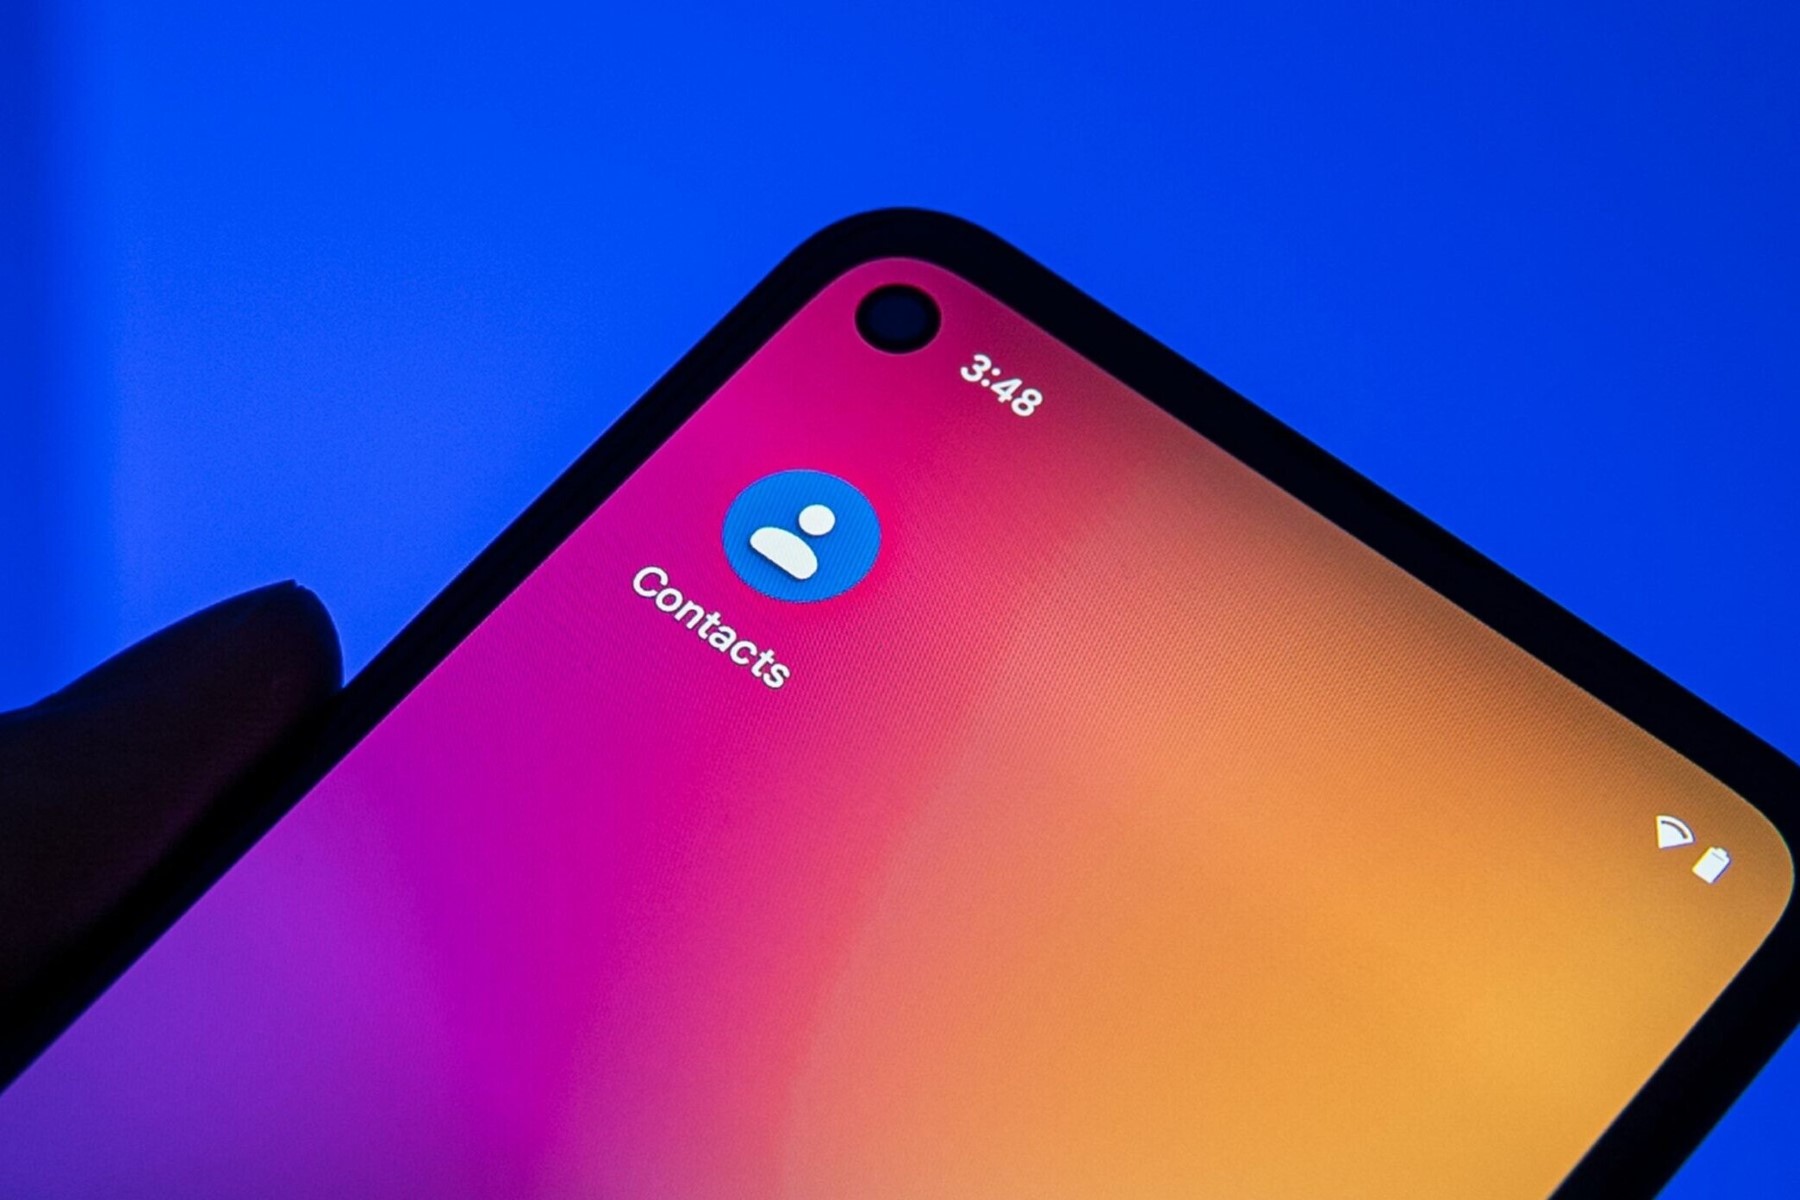
Locate the Contacts App Icon: Once on the home screen, look for the Contacts app icon. It typically features a silhouette of a person and is labeled "Contacts." The app may be located on the main home screen or within a folder, depending on your personal organization of apps.
-
Tap on the Contacts App: After locating the Contacts app, tap on the icon to launch the application. This action will open the Contacts interface, where all your saved contacts are displayed.
-
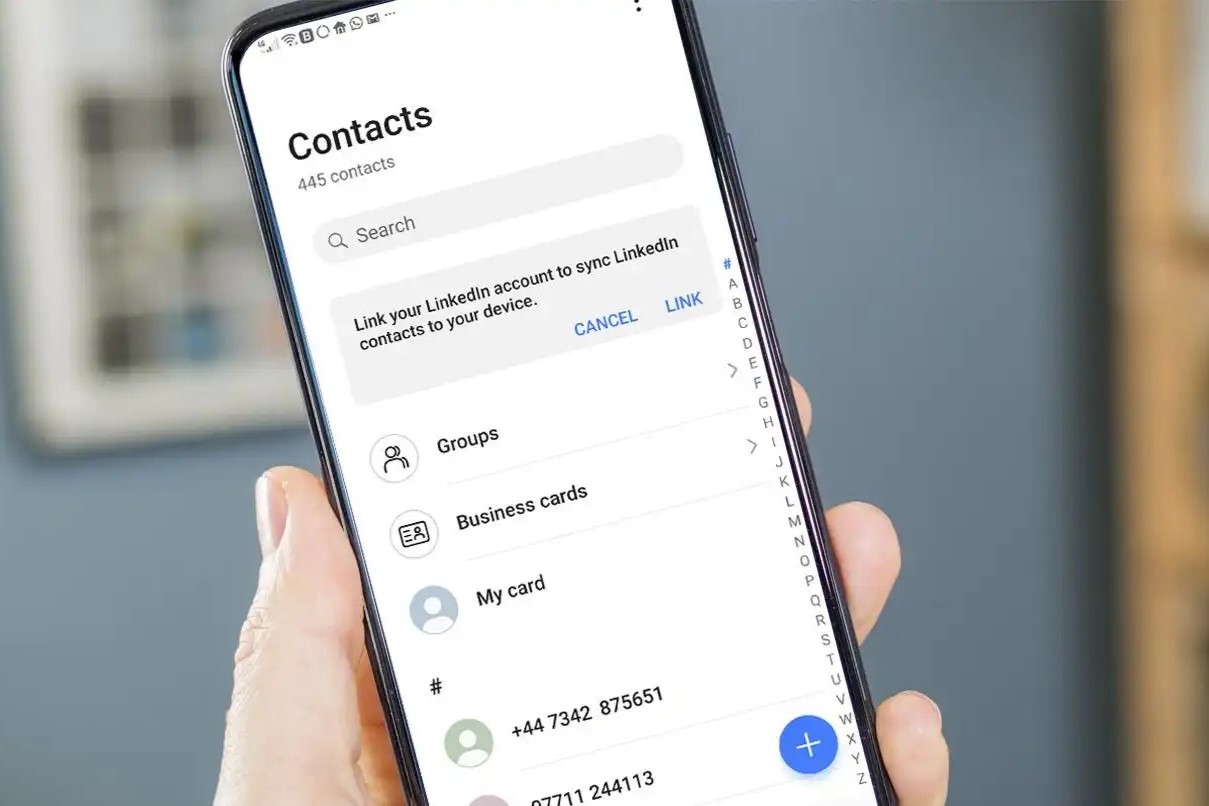
Navigate Through Your Contacts: Upon entering the Contacts app, you will have access to your entire contact list. You can scroll through the list to view and manage your contacts. Additionally, the app provides various options for organizing and editing contact information, allowing you to tailor your contact list according to your preferences.
By successfully accessing the Contacts app on your iPhone, you have completed the first crucial step in the process of transferring your contacts to the SIM card. This initial step sets the stage for the subsequent actions that will enable you to safeguard your contact information by creating a physical backup on the SIM card. With the Contacts app readily accessible, you are now prepared to proceed to the next step and initiate the process of exporting your contacts to the SIM card.
This simple and essential first step serves as the gateway to preserving your contacts through the utilization of the SIM card, offering an additional layer of security and accessibility for your valuable contact information. Now that you have accessed the Contacts app, you are ready to embark on the next phase of this tutorial, which involves exporting your contacts to the SIM card. Let's continue to the next step and ensure that your contacts are securely backed up on your SIM card for future use and peace of mind.
Step 2: Exporting Contacts to SIM Card
Now that you have accessed the Contacts app on your iPhone, the next vital step is to export your contacts to the SIM card. This process involves transferring your valuable contact information from the iPhone's internal storage to the SIM card, creating a tangible backup that can be easily accessed and utilized on other devices. Follow the steps below to seamlessly accomplish this crucial task:
-
Select the Contacts to Export: Within the Contacts app, navigate to the contact list and select the specific contacts that you intend to export to the SIM card. This selection process allows you to choose the contacts that are most essential to you, ensuring that the backup on the SIM card includes the pertinent contact information.
-
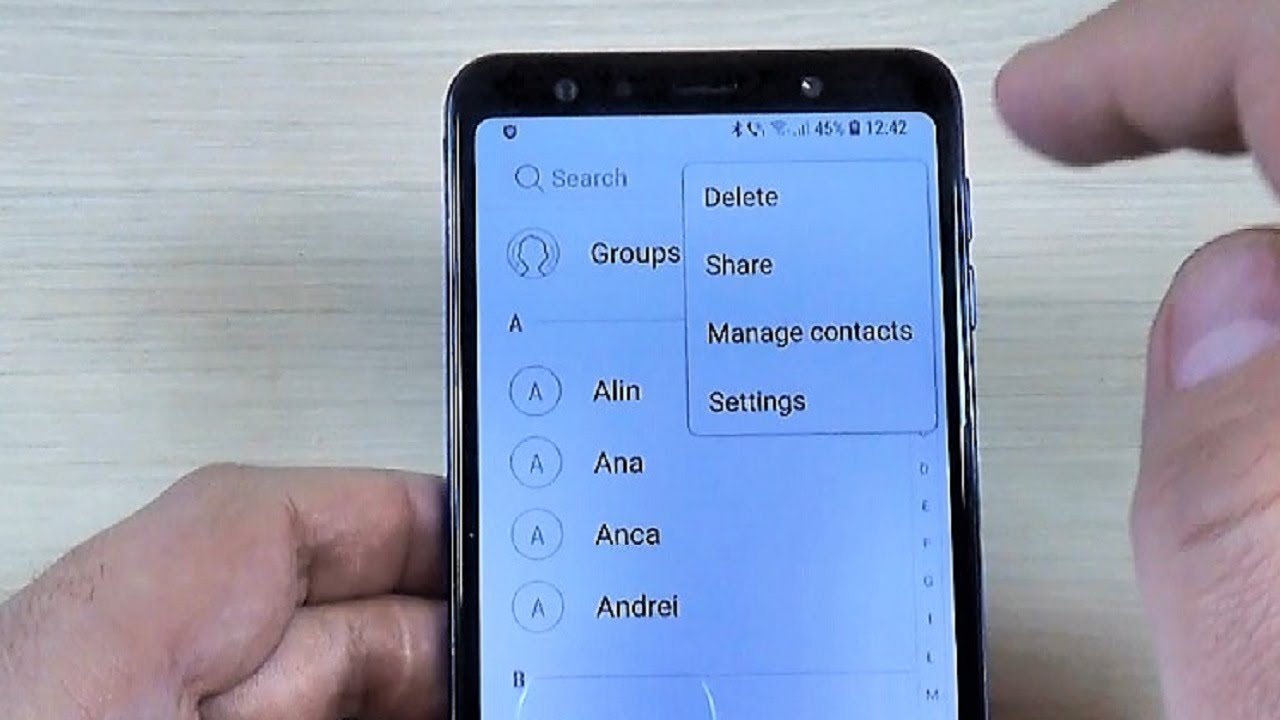
Tap on the "Share Contact" Option: After selecting the desired contacts, tap on the "Share Contact" option, which is typically represented by a square icon with an arrow pointing upwards. This action will prompt a menu of sharing options to appear, providing you with various methods to share or export the selected contacts.
-
Choose the "Share Contact" Method: From the sharing options menu, select the method through which you intend to export the contacts. In this case, choose the "Share Contact" option, which will initiate the process of exporting the selected contacts to the SIM card.
-
Select the SIM Card as the Export Destination: Upon choosing the "Share Contact" option, a list of available destinations for exporting the contacts will be displayed. Locate and select the SIM card as the designated export destination. This action ensures that the selected contacts are transferred from the iPhone to the SIM card, creating a physical backup of the contact information.
-
Confirm the Export Process: After selecting the SIM card as the export destination, confirm the export process to initiate the transfer of the selected contacts. Depending on the number of contacts being exported, this process may take a few moments to complete. Once the export process is finalized, the selected contacts will be securely stored on the SIM card, ready to be utilized as a backup when needed.
By following these steps, you have successfully exported your selected contacts from the iPhone to the SIM card, creating a tangible backup of your valuable contact information. This proactive approach ensures that your contacts are not solely reliant on digital storage methods, providing you with an additional layer of security and accessibility for your essential contact information. With the contacts now securely backed up on the SIM card, you have taken a significant step towards safeguarding your valuable contact data, allowing for seamless transfer and utilization on other devices when necessary.
Step 3: Verifying Contacts on SIM Card
After successfully exporting your contacts to the SIM card, it is essential to verify that the transfer process was completed accurately. This verification step ensures that your valuable contact information is securely stored on the SIM card, ready to serve as a reliable backup whenever needed. The process of verifying contacts on the SIM card involves accessing the SIM card's contact storage and confirming the presence of the exported contacts. Follow the steps below to seamlessly verify the presence of your contacts on the SIM card:
-
Access the Settings Menu: Begin by unlocking your iPhone and navigating to the home screen. Locate and tap on the "Settings" app, which is represented by a gear icon. This action will open the Settings menu, providing access to various device and account settings.
-
Navigate to the SIM Card Settings: Within the Settings menu, scroll down and locate the section related to SIM card settings. This section may be labeled as "Cellular," "Mobile Data," or "SIM Card," depending on your device and carrier. Tap on this section to access the SIM card settings and management options.
-
Select the SIM Card Contacts: Once within the SIM card settings, look for the option to manage SIM card contacts. This option allows you to view the contacts stored on the SIM card and verify the presence of the recently exported contacts. Tap on the "SIM Card Contacts" or similar option to proceed.
-
Review the Contact List: Upon accessing the SIM card contacts, you will be presented with a list of contacts stored on the SIM card. Scroll through the list to review the contacts and verify the presence of the recently exported contacts. It is essential to ensure that the exported contacts are accurately displayed within the SIM card's contact storage.
-
Confirm Contact Details: As you review the contacts on the SIM card, verify the contact details to ensure that the exported contacts are complete and accurate. Pay attention to the names, phone numbers, and any additional information associated with the contacts to confirm that the transfer process was successful.
By following these steps, you can confidently verify the presence of your contacts on the SIM card, confirming the successful transfer of your valuable contact information from the iPhone to the SIM card. This verification process provides reassurance that your contacts are securely backed up on the SIM card, ready to be utilized as a reliable resource for contact information. With the contacts verified on the SIM card, you have completed the crucial task of creating a tangible backup of your essential contact data, ensuring accessibility and peace of mind in managing your valuable contacts.
Conclusion
In conclusion, the process of saving iPhone contacts to a SIM card offers a practical and secure method to preserve valuable contact information. By following the steps outlined in this tutorial, you have empowered yourself with the ability to create a tangible backup of your essential contacts, ensuring accessibility and peace of mind in managing your contact data.
Through the initial step of accessing the Contacts app on your iPhone, you gained the foundational access to your contact list, setting the stage for the subsequent actions. This crucial first step served as the gateway to preserving your contacts through the utilization of the SIM card, offering an additional layer of security and accessibility for your valuable contact information.
The process of exporting contacts to the SIM card allowed you to transfer your selected contacts from the iPhone's internal storage to the SIM card, creating a tangible backup that can be easily accessed and utilized on other devices. This proactive approach ensures that your contacts are not solely reliant on digital storage methods, providing you with an additional layer of security for your essential contact information.
Furthermore, the verification step allowed you to confirm the successful transfer of your valuable contact information from the iPhone to the SIM card. By accessing the SIM card's contact storage and reviewing the exported contacts, you were able to ensure the accuracy and completeness of the backup, providing reassurance that your contacts are securely backed up on the SIM card.
In embracing the process of saving iPhone contacts to a SIM card, you have taken a significant step towards safeguarding your valuable contact data. This approach offers peace of mind, knowing that your contacts are not solely reliant on digital synchronization methods, which can occasionally encounter technical glitches or connectivity issues.
By creating a tangible backup of your contacts on the SIM card, you have established a reliable resource for contact information, allowing for seamless transfer and utilization on other devices when necessary. This proactive approach ensures that your essential contacts remain accessible and secure, regardless of the circumstances, enhancing your overall control and management of contact data.
In essence, the process of saving iPhone contacts to a SIM card serves as a practical and reliable method to preserve your valuable contact information, providing an additional layer of security and accessibility for your essential contacts. By embracing this approach, you have equipped yourself with the necessary tools to safeguard your contacts, ensuring that they remain accessible and secure for your peace of mind.