Introduction
Inserting a SIM card into your iPhone SE is a fundamental step in setting up your device for mobile connectivity. Whether you're a tech enthusiast or a novice user, understanding the process of inserting a SIM card can be empowering and enable you to make the most of your iPhone's capabilities. In this comprehensive guide, we'll walk you through the step-by-step process of inserting a SIM card into your iPhone SE, ensuring that you can seamlessly connect to your mobile network and enjoy the full range of features offered by your device.
The SIM card, or Subscriber Identity Module, is a small, essential component that enables your iPhone to connect to your mobile network. It stores crucial information, including your phone number, network authentication details, and contacts, making it a vital part of your device's functionality. Whether you're activating a new iPhone SE or replacing an existing SIM card, understanding how to properly insert and manage this tiny but powerful card is crucial for a smooth and hassle-free user experience.
By following the steps outlined in this guide, you'll gain a deeper understanding of your iPhone SE's internal architecture and learn how to handle its delicate components with care and precision. Additionally, you'll be equipped with the knowledge necessary to troubleshoot any potential issues related to SIM card connectivity, ensuring that your iPhone SE remains seamlessly integrated with your chosen mobile network.
As we delve into the step-by-step instructions, it's important to note that the process of inserting a SIM card into an iPhone SE may vary slightly depending on the model and version of the device. However, the foundational principles and techniques outlined in this guide will provide you with the essential knowledge needed to confidently manage your iPhone SE's SIM card, regardless of the specific model you own.
Now, let's embark on this journey of discovery and empowerment as we explore the intricacies of inserting a SIM card into your iPhone SE. With a clear understanding of this process, you'll be better equipped to harness the full potential of your device and stay connected wherever you go.
Step 1: Locate the SIM Card Tray
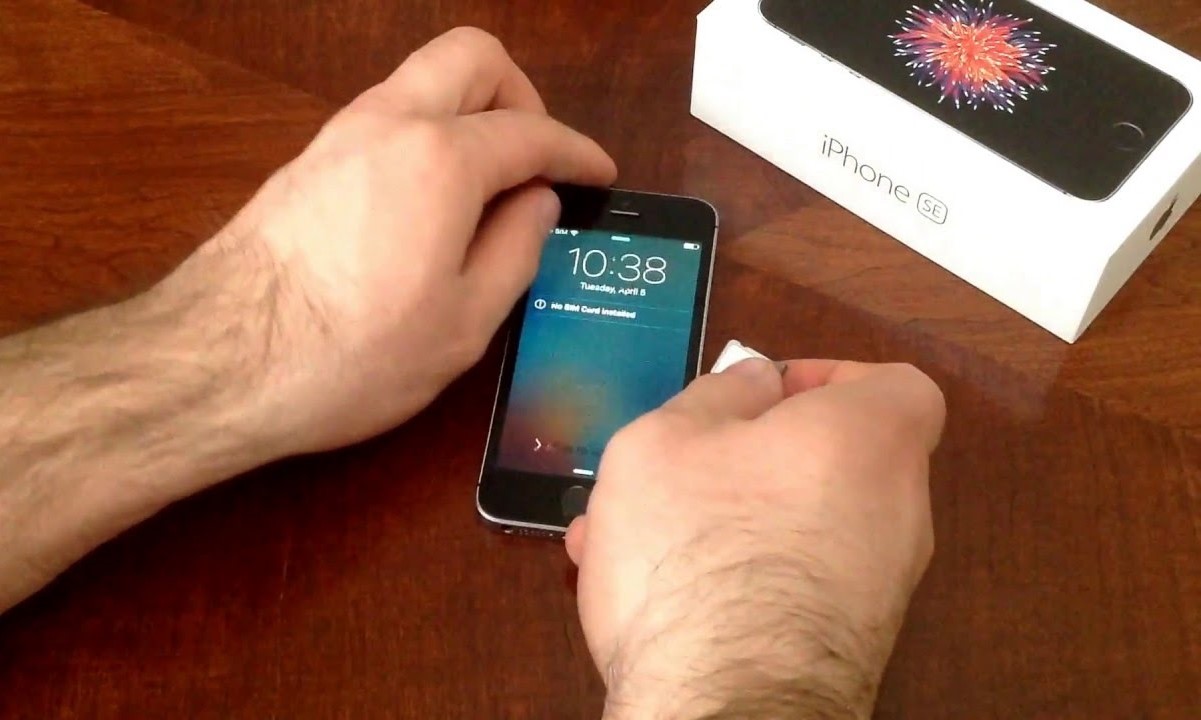
The first step in inserting a SIM card into your iPhone SE is to locate the SIM card tray. This tray is a crucial component that houses the SIM card and ensures its secure placement within the device. To begin this process, you'll need to identify the location of the SIM card tray on your iPhone SE.
On the right-hand side of your iPhone SE, you'll find a small, recessed slot. This slot is designed to accommodate the SIM card tray and is typically located just below the power button. The precise placement may vary slightly depending on the specific model and version of the iPhone SE, but the general area remains consistent across most iterations of the device.
Identifying the SIM card tray is an essential first step, as it provides you with a clear point of access to insert and manage the SIM card. The tray is designed to be easily accessible while maintaining a secure and snug fit within the device, ensuring that the SIM card remains firmly in place during regular use.
Once you've located the SIM card tray, take a moment to familiarize yourself with its positioning and the surrounding features on the right-hand side of your iPhone SE. This will help you develop a clear mental picture of the tray's placement, making it easier to navigate this aspect of the SIM card insertion process.
By confidently identifying the SIM card tray on your iPhone SE, you'll be one step closer to seamlessly integrating the SIM card into your device and unlocking its full range of capabilities. With this foundational knowledge in place, you're ready to proceed to the next step and continue the process of inserting your SIM card with precision and confidence.
Step 2: Insert the SIM Eject Tool
After locating the SIM card tray on your iPhone SE, the next crucial step is to prepare the SIM eject tool for use. This tool, often included in the packaging of your iPhone SE, is specifically designed to facilitate the safe and effortless removal of the SIM card tray. Its compact and precise design ensures that you can handle the delicate components of your device with the utmost care and precision.
To begin, retrieve the SIM eject tool from its designated storage space, typically found within the iPhone SE's packaging or accessory compartment. Once in hand, take a moment to inspect the tool, noting its slender and pointed tip, which is instrumental in engaging with the SIM card tray's ejection mechanism.
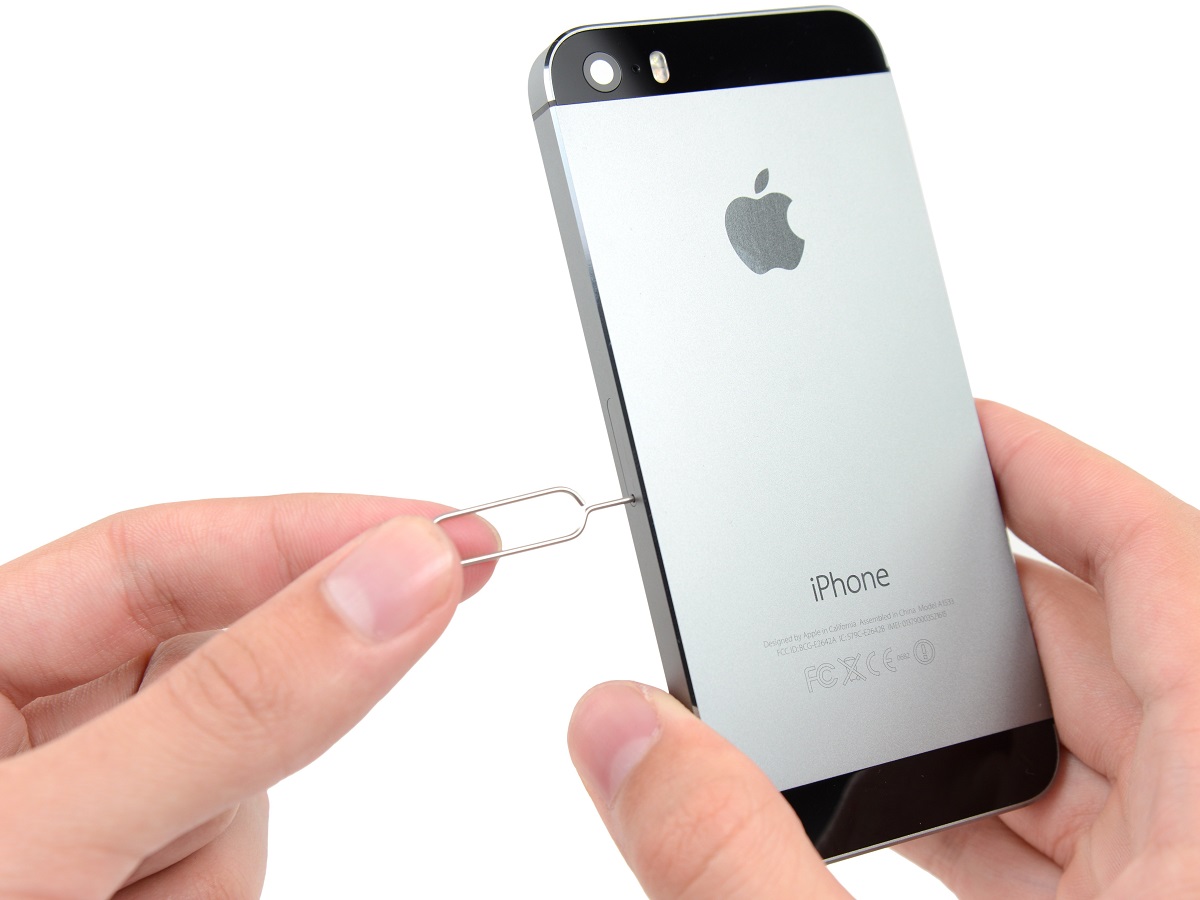
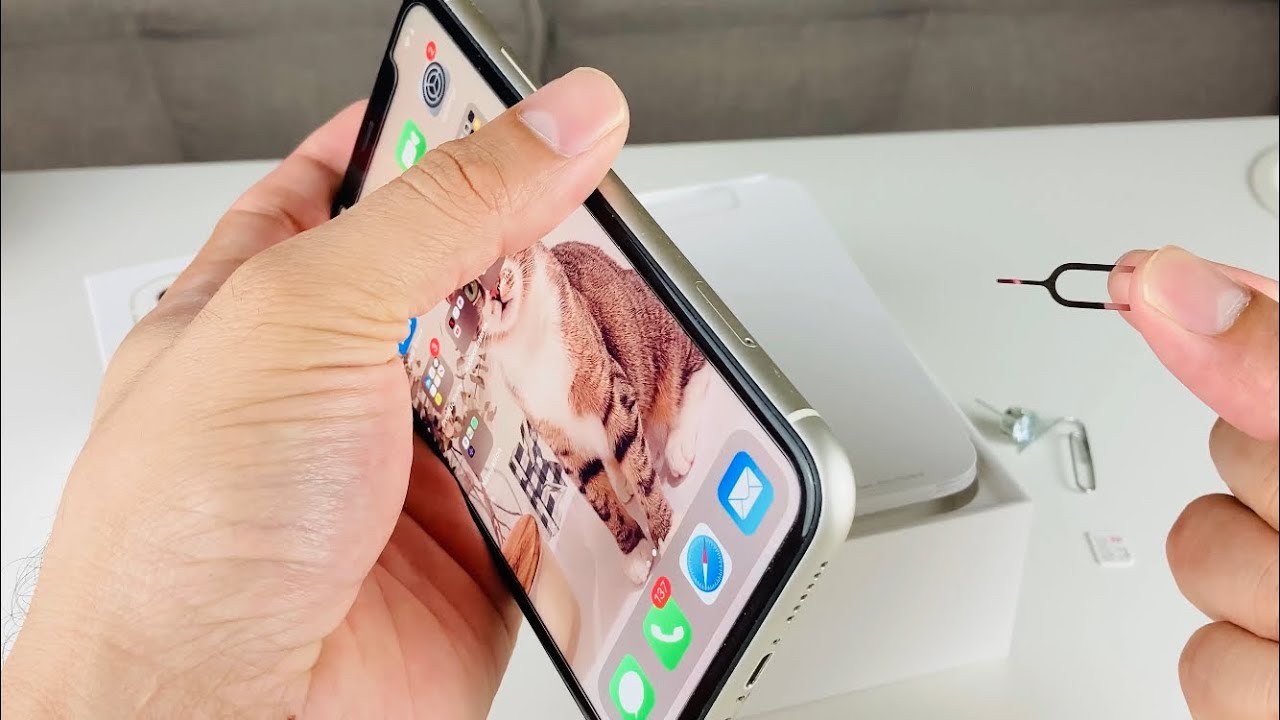
With the SIM eject tool in hand, align the pointed tip with the small pinhole located adjacent to the SIM card tray on your iPhone SE. This pinhole serves as the entry point for the SIM eject tool and allows you to engage with the internal mechanism that releases the SIM card tray.
Gently but firmly insert the pointed tip of the SIM eject tool into the pinhole, ensuring that it fits snugly and securely within the designated space. Apply a steady, even pressure to initiate the ejection process, allowing the internal mechanism to disengage and release the SIM card tray from its resting position within the device.
As you engage with the SIM eject tool, maintain a steady hand and exercise caution to prevent any unnecessary force or damage to the surrounding components of your iPhone SE. The precise design of the SIM eject tool ensures that you can navigate this process with confidence, knowing that you're equipped with the appropriate instrument for the task at hand.
By successfully inserting the SIM eject tool into the pinhole and initiating the ejection process, you're one step closer to seamlessly integrating the SIM card into your iPhone SE. This careful and deliberate approach sets the stage for the subsequent steps in the SIM card insertion process, allowing you to proceed with confidence and precision as you prepare to insert the SIM card into your device.
With the SIM eject tool securely in place and the ejection process initiated, you're ready to proceed to the next step and continue the seamless integration of your SIM card into your iPhone SE.
Step 3: Remove the SIM Card Tray
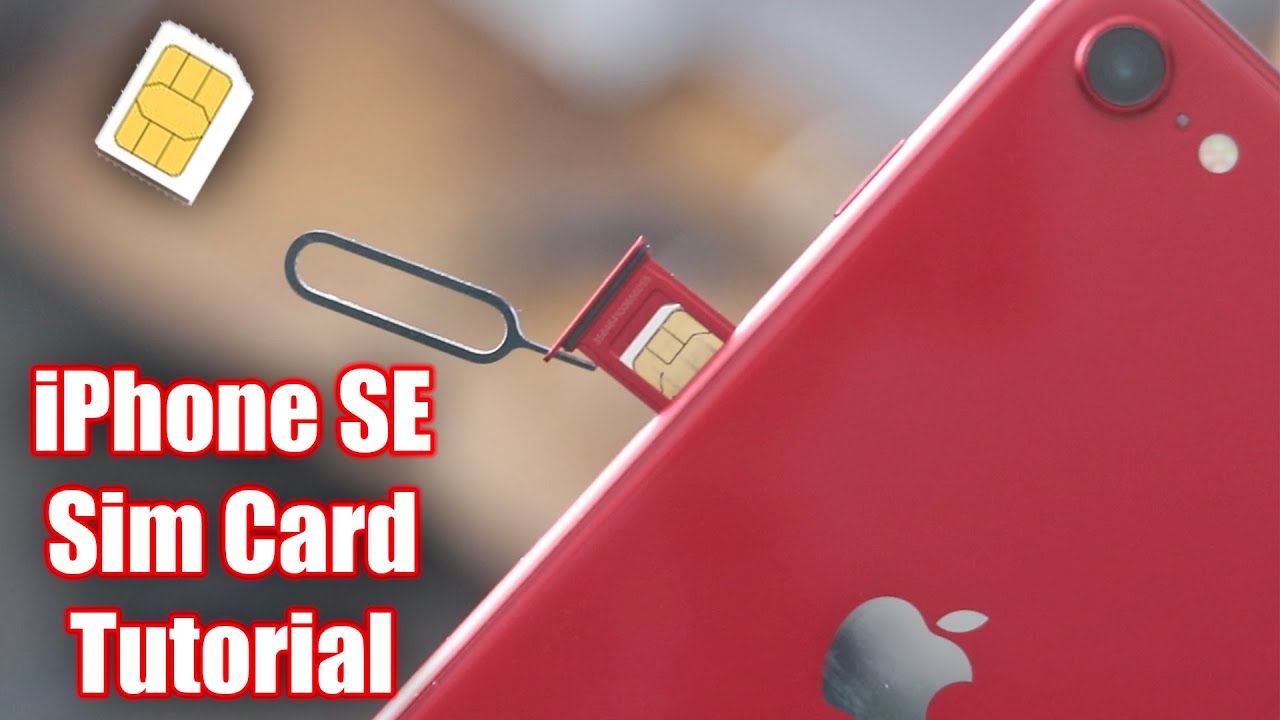
With the SIM eject tool securely inserted into the pinhole, the next step is to carefully remove the SIM card tray from your iPhone SE. As the ejection process is initiated, you'll notice the SIM card tray protruding slightly from the device, indicating that it is ready to be safely extracted.
Using a gentle and controlled motion, carefully pull the SIM card tray out of the iPhone SE, ensuring that you maintain a firm grip on the tray to prevent any accidental drops or mishandling. The tray should slide out smoothly, guided by the precise engagement of the SIM eject tool with the internal ejection mechanism.
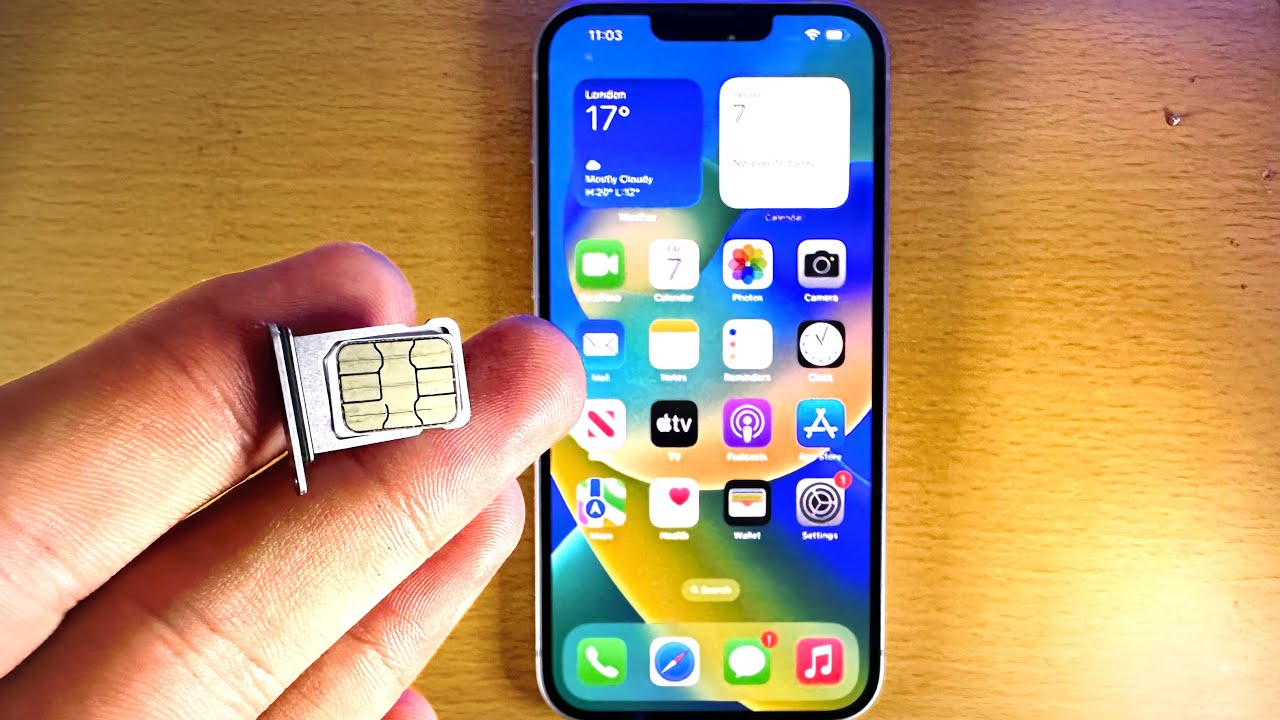
As the SIM card tray is fully extended from the device, take a moment to inspect its design and orientation. Note the small, rectangular compartment within the tray, specifically designed to accommodate the SIM card. This compartment is tailored to securely house the SIM card, ensuring that it remains firmly in place within the tray during regular use.
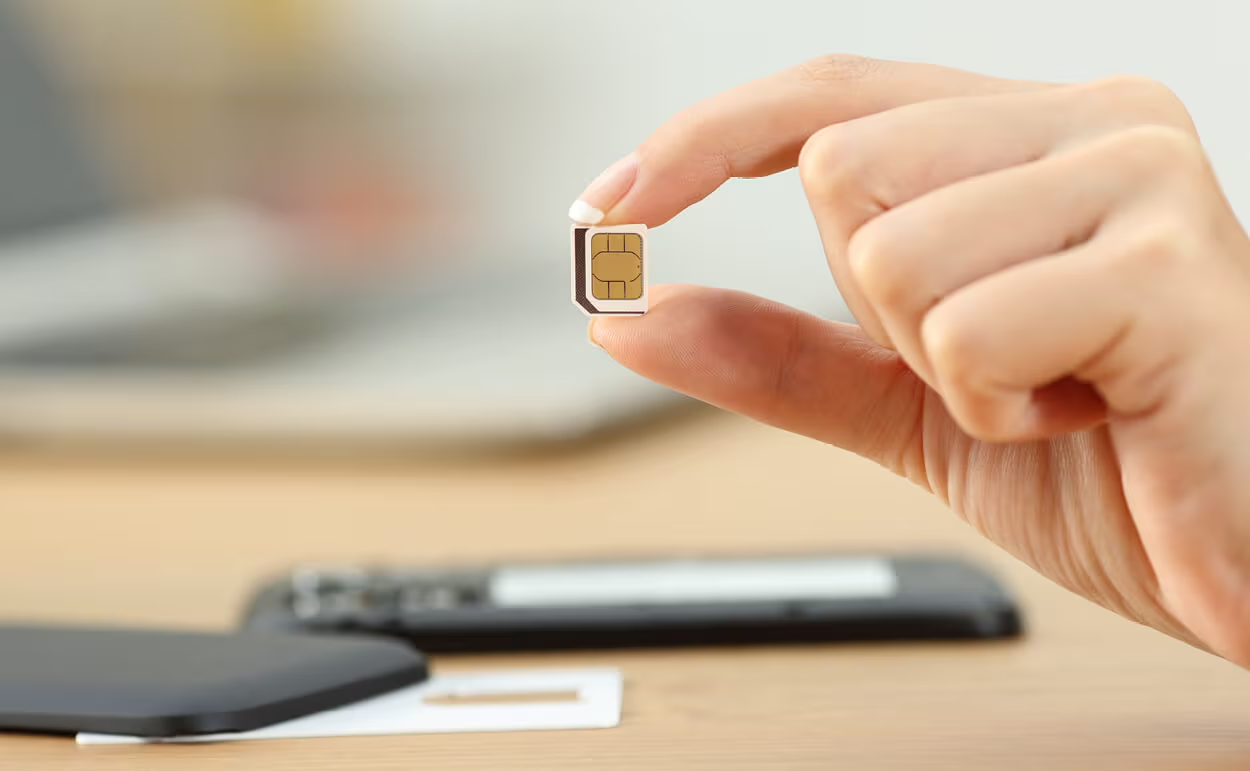
With the SIM card tray in hand, gently remove the SIM card from its compartment, taking care to handle the card with delicacy and precision. The SIM card is a small, delicate component that stores vital information related to your mobile connectivity, making it essential to handle it with the utmost care and attention.
As you remove the SIM card from the tray, take note of its orientation and the positioning of the metallic contacts on the card. These contacts facilitate the communication between your iPhone SE and your chosen mobile network, underscoring the importance of maintaining their integrity and cleanliness throughout the handling process.
Once the SIM card has been safely removed from the tray, set the tray aside in a secure location, ensuring that it remains free from any potential damage or misplacement. With the SIM card in hand, you're now prepared to proceed to the next step and seamlessly insert the card into your iPhone SE, initiating the final stages of the SIM card integration process.
By carefully and methodically removing the SIM card tray from your iPhone SE and safely extracting the SIM card from its compartment, you've successfully navigated this critical phase of the SIM card insertion process. With the SIM card in hand and the tray set aside, you're now poised to proceed to the subsequent steps and complete the seamless integration of the SIM card into your iPhone SE, enabling you to harness the full potential of your device's mobile connectivity capabilities.
Step 4: Insert the SIM Card
With the SIM card tray in hand and the SIM card safely removed from its compartment, you're now ready to proceed with the pivotal step of inserting the SIM card into your iPhone SE. This step requires a delicate and precise approach to ensure that the SIM card is seamlessly integrated into the device, laying the foundation for reliable mobile connectivity and network access.
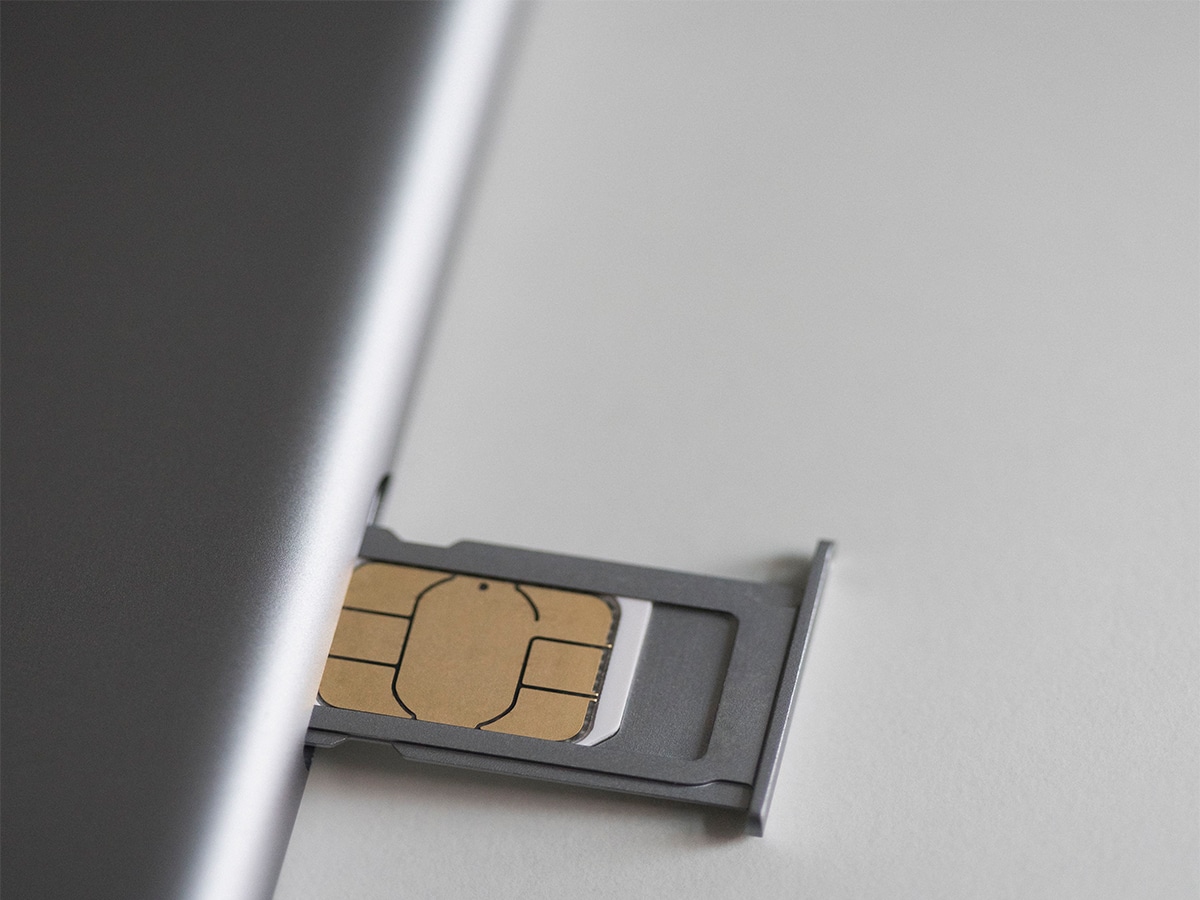
Begin by carefully inspecting the SIM card and noting its orientation. The SIM card features a distinctive shape with one corner angled or notched, serving as a guide for proper alignment within the SIM card tray. Take a moment to align the SIM card with the corresponding orientation within the tray, ensuring that it fits snugly and securely into the designated compartment.
As you position the SIM card within the tray, exercise caution to prevent any bending or damage to the card. The delicate nature of the SIM card underscores the importance of handling it with care and precision, minimizing the risk of any potential issues related to connectivity or card integrity.
Once the SIM card is aligned and positioned within the tray, gently lower it into the compartment, ensuring that it rests securely and uniformly within the designated space. The precise design of the tray and the SIM card's dimensions facilitate a seamless fit, allowing for a smooth and secure integration that maintains the card's stability during regular use.
As the SIM card is securely positioned within the tray, take a moment to verify its alignment and ensure that it sits flush with the surrounding edges of the compartment. This visual confirmation provides reassurance that the SIM card is properly seated and ready for reinsertion into your iPhone SE, setting the stage for the final steps in the SIM card insertion process.
With the SIM card securely positioned within the tray, you're now prepared to proceed to the next step and reinsert the tray into your iPhone SE, finalizing the seamless integration of the SIM card into your device. This critical phase of the process underscores the importance of precision and attention to detail, ensuring that the SIM card is optimally positioned for reliable and uninterrupted mobile connectivity.
By carefully and methodically inserting the SIM card into the tray and positioning it securely within the designated compartment, you've navigated a pivotal step in the SIM card insertion process. With the SIM card seamlessly integrated into the tray, you're now poised to proceed to the final step and reinsert the tray into your iPhone SE, culminating in the successful completion of the SIM card integration process.
Step 5: Reinsert the SIM Card Tray
With the SIM card securely positioned within the tray, the final step in the SIM card insertion process is to reinsert the SIM card tray into your iPhone SE. This critical phase requires a steady hand and careful attention to ensure that the tray is seamlessly integrated back into the device, finalizing the setup for reliable mobile connectivity.
Begin by aligning the SIM card tray with the corresponding slot on the right-hand side of your iPhone SE. Take note of the orientation of the tray, ensuring that it aligns with the surrounding features and maintains a snug and secure fit within the device. This precise alignment is essential for a seamless reintegration of the tray, setting the stage for uninterrupted mobile connectivity.
As you position the SIM card tray near the slot, gently guide it into place, taking care to maintain a steady and controlled motion. The tray should slide smoothly into the designated slot, facilitated by its precise design and the accommodating structure of the iPhone SE. Exercise caution to prevent any unnecessary force or misalignment during this crucial step, ensuring that the tray reenters the device with ease.
Once the SIM card tray is fully reinserted into your iPhone SE, take a moment to verify its placement and ensure that it sits flush with the surrounding edges of the device. This visual confirmation provides reassurance that the tray is securely integrated, ready to support the seamless functionality of the SIM card and facilitate uninterrupted mobile connectivity.
With the SIM card tray securely reinserted into your iPhone SE, you've successfully completed the final step in the SIM card insertion process. This meticulous and precise approach ensures that the SIM card is seamlessly integrated into your device, laying the groundwork for reliable network access and mobile connectivity.
By navigating each step with care and attention to detail, you've gained a deeper understanding of your iPhone SE's internal architecture and learned how to handle its delicate components with precision. With the SIM card securely in place, you're now equipped to harness the full potential of your device and stay seamlessly connected wherever you go.
This completes the comprehensive guide to inserting a SIM card into your iPhone SE, empowering you to manage your device's mobile connectivity with confidence and precision.
Conclusion
In conclusion, the process of inserting a SIM card into your iPhone SE is a foundational step that empowers you to harness the full potential of your device's mobile connectivity. By following the step-by-step guide outlined in this comprehensive walkthrough, you've gained a deeper understanding of your iPhone SE's internal architecture and learned how to handle its delicate components with precision and confidence.
The SIM card, a small yet powerful component, plays a pivotal role in enabling your iPhone SE to connect to your chosen mobile network. From the initial step of locating the SIM card tray to the final stage of reinserting the tray into your device, each phase of the process has been carefully navigated with attention to detail and precision.
By familiarizing yourself with the location of the SIM card tray, preparing and utilizing the SIM eject tool, removing the tray, inserting the SIM card, and reinserting the tray into your iPhone SE, you've demonstrated a proactive approach to managing your device's essential components. This knowledge not only equips you to seamlessly integrate the SIM card but also empowers you to troubleshoot any potential issues related to mobile connectivity, ensuring a smooth and uninterrupted user experience.
As you embark on your journey with your iPhone SE, the ability to confidently manage the SIM card insertion process underscores your commitment to optimizing your device's capabilities. Whether you're activating a new iPhone SE or replacing an existing SIM card, the knowledge and skills acquired through this guide enable you to navigate this fundamental aspect of device setup with ease and assurance.
With the SIM card securely integrated into your iPhone SE, you're now poised to enjoy the full range of features and functionalities offered by your device. Seamless network access, reliable mobile connectivity, and the ability to stay connected wherever you go are now within your grasp, thanks to your proactive approach to managing the SIM card insertion process.
In closing, the successful completion of the SIM card insertion process empowers you to embark on a seamless and uninterrupted mobile experience with your iPhone SE. By mastering this foundational aspect of device setup, you've laid a solid groundwork for maximizing the potential of your device and staying connected with confidence and ease.