Introduction
Inserting a SIM card into an iPhone 5C is a fundamental task for anyone looking to use the device for making calls, sending texts, or accessing mobile data. The SIM card serves as the key to unlocking the full potential of the iPhone 5C, enabling users to connect with others and access a myriad of online services. Whether you're setting up a new iPhone 5C or replacing an existing SIM card, understanding the process is essential.
In this comprehensive guide, we will walk you through the step-by-step process of inserting a SIM card into your iPhone 5C. By following these instructions, you can ensure a smooth and hassle-free setup, allowing you to seamlessly integrate your device into your daily life. From locating the SIM card tray to powering on your iPhone 5C, each step is crucial in ensuring that your device is ready for use.
As we delve into the intricacies of this process, it's important to note that handling the SIM card with care is paramount. The delicate nature of the SIM card means that proper insertion is crucial to prevent any damage to the card or the device itself. With this in mind, we will provide clear and concise instructions to help you navigate this process with confidence.
By the end of this guide, you will have a comprehensive understanding of how to insert a SIM card into your iPhone 5C, empowering you to make the most of your device's capabilities. So, without further ado, let's embark on this journey to seamlessly integrate your SIM card with your iPhone 5C.
Step 1: Locate the SIM Card Tray
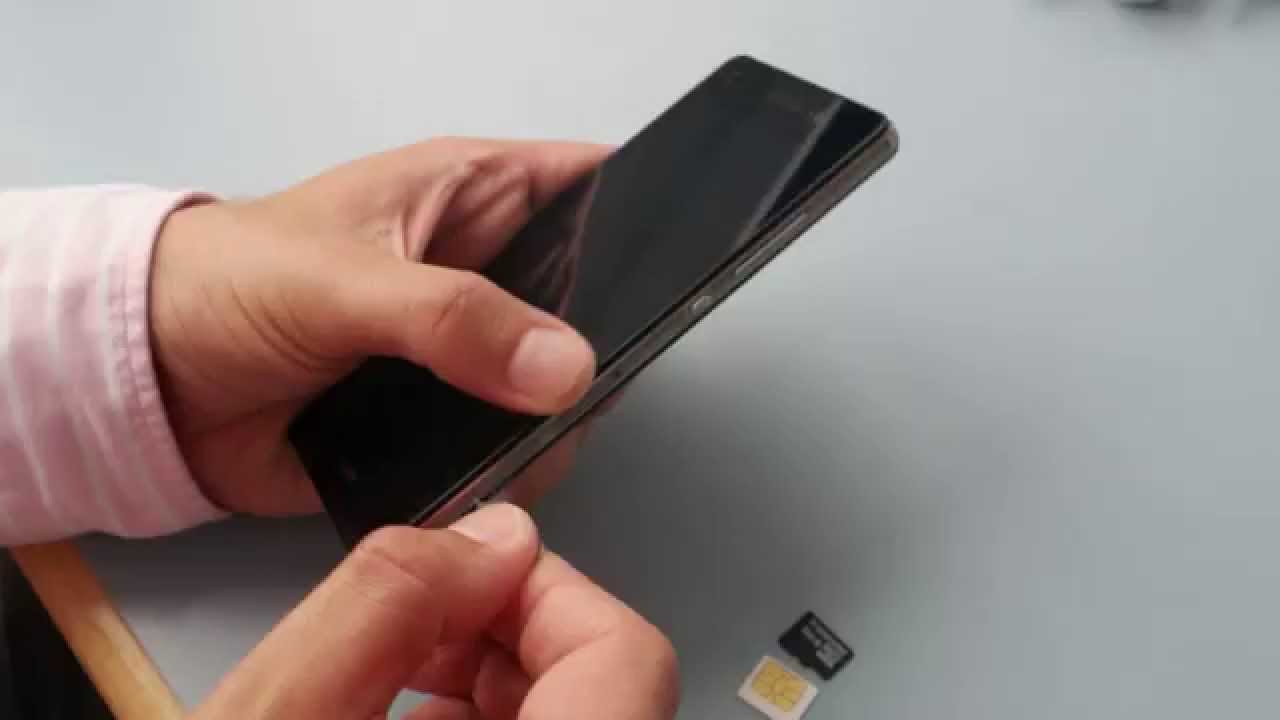
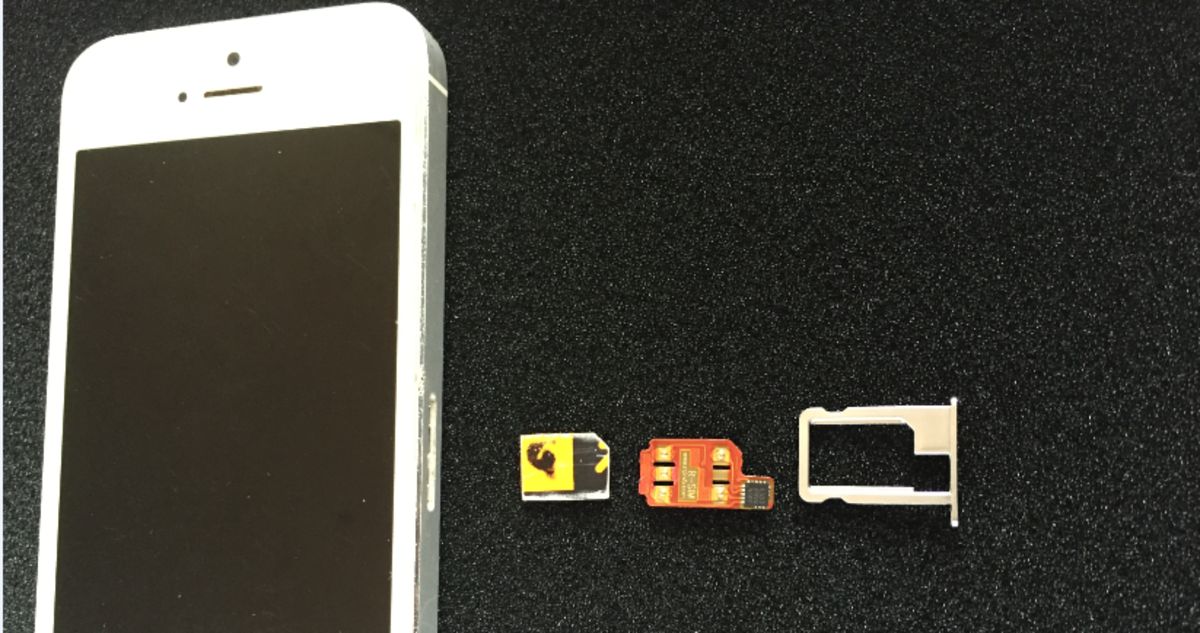
Before diving into the process of inserting a SIM card into your iPhone 5C, the first step is to locate the SIM card tray. This small yet pivotal component plays a crucial role in facilitating the seamless integration of your SIM card with the device. To begin this process, you'll need to ensure that your iPhone 5C is powered off. Once the device is powered down, you can proceed with locating the SIM card tray.
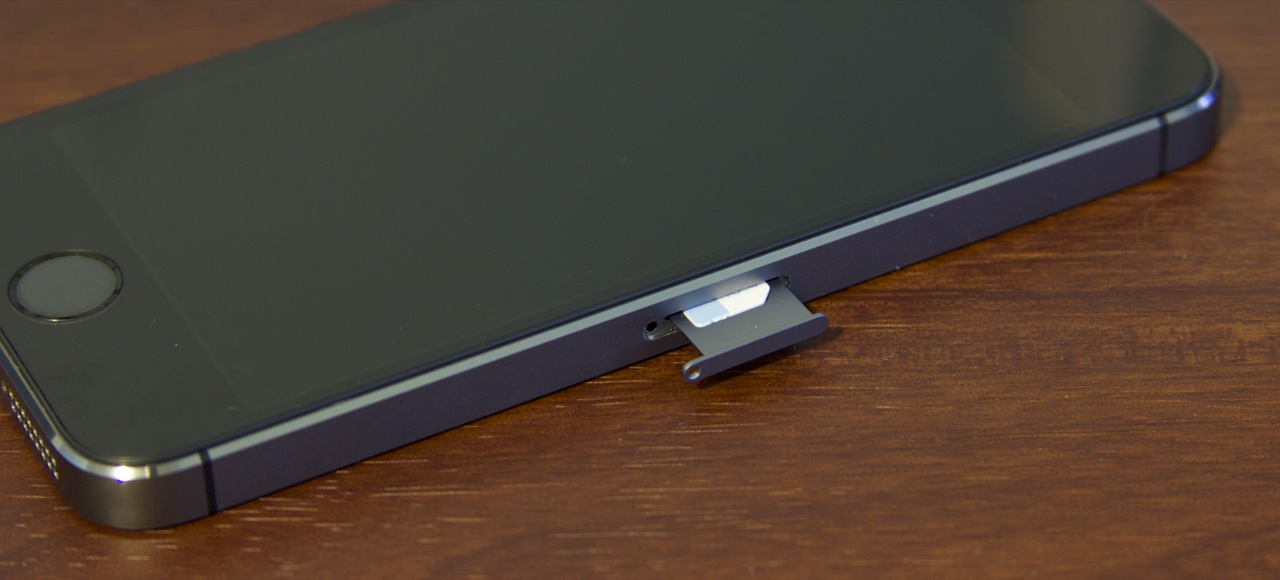
The SIM card tray on the iPhone 5C is situated on the right-hand side of the device. It is important to note that the exact location may vary slightly depending on the specific model of the iPhone 5C, but in most cases, it can be found along the right edge of the device. The presence of a small pinhole or a small slot is indicative of the SIM card tray's location.
To access the SIM card tray, you will need the SIM eject tool that comes packaged with your iPhone 5C. This specialized tool is designed to facilitate the safe removal and insertion of the SIM card. If the original SIM eject tool is not available, a small paperclip can be used as an alternative. However, it is important to exercise caution when using makeshift tools to avoid causing any damage to the device or the SIM card tray.
Once you have located the SIM card tray and have the SIM eject tool in hand, you can proceed to the next step of this process. The careful and precise execution of each step is essential to ensure that the SIM card is inserted correctly and securely. With the SIM card tray now within reach, you are one step closer to completing the setup of your iPhone 5C.
By successfully locating the SIM card tray, you have laid the groundwork for the subsequent steps in the process. With this crucial component now in sight, you are poised to move forward with confidence, knowing that you are on the right track to seamlessly integrating your SIM card with your iPhone 5C.
Step 2: Insert the SIM Card
With the SIM card tray now accessible, the next step in the process is to carefully insert the SIM card into your iPhone 5C. This step requires precision and attention to detail to ensure that the SIM card is securely placed within the device, enabling seamless connectivity and functionality.
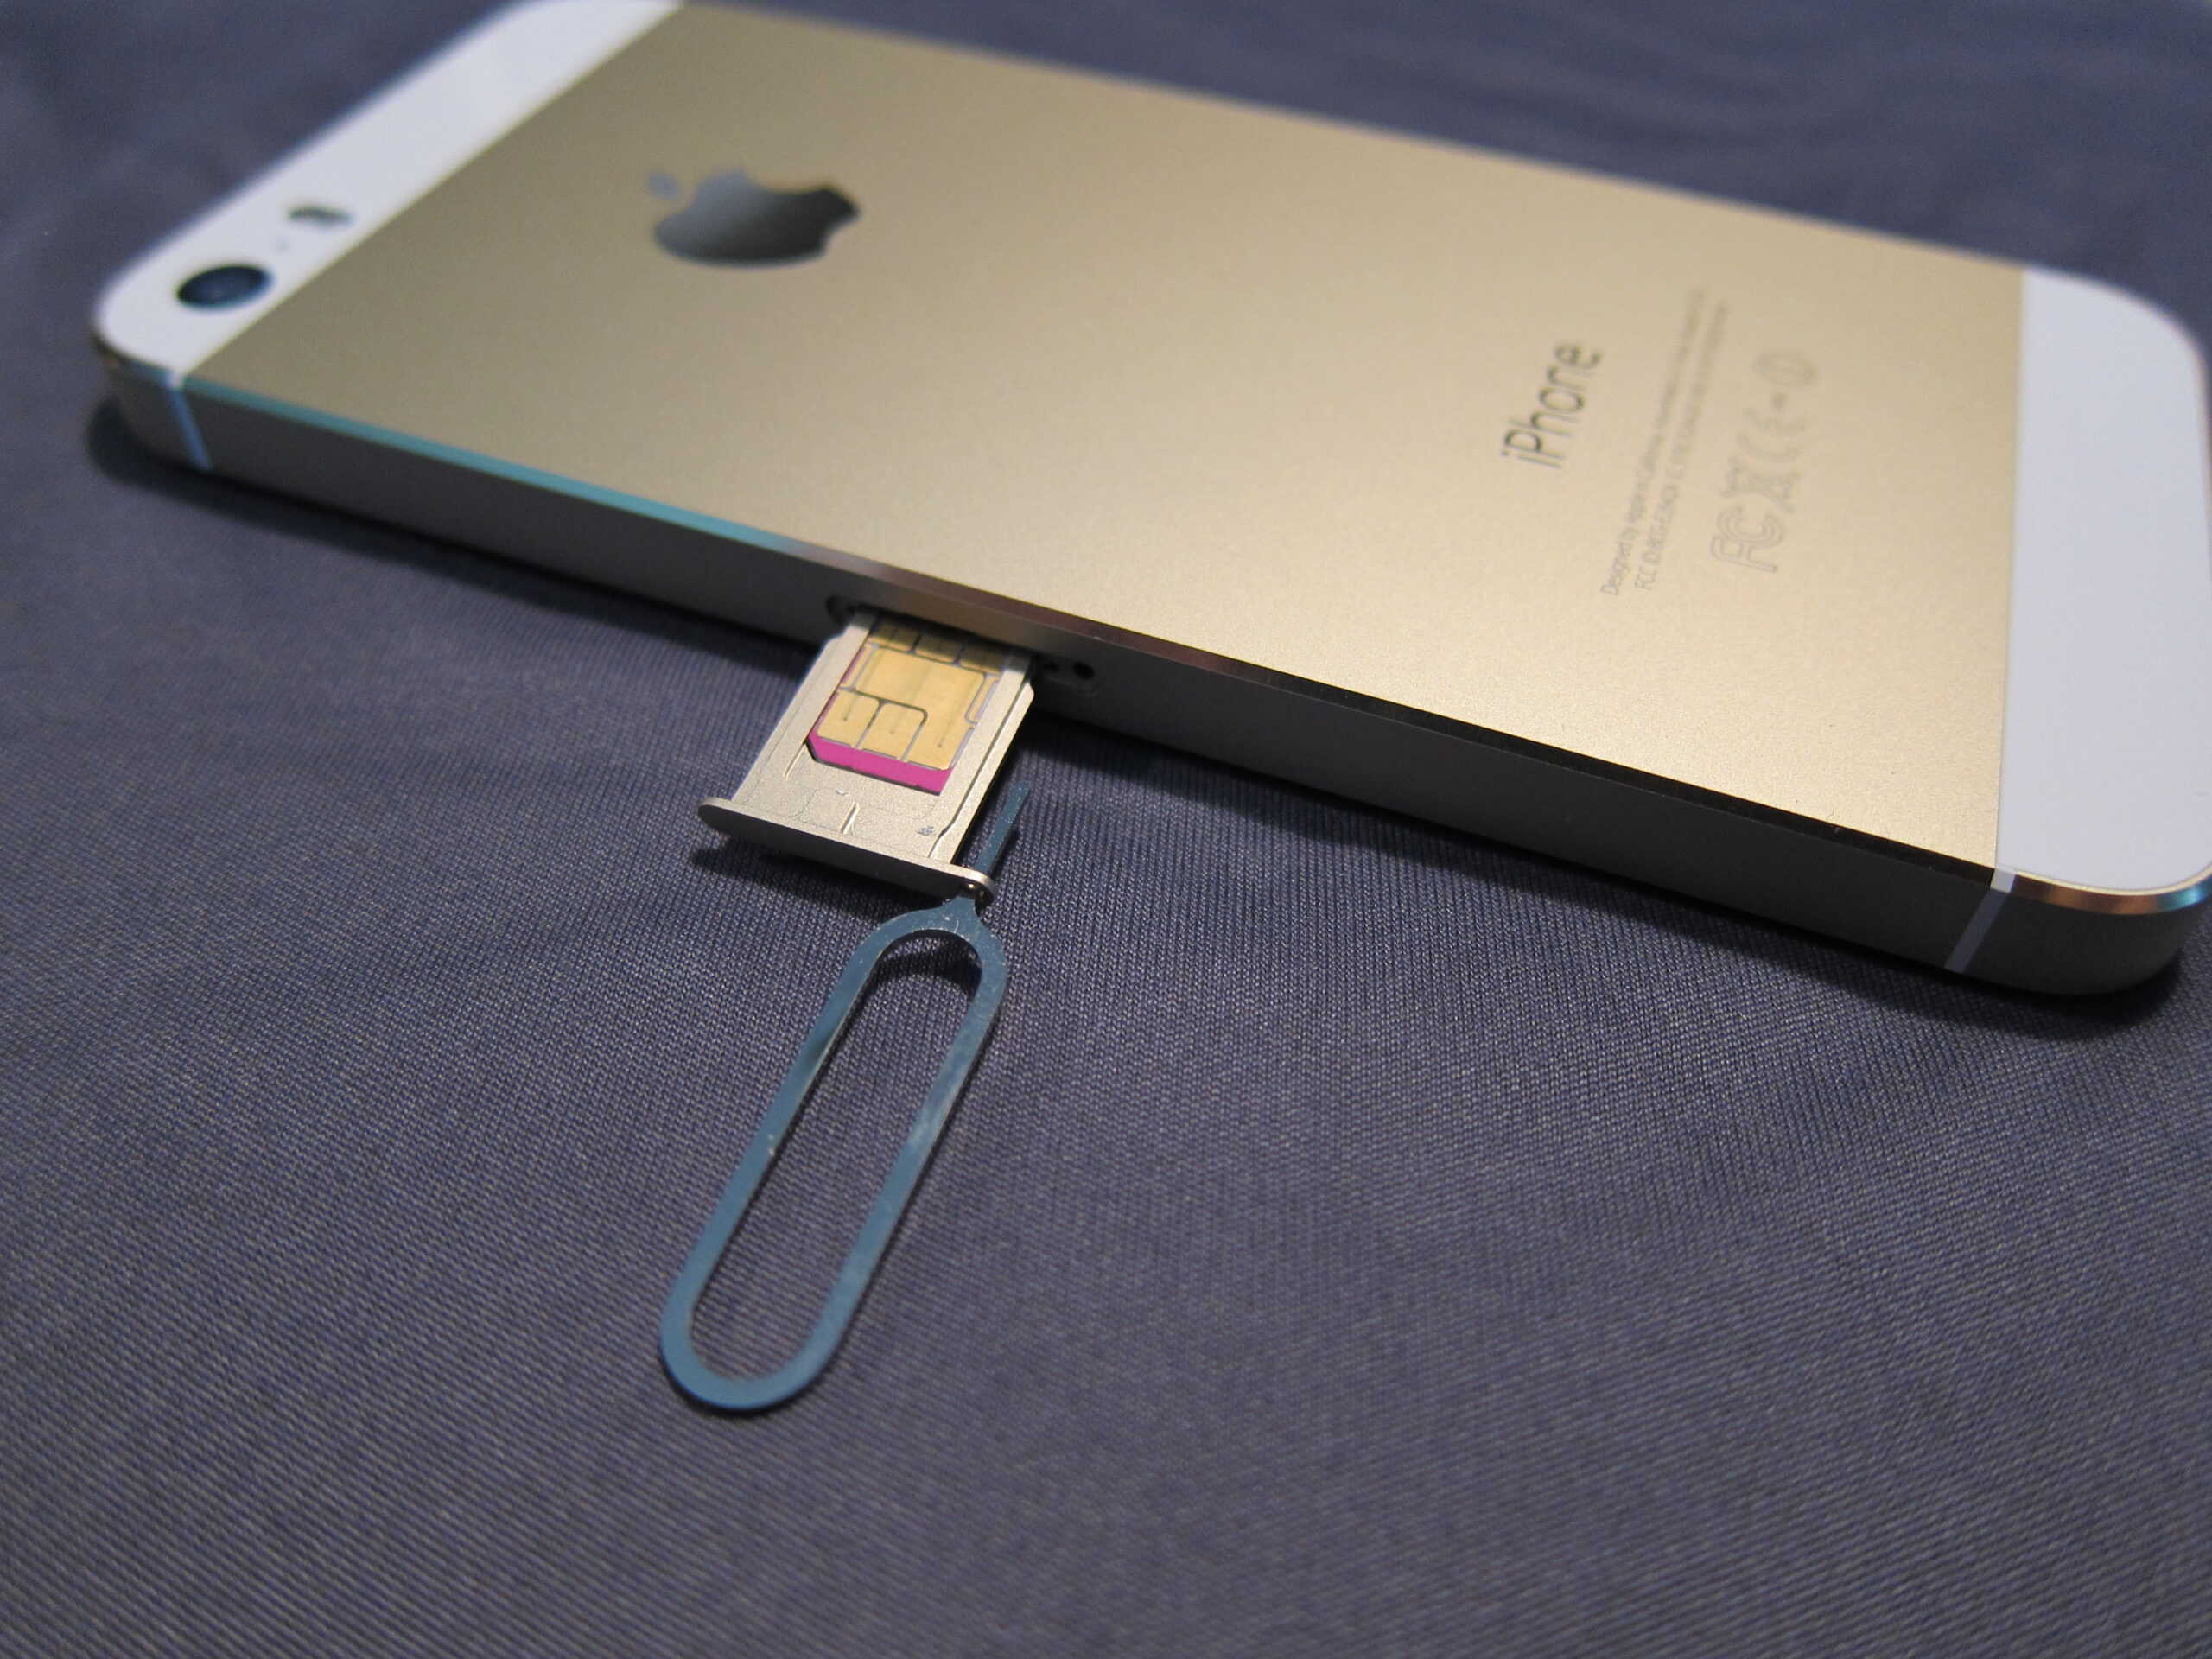
To begin, take the SIM eject tool or the alternative tool, such as a small paperclip, and insert it into the pinhole or slot located next to the SIM card tray. Apply gentle pressure to initiate the release of the SIM card tray. Once the tray is partially ejected, carefully pull it out from the device, ensuring that it is handled with care to prevent any damage.
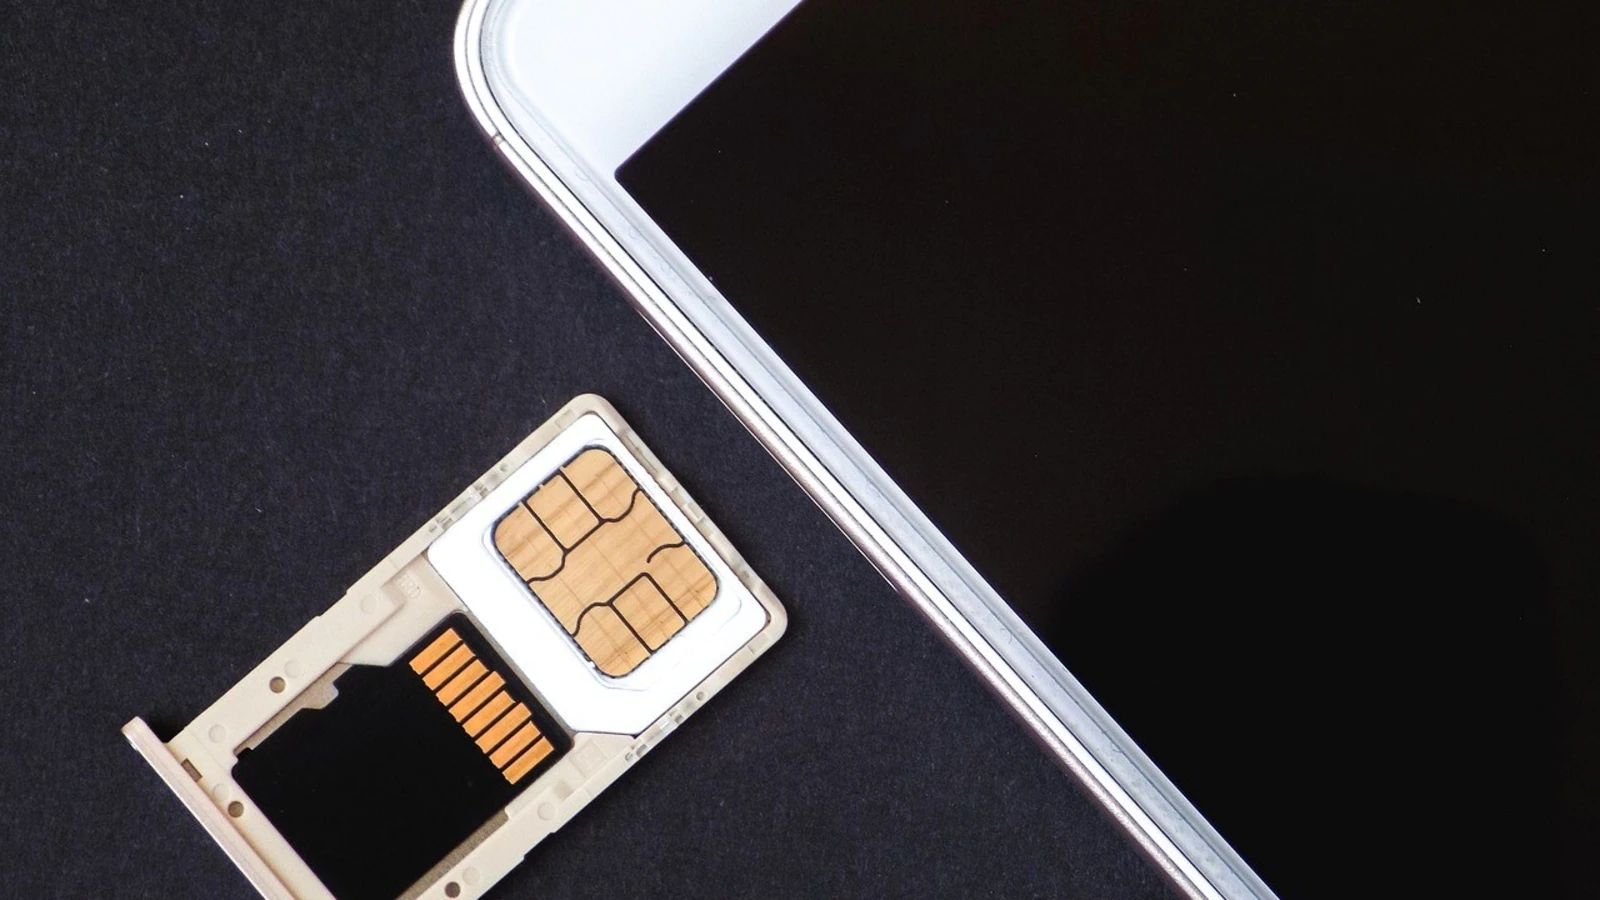
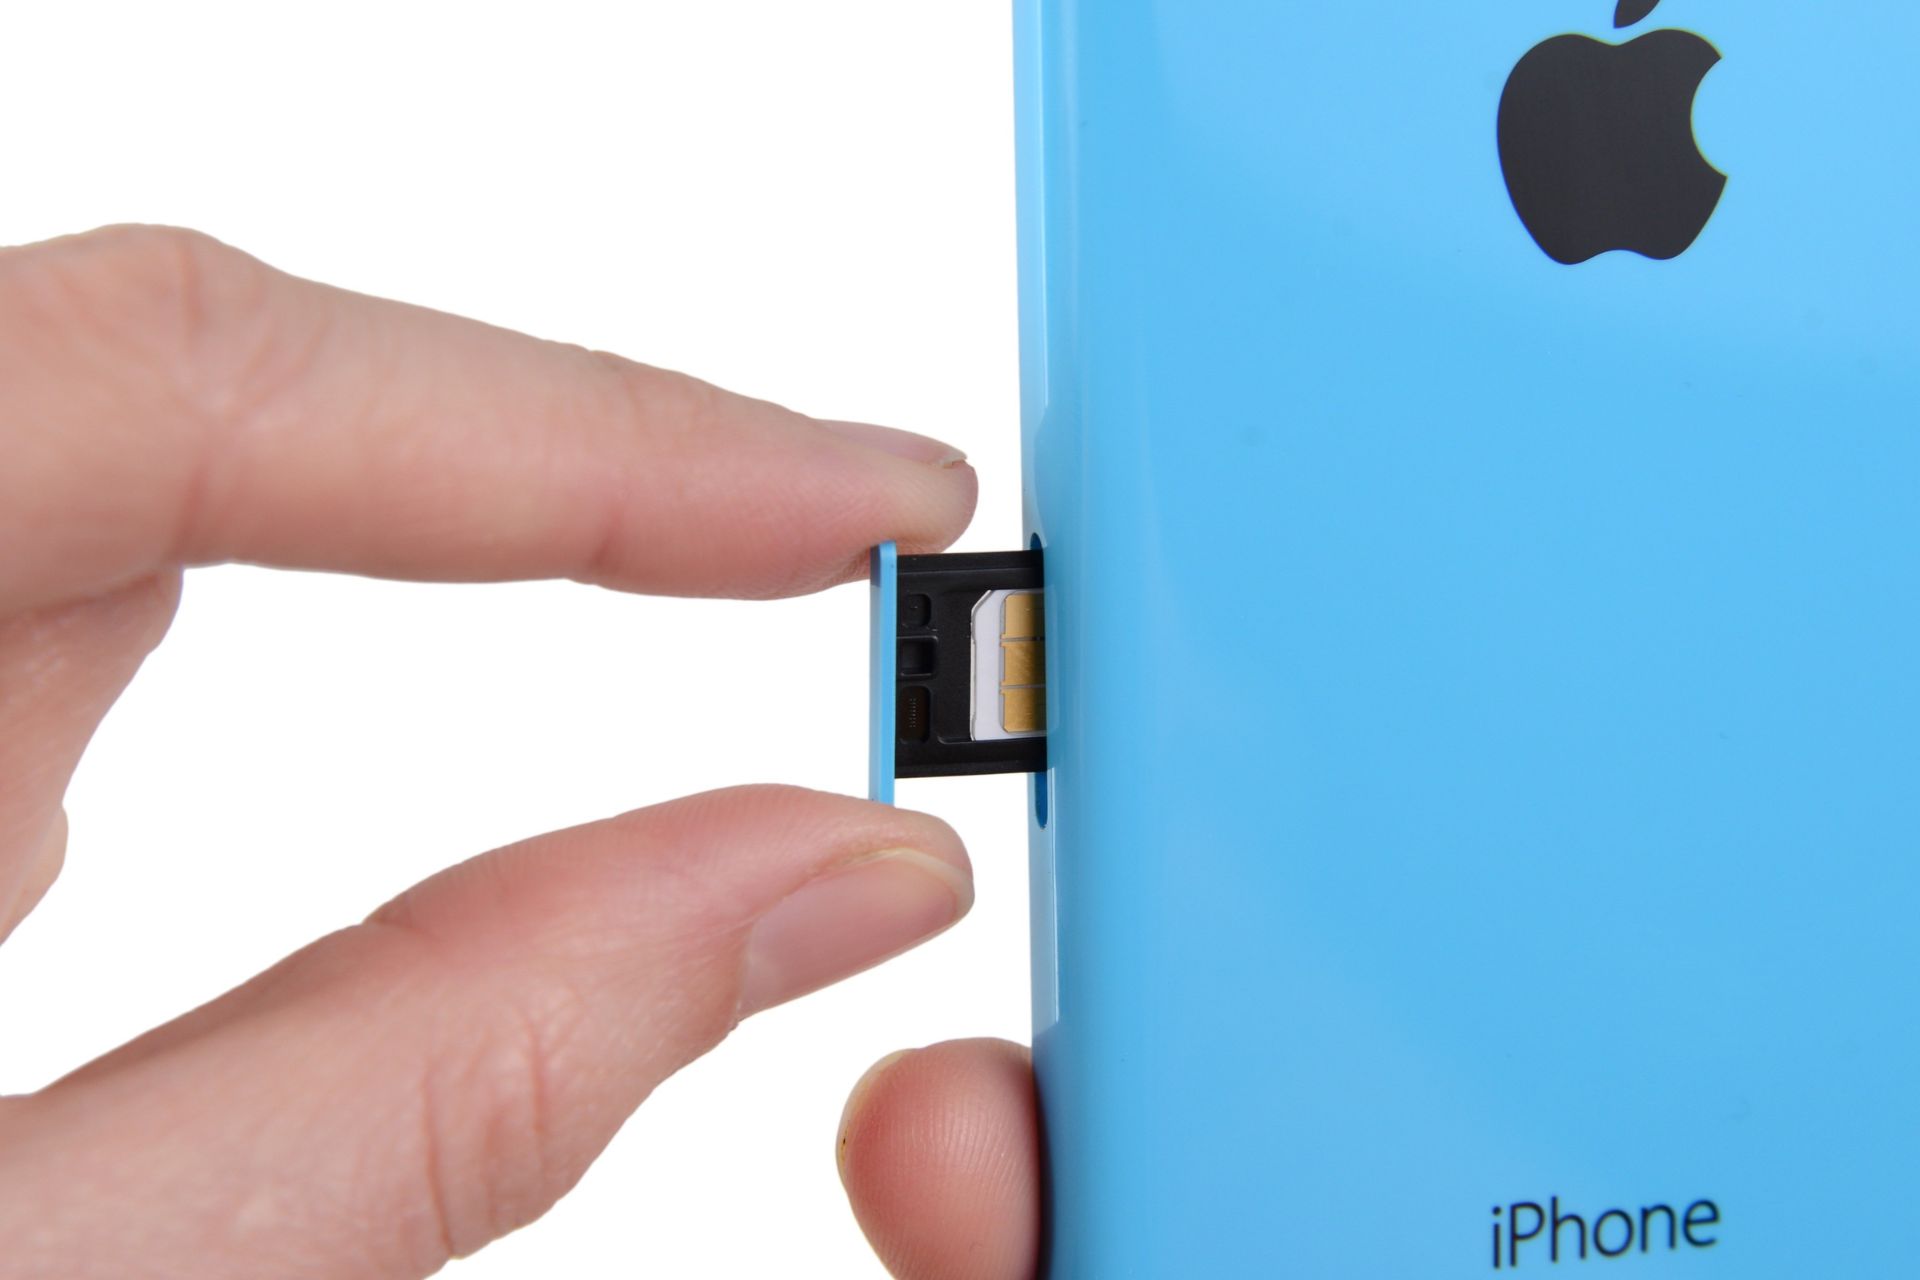
Now, take the SIM card and examine it closely. Note the orientation of the card and identify the notch or corner that aligns with the corresponding area within the SIM card tray. This alignment is crucial to ensure that the SIM card fits securely and functions optimally within the device.
With the orientation of the SIM card in mind, gently place it into the designated area within the SIM card tray. Ensure that the card sits flat and is positioned securely within the tray. Avoid applying excessive force when inserting the SIM card, as this can potentially damage the card or the device.
Once the SIM card is in place, carefully slide the SIM card tray back into the iPhone 5C, ensuring that it fits snugly into the device. Take a moment to verify that the tray is fully inserted and sits flush with the edge of the device. This step is crucial in ensuring that the SIM card is securely housed within the iPhone 5C.
As you complete the insertion of the SIM card, it is essential to handle the device and the SIM card with care. The delicate nature of the SIM card means that any mishandling can lead to potential damage, impacting its functionality. By exercising caution and precision during this process, you can ensure that the SIM card is inserted correctly and securely within your iPhone 5C.
With the SIM card now inserted into the device, you have successfully navigated through a pivotal step in the setup process. The careful execution of this step sets the stage for the subsequent actions, bringing you one step closer to harnessing the full potential of your iPhone 5C.
Step 3: Replace the SIM Card Tray
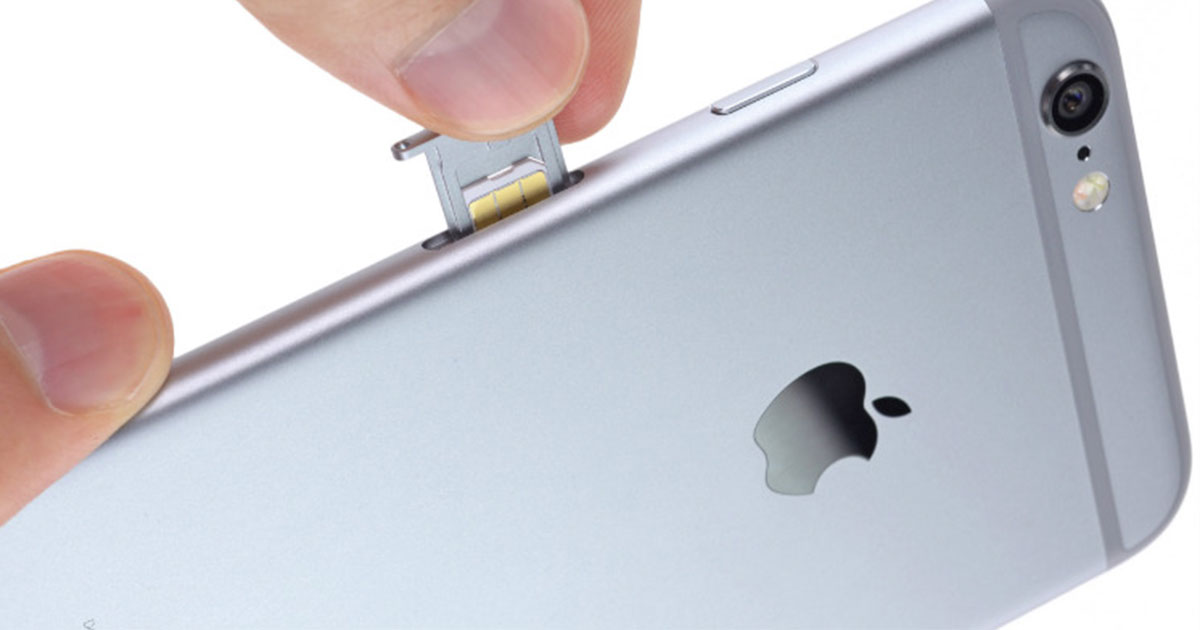
Replacing the SIM card tray is a crucial step in finalizing the insertion of the SIM card into your iPhone 5C. After securely placing the SIM card within the tray and carefully sliding it back into the device, the next action involves ensuring that the tray is firmly repositioned, thus safeguarding the SIM card and enabling the device to function seamlessly.
Upon gently sliding the SIM card tray back into the iPhone 5C, it is essential to apply even pressure to ensure that the tray aligns perfectly with the device. The smooth and steady reinsertion of the tray is pivotal in maintaining the integrity of the SIM card and preventing any potential disruptions in connectivity.
As the SIM card tray is maneuvered back into place, it is crucial to verify that it fits snugly and seamlessly integrates with the device. This step not only secures the SIM card within the iPhone 5C but also ensures that the device's exterior maintains a seamless and unobtrusive appearance.
A gentle click or slight resistance may be felt as the SIM card tray slots back into position, indicating that it is securely housed within the device. This tactile feedback serves as a reassuring confirmation that the tray has been successfully replaced, and the SIM card is now nestled within the iPhone 5C, ready to enable communication and connectivity.
After reinserting the SIM card tray, take a moment to visually inspect the device, ensuring that the tray sits flush with the edge of the iPhone 5C. This visual confirmation provides additional reassurance that the tray is securely positioned and that the SIM card is housed within the device as intended.
By meticulously completing the process of replacing the SIM card tray, you have taken a pivotal step towards finalizing the setup of your iPhone 5C. The seamless integration of the tray with the device signifies that the SIM card is securely in place, paving the way for the final step in this process – powering on your iPhone 5C.
With the SIM card tray successfully replaced, you are now poised to embark on the final stage of this setup process, bringing you one step closer to harnessing the full potential of your iPhone 5C.
Step 4: Turn on the iPhone 5C
With the SIM card securely inserted and the SIM card tray seamlessly repositioned within the device, the final step in this setup process involves powering on your iPhone 5C. This pivotal action marks the culmination of the SIM card insertion process, setting the stage for you to immerse yourself in the full spectrum of features and functionalities offered by your device.
To begin, locate the power button on your iPhone 5C. Positioned along the top edge of the device, this button serves as the gateway to activating your device and initiating the setup process. With a firm yet gentle press, hold down the power button until the distinctive Apple logo appears on the screen, signaling that your iPhone 5C is powering on.
As the device springs to life, you will be greeted by the familiar Apple logo, indicating that the iPhone 5C is booting up and preparing to welcome you into its intuitive interface. The seamless integration of the SIM card with the device ensures that your iPhone 5C is ready to establish a connection with your mobile network, enabling you to make calls, send texts, and access mobile data.
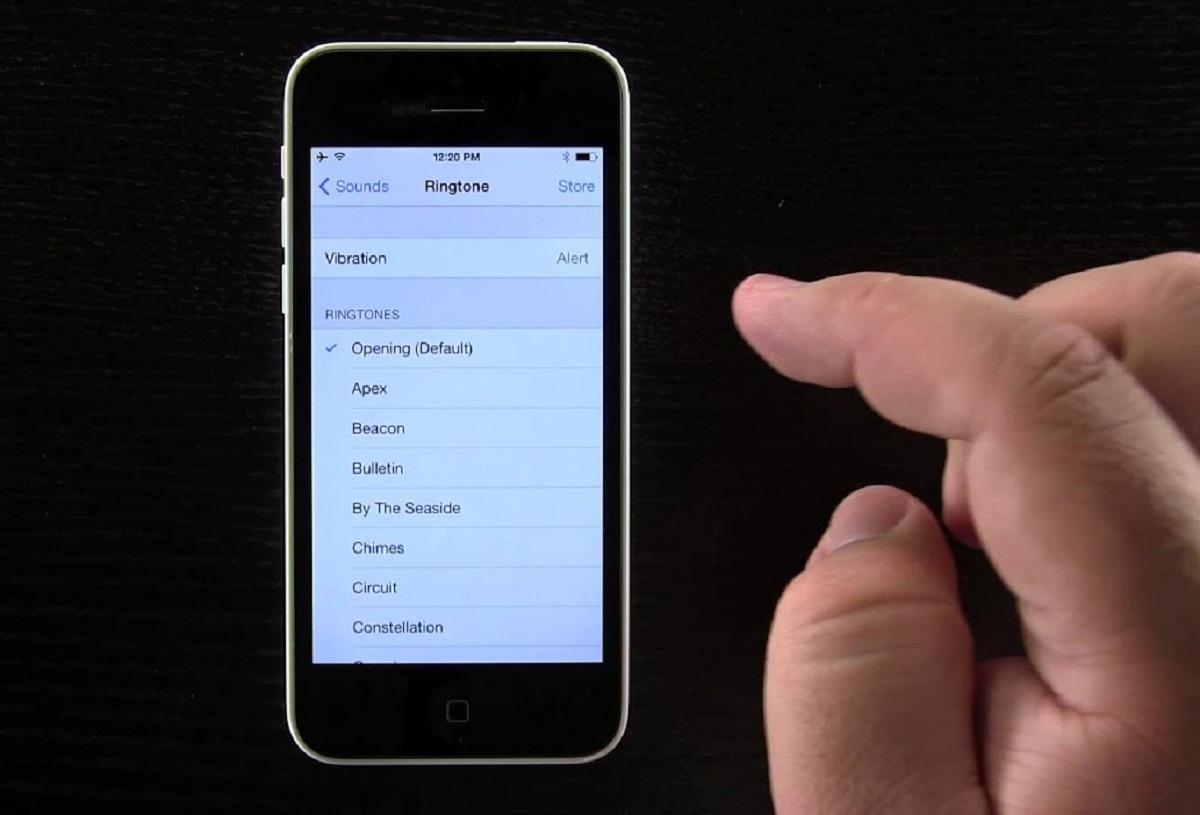
Once the device has completed the boot-up process, you will be prompted to set up your iPhone 5C, guiding you through essential configurations such as language selection, Wi-Fi network connection, and Apple ID authentication. These initial setup steps are pivotal in customizing your device to suit your preferences and ensuring that it seamlessly integrates with your digital ecosystem.
With the iPhone 5C now powered on and ready for setup, you have successfully navigated through the comprehensive process of inserting a SIM card into your device. The successful completion of this process signifies that your iPhone 5C is primed and poised to become an indispensable companion, empowering you to stay connected and engaged in your digital endeavors.
As the vibrant display of your iPhone 5C comes to life, you are now presented with a canvas of possibilities, ready to explore the myriad of features and functionalities that define the iPhone experience. Whether it's staying connected with loved ones, accessing a wealth of apps and services, or capturing memorable moments with the device's camera, your iPhone 5C stands ready to enrich your digital lifestyle.
By following this step-by-step guide and seamlessly integrating your SIM card with your iPhone 5C, you have embraced the potential of your device, setting the stage for a seamless and enriching user experience. As you embark on your journey with the iPhone 5C, may it serve as a reliable and versatile companion, empowering you to navigate the digital landscape with ease and confidence.