Introduction
Changing the SIM card in your iPhone 5C can be a simple yet crucial task, especially if you're switching to a new mobile carrier or replacing a damaged SIM card. Whether you're a tech-savvy individual or a novice in the world of mobile devices, understanding the process of changing a SIM card is essential. This comprehensive guide will walk you through the step-by-step process, ensuring that you can seamlessly transition to your new SIM card without any hiccups.
The SIM card, or Subscriber Identity Module, is a small chip that plays a vital role in connecting your iPhone 5C to your mobile network. It stores essential information such as your phone number, network authorization, and personal contacts. Therefore, when it comes to replacing or upgrading your SIM card, it's important to handle the process with care and precision.
By following this guide, you'll gain the confidence to manage this task independently, saving time and potentially avoiding the inconvenience of seeking professional assistance. Whether you're an iPhone aficionado or simply seeking to expand your mobile device knowledge, this guide is designed to provide you with the necessary insights to execute the SIM card replacement process smoothly.
As you embark on this journey of understanding and mastering the intricacies of your iPhone 5C, rest assured that the following steps will be presented in a clear and concise manner. With the goal of empowering you to take charge of your device, this guide aims to equip you with the knowledge required to carry out this essential task with ease and confidence. So, let's dive into the step-by-step process of changing the SIM card in your iPhone 5C.
Step 1: Turn off the iPhone 5C
Before embarking on the process of changing the SIM card in your iPhone 5C, it is essential to begin by turning off the device. This initial step is crucial as it ensures the safety of both the device and the SIM card during the replacement process.
To power off your iPhone 5C, simply locate the power button, which is typically situated on the upper right-hand side of the device. Once located, press and hold the power button until the "slide to power off" option appears on the screen. Gently swipe the slider from left to right to initiate the shutdown process.
By turning off the iPhone 5C, you are effectively preventing any potential damage to the device's internal components and safeguarding the SIM card from any accidental dislodgment or damage. This step also serves to minimize the risk of data loss or corruption, ensuring that the SIM card replacement process can be carried out smoothly and without any unforeseen complications.
Furthermore, powering off the device creates a safe environment for handling the SIM card and the SIM card tray. It eliminates the risk of electrical surges or interference, which could potentially disrupt the replacement process or cause damage to the SIM card, the device, or both.
By taking the time to power off your iPhone 5C before proceeding with the SIM card replacement, you are demonstrating a proactive approach to device maintenance and care. This simple yet critical step sets the stage for a seamless and trouble-free SIM card replacement experience, allowing you to proceed with the subsequent steps with confidence and peace of mind.
With the iPhone 5C now powered off, you are ready to move on to the next step in the process, which involves locating the SIM card tray within the device. This pivotal step sets the foundation for the successful execution of the SIM card replacement process, ensuring that each subsequent action is carried out effectively and without any complications.
Step 2: Locate the SIM card tray
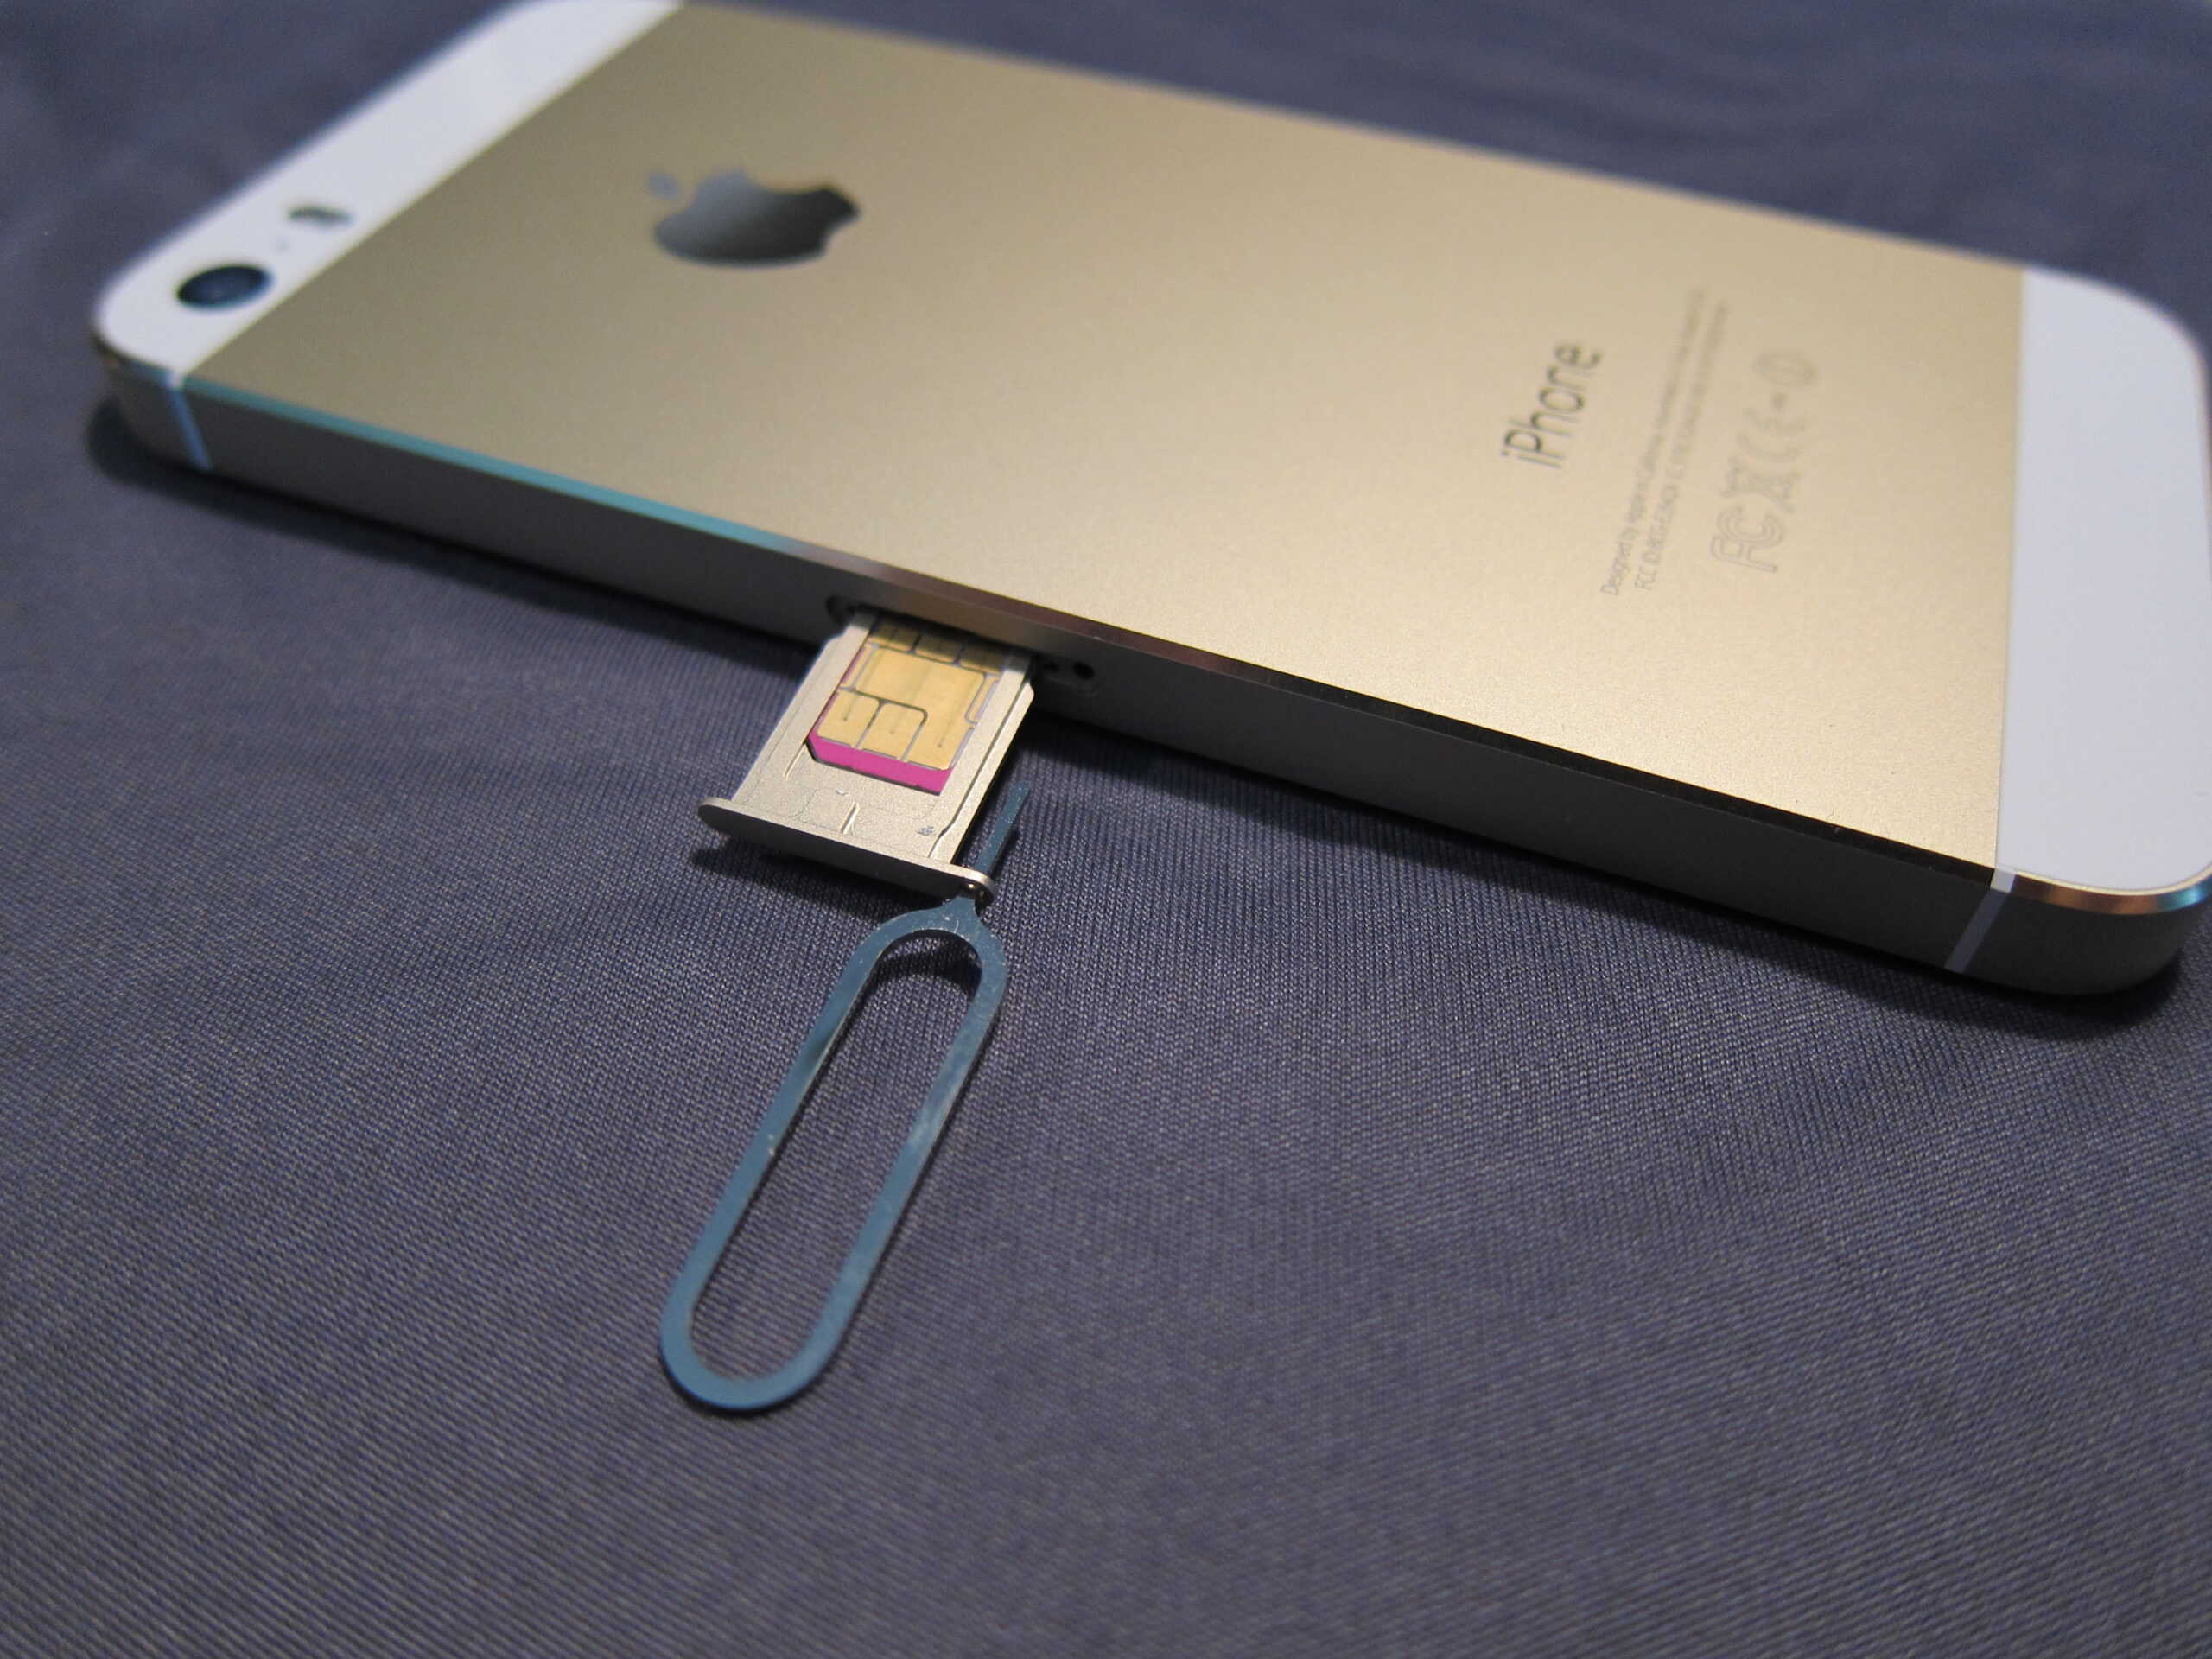
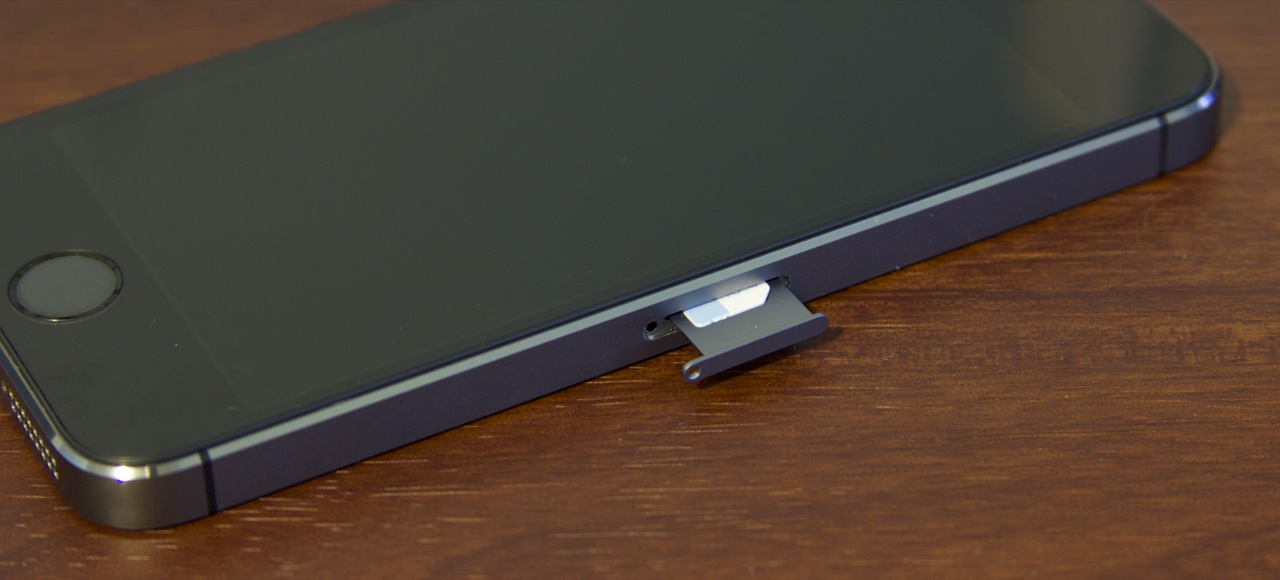
Upon successfully powering off your iPhone 5C, the next pivotal step in the process of changing the SIM card is to locate the SIM card tray. The SIM card tray is a small, discreet component of the iPhone 5C, yet it plays a crucial role in facilitating the insertion and removal of the SIM card. By identifying and accessing the SIM card tray, you are setting the stage for the seamless transition to a new SIM card or the replacement of an existing one.
To locate the SIM card tray, you will need to identify the specific placement of this essential component within the iPhone 5C. In most instances, the SIM card tray is positioned on the right-hand side of the device. It is important to note that the exact location of the SIM card tray may vary depending on the specific model and design of the iPhone 5C. Therefore, it is essential to handle the device with care and attention to detail as you embark on the process of locating the SIM card tray.
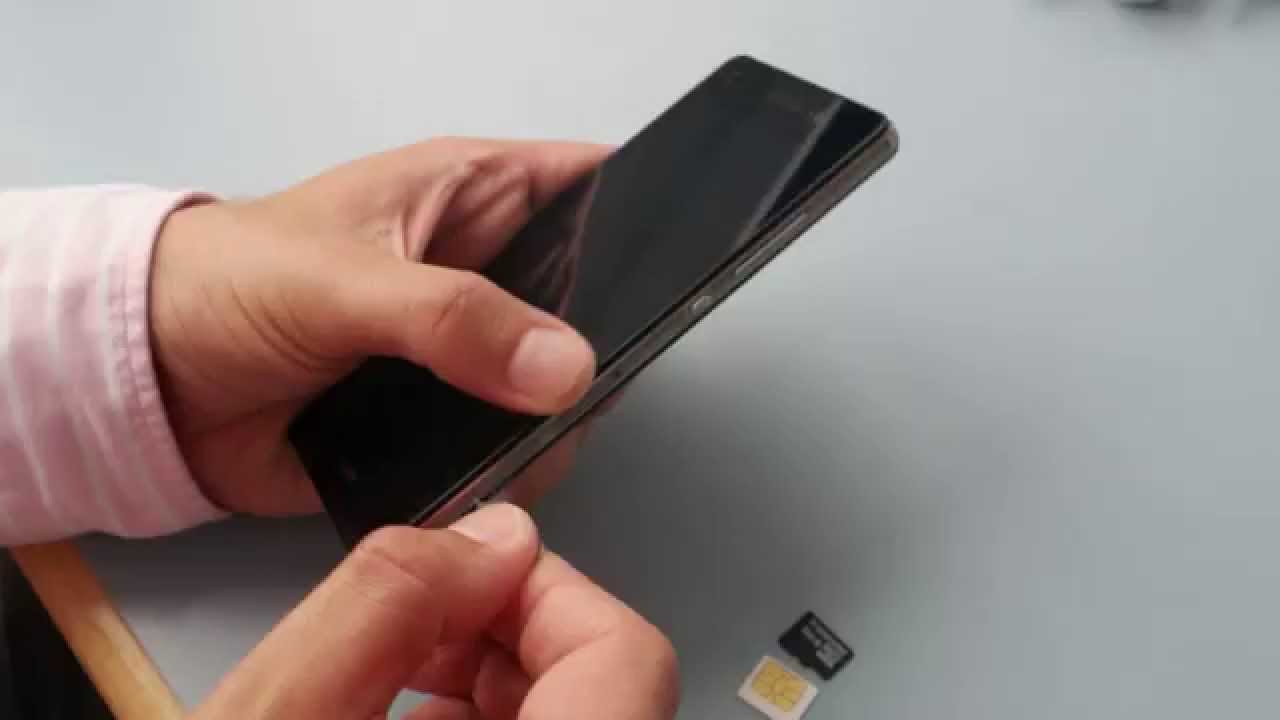
Once you have identified the general area where the SIM card tray is situated, you will need to use a SIM card ejector tool or a small, pointed object such as a paperclip to access the tray. The SIM card ejector tool is typically provided by the mobile carrier when you receive a new SIM card. If you do not have access to this tool, a paperclip can serve as a suitable alternative for ejecting the SIM card tray.
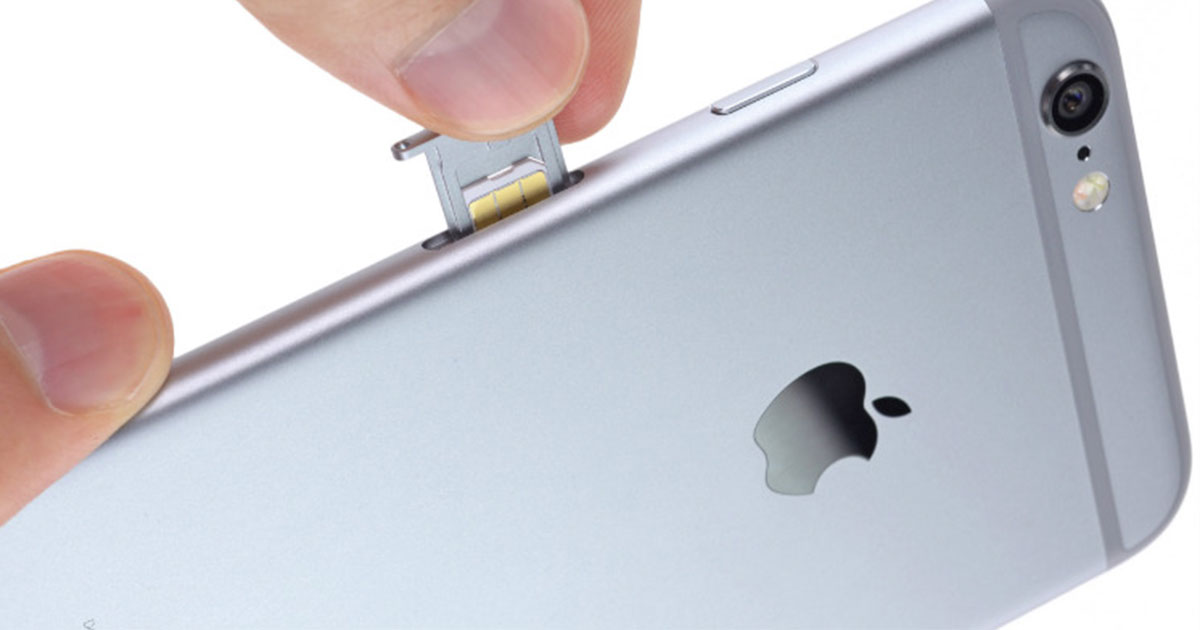
With the appropriate tool in hand, gently insert it into the small pinhole located near the SIM card tray. Apply a slight amount of pressure to initiate the ejection process. As you do so, you will notice that the SIM card tray begins to protrude from the device. Carefully pull the SIM card tray out of the iPhone 5C, ensuring that you handle it with caution to avoid any damage or misalignment.
By successfully locating the SIM card tray, you have now positioned yourself to proceed with the subsequent steps in the SIM card replacement process. This foundational step sets the stage for a seamless and efficient transition to a new SIM card, ensuring that the replacement process can be carried out with precision and confidence. With the SIM card tray in hand, you are ready to progress to the next step, which involves ejecting the current SIM card from the tray in preparation for the insertion of a new one.
Step 3: Eject the SIM card tray
With the SIM card tray in hand, the next crucial step in the process of changing the SIM card in your iPhone 5C is to eject the current SIM card from the tray. Ejecting the SIM card is a delicate yet straightforward process that requires precision and care to ensure the safe removal of the existing card without causing any damage to the device or the SIM card itself.
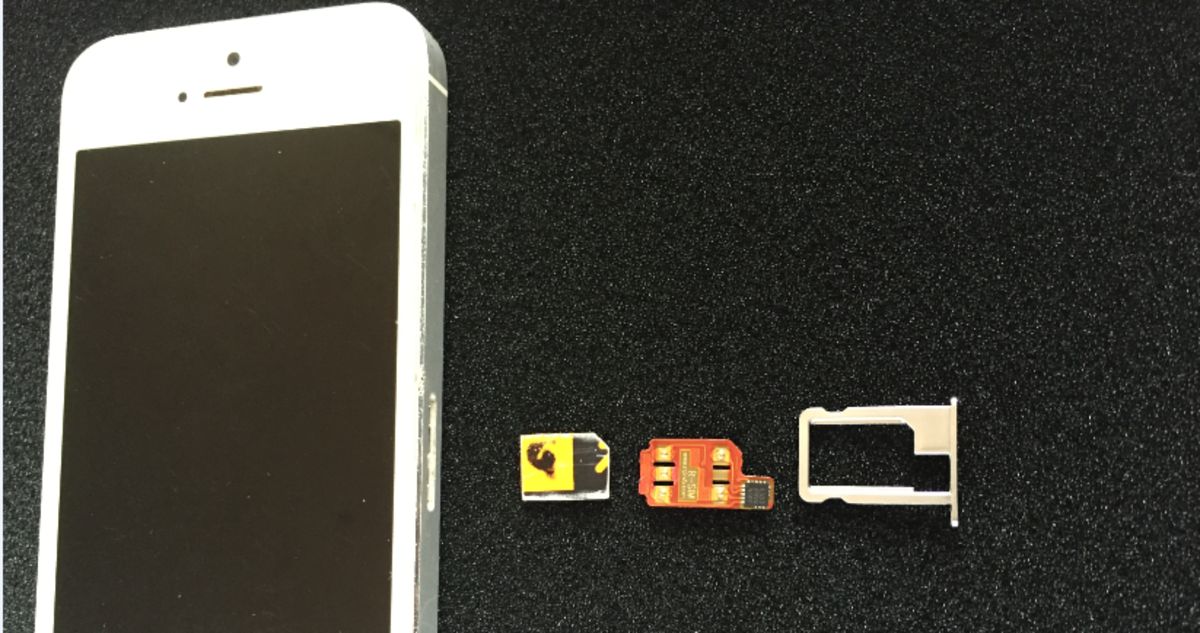
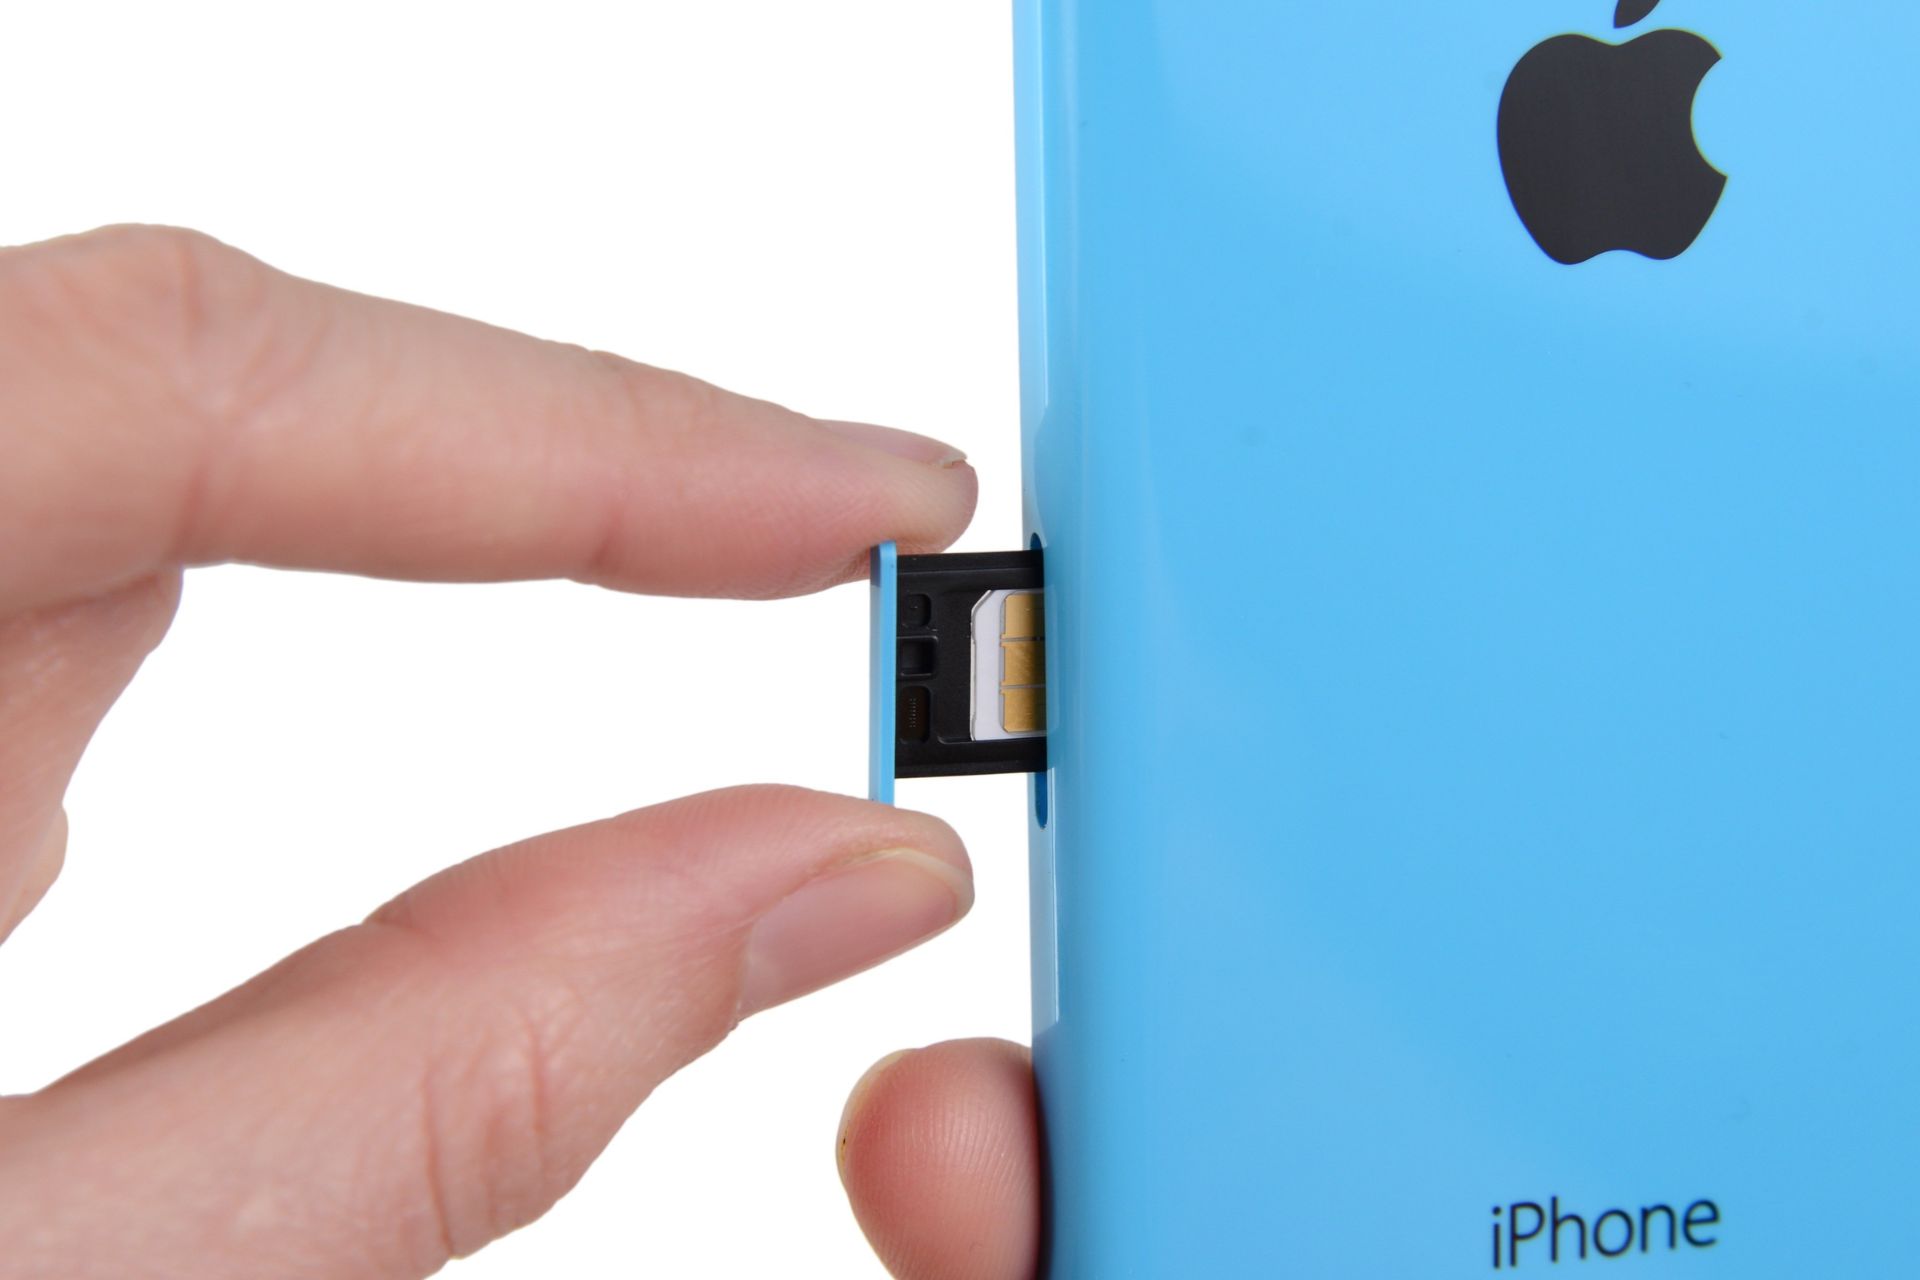
To begin the ejection process, carefully examine the SIM card tray, noting the position of the existing SIM card. The SIM card is securely positioned within the tray, and it is essential to handle it with the utmost care to avoid any bending or damage to the delicate chip.
Using your fingertips, gently grasp the existing SIM card and carefully slide it out of the tray. It is important to exert minimal pressure and maintain a steady hand to prevent any accidental bending or mishandling of the SIM card. As you slide the SIM card out of the tray, take note of its orientation and position to ensure that you can easily insert the new SIM card following the same configuration.
Once the existing SIM card has been successfully removed from the tray, take a moment to inspect both the card and the tray for any signs of damage or debris. Ensure that the tray is clean and free from any obstructions that could impede the smooth insertion of the new SIM card.
With the existing SIM card safely removed and the tray inspected, you are now prepared to proceed to the subsequent step, which involves the insertion of the new SIM card into the tray. By executing this step with precision and attention to detail, you are setting the stage for a successful transition to a new SIM card, ensuring that the replacement process is carried out seamlessly and without any complications.
Ejecting the existing SIM card from the tray marks a pivotal moment in the SIM card replacement process, signifying the smooth progression towards the final steps of the transition. With the existing SIM card safely removed, you are now poised to insert the new SIM card and complete the replacement process with confidence and ease.
Step 4: Remove the old SIM card
As you embark on the pivotal step of removing the old SIM card from the tray, it's essential to approach this process with precision and care. The old SIM card, which has faithfully served as the gateway to your mobile network, must be delicately handled to ensure a smooth transition to the new SIM card.
With the existing SIM card tray in hand, take a moment to inspect the tray and ensure that it is free from any debris or obstructions. This simple yet crucial step sets the stage for the seamless insertion of the new SIM card, ensuring that the tray is clean and ready to accommodate the replacement.
Upon confirming the cleanliness of the tray, gently position the tray in a stable and secure manner. This provides a steady foundation for the removal of the old SIM card, minimizing the risk of any accidental slippage or mishandling during the extraction process.
Next, carefully examine the old SIM card to determine its orientation within the tray. The SIM card is designed to fit snugly within the designated space, and it's important to note its positioning to facilitate the smooth insertion of the new SIM card.
Using your fingertips, delicately grasp the old SIM card and gently slide it out of the tray. It's crucial to exercise patience and precision during this process, ensuring that the SIM card is removed smoothly and without any resistance. By maintaining a steady hand and exerting minimal pressure, you can avoid any potential damage to the delicate chip.
As the old SIM card is safely removed from the tray, take a moment to inspect it for any signs of wear or damage. Additionally, examine the tray to ensure that it remains clean and free from any residual debris. This thorough inspection reaffirms the readiness of the tray for the seamless insertion of the new SIM card, setting the stage for the final and pivotal step in the SIM card replacement process.
The successful removal of the old SIM card marks a significant milestone in the transition to a new SIM card, signifying the careful and deliberate progression towards the final steps of the replacement process. With the old SIM card delicately removed and the tray prepared for the insertion of the new SIM card, you are now poised to proceed with confidence and precision to the subsequent step, which involves the seamless insertion of the new SIM card into the tray.
This pivotal step in the SIM card replacement process demonstrates your commitment to handling the transition with care and attention to detail, ensuring that the replacement is executed seamlessly and without any complications.
Step 5: Insert the new SIM card
With the old SIM card delicately removed and the tray inspected, you are now poised to embark on a pivotal step in the SIM card replacement process: the seamless insertion of the new SIM card. This step marks the transition to a new phase in the device's connectivity, signifying the initiation of a fresh link to your mobile network.
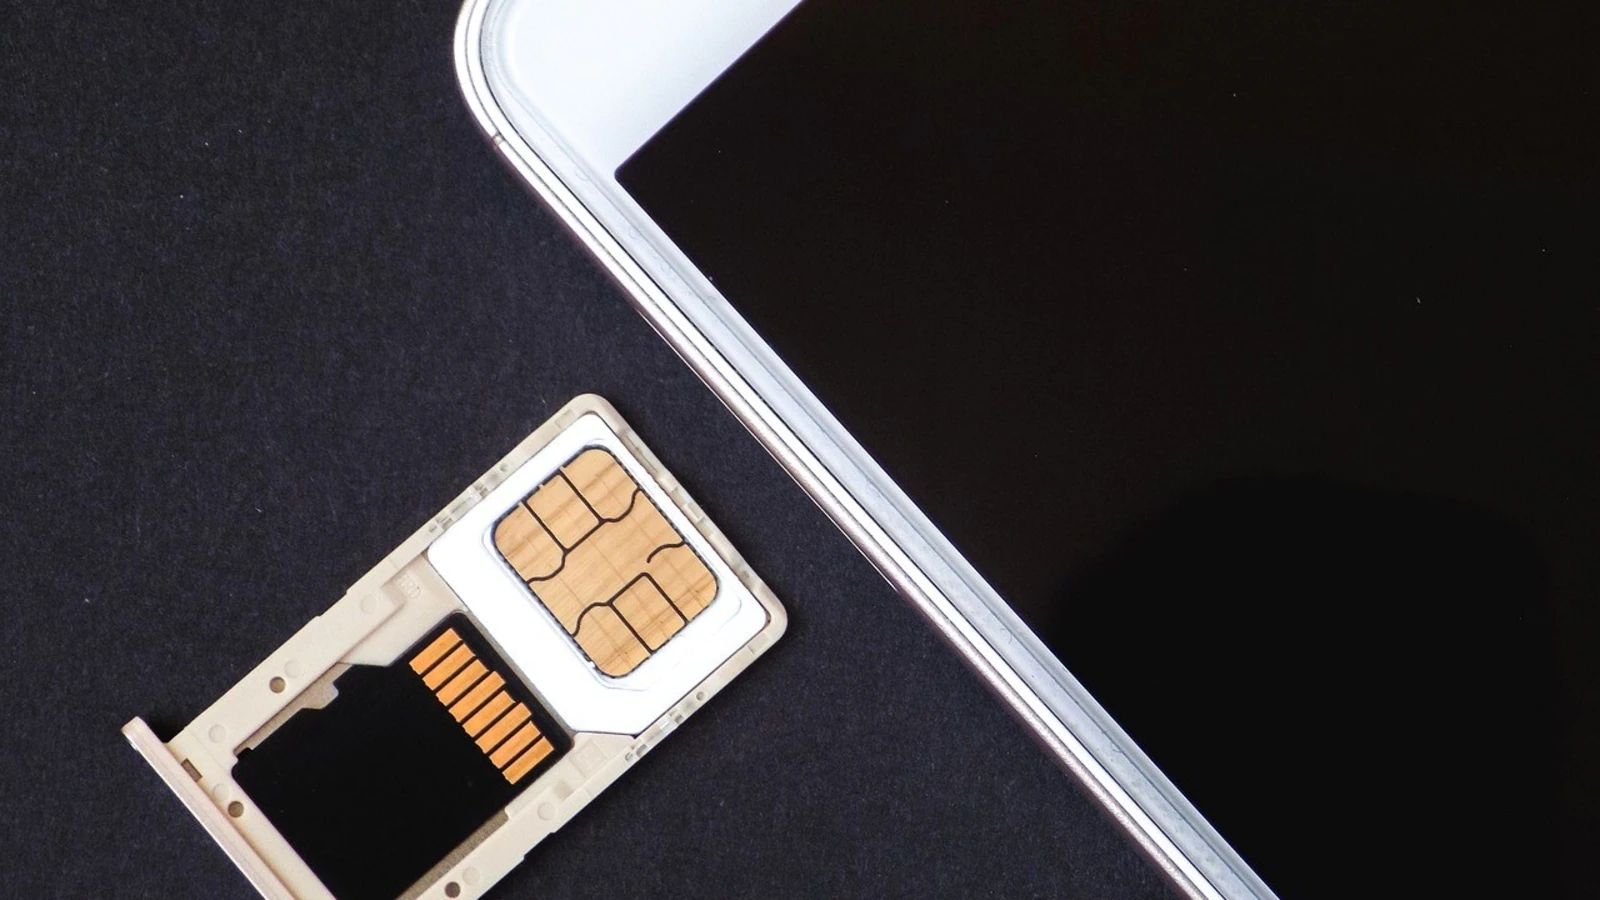
Before proceeding with the insertion, take a moment to examine the new SIM card. Ensure that it is free from any visible damage and that its configuration aligns with the designated space within the SIM card tray. This careful inspection reaffirms the readiness of the new SIM card for insertion, setting the stage for a smooth and trouble-free transition.
Position the SIM card tray in a stable and secure manner, providing a steady foundation for the insertion process. Next, carefully align the new SIM card with the designated space within the tray, ensuring that it fits snugly and aligns with the orientation observed during the removal of the old SIM card.
Gently place the new SIM card into the designated space within the tray, taking care to avoid any abrupt movements or misalignment. The SIM card should slide smoothly into position, reaffirming its secure placement within the tray.
As the new SIM card is delicately inserted into the tray, take a moment to ensure that it sits flush and securely within the designated space. This thorough verification reaffirms the successful insertion of the new SIM card, setting the stage for the final step in the replacement process.
The seamless insertion of the new SIM card marks a significant milestone in the transition to a fresh connectivity link, signifying the deliberate and careful progression towards the final steps of the replacement process. With the new SIM card securely in place, you are now prepared to proceed confidently to the subsequent step, which involves reinserting the SIM card tray into the iPhone 5C.
This pivotal step in the SIM card replacement process demonstrates your commitment to handling the transition with care and precision, ensuring that the replacement is executed seamlessly and without any complications.
Step 6: Reinsert the SIM card tray
With the new SIM card securely in place within the tray, the next critical step in the SIM card replacement process involves reinserting the SIM card tray into the iPhone 5C. This pivotal action signifies the culmination of the meticulous transition to a new SIM card, ensuring that the device is poised to establish a fresh connection to your mobile network.
Before proceeding with the reinsertion, take a moment to inspect the SIM card tray and ensure that it remains free from any debris or obstructions. This careful examination reaffirms the cleanliness of the tray, setting the stage for its seamless reintegration into the iPhone 5C.
Position the iPhone 5C in a stable and secure manner, ensuring that it is held steadily to facilitate the reinsertion of the SIM card tray. Carefully align the SIM card tray with the designated slot within the device, taking note of its orientation to ensure a precise fit.
Gently and steadily push the SIM card tray back into the designated slot, ensuring that it glides smoothly and securely into position. Exercise patience and precision during this process, avoiding any abrupt movements that could potentially disrupt the tray's alignment within the device.
As the SIM card tray is seamlessly reinserted into the iPhone 5C, take a moment to ensure that it sits flush and securely within the designated slot. This thorough verification reaffirms the successful reintegration of the SIM card tray, signifying the device's readiness to establish a renewed connection to the mobile network.
The seamless reinsertion of the SIM card tray marks a significant milestone in the completion of the SIM card replacement process, signifying the deliberate and careful progression towards the final steps of the transition. With the tray securely in place, you are now prepared to proceed confidently to the subsequent step, which involves the activation of the iPhone 5C with the new SIM card.
This pivotal step in the SIM card replacement process demonstrates your commitment to handling the transition with care and precision, ensuring that the replacement is executed seamlessly and without any complications.
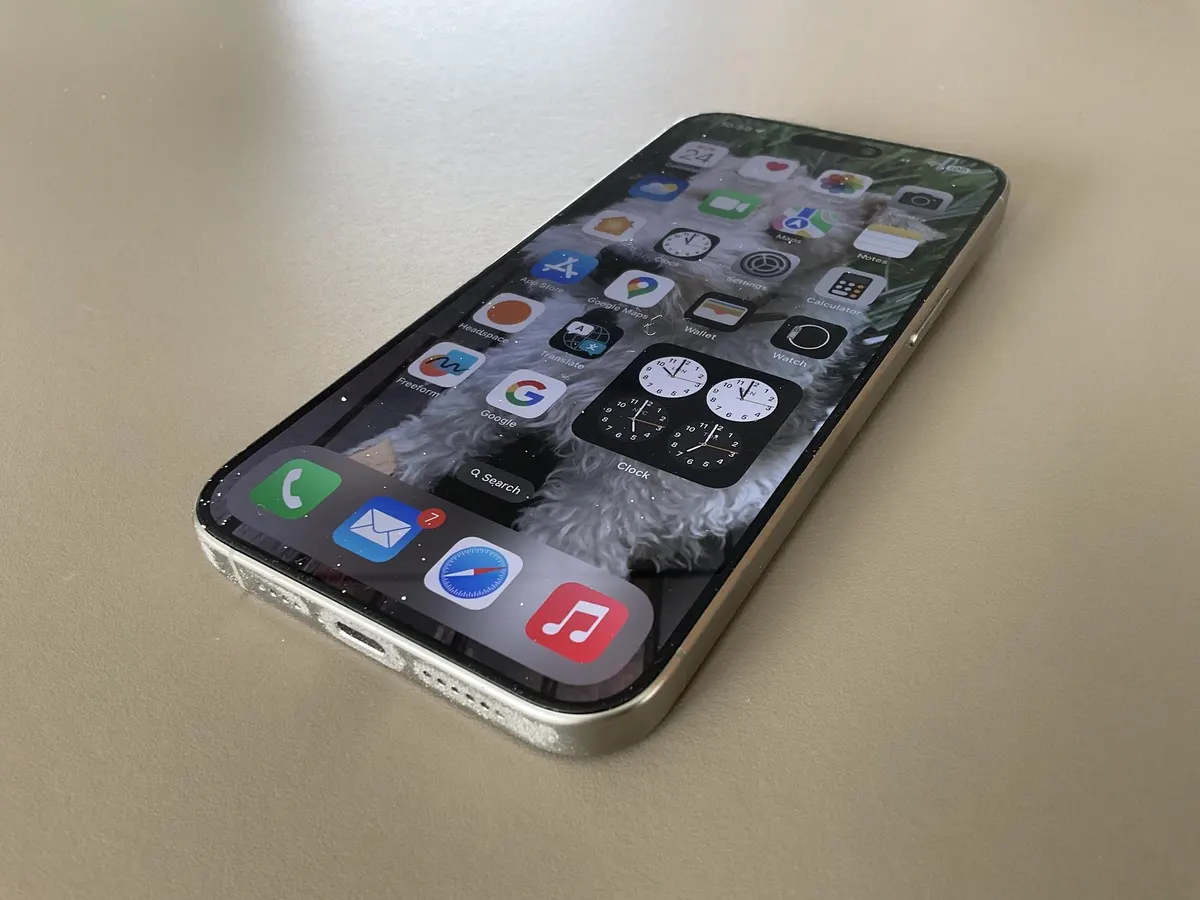
Step 7: Turn on the iPhone 5C
With the SIM card tray securely reinserted into the iPhone 5C, the final and pivotal step in the SIM card replacement process involves turning on the device. This critical action signifies the culmination of the meticulous transition to a new SIM card, ensuring that the iPhone 5C is poised to establish a fresh and seamless connection to your mobile network.
To initiate the activation process, locate the power button, typically situated on the upper right-hand side of the device. With a steady hand, press and hold the power button until the familiar Apple logo appears on the screen. This indicates that the iPhone 5C is powering on and initializing the connection to the mobile network.
As the device boots up, it undergoes a series of internal processes to establish the necessary network connections and authenticate the new SIM card. During this time, it is essential to exercise patience and allow the device to complete the activation process uninterrupted.
Once the iPhone 5C has completed the startup sequence, it will prompt you to enter the PIN associated with the new SIM card. Carefully input the PIN using the on-screen keypad, ensuring accuracy and precision to avoid any potential lockouts or errors.
Upon successful entry of the PIN, the iPhone 5C will proceed to establish a connection to the mobile network, enabling you to access voice, messaging, and data services seamlessly. This pivotal moment reaffirms the successful transition to the new SIM card, signifying the device's readiness to resume its role as a reliable and connected companion in your daily endeavors.
With the iPhone 5C now powered on and connected to the mobile network, take a moment to verify the signal strength and network connectivity. Ensure that the device displays the appropriate network carrier name and signal bars, signifying a successful connection to the mobile network.
As the iPhone 5C completes the activation process and displays the network connectivity indicators, you can proceed with confidence, knowing that the SIM card replacement process has been executed seamlessly and without any complications. The successful activation of the device with the new SIM card marks the culmination of a meticulous and deliberate transition, ensuring that the iPhone 5C is ready to serve as your trusted communication and connectivity companion.
This pivotal step in the SIM card replacement process demonstrates your commitment to handling the transition with care and precision, ensuring that the replacement is executed seamlessly and without any complications.
Conclusion
In conclusion, the process of changing the SIM card in your iPhone 5C is a pivotal yet manageable task that empowers you to take control of your device's connectivity. By following the step-by-step guide outlined in this comprehensive article, you have gained valuable insights into the intricacies of handling the SIM card replacement process with precision and confidence.
From the initial step of powering off the iPhone 5C to the final activation of the device with the new SIM card, each stage of the process has been carefully detailed to ensure a seamless and trouble-free transition. Through this journey, you have demonstrated a proactive approach to device maintenance and care, affirming your commitment to handling the transition with meticulous attention to detail.
The deliberate and careful execution of each step in the SIM card replacement process underscores your dedication to maintaining the integrity and functionality of your iPhone 5C. By adhering to the guidelines provided, you have ensured the safety of both the device and the SIM card, minimizing the risk of any potential damage or complications during the replacement process.
Furthermore, your commitment to precision and care has culminated in the successful establishment of a renewed connection to your mobile network, reaffirming the iPhone 5C's role as a reliable communication and connectivity companion in your daily endeavors. The activation of the device with the new SIM card marks a significant milestone in the completion of the transition, signifying the seamless integration of the new SIM card into the device's operational framework.
As you reflect on the journey of understanding and mastering the intricacies of your iPhone 5C, the knowledge and insights gained from this guide have equipped you with the confidence and expertise to manage the SIM card replacement process independently. This empowerment not only saves time and potential inconvenience but also fosters a deeper understanding of your device's functionality and maintenance requirements.
In essence, the successful completion of the SIM card replacement process underscores your ability to navigate the complexities of mobile device management with precision and care. By embracing this knowledge, you have positioned yourself as a capable steward of your iPhone 5C, ready to handle future maintenance tasks with confidence and expertise.