Introduction
The iPhone 8 is a remarkable device that offers a seamless blend of cutting-edge technology and elegant design. One of the essential components of this iconic smartphone is the SIM (Subscriber Identity Module) card, which enables users to connect to their mobile network and access a wide array of services. Whether you're setting up a new iPhone 8 or replacing an existing SIM card, understanding how to properly place the SIM card is crucial for ensuring uninterrupted connectivity.
In this comprehensive guide, you will be taken through a series of easy-to-follow steps that will demystify the process of placing a SIM card in your iPhone 8. By the end of this tutorial, you will have the confidence and knowledge to effortlessly manage your SIM card, allowing you to make the most of your iPhone 8's capabilities.
So, without further ado, let's dive into the step-by-step instructions for placing a SIM card in your iPhone 8. Whether you're a tech-savvy enthusiast or a newcomer to the world of mobile devices, this guide is designed to equip you with the essential skills to handle your iPhone 8's SIM card with ease and precision.
Step 1: Gather Necessary Tools
Before embarking on the process of placing a SIM card in your iPhone 8, it's essential to gather the necessary tools to ensure a smooth and hassle-free experience. Here's what you'll need:
-
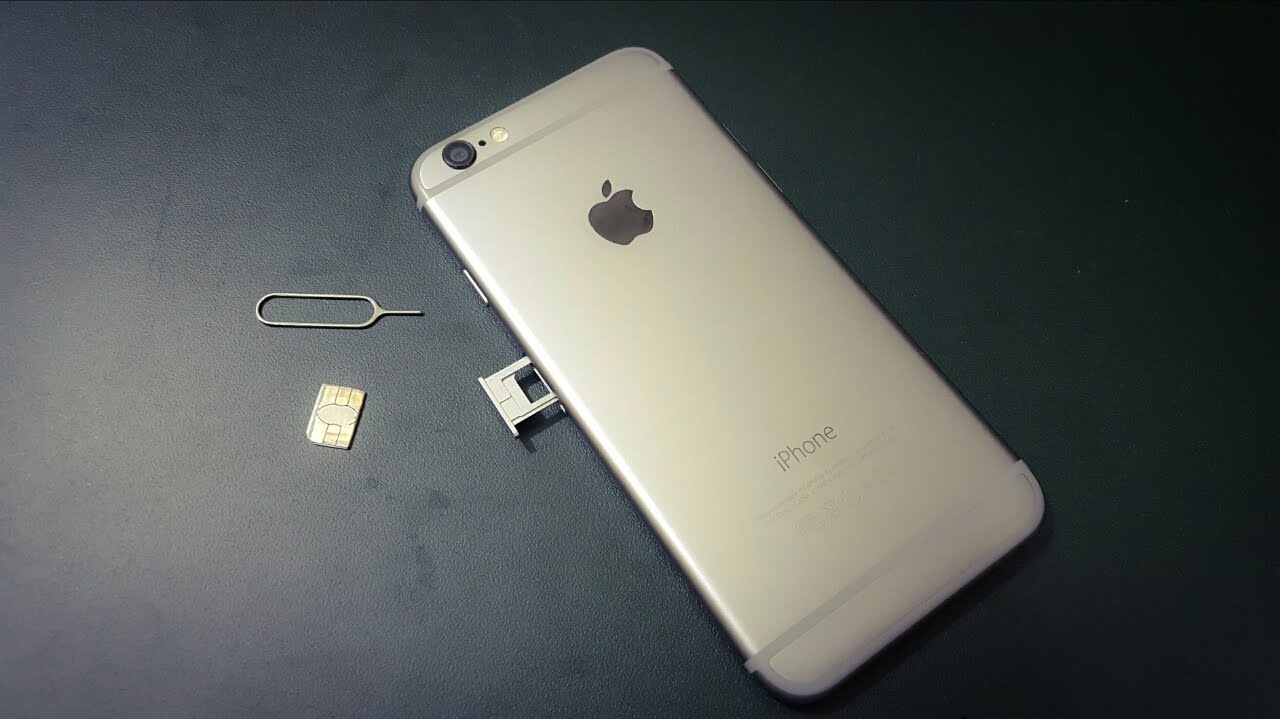
SIM Eject Tool: This small, metal tool is provided by Apple and is specifically designed for ejecting the SIM card tray from your iPhone 8. It typically comes in the iPhone packaging, nestled alongside the user manual and other accessories. The SIM eject tool is a vital instrument for safely accessing the SIM card slot without causing any damage to your device.
-
Replacement SIM Card (If Applicable): If you're replacing an existing SIM card with a new one, ensure that you have the replacement SIM card ready. Whether you're obtaining a new SIM card from your mobile service provider or transferring an existing SIM card from another device, having the replacement card at hand will streamline the process.
-
Stable Work Surface: To prevent any accidental mishaps, it's advisable to work on a stable and well-lit surface. This will provide a conducive environment for handling the delicate components of your iPhone 8 and the SIM card.
By having these tools readily available, you'll be well-prepared to proceed with the subsequent steps of placing the SIM card in your iPhone 8. With the necessary tools in hand, you can approach the process with confidence, knowing that you have everything you need to successfully manage your iPhone 8's SIM card.
Step 2: Locate the SIM Card Tray
The next crucial step in the process of placing a SIM card in your iPhone 8 is to locate the SIM card tray. The SIM card tray is a small, discreet component of the iPhone 8, designed to securely house the SIM card and ensure a stable connection to the mobile network. To locate the SIM card tray, follow these steps:
-
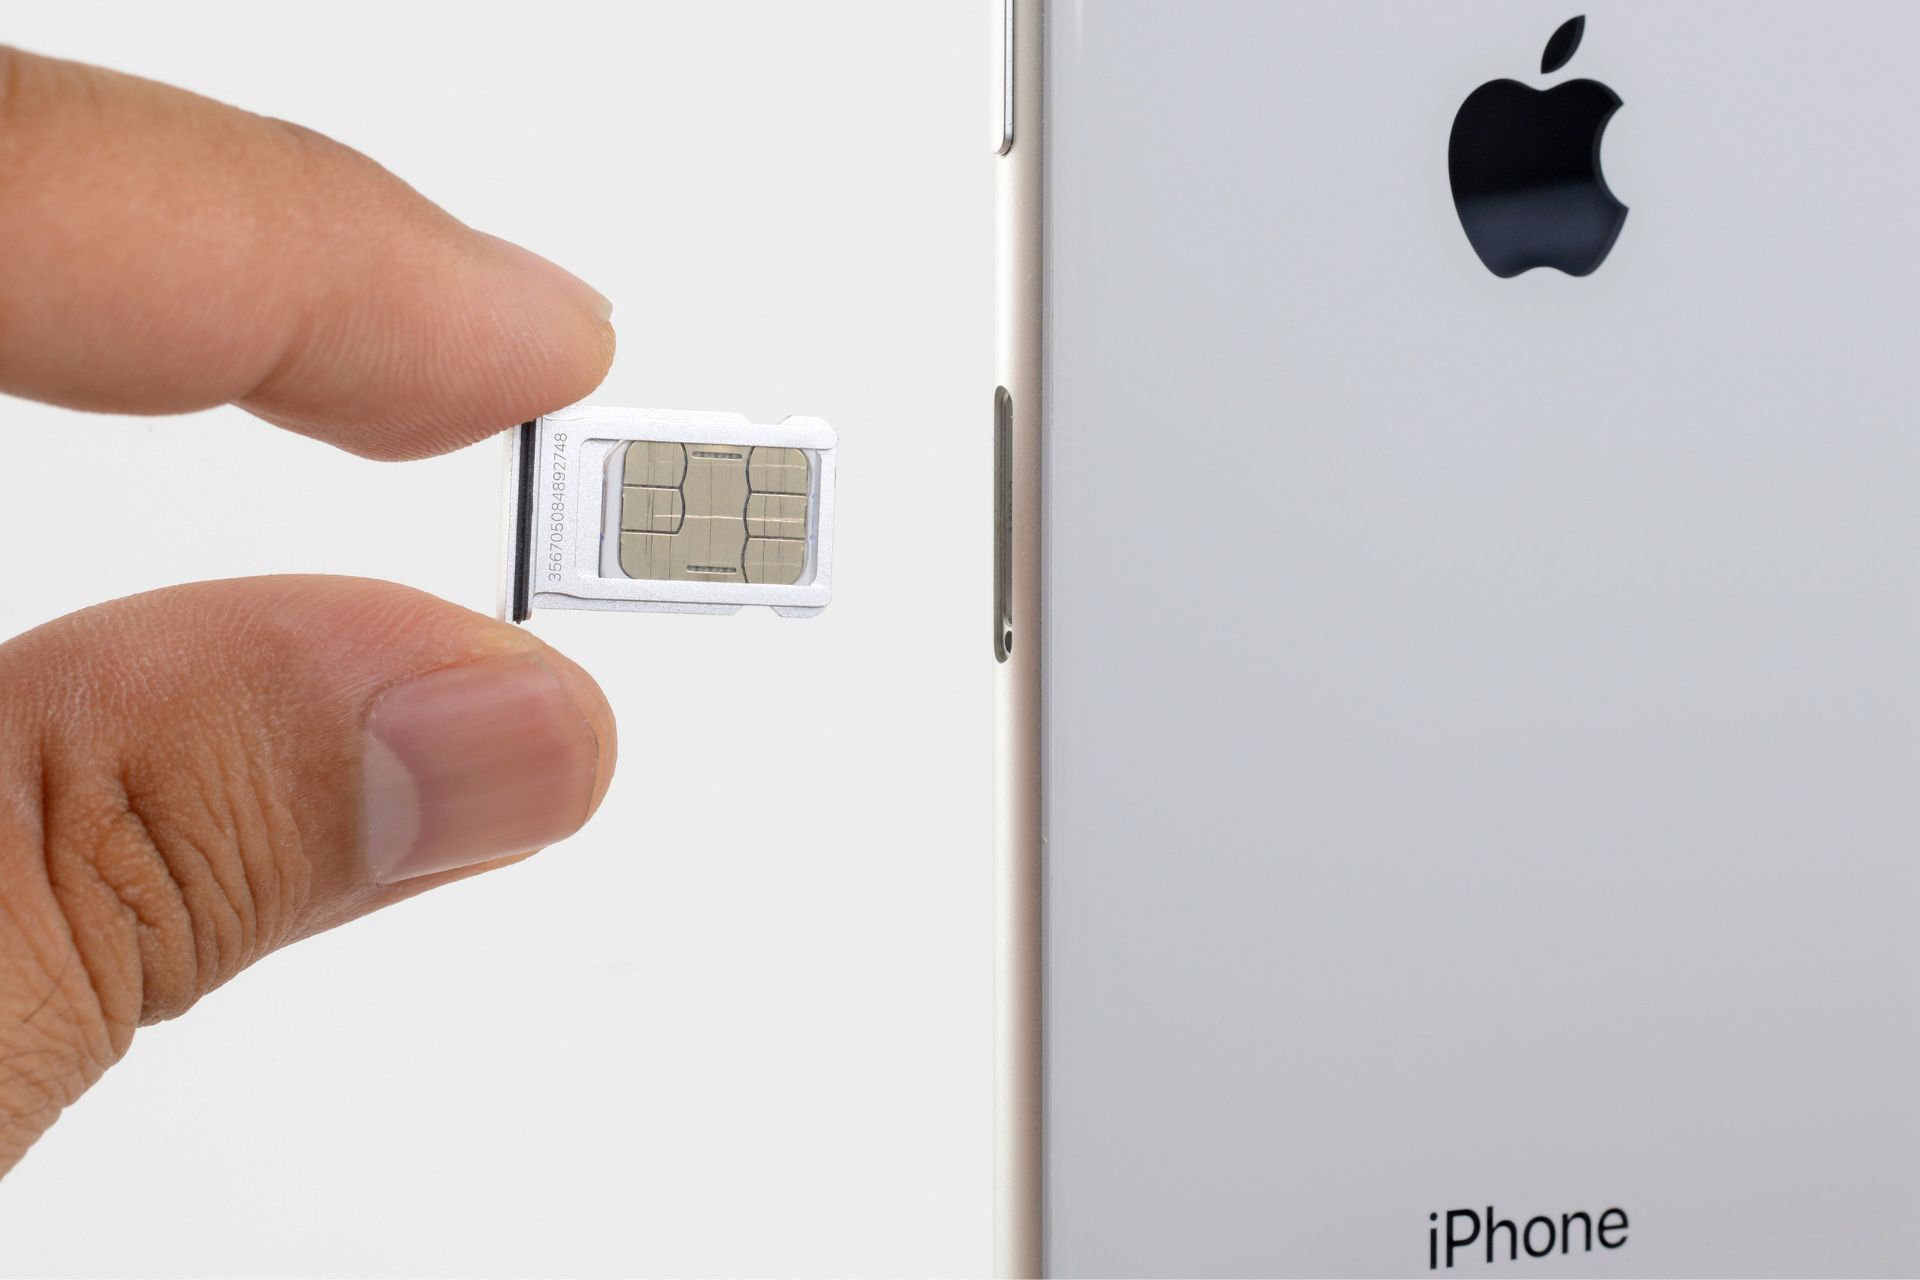
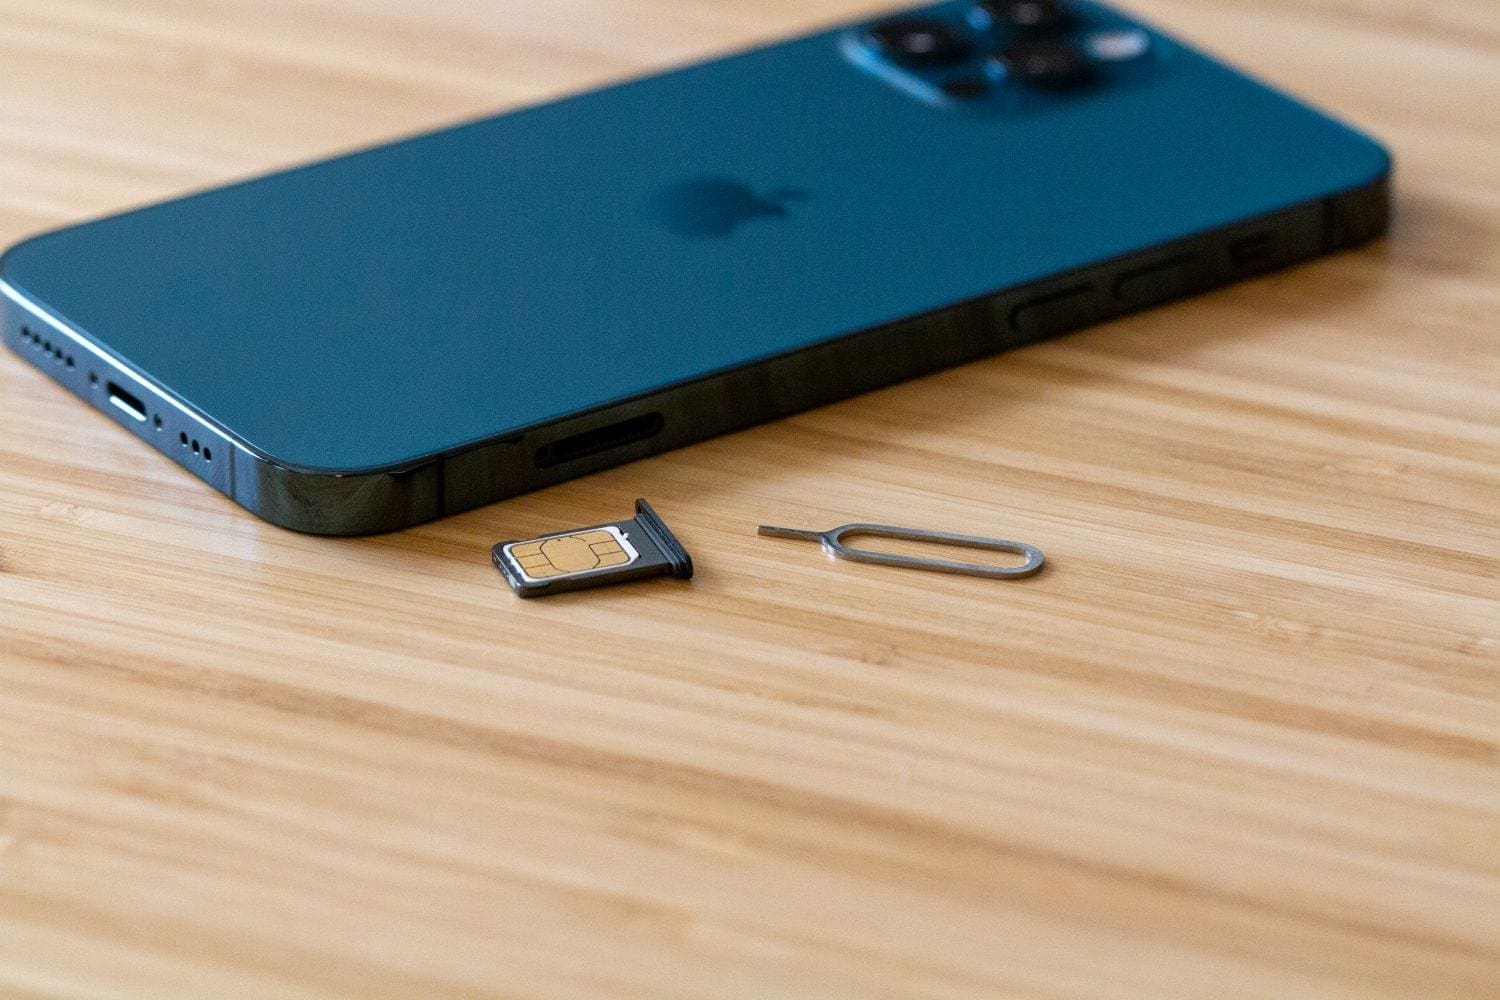
Identify the SIM Card Tray Slot: The SIM card tray slot is typically located on the right-hand side of the iPhone 8. It is essential to familiarize yourself with the physical layout of your device to pinpoint the exact placement of the SIM card tray slot. The slot is designed to accommodate the SIM card tray and is distinguishable by its small, rectangular shape.
-
Inspect the Device: Take a moment to visually inspect the right-hand side of your iPhone 8. Look for a small, pin-sized hole adjacent to the SIM card tray slot. This pinhole is a key indicator of the SIM card tray's location and serves as the entry point for the SIM eject tool.
-
Understand the Orientation: It's important to understand the orientation of the SIM card tray slot. The tray is designed to hold the SIM card in a specific position to ensure a secure and stable connection. Take note of the position and alignment of the slot to prepare for the subsequent steps of the process.
By carefully locating the SIM card tray, you are laying the foundation for a seamless SIM card placement experience. Familiarizing yourself with the physical layout of your iPhone 8 and identifying the precise location of the SIM card tray will set the stage for the next steps in the process. With these initial preparations in place, you are now ready to proceed to the subsequent step of ejecting the SIM card tray from your iPhone 8.
Remember, understanding the location of the SIM card tray is fundamental to the successful placement of the SIM card in your iPhone 8. By taking the time to locate the tray with precision, you are ensuring a smooth and efficient process as you progress through the remaining steps of this guide.
Step 3: Eject the SIM Card Tray
Ejecting the SIM card tray from your iPhone 8 is a pivotal step in the process of placing or replacing a SIM card. This step requires precision and care to ensure that the SIM card tray is safely removed without causing any damage to your device. Here's a detailed walkthrough of the process to eject the SIM card tray:
-
Retrieve the SIM Eject Tool: Begin by retrieving the SIM eject tool, a small, metal instrument provided by Apple. If you have the original iPhone 8 packaging, you can find the SIM eject tool nestled alongside the user manual and other accessories. Once you have the tool in hand, you're ready to proceed to the next step.
-
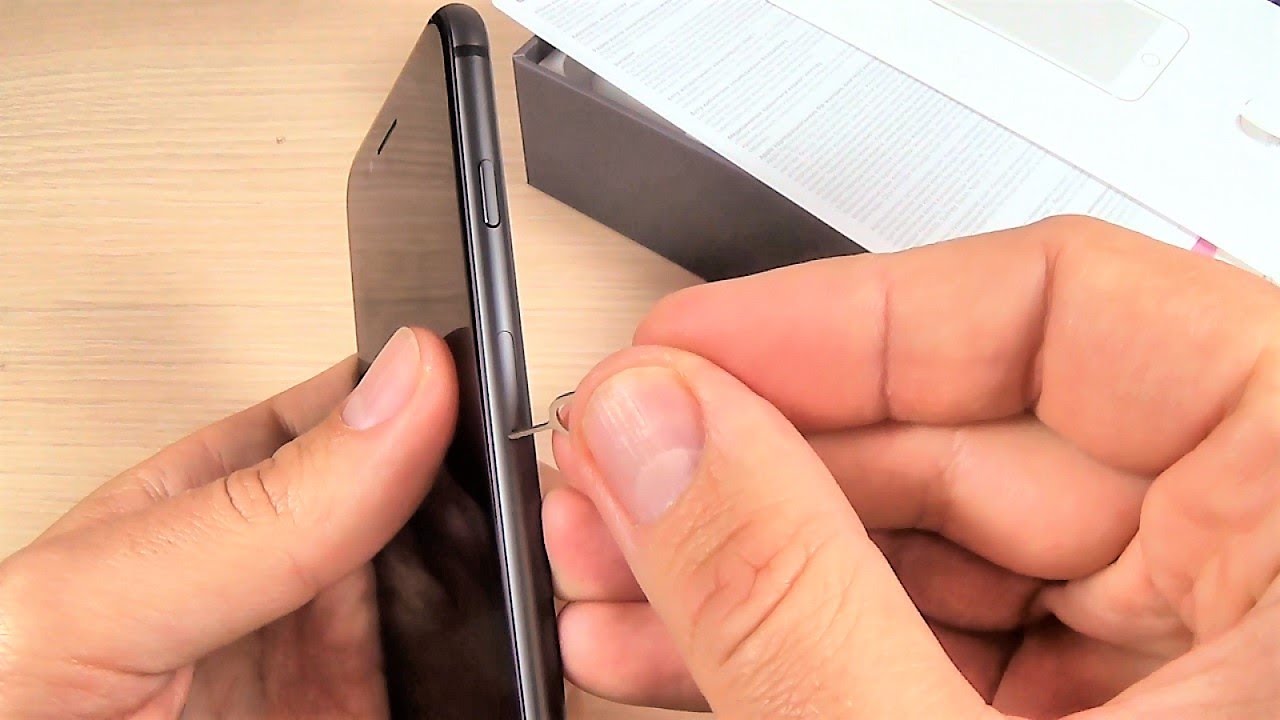
Insert the SIM Eject Tool: With the SIM eject tool in hand, locate the small pinhole adjacent to the SIM card tray slot on the right-hand side of your iPhone 8. Gently insert the pointed end of the SIM eject tool into the pinhole, ensuring that it fits snugly into the opening.
-
Apply Gentle Pressure: Once the SIM eject tool is securely inserted into the pinhole, apply gentle and steady pressure. The pressure will activate the internal mechanism, causing the SIM card tray to disengage and protrude slightly from the device.
-
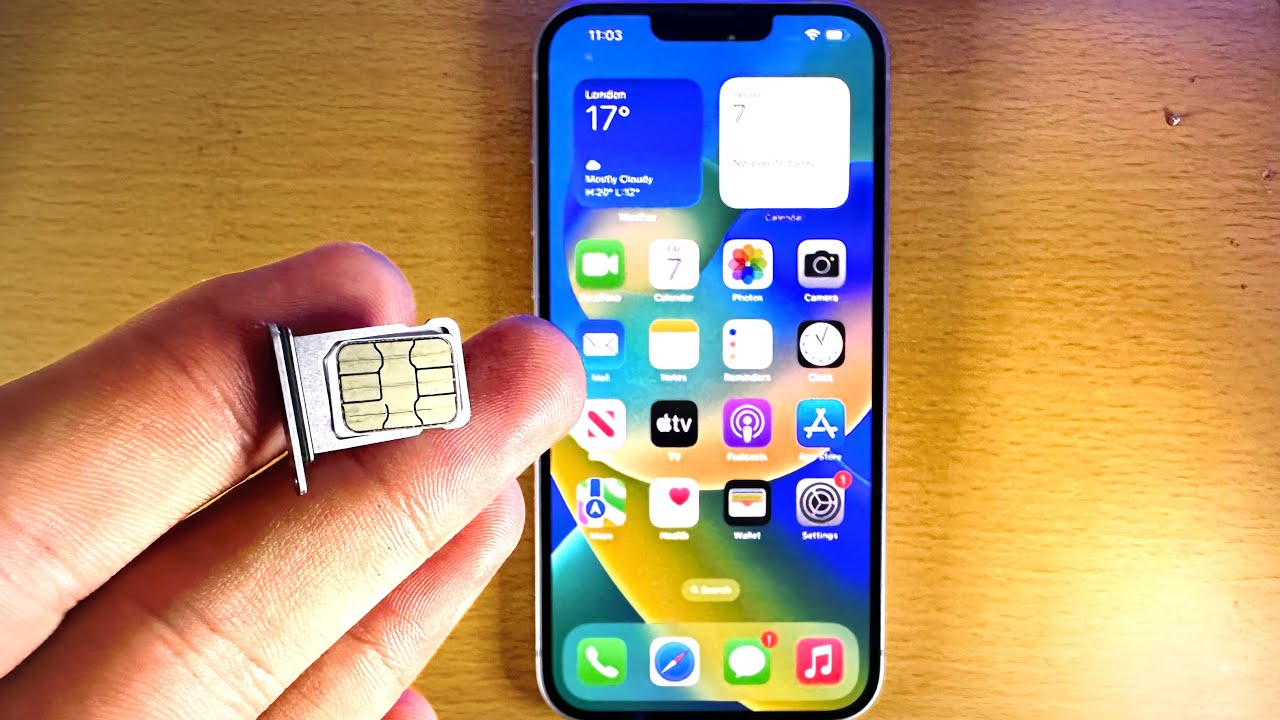
Carefully Remove the SIM Card Tray: With the SIM card tray partially ejected, carefully grasp the exposed edge of the tray and gently pull it out of the iPhone 8. Exercise caution to avoid applying excessive force or tilting the tray at an angle, as this could lead to damage or misalignment.
-
Inspect the SIM Card Tray: Upon removing the SIM card tray, take a moment to inspect it for any signs of damage or debris. Ensure that the tray is free from obstructions and that the internal components are intact and undamaged.
By following these steps with precision and care, you can successfully eject the SIM card tray from your iPhone 8, setting the stage for the subsequent step of inserting or replacing the SIM card. It's essential to approach this process with patience and attention to detail to ensure a seamless transition to the next phase of managing your iPhone 8's SIM card.
Step 4: Insert the SIM Card
After successfully ejecting the SIM card tray from your iPhone 8, the next pivotal step is to carefully insert the SIM card into the designated slot. This process requires precision and attention to detail to ensure a secure and stable connection between the SIM card and your device. Here's a detailed guide on how to insert the SIM card into your iPhone 8:
-
Prepare the SIM Card: Before inserting the SIM card, ensure that it is free from any visible damage and debris. If you are replacing an existing SIM card with a new one, carefully remove the old SIM card from the tray and place it in a secure location. Take the new or existing SIM card and orient it according to the shape of the slot on the SIM card tray.
-
Position the SIM Card: With the SIM card tray in hand, gently position the SIM card onto the designated area of the tray. The SIM card is designed to fit securely within the tray, aligning with the contours and ensuring a snug fit. Take note of the orientation of the SIM card and the corresponding slot on the tray to ensure a proper alignment.
-
Align and Insert: Once the SIM card is positioned correctly on the tray, carefully align it with the slot within the tray. Ensure that the SIM card sits flush with the tray, without any protrusions or misalignments. With steady and gentle pressure, carefully insert the SIM card tray back into the iPhone 8, ensuring that it glides smoothly into place.
-
Verify the Connection: After inserting the SIM card tray, take a moment to verify that the SIM card is securely seated within the tray. Gently press down on the tray to ensure that it is flush with the device, indicating that the SIM card is properly inserted and making contact with the internal components.
-
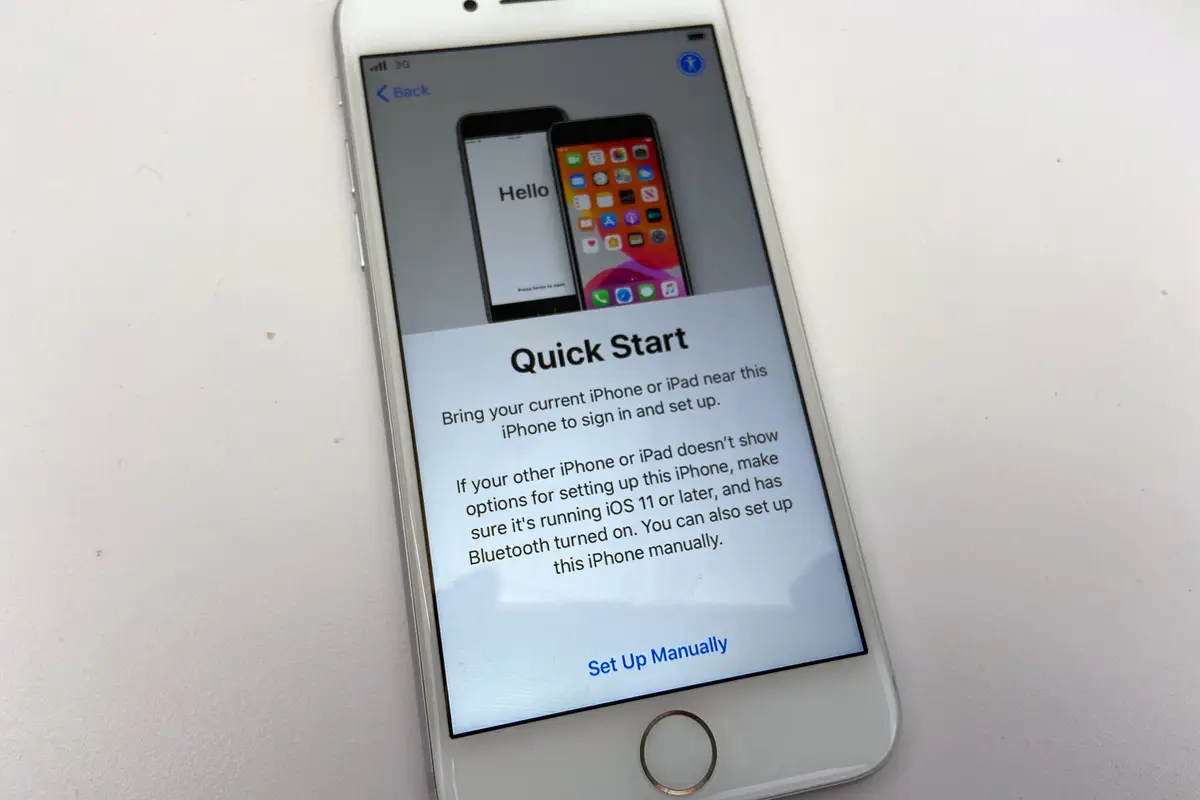
Power On and Test: Once the SIM card is inserted, power on your iPhone 8 and allow it to establish a connection with the mobile network. Verify that the device recognizes the SIM card and displays the network signal, indicating a successful insertion.
By following these steps with precision and care, you can confidently insert the SIM card into your iPhone 8, ensuring a seamless transition to the final step of replacing the SIM card tray and securing the SIM card in place. With the SIM card securely inserted, your iPhone 8 is poised to deliver uninterrupted connectivity and access to a myriad of mobile services.
Step 5: Replace the SIM Card Tray
After successfully inserting the SIM card into your iPhone 8, the final step is to replace the SIM card tray, securing the SIM card in its designated slot. This crucial step ensures that the SIM card remains firmly in place, maintaining a stable connection to the mobile network and safeguarding it from any potential dislodgement. Here's a detailed guide on how to replace the SIM card tray and finalize the SIM card placement process in your iPhone 8:
-
Align the SIM Card Tray: With the SIM card securely inserted, take the SIM card tray and align it with the slot on the right-hand side of your iPhone 8. Ensure that the tray is positioned correctly, with the opening facing the device and the edges aligned with the surrounding framework.
-
Gently Insert the SIM Card Tray: Holding the iPhone 8 and the SIM card tray securely, carefully guide the tray back into the SIM card slot. Apply gentle and even pressure to the tray, allowing it to slide smoothly into place without any resistance. Take care to avoid forcing the tray or applying excessive pressure, as this could lead to damage or misalignment.
-
Verify the Secure Fit: Once the SIM card tray is reinserted, take a moment to verify that it sits flush with the device. Gently press down on the tray to ensure that it is securely seated, indicating that the SIM card is firmly held in place and making consistent contact with the internal components of your iPhone 8.
-
Power On and Confirm Connectivity: After replacing the SIM card tray, power on your iPhone 8 and allow it to initialize. Check the device to ensure that it recognizes the SIM card and displays the network signal, indicating that the SIM card is securely in place and successfully connected to the mobile network.
-
Store the SIM Eject Tool: Once the SIM card tray is replaced, safely store the SIM eject tool in a secure location for future use. It's advisable to keep the tool with your iPhone 8 accessories or in a designated storage space to ensure it is readily available if the need arises to access the SIM card tray again.
By following these steps with precision and care, you can confidently replace the SIM card tray in your iPhone 8, finalizing the process of placing or replacing the SIM card. With the SIM card securely housed in the device, your iPhone 8 is ready to deliver seamless connectivity and empower you to enjoy the full range of mobile services and features.
Conclusion
In conclusion, mastering the art of placing a SIM card in your iPhone 8 is a valuable skill that empowers you to seamlessly manage your device's connectivity and access a myriad of mobile services. By following the step-by-step instructions outlined in this comprehensive guide, you have gained the expertise to confidently handle your iPhone 8's SIM card with precision and ease.
Throughout this tutorial, you've learned the essential steps, from gathering the necessary tools to replacing the SIM card tray, ensuring that you are well-equipped to undertake the process with confidence. By familiarizing yourself with the SIM card tray's location, safely ejecting the tray, inserting the SIM card, and securing the tray back in place, you have acquired the knowledge to navigate this fundamental aspect of iPhone 8 ownership.
Placing a SIM card in your iPhone 8 is not merely a technical task; it is a gateway to seamless connectivity and the gateway to a world of communication, information, and entertainment. With your newfound expertise, you are poised to harness the full potential of your iPhone 8, staying connected with friends and family, accessing online services, and enjoying the multitude of features offered by your device.
As you embark on your iPhone 8 journey, remember that the skills and knowledge you have acquired in this guide are not only practical but also empowering. Whether you are setting up a new iPhone 8 or replacing an existing SIM card, the ability to confidently manage your device's SIM card is a testament to your mastery of essential mobile device management.
With your iPhone 8 and its SIM card working in harmony, you are ready to explore a world of possibilities at your fingertips. From making calls and sending messages to accessing the internet and utilizing a myriad of apps, your iPhone 8 is now primed to deliver a seamless and enriching mobile experience.
So, as you embark on your iPhone 8 journey, armed with the knowledge and skills gained from this guide, may your device be a steadfast companion, keeping you connected and empowered in the ever-evolving digital landscape. Embrace the opportunities that your iPhone 8 presents, and may it serve as a gateway to boundless possibilities, all made possible by your expertise in managing its essential components.
Remember, the journey with your iPhone 8 is just beginning, and with your newfound proficiency in SIM card management, you are well-prepared to embark on this exciting adventure with confidence and enthusiasm.