Introduction
Removing the SIM card from an iPhone 8 is a straightforward process that can be accomplished with a few simple steps. Whether you need to switch to a new SIM card, troubleshoot connectivity issues, or prepare your device for repair or resale, knowing how to safely remove the SIM card is essential for iPhone 8 users. This guide will walk you through the process, ensuring that you can complete it with confidence and ease.
The SIM card, short for Subscriber Identity Module, plays a critical role in connecting your iPhone 8 to your mobile network. It stores essential information, including your phone number, carrier details, and contacts. When swapping to a new device or troubleshooting network problems, removing the SIM card is often necessary. While the process may seem daunting at first, it's actually quite simple and can be completed in just a few minutes.
By following this step-by-step guide, you'll be able to safely remove your iPhone 8's SIM card without causing any damage to the device. It's important to note that the SIM card should be handled with care to prevent any potential damage to the delicate circuitry. With this in mind, let's dive into the process of removing the SIM card from an iPhone 8, ensuring that you have all the necessary tools and knowledge to complete the task successfully.
Step 1: Gather necessary tools
Before embarking on the process of removing the SIM card from your iPhone 8, it's essential to gather the necessary tools to ensure a smooth and hassle-free experience. Here's what you'll need:
-
SIM Card Ejector Tool: This small, metal tool is specifically designed for ejecting the SIM card tray from your iPhone 8. It's typically included in the original packaging of your device. If you can't locate the ejector tool, a straightened paperclip can serve as an alternative.
-
Clean, Lint-Free Cloth: A soft, lint-free cloth will come in handy for wiping the SIM card and the SIM card tray. This ensures that both components are free from any dust, dirt, or debris, which could potentially interfere with the SIM card's functionality.
-
Stable Work Surface: Find a flat and stable surface to work on, such as a table or desk. This will provide a secure area to perform the SIM card removal process without the risk of dropping or damaging any components.
-
Good Lighting: Adequate lighting is crucial for ensuring that you can clearly see the SIM card tray and its ejector mechanism. Working in a well-lit environment minimizes the chances of overlooking any important details during the removal process.
By gathering these essential tools, you'll be well-prepared to proceed with the SIM card removal process. With everything in place, you can confidently move on to the next step of locating the SIM card tray on your iPhone 8.
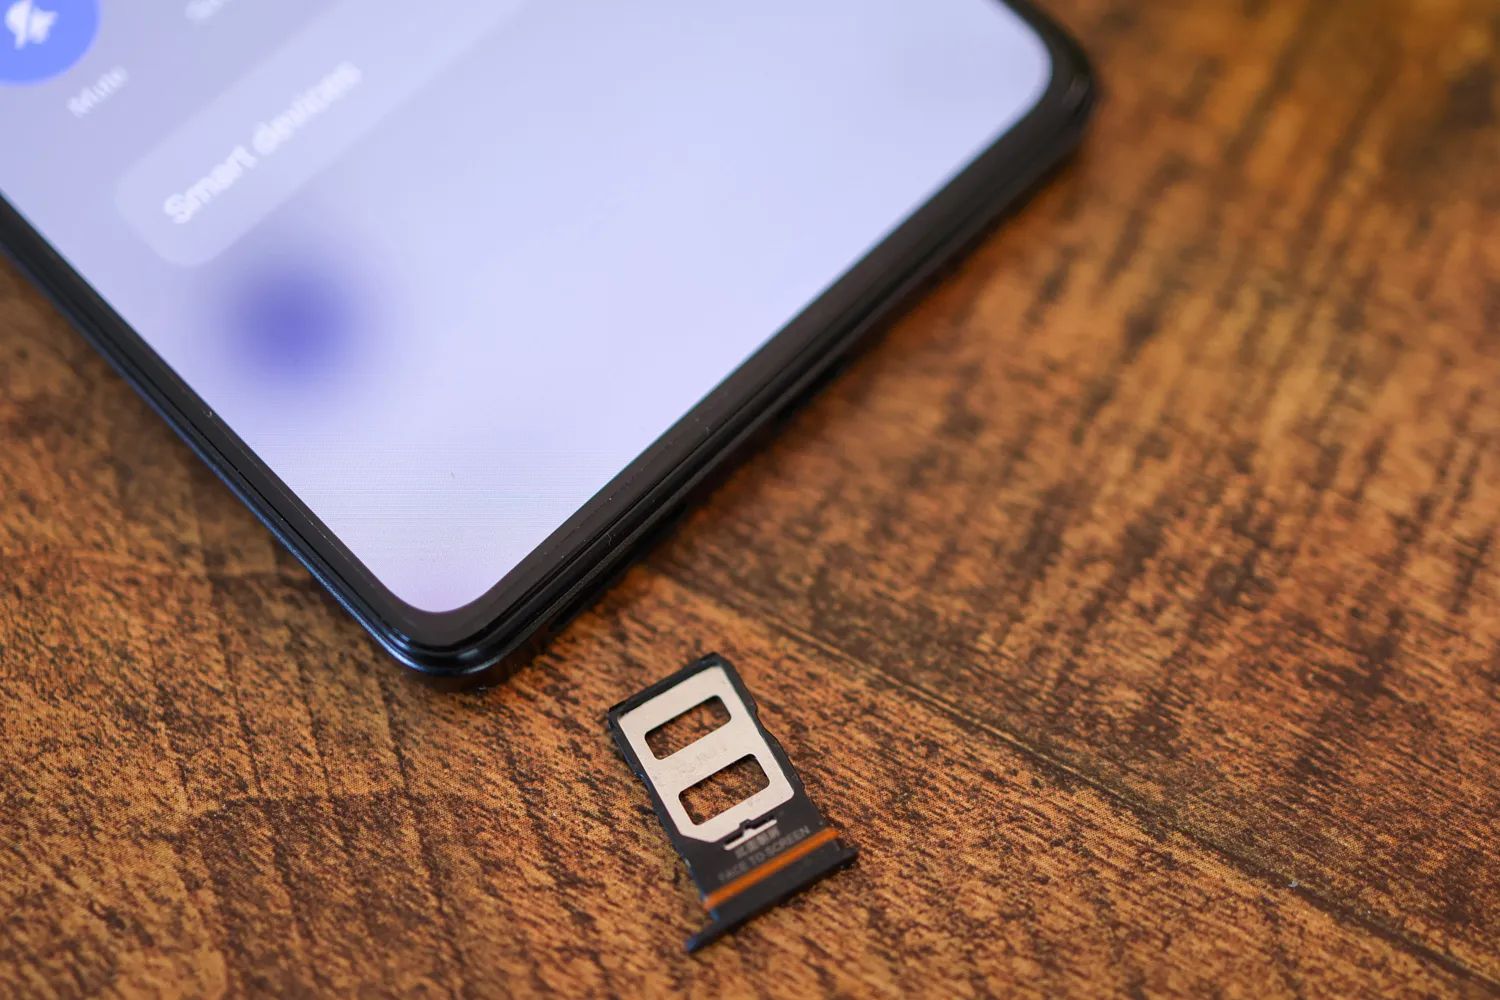
Step 2: Locate the SIM card tray
Locating the SIM card tray on your iPhone 8 is the crucial first step in the process of removing the SIM card. The SIM card tray is designed to securely hold the SIM card and can be found on the side of the device. Here's how to locate the SIM card tray:
-
Identify the SIM Card Tray Slot: The SIM card tray slot is typically located on the right-hand side of the iPhone 8. You will notice a small pinhole, which is the entry point for the SIM card ejector tool.
-
Inspect the Side of the Device: Turn your iPhone 8 to its right side and look for the presence of a small, rectangular slot with a pinhole. This slot is the housing for the SIM card tray and is usually positioned just below the power button.
-
Feel for the Tray's Outline: Gently run your finger along the right side of the device, feeling for a thin, elongated outline. This indicates the presence of the SIM card tray beneath the surface of the device.
-
Refer to the Device Manual: If you are having trouble locating the SIM card tray, referring to the iPhone 8 manual can provide visual guidance. The manual typically includes detailed illustrations and instructions on the physical features and components of the device.
-
Use Adequate Lighting: Ensure that you are in a well-lit environment to aid in the visual identification of the SIM card tray slot. Adequate lighting can help you spot the tray's location with ease.
Once you have successfully located the SIM card tray, you are ready to proceed to the next step of ejecting the tray using the SIM card ejector tool. This careful and precise approach ensures that you can safely and effectively remove the SIM card from your iPhone 8 without causing any damage to the device or the SIM card itself.
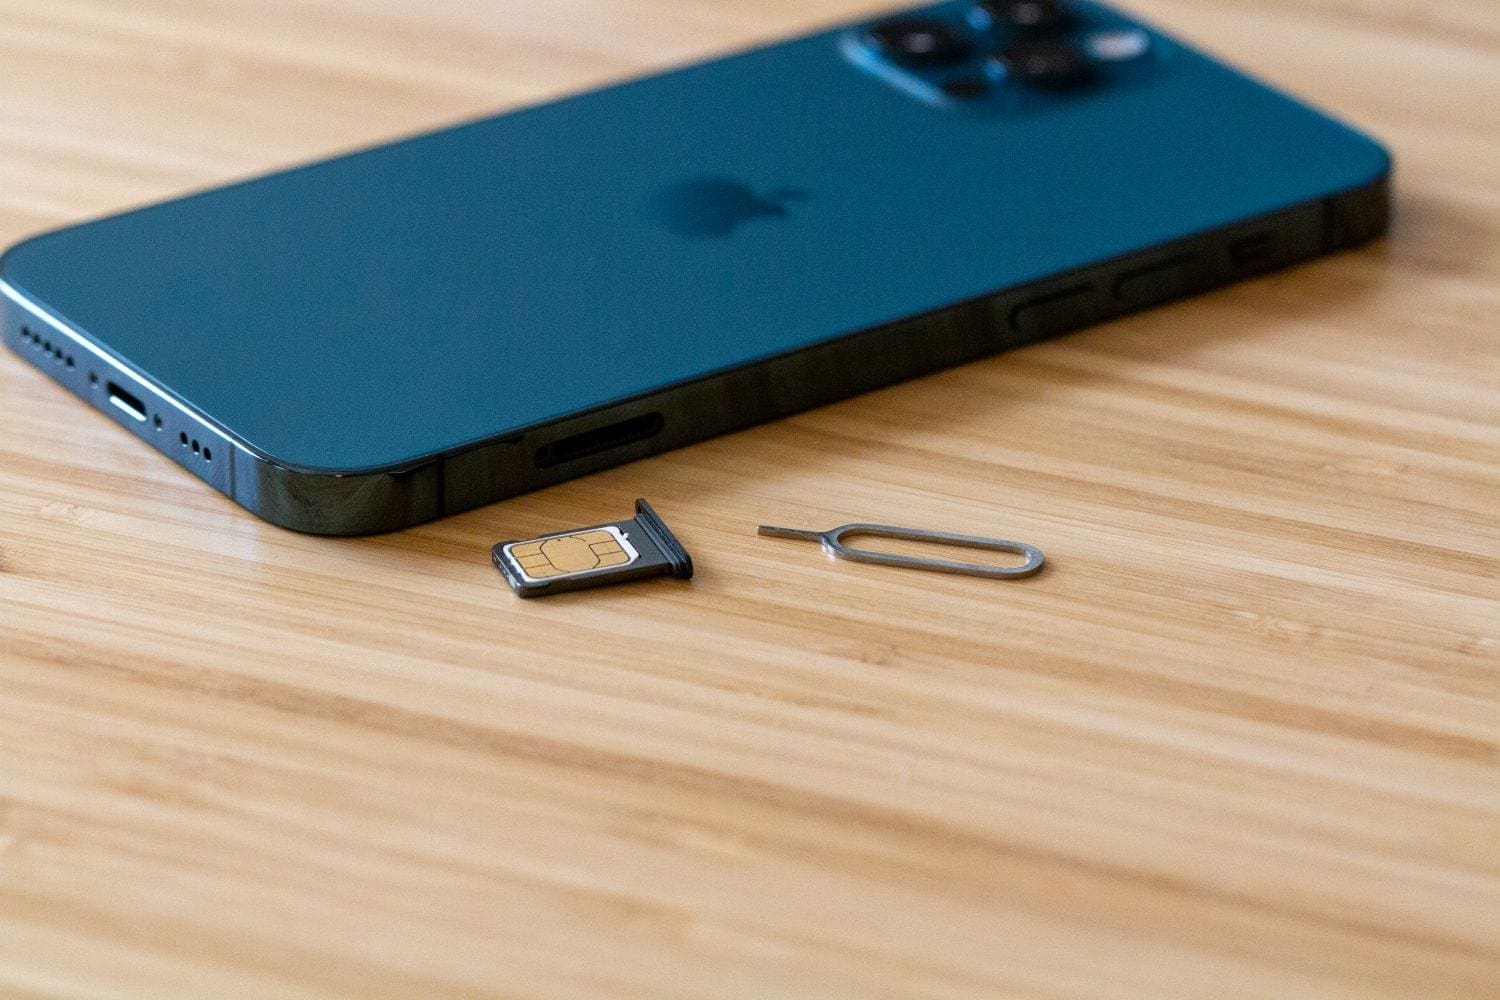
Step 3: Eject the SIM card tray
Ejecting the SIM card tray from your iPhone 8 is a pivotal step in the process of removing the SIM card. This step requires precision and care to ensure that the tray is safely ejected without causing any damage to the device or the SIM card. Here's a detailed guide on how to eject the SIM card tray with ease:
-
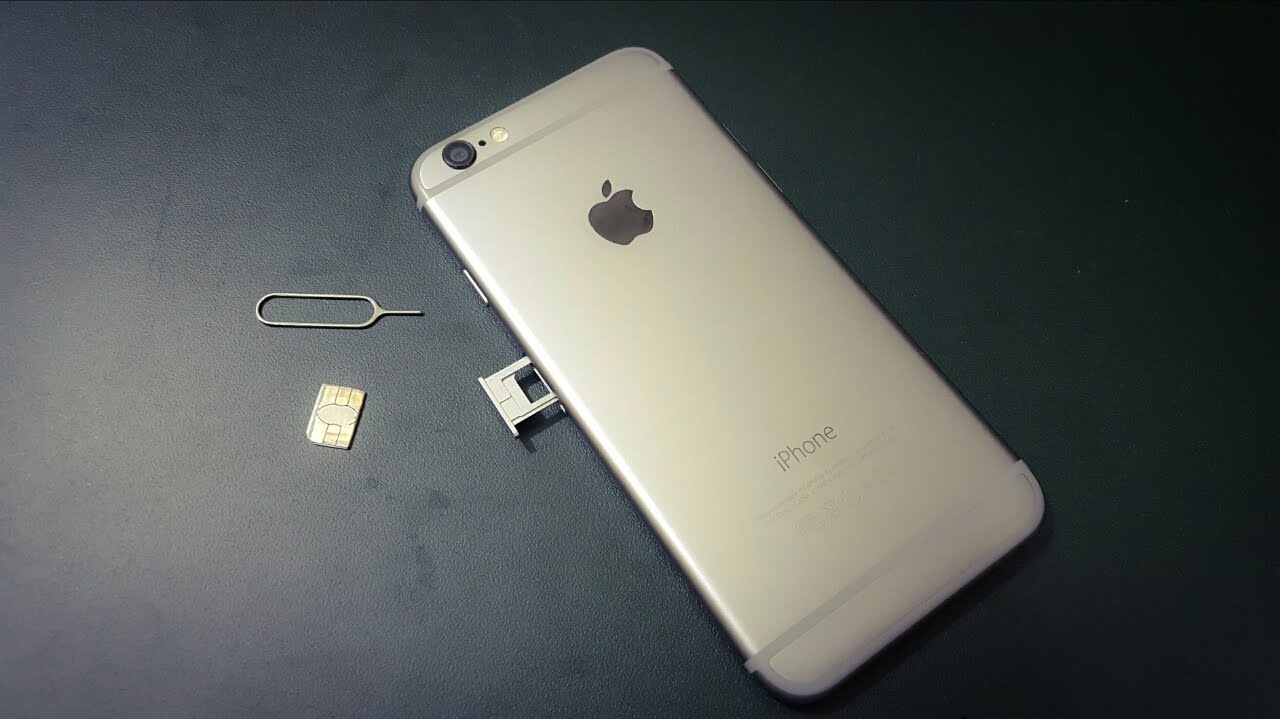
Prepare the SIM Card Ejector Tool: Take the SIM card ejector tool, or a straightened paperclip if the tool is unavailable, and hold it firmly in your hand. Ensure that you have a secure grip on the tool to prevent it from slipping during the ejection process.
-
Insert the Ejector Tool: Locate the small pinhole on the side of your iPhone 8, which is positioned just above the SIM card tray. Insert the pointed end of the ejector tool into the pinhole, applying gentle pressure until you feel a slight resistance. It's essential to insert the tool straight into the pinhole to avoid bending or damaging the ejector mechanism inside the device.
-
Apply Even Pressure: Once the ejector tool is inserted, apply even pressure to push it further into the pinhole. This action triggers the internal mechanism that releases the SIM card tray from its housing. It's important to exert steady and consistent pressure to ensure that the tray is ejected smoothly without any jarring movements.
-
Feel for the Tray Release: As you apply pressure with the ejector tool, you may feel a subtle click or resistance, indicating that the SIM card tray is being released. At this point, continue to apply gentle pressure until the tray is partially ejected from the device. Be mindful of any resistance or obstructions and proceed with caution to avoid any damage to the tray or the device.
-
Remove the Tray: Once the SIM card tray is partially ejected, carefully pull it out from the device using your fingers. Hold the iPhone 8 securely with your other hand to maintain stability and prevent any accidental drops. Ensure that the tray slides out smoothly without any abrupt movements.
By following these detailed steps, you can effectively eject the SIM card tray from your iPhone 8 with confidence and precision. This careful approach minimizes the risk of any damage to the device and ensures that the SIM card removal process is completed smoothly. With the tray successfully ejected, you can proceed to the next step of removing the SIM card from the tray itself.
Step 4: Remove the SIM card
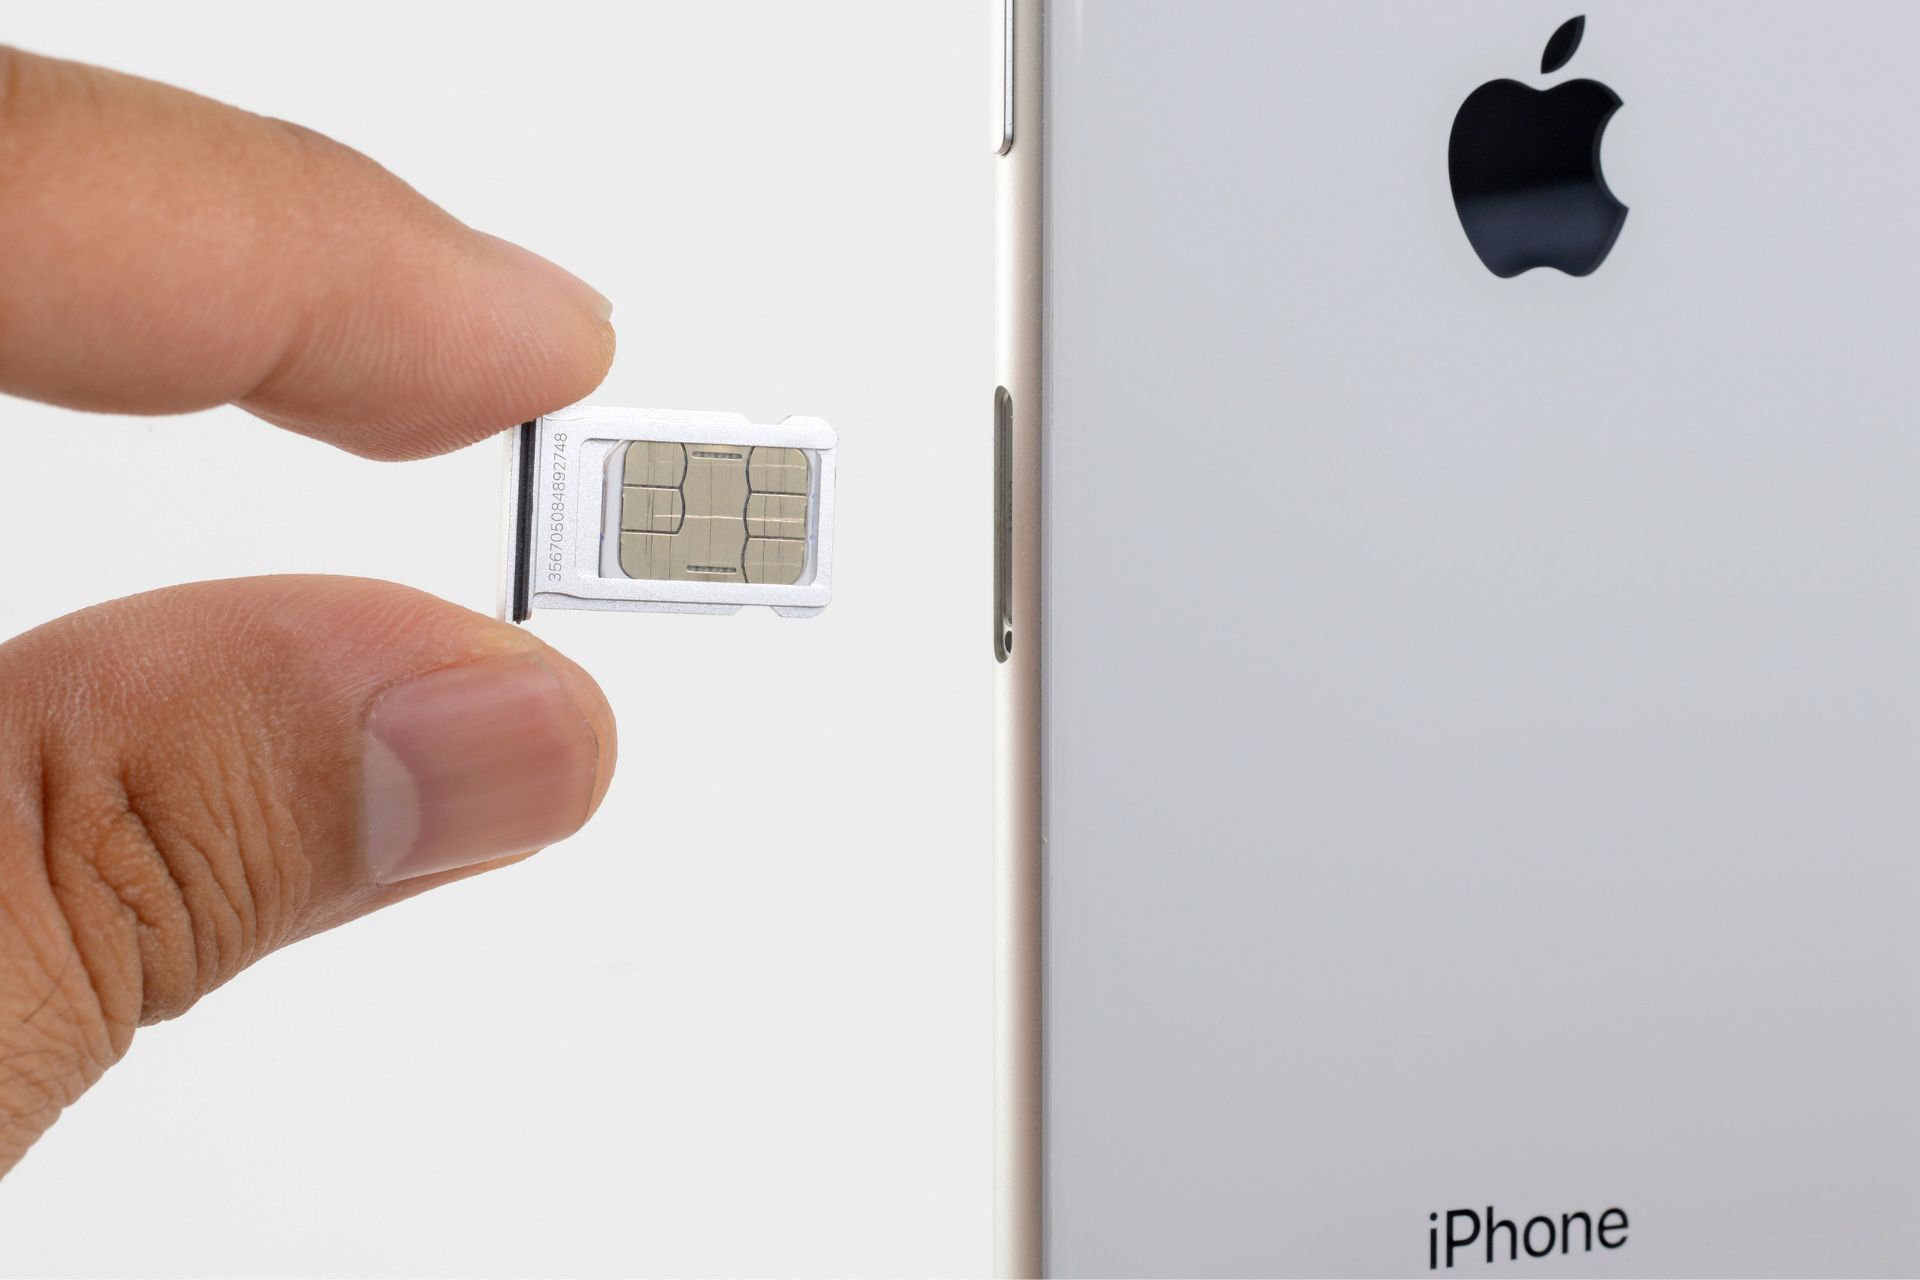
With the SIM card tray successfully ejected from your iPhone 8, the next crucial step is to remove the SIM card from the tray itself. This process requires delicacy and precision to ensure that the SIM card is safely extracted without causing any damage. Here's a detailed guide on how to remove the SIM card from the tray:
-
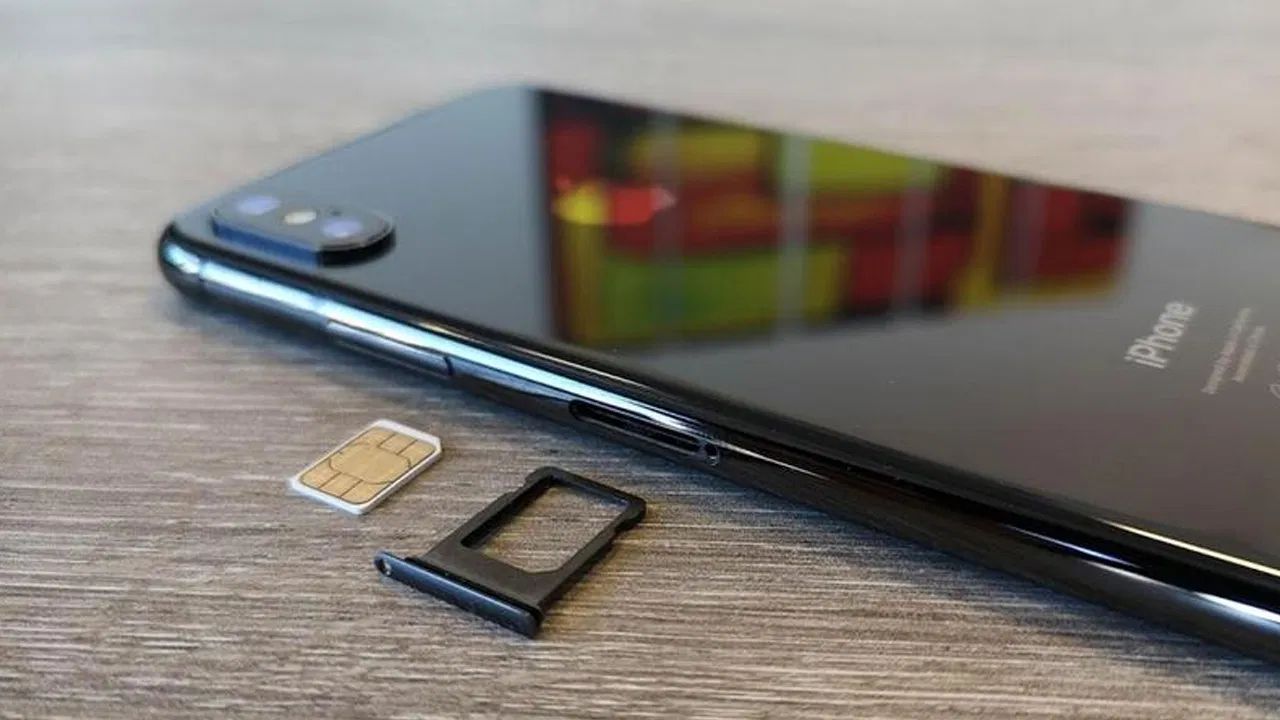
Inspect the SIM Card Tray: Upon removing the tray from the device, carefully examine the layout of the SIM card and its positioning within the tray. Note the orientation of the SIM card, ensuring that you can reinsert it correctly if needed.
-
Gently Remove the SIM Card: Using your fingers, delicately take hold of the SIM card and slowly slide it out from the tray. It's essential to exercise caution and avoid applying excessive force, as the SIM card is a delicate component that can be easily damaged.
-
Check for Damage or Debris: As you remove the SIM card, inspect it closely for any signs of damage, such as bends or scratches. Additionally, ensure that the gold contact points on the SIM card are free from any dirt, dust, or debris, as these can interfere with its functionality.
-
Place the SIM Card in a Safe Location: Once the SIM card is removed from the tray, place it in a secure and clean location. It's advisable to use a small container or SIM card holder to prevent the card from being misplaced or damaged.
-
Clean the SIM Card Tray: While the SIM card is removed, take the opportunity to clean the SIM card tray using a clean, lint-free cloth. Gently wipe the tray to remove any accumulated dust or debris, ensuring that it's free from any obstructions before reinserting the SIM card.
By following these detailed steps, you can effectively remove the SIM card from the tray with care and precision. This approach minimizes the risk of damaging the SIM card and ensures that it can be safely reinserted or stored for future use. With the SIM card successfully removed, you can proceed to the final step of reinserting the SIM card tray into your iPhone 8.
Step 5: Reinsert the SIM card tray
After successfully removing the SIM card from your iPhone 8, it's essential to carefully reinsert the SIM card tray back into the device. This step ensures that the SIM card is securely placed within the iPhone 8, allowing for seamless connectivity and functionality. Here's a detailed guide on how to reinsert the SIM card tray with precision and care:
-
Inspect the SIM Card Tray: Before reinserting the tray, take a moment to inspect it for any signs of damage or debris. Ensure that the tray is clean and free from any obstructions that could interfere with the reinsertion process.
-
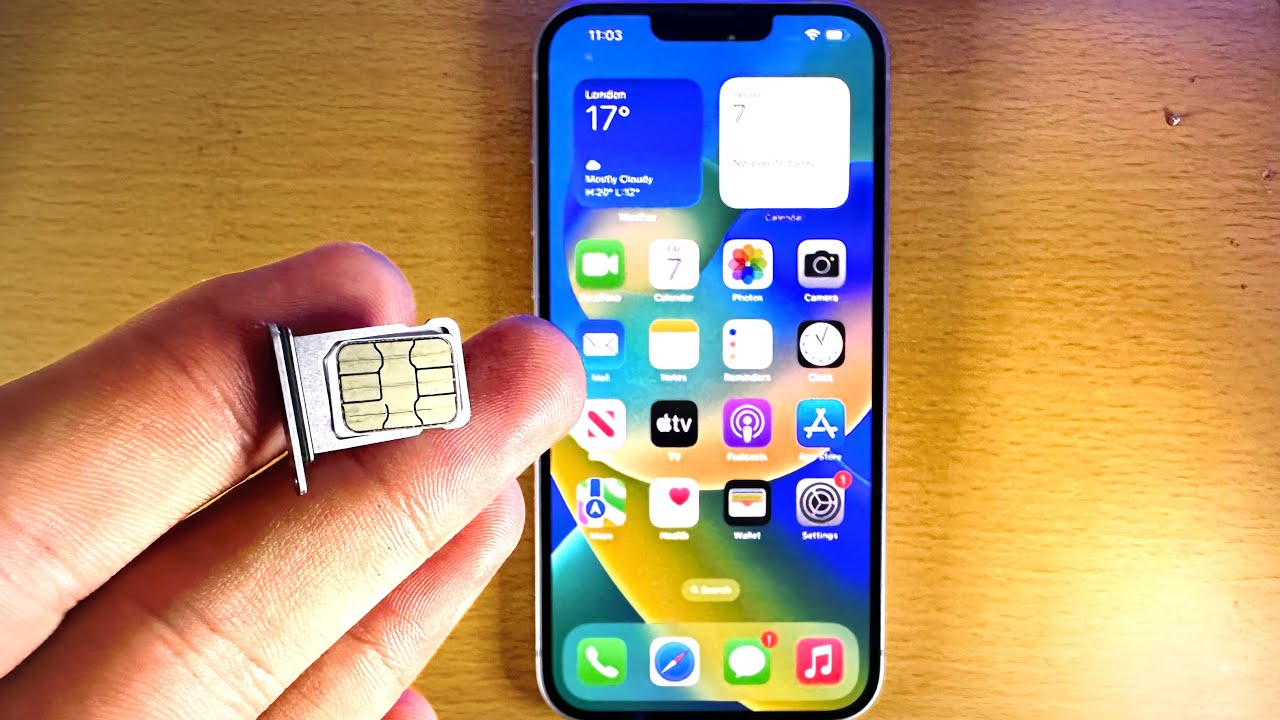
Position the SIM Card: If you have removed the SIM card from the tray, carefully position it with the gold contact points facing downwards. Align the SIM card with the designated area within the tray, ensuring that it fits securely without any gaps or misalignment.
-
Place the Tray Back into the Device: With the SIM card correctly positioned within the tray, gently slide the tray back into the SIM card slot on the side of your iPhone 8. Apply even pressure to ensure that the tray smoothly enters the slot without any resistance.
-
Listen for the Click: As you insert the tray, listen for a subtle click or indication that it has securely reconnected with the internal mechanism of the device. This click signifies that the tray is properly seated within the iPhone 8 and is ready for normal use.
-
Power On the Device: Once the SIM card tray is reinserted, power on your iPhone 8 to confirm that the device recognizes the SIM card. Check for the signal strength and network connectivity to ensure that the SIM card is functioning as expected.
By following these detailed steps, you can effectively reinsert the SIM card tray into your iPhone 8 with precision and care. This approach minimizes the risk of any damage to the device or the SIM card and ensures that the connectivity is restored seamlessly. With the SIM card tray securely reinserted, your iPhone 8 is ready to resume normal operation with full network functionality.
Conclusion
In conclusion, mastering the art of removing the SIM card from an iPhone 8 is a valuable skill that empowers users to manage their device's connectivity with confidence and ease. By following the step-by-step guide outlined in this article, iPhone 8 users can seamlessly navigate the process of removing, inspecting, and reinserting the SIM card, ensuring that their device remains in optimal working condition.
Understanding the significance of the SIM card as the linchpin of mobile network connectivity is crucial. The SIM card serves as the custodian of essential information, including the user's phone number, carrier details, and contacts. Being able to safely remove and reinsert the SIM card is pivotal when transitioning to a new device, troubleshooting network issues, or preparing the iPhone 8 for repair or resale.
By gathering the necessary tools, including the SIM card ejector tool, a clean, lint-free cloth, and ensuring a stable work surface and good lighting, users are well-equipped to embark on the SIM card removal journey. Locating the SIM card tray, ejecting it with precision, and delicately removing the SIM card from the tray are all integral steps in the process.
The careful and meticulous approach outlined in this guide ensures that iPhone 8 users can navigate the SIM card removal process without causing any damage to the device or the SIM card itself. By adhering to the detailed instructions and exercising caution, users can confidently manage the intricate task of SIM card removal.
The ability to confidently remove and reinsert the SIM card from an iPhone 8 empowers users to take control of their device's connectivity, fostering a sense of independence and self-reliance. With the knowledge and skills acquired through this guide, iPhone 8 users can approach the SIM card removal process with assurance, knowing that they can effectively manage this essential aspect of device maintenance.
In essence, mastering the art of removing the SIM card from an iPhone 8 is a valuable skill that not only ensures the smooth operation of the device but also instills a sense of confidence and proficiency in managing mobile connectivity. With this comprehensive guide at their disposal, iPhone 8 users can navigate the SIM card removal process with ease, ensuring that their device remains primed for seamless network connectivity and optimal performance.