Introduction
Replacing the SIM card in an iPhone 8 may seem like a daunting task, especially for those who are unfamiliar with the inner workings of their devices. However, with the right guidance and a bit of patience, this process can be easily accomplished. Whether you're upgrading to a new iPhone 8 or simply need to swap out your SIM card for any other reason, this step-by-step guide will walk you through the process, ensuring that you can complete it with confidence.
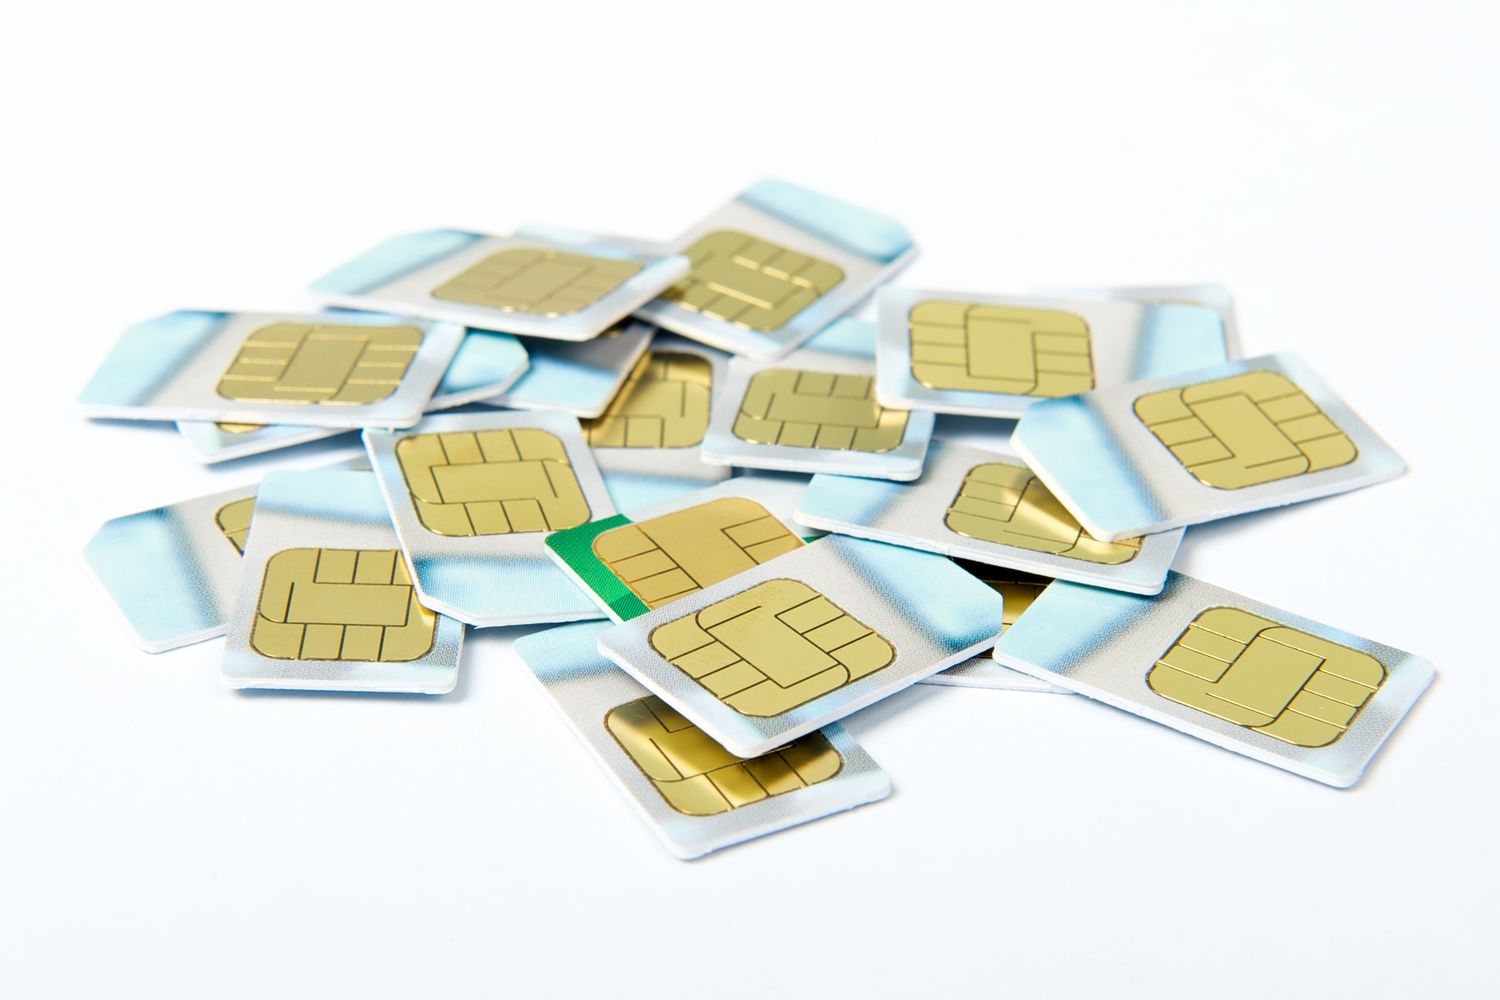
Understanding the importance of the SIM card in your iPhone 8 is crucial before delving into the replacement process. The SIM card, or Subscriber Identity Module, plays a pivotal role in connecting your device to your mobile network. It stores essential information such as your phone number, contacts, and text messages, and facilitates communication with the network. Therefore, ensuring that the SIM card is properly installed is crucial for maintaining seamless connectivity and functionality.
In this comprehensive guide, we will cover each step in detail, providing clear instructions and valuable tips to facilitate a smooth SIM card replacement process. By following these steps, you can avoid common pitfalls and ensure that your iPhone 8 is ready to connect to your network with the new SIM card. From powering off your device to inserting the new SIM card and powering it back on, this guide will equip you with the knowledge and confidence to carry out the replacement seamlessly.
So, if you're ready to embark on this journey to replace the SIM card in your iPhone 8, gather your tools and get ready to dive into the step-by-step process. With this guide as your companion, you'll be well-prepared to tackle this task and ensure that your iPhone 8 is fully equipped to keep you connected. Let's get started!
Step 1: Gather Necessary Tools
Before embarking on the journey of replacing the SIM card in your iPhone 8, it's essential to gather the necessary tools to ensure a smooth and hassle-free process. Here's a comprehensive list of the tools you'll need:
-
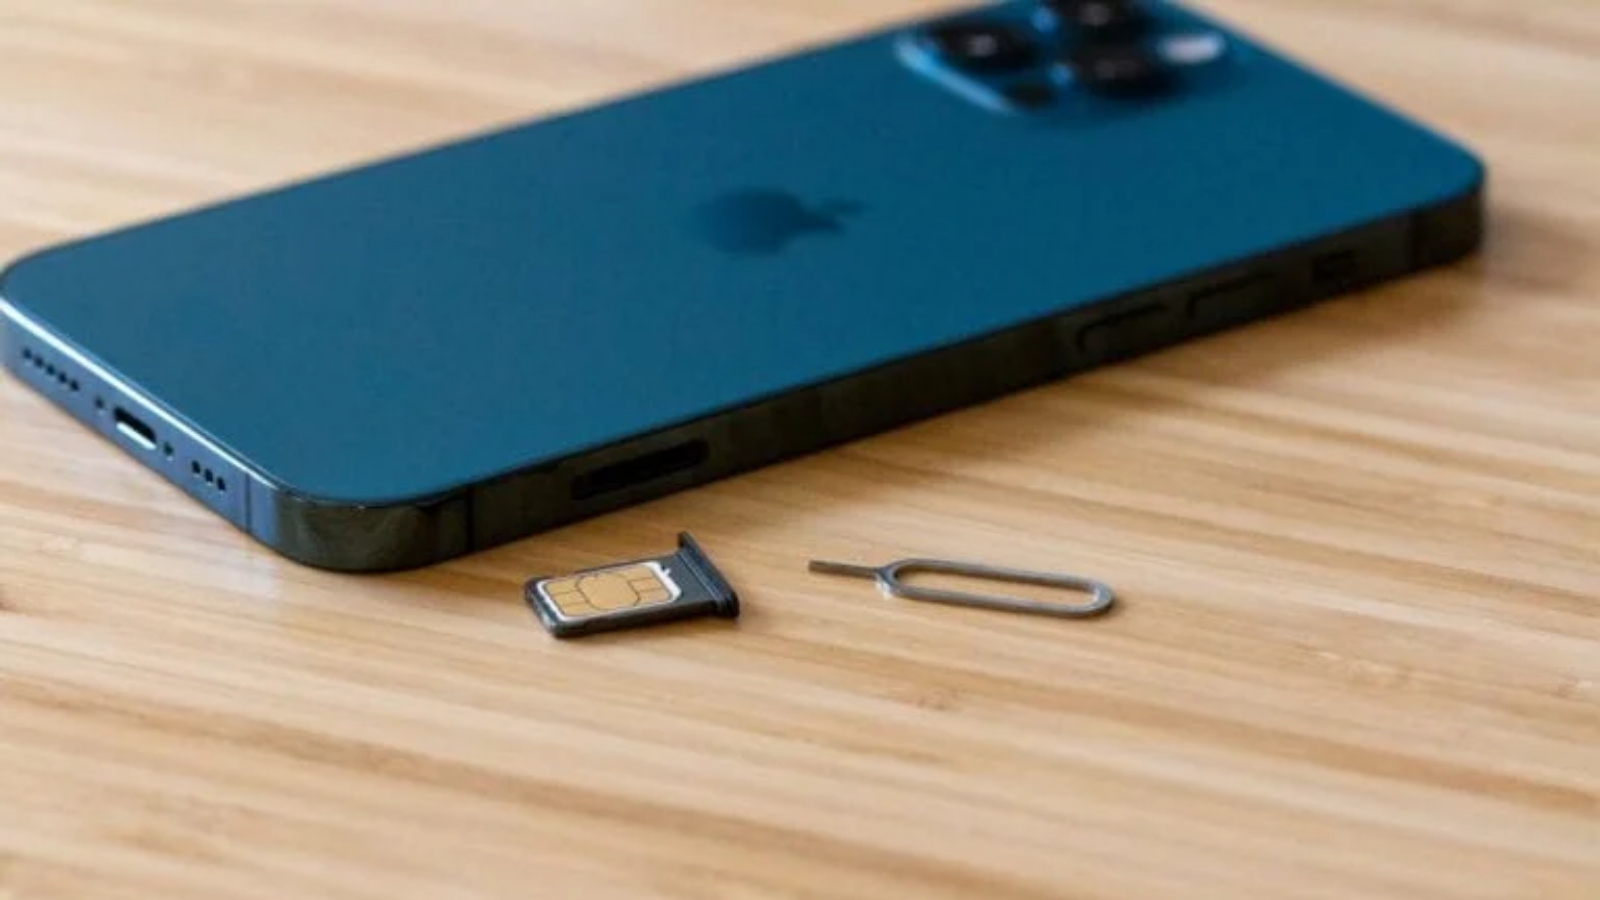
SIM Card Ejector Tool: This small, metallic tool is specifically designed for ejecting the SIM card tray from your iPhone 8. It usually comes with the device at the time of purchase, but if you've misplaced it, a paperclip can serve as an alternative.
-
New SIM Card: If you're replacing the existing SIM card with a new one, ensure that you have the new SIM card ready. This may involve contacting your mobile network provider to obtain a replacement or a new SIM card if you're switching carriers.
-
Microfiber Cloth: Keeping a microfiber cloth on hand is advisable to gently clean the SIM card tray and the surrounding area. This will help ensure that the new SIM card makes proper contact and is free from any debris.
-
Stable Work Surface: Find a stable and well-lit work surface to carry out the process. A desk or table with ample lighting will allow you to handle the delicate components of your iPhone 8 with ease and precision.
-
Patience: While not a physical tool, patience is a vital element for this process. Taking your time and approaching each step methodically will help prevent any mishaps and ensure a successful SIM card replacement.
By assembling these essential tools, you'll be well-prepared to initiate the SIM card replacement process with confidence and precision. With everything in place, you can proceed to the next step of powering off your iPhone 8 in readiness for the SIM card replacement.
Step 2: Power Off Your iPhone 8
Before beginning the process of replacing the SIM card in your iPhone 8, it's crucial to power off the device to ensure the safety of both the device and the user. Powering off the iPhone 8 involves a simple yet essential series of steps to prevent any potential damage during the SIM card replacement process.
To power off your iPhone 8, start by locating the power button, which is situated on the right side of the device. This button serves various functions, including powering off the device and initiating the screen lock. Once you've located the power button, press and hold it until the "slide to power off" slider appears on the screen.
Next, slide the on-screen prompt from left to right to power off your iPhone 8. As the device shuts down, the screen will go dark, indicating that the power-off process is complete. It's important to wait for the device to fully power down before proceeding to the next step, as attempting to remove or insert the SIM card while the device is still powered on can lead to potential damage.
Ensuring that your iPhone 8 is completely powered off sets the stage for a safe and seamless SIM card replacement process. This step not only safeguards the delicate internal components of the device but also minimizes the risk of accidental data loss or disruption during the SIM card replacement.
By following these simple yet crucial steps to power off your iPhone 8, you're taking the necessary precautions to prepare the device for the subsequent steps of locating the SIM card tray and carrying out the SIM card replacement. With your iPhone 8 powered off, you're now ready to proceed to the next step of the replacement process with confidence and peace of mind.
Step 3: Locate the SIM Card Tray
With your iPhone 8 powered off, the next crucial step in the process of replacing the SIM card is to locate the SIM card tray. The SIM card tray on the iPhone 8 is designed to securely hold the SIM card in place and facilitate its seamless integration with the device. To locate the SIM card tray, you'll need to identify the specific slot and understand how to access it without causing any damage to the device.
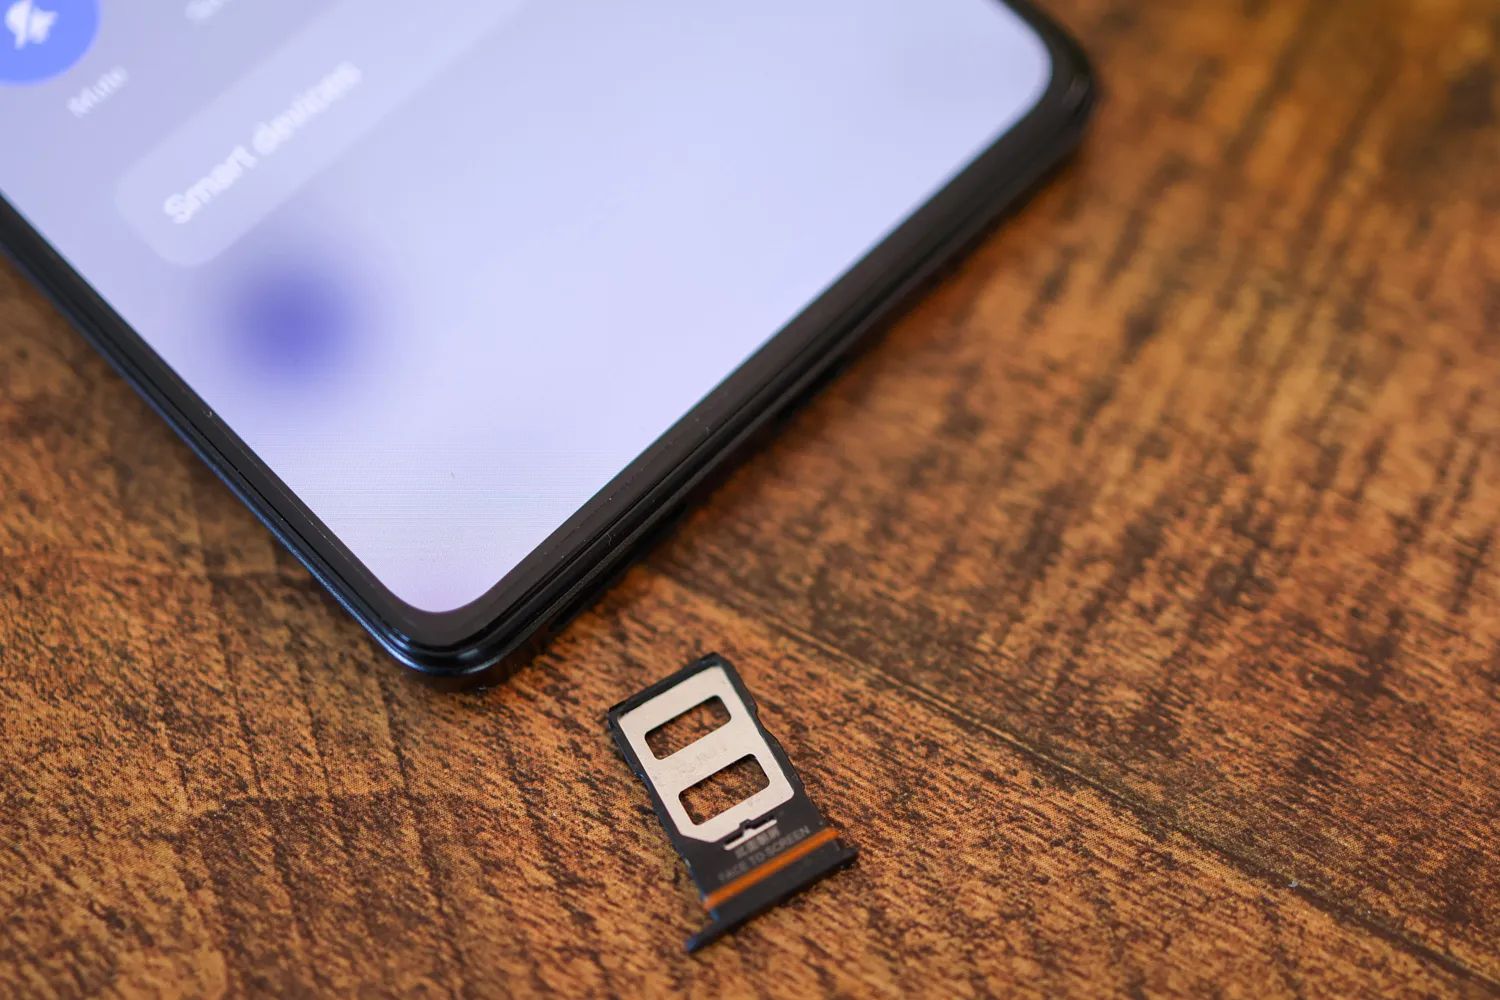
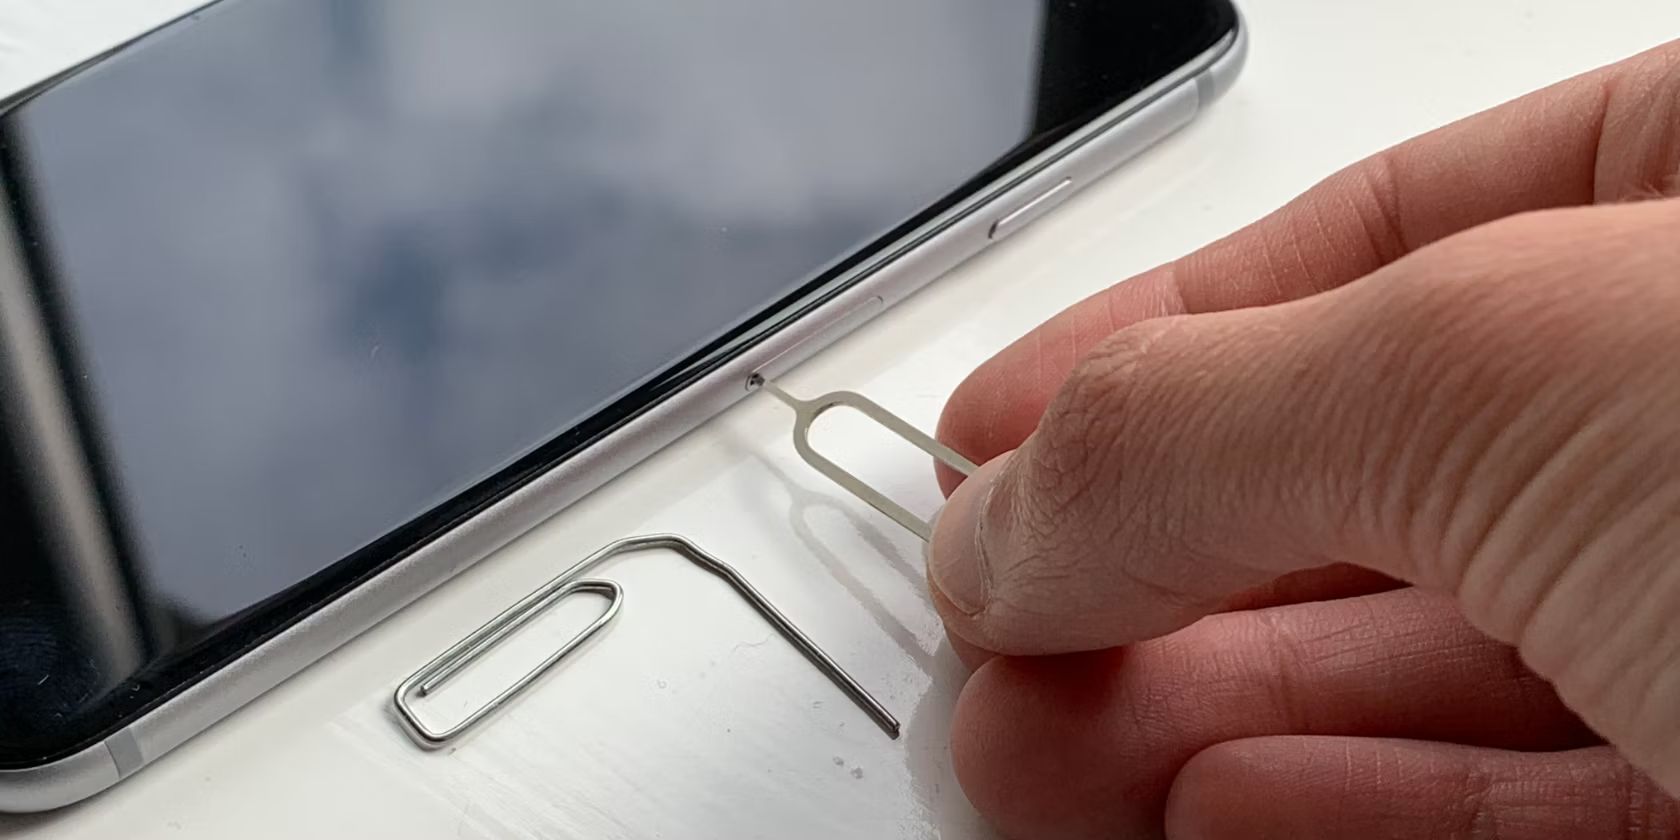
The SIM card tray on the iPhone 8 is situated on the right-hand side of the device. It is important to note that the location may vary depending on the iPhone model, but for the iPhone 8, the SIM card tray is positioned on the right side. Identifying the SIM card tray is relatively straightforward, as it is typically accompanied by a small pinhole, which indicates the entry point for the SIM card ejector tool or an alternative tool, such as a paperclip.
Once you've located the SIM card tray and identified the pinhole, it's essential to proceed with caution to avoid any damage to the device. Using the SIM card ejector tool or a straightened paperclip, gently insert the tool into the pinhole until you feel a slight resistance. Applying gentle pressure, the SIM card tray will be released from its slot, allowing you to carefully remove it from the device.
By successfully locating the SIM card tray and understanding the method for accessing it, you've completed a pivotal step in the SIM card replacement process. This sets the stage for the subsequent steps of ejecting the SIM card tray and replacing the existing SIM card with a new one. With the SIM card tray in hand, you're now ready to proceed to the next step, ensuring that the SIM card replacement process continues smoothly and seamlessly.
Understanding the precise location of the SIM card tray and how to safely access it is essential for a successful SIM card replacement. By taking the time to locate the SIM card tray with care and precision, you're laying the groundwork for a confident and effective SIM card replacement process. With the SIM card tray in hand, you're now prepared to move on to the next step of ejecting the tray and replacing the SIM card in your iPhone 8.
Step 4: Eject the SIM Card Tray
With the SIM card tray in hand, the next crucial step in the SIM card replacement process for your iPhone 8 is to eject the existing SIM card tray from the device. Ejecting the SIM card tray requires precision and care to ensure that the delicate components of the device remain undamaged throughout the process.
To eject the SIM card tray, start by examining the tray itself. You'll notice a small indentation or groove along one of its edges. This feature allows you to grip the tray securely and manipulate it without applying excessive force. With the tray positioned securely in your hand, identify the location of the SIM card within the tray. The SIM card is typically situated within a small slot and is held in place by a gentle spring mechanism.
Using the SIM card ejector tool or a straightened paperclip, carefully align the tool with the pinhole on the SIM card tray. Gently insert the tool into the pinhole until you feel a slight resistance. Applying steady and even pressure, the SIM card tray will gradually begin to slide out from its slot within the device.
As the SIM card tray emerges, continue to guide it out of the device with a smooth and controlled motion. Be mindful of the SIM card's position within the tray to prevent any accidental damage or displacement. Once the tray is fully ejected, carefully place it on a stable surface, ensuring that the SIM card remains securely within the tray.
By successfully ejecting the SIM card tray from your iPhone 8, you've completed a critical step in the SIM card replacement process. This sets the stage for the subsequent steps of removing the existing SIM card from the tray and inserting the new SIM card. With the SIM card tray in hand and the existing SIM card ready for removal, you're now prepared to proceed to the next step, ensuring that the SIM card replacement process continues smoothly and seamlessly.
Ejecting the SIM card tray with precision and care is essential for a successful SIM card replacement. By taking the time to manipulate the tray with caution and attention to detail, you're laying the groundwork for a confident and effective SIM card replacement process. With the SIM card tray successfully ejected, you're now ready to move on to the next step of replacing the SIM card in your iPhone 8.
Step 5: Remove the Old SIM Card
With the SIM card tray successfully ejected from your iPhone 8, the next pivotal step in the SIM card replacement process is to remove the old SIM card from the tray. This step requires precision and attention to detail to ensure a seamless transition from the old SIM card to the new one.
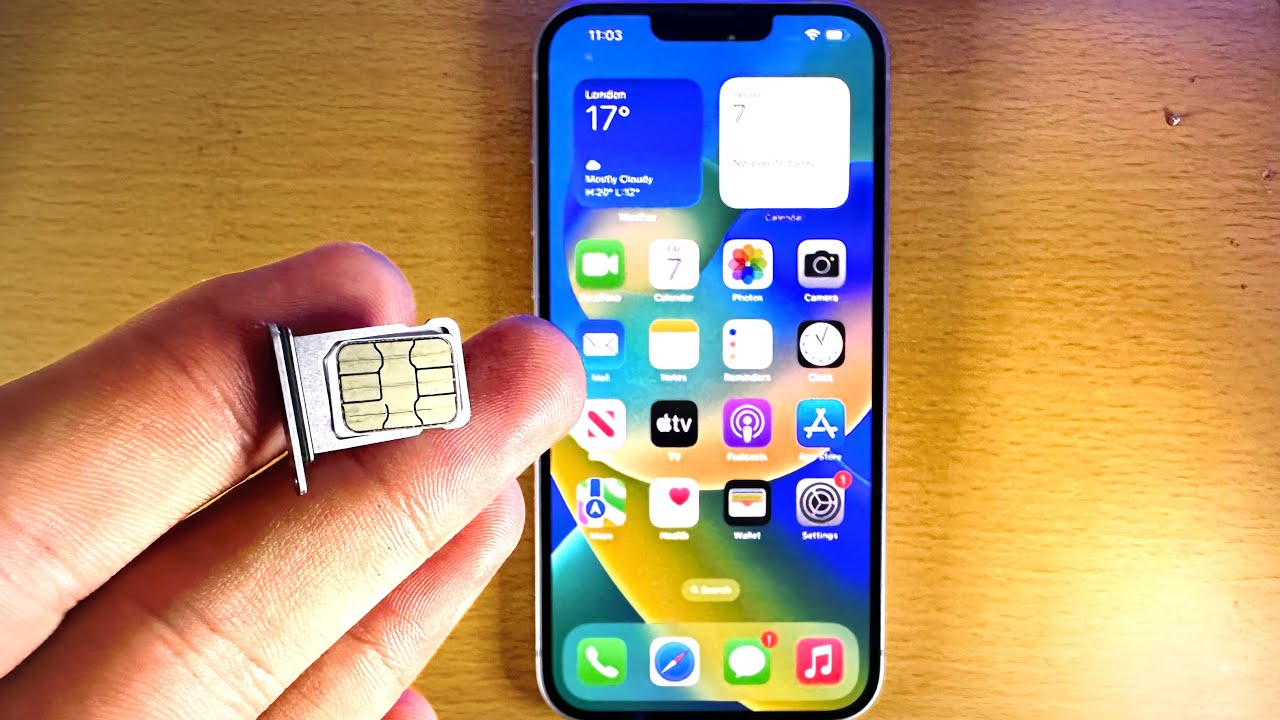
Upon examining the SIM card tray, you'll notice the existing SIM card positioned within a designated slot. The SIM card is typically held in place by a gentle spring mechanism to ensure a secure fit within the tray. To remove the old SIM card, carefully maneuver the tray to access the SIM card slot and examine the positioning of the card within the tray.
Using your fingertips or a gentle tool, such as the edge of the SIM card ejector tool or a small, non-abrasive implement, carefully lift the old SIM card from its slot within the tray. Exercise caution to avoid bending or damaging the SIM card during this process. The old SIM card should be removed smoothly and without resistance, ensuring that it remains intact and ready for safe disposal or storage.
As you remove the old SIM card from the tray, take a moment to inspect it for any signs of damage or wear. Ensure that the gold contacts on the back of the SIM card are clean and free from debris. If necessary, use a microfiber cloth to gently clean the contacts, removing any accumulated dust or residue that may hinder the performance of the new SIM card.
By successfully removing the old SIM card from the tray with care and precision, you've completed a crucial step in the SIM card replacement process. This sets the stage for the subsequent step of inserting the new SIM card into the tray, ensuring that the transition is smooth and free from any potential issues. With the old SIM card safely removed from the tray, you're now prepared to proceed to the next step, facilitating a seamless and effective replacement process for your iPhone 8.
Step 6: Insert the New SIM Card
With the old SIM card safely removed from the tray, the next critical step in the SIM card replacement process for your iPhone 8 is to insert the new SIM card. This step requires precision and care to ensure that the new SIM card is seamlessly integrated into the device, facilitating uninterrupted connectivity with your mobile network.
Begin by carefully examining the new SIM card to familiarize yourself with its shape and orientation. The SIM card features a specific design with a notched corner, ensuring that it can only be inserted into the tray in one orientation. Take a moment to align the new SIM card with the corresponding slot within the SIM card tray, ensuring that it fits securely without any forceful manipulation.
Position the new SIM card within the designated slot, taking care to align the notched corner of the card with the corresponding notch within the tray. The SIM card should fit smoothly and securely into place, resting evenly within the tray without any protrusions or misalignments.
Once the new SIM card is positioned within the tray, gently maneuver the tray to ensure that the card remains stable and properly seated. Avoid applying excessive pressure or force during this process, as the delicate nature of the SIM card requires careful handling to prevent any potential damage.
After inserting the new SIM card into the tray, take a moment to inspect its positioning and ensure that it sits flush and secure within the designated slot. This visual confirmation will provide reassurance that the new SIM card is correctly aligned and ready for seamless integration with your iPhone 8.
By successfully inserting the new SIM card into the tray with precision and care, you've completed a pivotal step in the SIM card replacement process. This sets the stage for the subsequent step of replacing the SIM card tray into the device, ensuring that the new SIM card is securely in place and ready to facilitate uninterrupted connectivity with your mobile network.
With the new SIM card seamlessly integrated into the tray, you're now prepared to proceed to the next step, facilitating a smooth and effective replacement process for your iPhone 8.
Step 7: Replace the SIM Card Tray
After successfully inserting the new SIM card into the tray, the next crucial step in the SIM card replacement process for your iPhone 8 is to carefully replace the SIM card tray back into the device. This step requires precision and attention to detail to ensure that the tray is securely positioned, facilitating seamless connectivity with your mobile network.
Begin by examining the SIM card tray to orient yourself with its shape and features. Take note of the notch or groove along one of its edges, which serves as a guide for aligning the tray with the corresponding slot within the device. Position the tray securely in your hand, ensuring a firm grip to facilitate smooth insertion.
Align the SIM card tray with the designated slot on the right-hand side of your iPhone 8. Take care to position the tray correctly, ensuring that it fits snugly without any resistance. Avoid applying excessive force during this process, as the delicate components of the device require gentle handling to prevent any potential damage.
Once the SIM card tray is aligned with the slot, gently maneuver it into place, ensuring that it slides smoothly and securely into the device. Be mindful of the positioning of the tray and avoid any abrupt movements that may disrupt the integration of the tray with the device.
As the SIM card tray is fully inserted, take a moment to ensure that it sits flush and secure within the slot. A visual inspection will provide reassurance that the tray is correctly positioned, ready to facilitate seamless connectivity with your new SIM card.
By successfully replacing the SIM card tray into your iPhone 8 with precision and care, you've completed a critical step in the SIM card replacement process. This ensures that the new SIM card is securely integrated into the device, ready to establish seamless communication with your mobile network.
With the SIM card tray securely in place, you've now completed the essential steps of the SIM card replacement process for your iPhone 8. The device is primed and ready to be powered on, initiating the activation of the new SIM card and enabling uninterrupted connectivity with your mobile network.
With the SIM card tray securely positioned, you've successfully navigated the process of replacing the SIM card in your iPhone 8, ensuring that the device is fully equipped to keep you connected.
Step 8: Power On Your iPhone 8
With the new SIM card securely in place and the SIM card tray properly positioned within your iPhone 8, the final step in the SIM card replacement process is to power on the device. This step marks the culmination of the meticulous process of replacing the SIM card and signifies the readiness of your iPhone 8 to establish seamless connectivity with your mobile network.
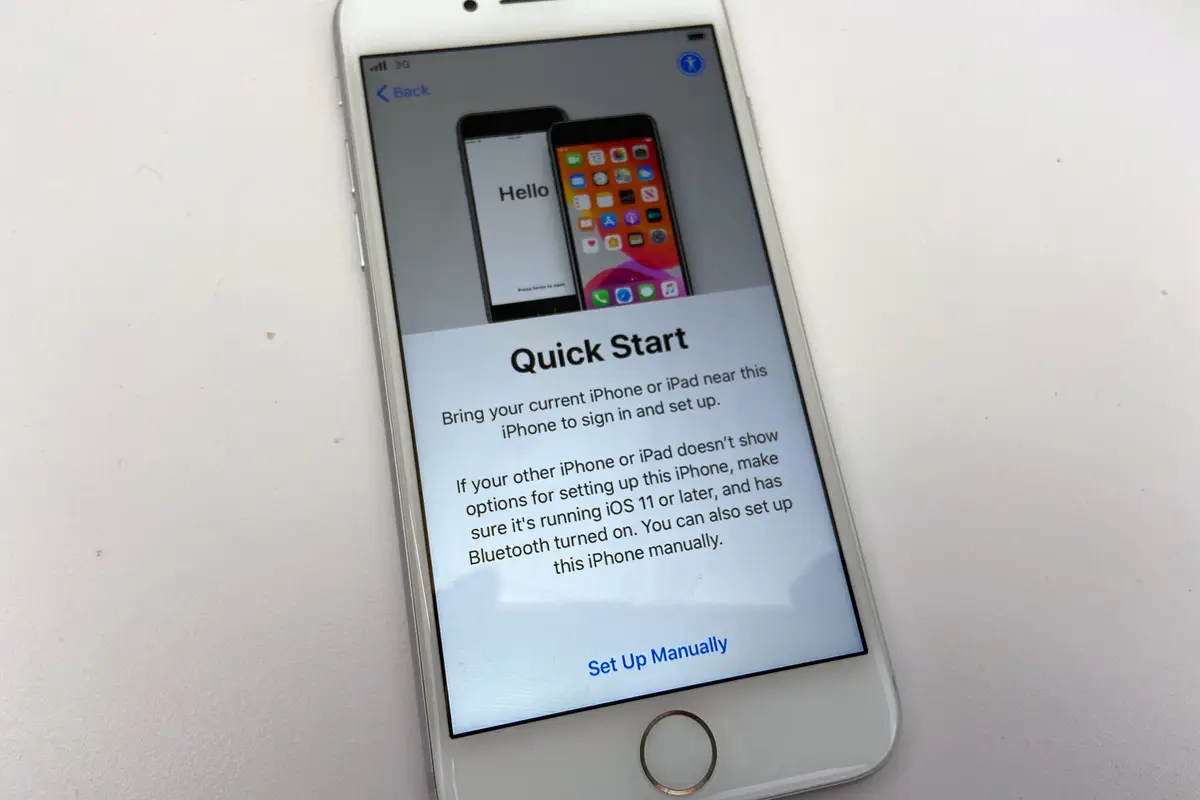
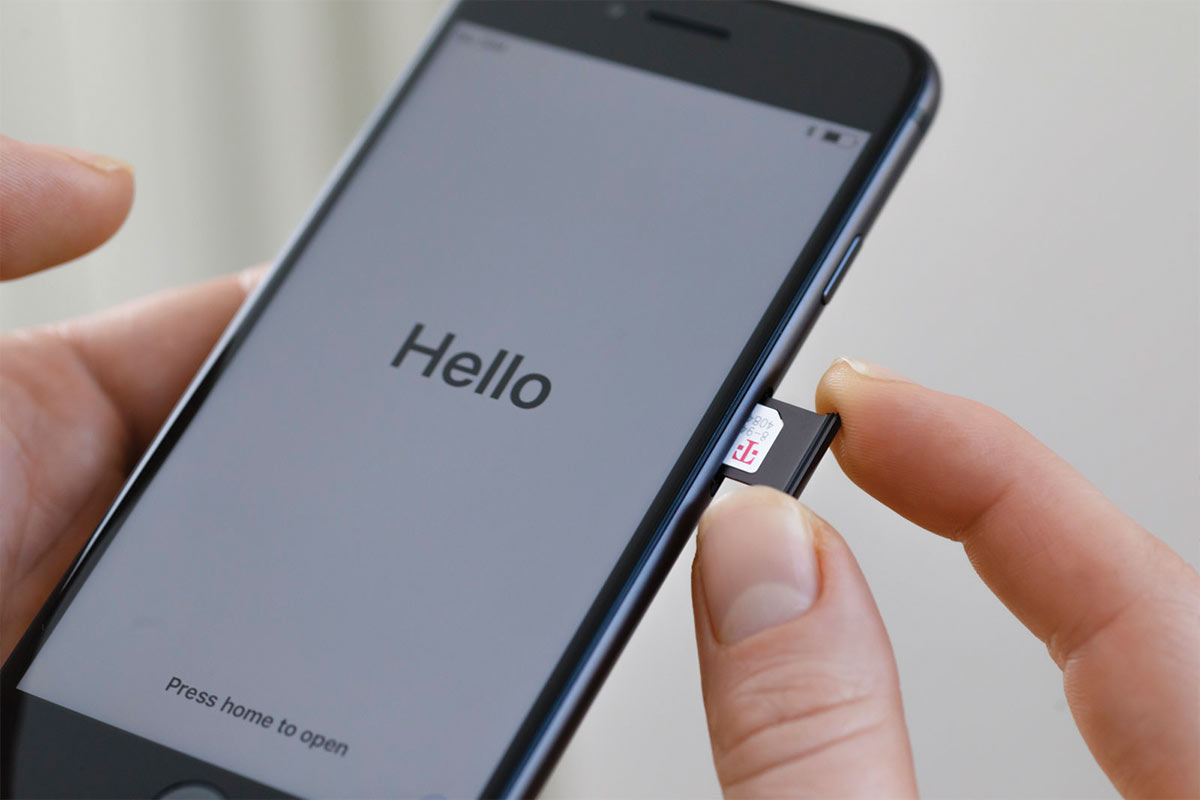
To power on your iPhone 8, begin by locating the power button, which is situated on the right-hand side of the device. This multifunctional button not only powers on the device but also initiates the screen lock and facilitates various other functions. Once you've located the power button, press and hold it until the Apple logo appears on the screen, indicating that the device is powering on.
As the iPhone 8 boots up, you'll notice the familiar Apple logo followed by the display of the lock screen. It's essential to allow the device a few moments to complete the startup process and establish connectivity with the new SIM card. During this time, the device will synchronize with the mobile network, enabling you to make calls, send messages, and access mobile data seamlessly.
Upon successfully powering on your iPhone 8, take a moment to ensure that the device displays the network signal indicator, confirming that it has established a connection with your mobile network. This visual confirmation signifies the successful integration of the new SIM card and the readiness of your iPhone 8 to keep you connected in your daily endeavors.
With the device powered on and the new SIM card activated, you've completed the final step of the SIM card replacement process for your iPhone 8. Your device is now fully equipped to provide uninterrupted connectivity, enabling you to make calls, send messages, and access mobile data with ease.
By following the comprehensive steps outlined in this guide, you've successfully navigated the process of replacing the SIM card in your iPhone 8, ensuring that the device is primed and ready to keep you connected in your personal and professional pursuits. With the new SIM card seamlessly integrated, your iPhone 8 is now prepared to serve as your reliable communication companion, facilitating seamless connectivity with your mobile network.
Conclusion
Congratulations! By following this comprehensive step-by-step guide, you have successfully replaced the SIM card in your iPhone 8. This process, though seemingly intricate, has equipped you with the knowledge and confidence to handle the intricacies of your device with precision and care.
The SIM card, a seemingly small component, plays a pivotal role in connecting your iPhone 8 to your mobile network, enabling seamless communication and access to essential services. Understanding how to replace the SIM card ensures that your device remains fully equipped to keep you connected in your personal and professional endeavors.
As you've navigated each step, from gathering the necessary tools to powering off your device, locating the SIM card tray, ejecting the tray, replacing the old SIM card, inserting the new SIM card, and powering on your iPhone 8, you've demonstrated patience, precision, and a commitment to maintaining the integrity of your device.
By gathering the essential tools and approaching each step with care, you've not only successfully replaced the SIM card but also deepened your understanding of your iPhone 8's internal components. This knowledge empowers you to handle future device-related tasks with confidence, ensuring that your device remains in optimal working condition.
The successful completion of the SIM card replacement process signifies your dedication to maintaining the functionality and connectivity of your iPhone 8. With the new SIM card seamlessly integrated, your device is poised to serve as your reliable communication companion, facilitating uninterrupted connectivity with your mobile network.
As you power on your iPhone 8 and witness the network signal indicator confirming the successful integration of the new SIM card, take a moment to appreciate the meticulous process you've navigated. Your device is now fully equipped to provide uninterrupted connectivity, enabling you to make calls, send messages, and access mobile data with ease.
With the completion of this SIM card replacement process, you've not only enhanced your technical skills but also ensured that your iPhone 8 remains ready to support your communication needs. Your commitment to understanding and maintaining your device is a testament to your dedication to seamless connectivity and functionality.
As you continue to explore the capabilities of your iPhone 8, may this experience serve as a foundation for confidently navigating future device-related tasks, ensuring that your device remains a reliable and indispensable tool in your daily life.