Introduction
Removing the SIM card from your iPhone may seem like a daunting task, especially if you're new to the world of mobile devices. However, with the right guidance, it can be a simple and straightforward process. Whether you're looking to switch to a new iPhone, troubleshoot network connectivity issues, or simply replace your SIM card, understanding how to safely remove the SIM card is essential.
In this comprehensive guide, we will walk you through the step-by-step process of removing the SIM card from your iPhone. By following these instructions, you'll gain the confidence to handle this task with ease, ensuring that you can seamlessly manage your device's connectivity.
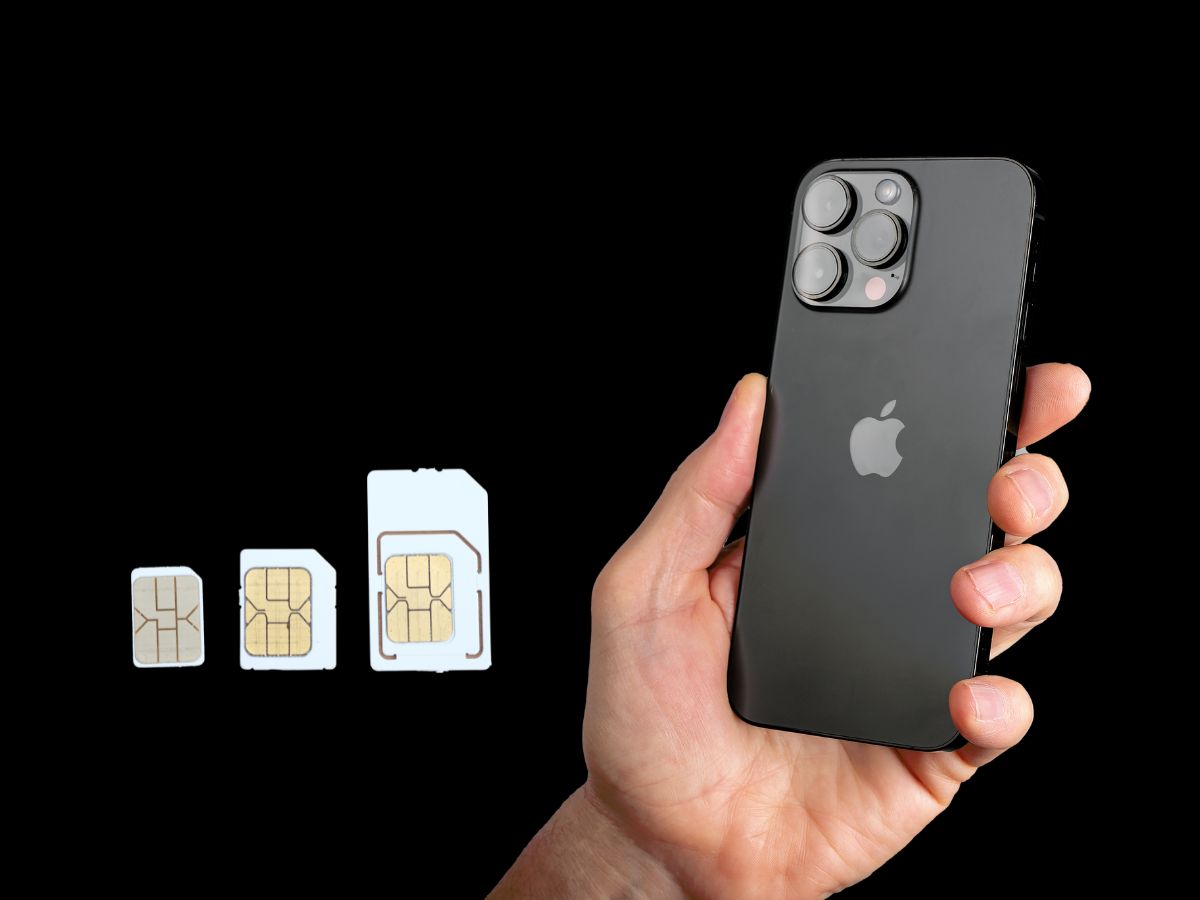
The SIM card, short for Subscriber Identity Module, plays a critical role in connecting your iPhone to your cellular network. It stores essential information, such as your phone number, carrier details, and personal contacts. Therefore, it's crucial to handle the SIM card with care and precision when removing it from your iPhone.
Whether you own the latest iPhone model or an earlier version, the process of removing the SIM card remains relatively consistent across different devices. By familiarizing yourself with the steps involved, you'll be equipped to navigate this process effortlessly, regardless of your iPhone model.
As we delve into the step-by-step guide, it's important to approach this task with patience and attentiveness. Taking the time to understand the layout of your iPhone and the location of the SIM card tray will ensure that you can execute each step confidently. Additionally, by following these instructions, you'll minimize the risk of causing any damage to your device or the SIM card itself.
Now, let's embark on this journey together as we uncover the essential steps for removing the SIM card from your iPhone. Whether you're a tech enthusiast or a casual iPhone user, this guide is designed to empower you with the knowledge and skills needed to handle this process seamlessly. Let's get started!
Step 1: Turn off the iPhone
Before embarking on the process of removing the SIM card from your iPhone, it's essential to ensure that the device is powered off. This step is crucial for your safety and the integrity of the iPhone's components. By turning off the iPhone, you minimize the risk of causing any damage to the SIM card or the device itself during the removal process.
To power off your iPhone, follow these simple steps:
-
Locate the Power Button: Depending on your iPhone model, the location of the power button may vary. Typically, the power button is situated on the right side of the device for newer models, such as the iPhone 12, 13, and their respective variations. For older models, such as the iPhone 8 and earlier, the power button is located on the top edge of the device.
-
Press and Hold the Power Button: Once you've identified the power button, press and hold it until the "slide to power off" slider appears on the screen. This action prompts the iPhone to initiate the shutdown process.
-
Slide to Power Off: With the "slide to power off" slider displayed on the screen, use your finger to slide the control from left to right. This gesture signals to the iPhone that you intend to power off the device.
-
Wait for the Shutdown: After sliding the control, patiently wait for the iPhone to power off completely. You may notice the screen going dark, indicating that the device is no longer active.
-
Verify the Power-Off Status: To confirm that the iPhone is powered off, briefly press the power button. If the device remains inactive and the screen does not illuminate, it indicates that the iPhone has successfully powered off.
By following these steps, you can ensure that your iPhone is safely powered off, setting the stage for the subsequent steps involved in removing the SIM card. This foundational step lays the groundwork for a smooth and secure SIM card removal process, safeguarding both your iPhone and the SIM card from potential damage.
With the iPhone powered off, you're now ready to proceed to the next step, where we will guide you through locating the SIM card tray on your device.
Step 2: Locate the SIM card tray
After ensuring that your iPhone is safely powered off, the next crucial step in removing the SIM card is to locate the SIM card tray. The SIM card tray houses the SIM card and is strategically positioned within the iPhone's chassis. While the exact placement may vary slightly depending on the iPhone model, the general approach to locating the SIM card tray remains consistent.
To locate the SIM card tray on your iPhone, follow these steps:
-
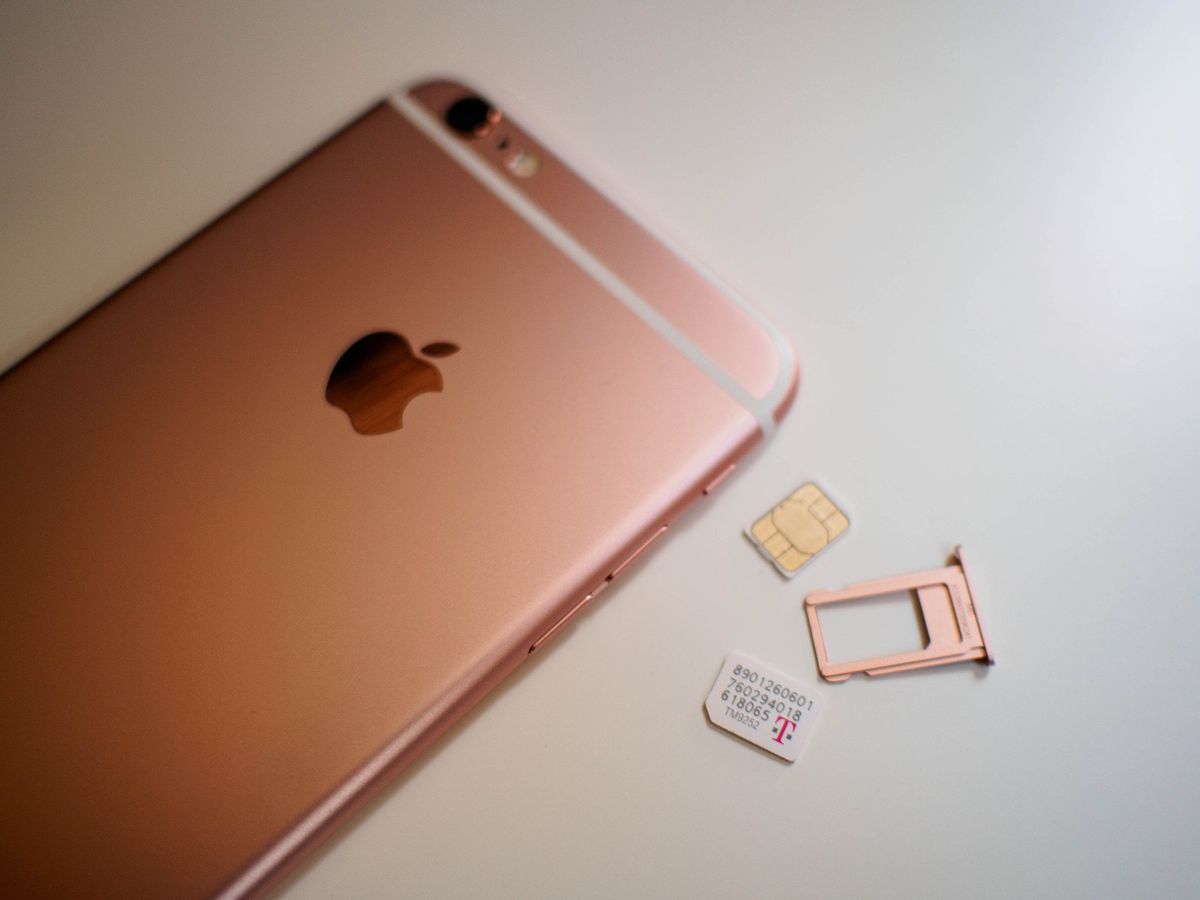
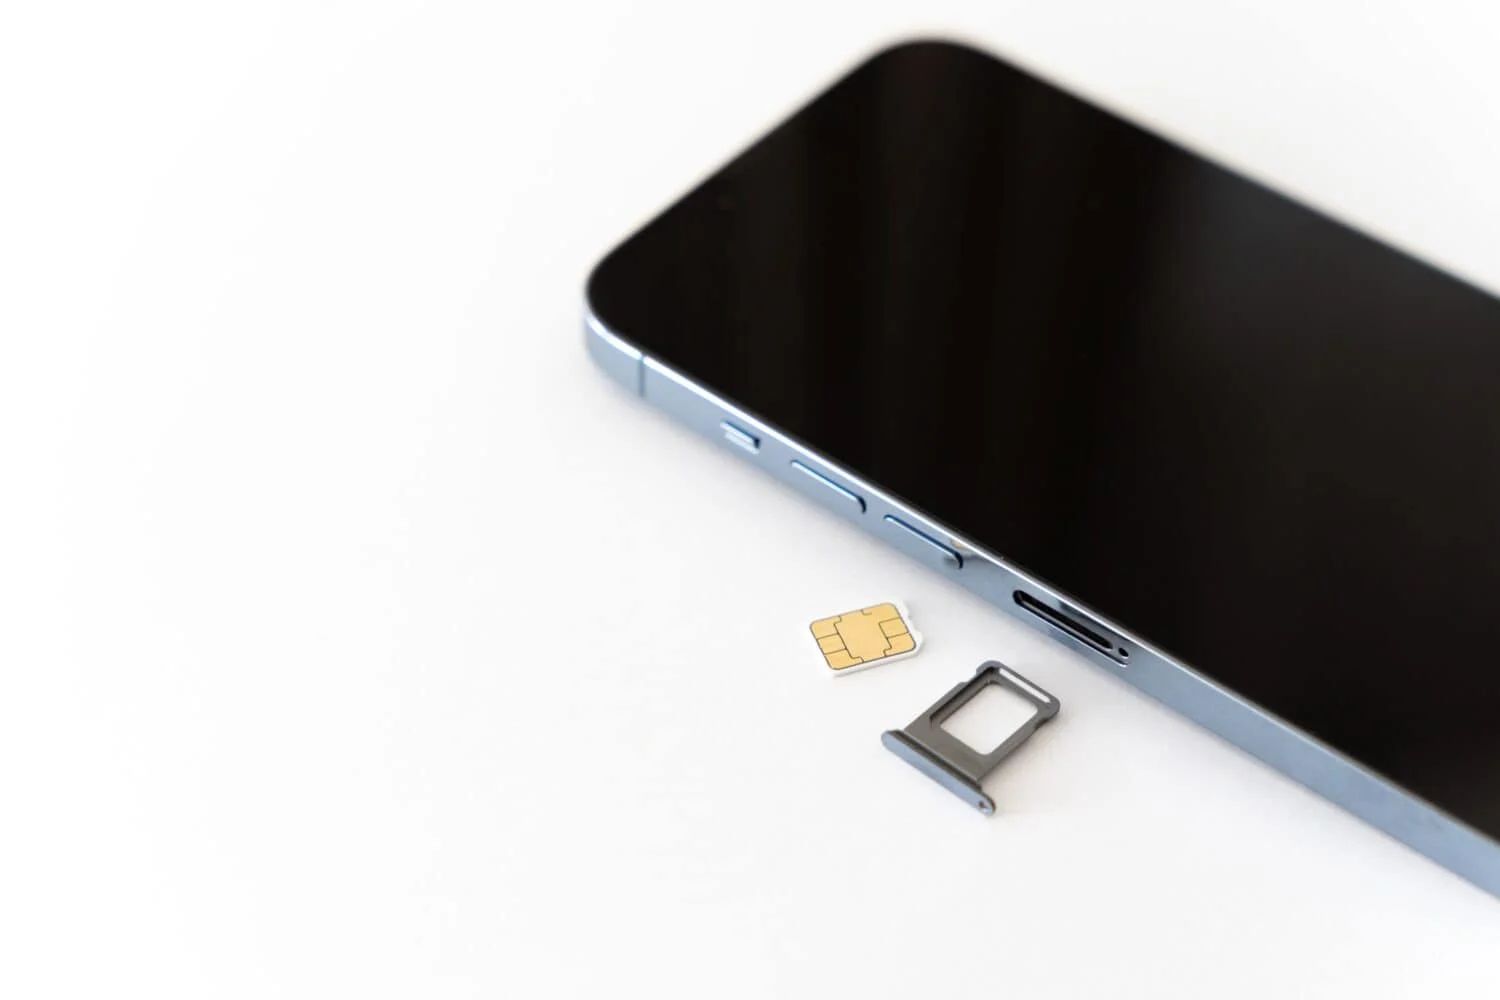
Identify the SIM Card Tray Slot: Examine the exterior of your iPhone to identify the slot that accommodates the SIM card tray. For most iPhone models, this slot is situated on the right-hand side of the device, although the specific location may vary. Newer iPhone models, such as the iPhone 12 and 13 series, feature a streamlined design with the SIM card tray slot seamlessly integrated into the device's frame.
-
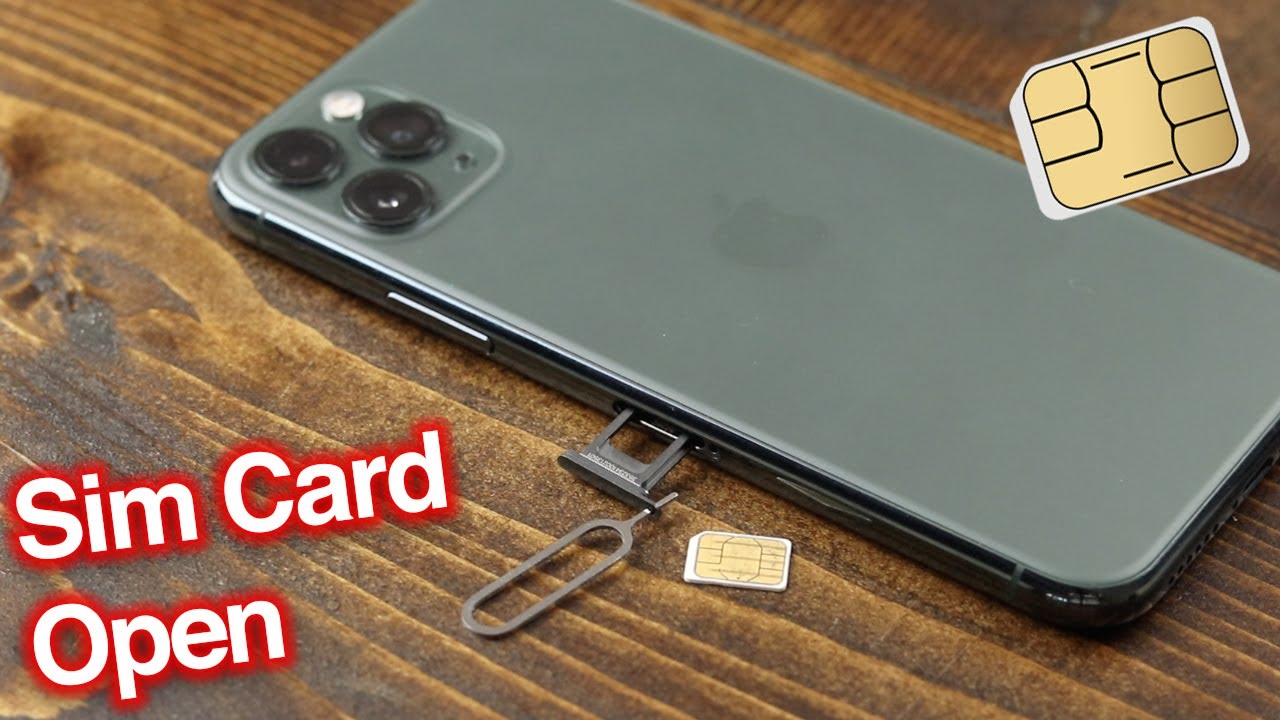
Use the SIM Card Eject Tool: Apple provides a specialized tool, commonly referred to as the SIM card eject tool, to facilitate the removal of the SIM card tray. This tool is included with the purchase of a new iPhone and is designed to fit into the small pinhole located adjacent to the SIM card tray slot. By inserting the SIM card eject tool into the pinhole, you can release the SIM card tray, enabling you to access the SIM card.
-
Refer to the iPhone Manual: If you encounter any difficulty in locating the SIM card tray on your specific iPhone model, consulting the iPhone manual can provide valuable insights. The manual typically contains detailed illustrations and instructions tailored to your iPhone model, offering clarity on the precise location of the SIM card tray.
-
Exercise Caution and Patience: As you navigate the process of locating the SIM card tray, it's essential to approach this step with care and precision. Take your time to familiarize yourself with the layout of your iPhone, ensuring that you handle the device delicately to avoid any unintended damage.
By successfully identifying the SIM card tray on your iPhone, you've accomplished a critical milestone in the SIM card removal process. With the SIM card tray located, you're now prepared to proceed to the subsequent step, where we will guide you through the process of ejecting the SIM card tray from your iPhone.
Now that you've located the SIM card tray, let's move forward to the next step in this seamless SIM card removal journey.
Step 3: Eject the SIM card tray
With the SIM card tray located within your iPhone, the next pivotal step in the SIM card removal process is to eject the SIM card tray from the device. This step requires precision and attention to detail to ensure that the SIM card tray is released smoothly, allowing you to access the SIM card securely housed within it.
To eject the SIM card tray from your iPhone, follow these detailed steps:
-
Prepare the SIM Card Eject Tool: Retrieve the SIM card eject tool provided by Apple or a suitable alternative, such as a straightened paperclip. Ensure that the tool is readily accessible and positioned for use in the upcoming steps.
-
Insert the SIM Card Eject Tool: Locate the small pinhole adjacent to the SIM card tray slot on your iPhone. With the SIM card eject tool in hand, gently insert the pointed end of the tool into the pinhole. Apply steady and controlled pressure to engage the mechanism that releases the SIM card tray.
-
Apply Even Pressure: As you insert the SIM card eject tool into the pinhole, maintain a steady and even pressure to activate the release mechanism. Avoid using excessive force, as this may result in damage to the SIM card tray or the internal components of the iPhone.
-
Feel for the Release: While applying pressure with the SIM card eject tool, you may feel a subtle resistance before the SIM card tray is released. Pay close attention to any tactile feedback, as this indicates that the tray is disengaging from its locked position within the iPhone.
-
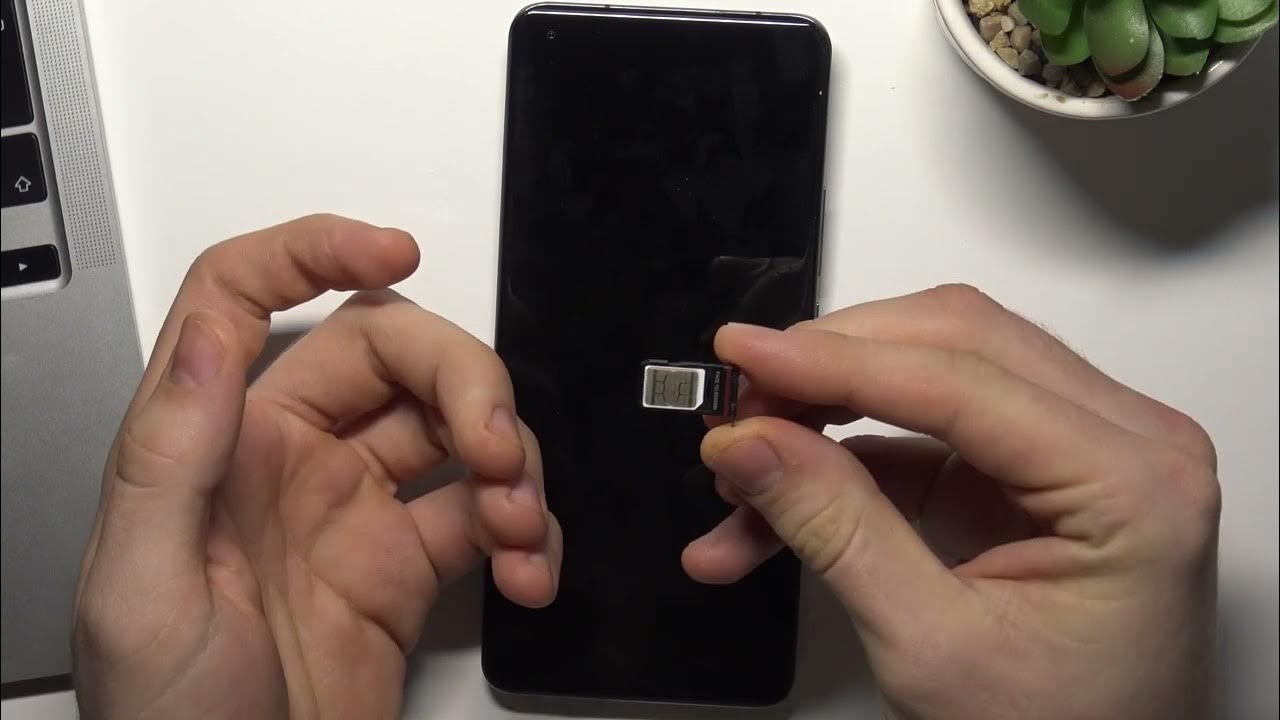
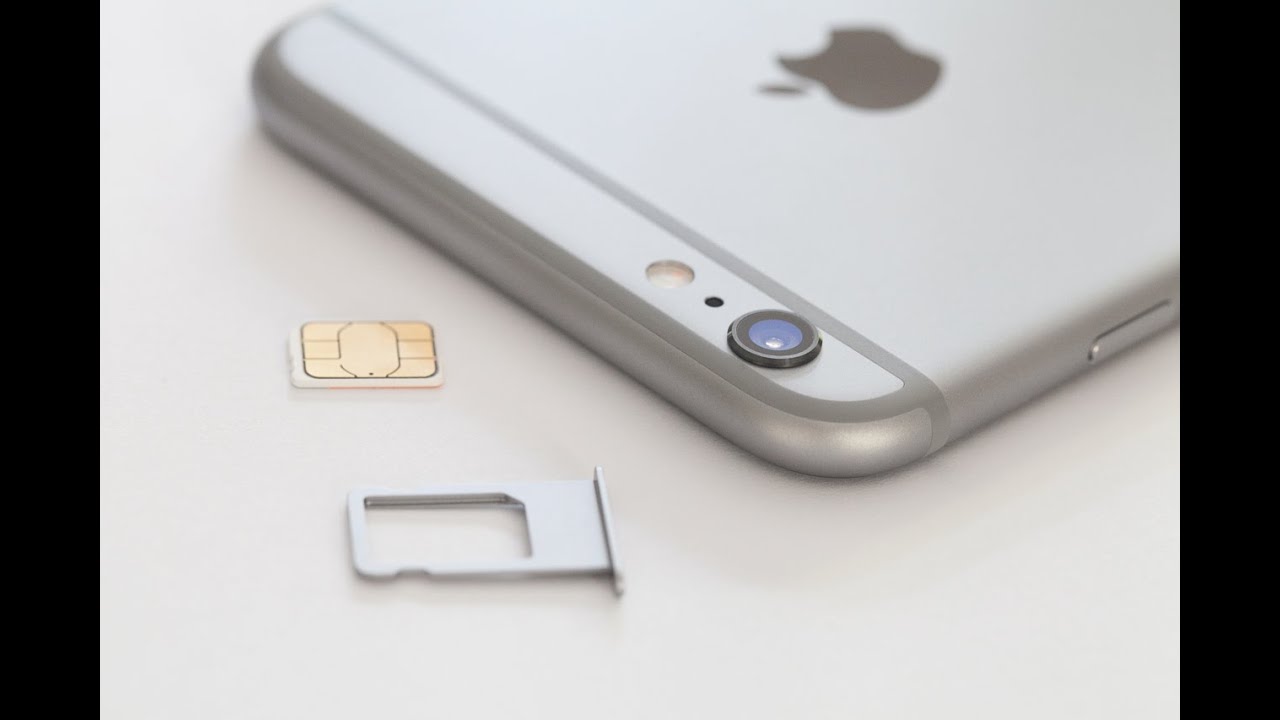
Retrieve the SIM Card Tray: Once the SIM card tray is released, carefully pull it out from the iPhone's chassis using your fingers. Exercise caution to avoid tilting or jarring the tray, as this may dislodge the SIM card or cause damage to the tray itself.
By meticulously following these steps, you can effectively eject the SIM card tray from your iPhone, setting the stage for the final and crucial step of removing the SIM card from the tray. With the SIM card tray in hand, you're now ready to proceed to the subsequent step, where we will guide you through the process of removing the SIM card securely nestled within the tray.
Step 4: Remove the SIM card
With the SIM card tray successfully ejected from your iPhone, the next critical step in the SIM card removal process is to delicately remove the SIM card from the tray. This step demands precision and care to ensure that the SIM card is extracted without any damage, allowing for a seamless transition to a new device or the replacement of the existing SIM card.
To remove the SIM card from the tray, follow these meticulous steps:
-
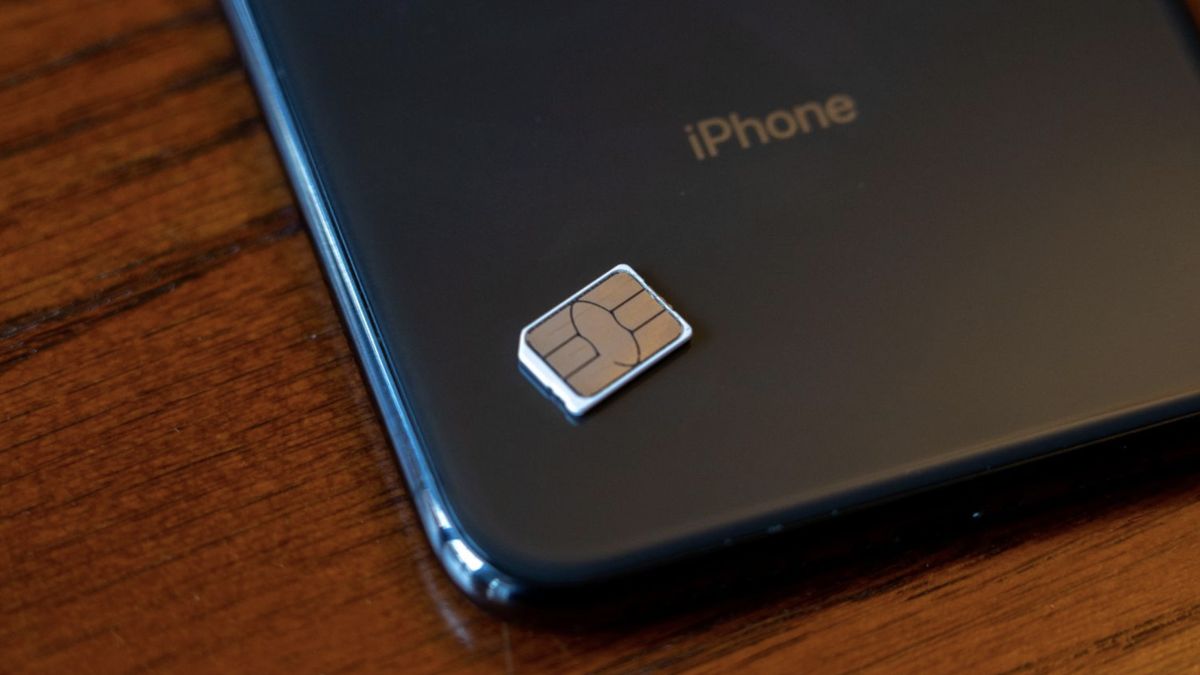
Inspect the SIM Card: Before proceeding with the removal, take a moment to inspect the SIM card nestled within the tray. The SIM card is a small, rectangular chip that contains crucial information, including your phone number and carrier details. Ensure that the SIM card is positioned securely within the tray and that there are no visible signs of damage or deformation.
-
Handle with Care: Gently grasp the SIM card between your thumb and forefinger, exercising caution to avoid applying excessive pressure or bending the card. The SIM card is a delicate component, and any mishandling may lead to functional issues or data loss.
-
Leverage the Tray Design: Many SIM card trays are designed with a convenient cutout that allows for easy removal of the SIM card. By aligning your fingers with the designated cutout, you can carefully slide the SIM card out of the tray in a smooth and controlled manner.
-
Avoid Contact with Metal Contacts: As you remove the SIM card, be mindful of the metal contacts located on its surface. These contacts facilitate the connection between the SIM card and the iPhone's internal components. To prevent any damage to the contacts, refrain from touching them and ensure that the SIM card remains free from fingerprints or debris.
-
Secure the SIM Card: Once the SIM card has been extracted from the tray, place it in a secure location, such as a SIM card holder or the packaging of your new SIM card. This precautionary measure helps safeguard the SIM card from loss or damage and ensures that it is readily accessible for future use.
By meticulously adhering to these steps, you can effectively remove the SIM card from the tray, marking the successful completion of the SIM card removal process. With the SIM card safely in your possession, you now have the flexibility to proceed with your desired course of action, whether it involves replacing the SIM card, transferring it to a new device, or simply storing it for future use.
Now that you have successfully removed the SIM card from the tray, you have gained valuable insights into the intricate process of managing your iPhone's connectivity components. With this knowledge at your disposal, you are empowered to navigate similar tasks with confidence and precision, ensuring the seamless operation of your mobile devices.
Conclusion
Congratulations! You have successfully navigated the step-by-step process of removing the SIM card from your iPhone. By following the comprehensive guide outlined in this article, you have gained valuable insights into the intricate procedure of managing your iPhone's connectivity components with confidence and precision.
As you reflect on the journey of SIM card removal, it's essential to recognize the significance of patience, attentiveness, and careful handling throughout each step. From powering off your iPhone to delicately removing the SIM card from the tray, every action was executed with a focus on safeguarding the integrity of the device and the SIM card itself.
By understanding the fundamental steps involved in SIM card removal, you have equipped yourself with the knowledge and skills needed to navigate similar tasks seamlessly in the future. Whether you are looking to replace your SIM card, troubleshoot network connectivity issues, or transfer the SIM card to a new device, the insights gained from this guide will serve as a valuable resource.
Furthermore, the process of removing the SIM card from your iPhone has provided you with a deeper understanding of the intricate components that contribute to the seamless operation of your device. By engaging with the physical elements of the iPhone, such as the SIM card tray and the SIM card itself, you have developed a heightened awareness of the device's internal mechanisms.
As you continue to explore the capabilities of your iPhone and other mobile devices, the knowledge acquired from this guide will serve as a foundation for confidently managing various aspects of device maintenance and connectivity. Whether you are an avid tech enthusiast or a casual user, the ability to handle essential tasks such as SIM card removal empowers you to maintain and optimize the functionality of your devices effectively.
In conclusion, the journey of removing the SIM card from your iPhone has not only equipped you with practical skills but has also deepened your appreciation for the intricate design and functionality of modern mobile devices. With this newfound knowledge, you are poised to approach future device-related tasks with confidence and proficiency, ensuring a seamless and rewarding user experience.
Remember, the ability to navigate essential tasks such as SIM card removal is a testament to your evolving expertise in managing mobile devices, setting the stage for continued exploration and mastery of the dynamic world of technology.