Introduction
Swapping the SIM card on your iPhone is a straightforward process that allows you to seamlessly transition to a new mobile carrier or replace a damaged SIM card. Whether you're upgrading to a new iPhone model, traveling internationally, or simply switching to a different network provider, understanding how to replace your SIM card is a valuable skill for any iPhone user. This step-by-step guide will walk you through the process, ensuring that you can easily and confidently perform this essential task.
The SIM card, or Subscriber Identity Module, serves as a crucial component of your iPhone, enabling it to connect to your mobile network and access voice, text, and data services. When you insert a new SIM card into your device, you are essentially providing it with a new identity on the network, allowing you to make and receive calls, send messages, and access the internet using the new carrier's services.
By following the instructions outlined in this guide, you will gain the knowledge and confidence to manage your iPhone's SIM card effectively. Whether you're a seasoned iPhone user or a newcomer to the iOS ecosystem, understanding how to swap your SIM card empowers you to take control of your mobile connectivity. So, let's dive into the step-by-step process of swapping the SIM card on your iPhone, ensuring that you can seamlessly transition to a new carrier or replace your existing SIM card with ease.
Step 1: Power Off Your iPhone
Before you begin the process of swapping the SIM card on your iPhone, it is crucial to power off your device to ensure a safe and smooth transition. By turning off your iPhone, you minimize the risk of damaging the SIM card or the device itself during the removal and insertion process.
To power off your iPhone, follow these simple steps:
-
Press and Hold the Side Button: Located on the right side of the iPhone, the side button is used to power on, lock, and turn off the device. To initiate the power off sequence, press and hold the side button until the "slide to power off" slider appears on the screen.
-
Slide to Power Off: Once the "slide to power off" slider is displayed, use your finger to swipe from left to right across the slider. This action confirms your intention to power off the iPhone.
-
Wait for the Device to Power Off: After swiping the slider, your iPhone will begin the shutdown process. You will notice the screen turning black as the device powers down. It is essential to wait for the shutdown to complete before proceeding to the next step.
By following these steps, you ensure that your iPhone is safely powered off, allowing you to proceed with the SIM card removal and insertion process without the risk of causing any damage to the device or the SIM card.
Powering off your iPhone is the first step in preparing for the SIM card swap, setting the stage for a seamless transition to a new carrier or a replacement SIM card. With your iPhone powered off, you are now ready to move on to the next step in the process: locating the SIM card tray.
Step 2: Locate the SIM Card Tray
Locating the SIM card tray is a crucial step in the process of swapping the SIM card on your iPhone. The SIM card tray houses the SIM card and is designed to securely hold it in place within the device. To successfully complete the SIM card replacement, you need to identify the precise location of the SIM card tray on your specific iPhone model.
The location of the SIM card tray varies depending on the iPhone model you own. Here's how to locate the SIM card tray on different iPhone models:
iPhone with Face ID (iPhone X and later models)
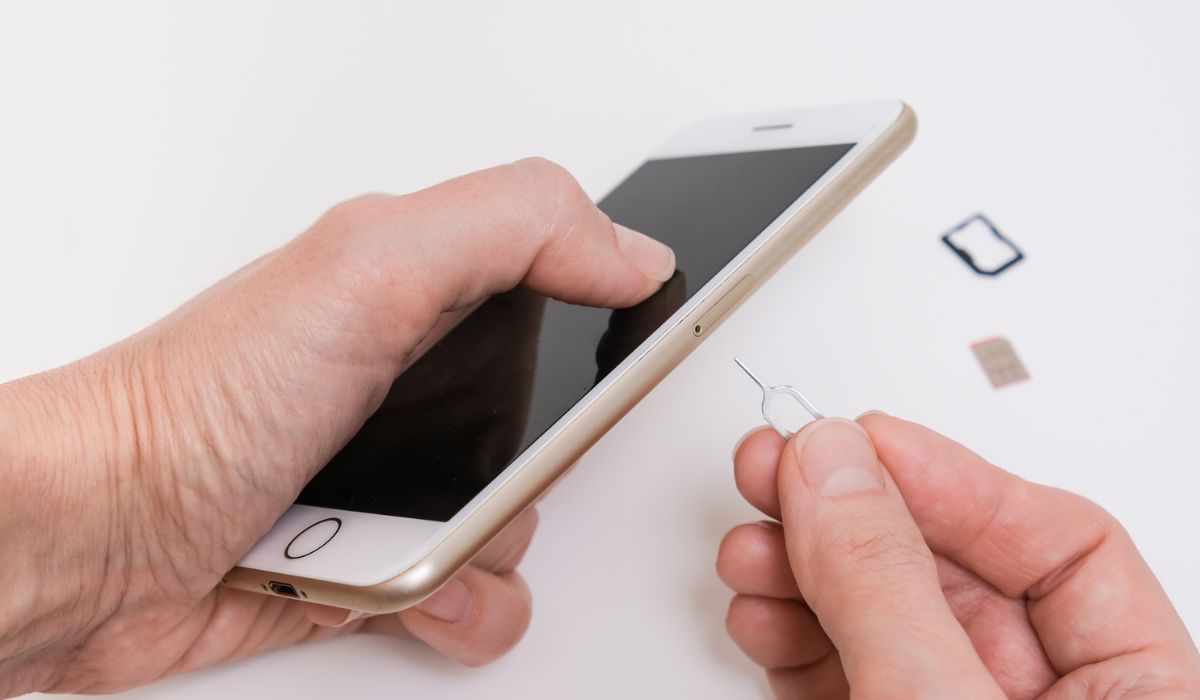
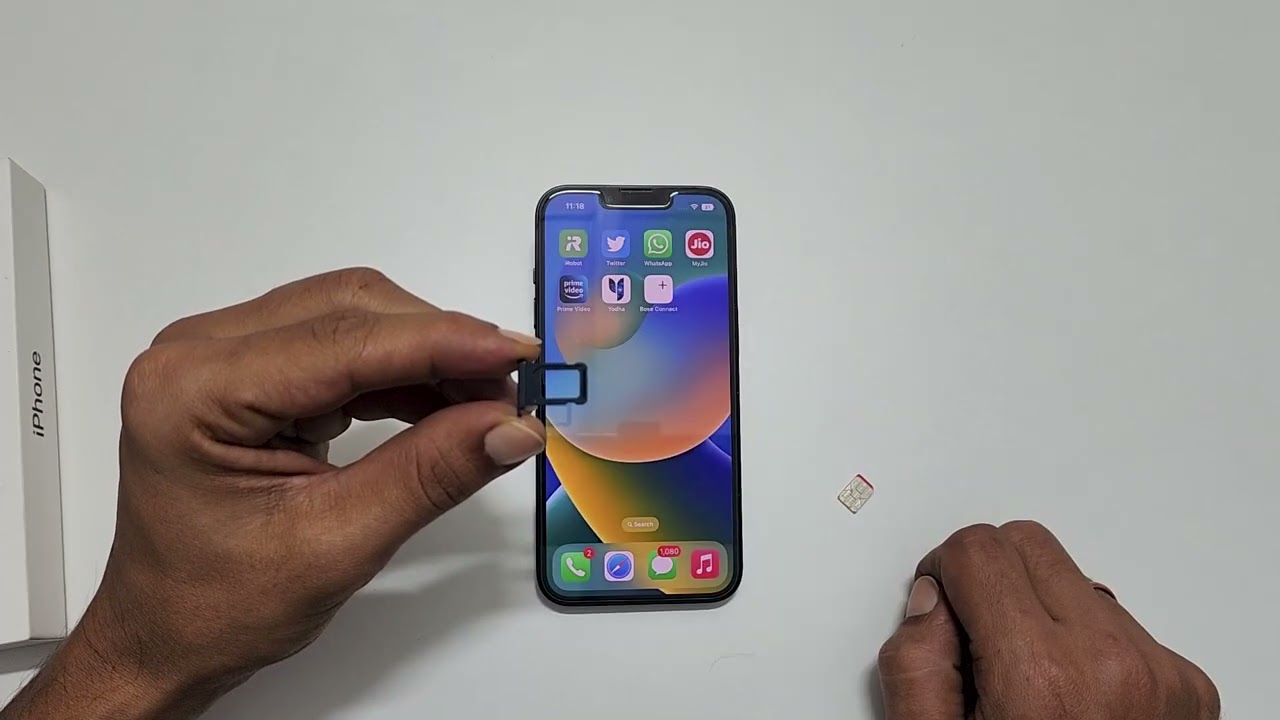
- Identify the SIM Card Tray Slot: On the right side of the device, you will find a small slot with a pinhole. This is the SIM card tray slot.
- Insert the SIM Card Eject Tool: Use the SIM card eject tool, which is typically provided by Apple or can be a small paperclip, and insert it into the pinhole. Apply gentle pressure to push the tool into the pinhole.
iPhone with Touch ID (iPhone 8 and earlier models)
- Locate the SIM Card Tray: On the right side of the device, you will find the SIM card tray, which is a small rectangular or oval-shaped slot.
- Use the SIM Card Eject Tool: Insert the SIM card eject tool or a paperclip into the small pinhole next to the SIM card tray.
Once you have located the SIM card tray and inserted the SIM card eject tool, you are ready to proceed to the next step, which involves ejecting the SIM card tray from your iPhone. This process allows you to access the SIM card and prepare for its removal or replacement.
By accurately identifying the location of the SIM card tray on your specific iPhone model, you are laying the groundwork for a successful SIM card swap. With this essential knowledge in hand, you are well-equipped to move on to the subsequent steps, ensuring a seamless transition to a new SIM card or mobile carrier.
Step 3: Eject the SIM Card Tray
After locating the SIM card tray on your iPhone, the next step is to eject the tray from the device. Ejecting the SIM card tray grants you access to the SIM card, allowing for its safe removal or replacement. This process varies slightly depending on your iPhone model, but the fundamental steps remain consistent.
For iPhones with Face ID, such as the iPhone X and later models, you will use the SIM card eject tool or a paperclip to initiate the tray ejection. Insert the tool into the pinhole located next to the SIM card tray slot and apply gentle pressure. As you do this, the SIM card tray will begin to protrude from the device, allowing you to grasp and remove it fully.
On the other hand, for iPhones with Touch ID, including the iPhone 8 and earlier models, the process is similar. Insert the SIM card eject tool or a paperclip into the pinhole adjacent to the SIM card tray and exert gentle pressure. This action prompts the SIM card tray to partially emerge from the device, enabling you to carefully pull it out.
Ejecting the SIM card tray should be done with precision and care to avoid causing any damage to the device or the tray itself. It's essential to exert gentle and even pressure when using the eject tool, ensuring that the tray emerges smoothly without any resistance.
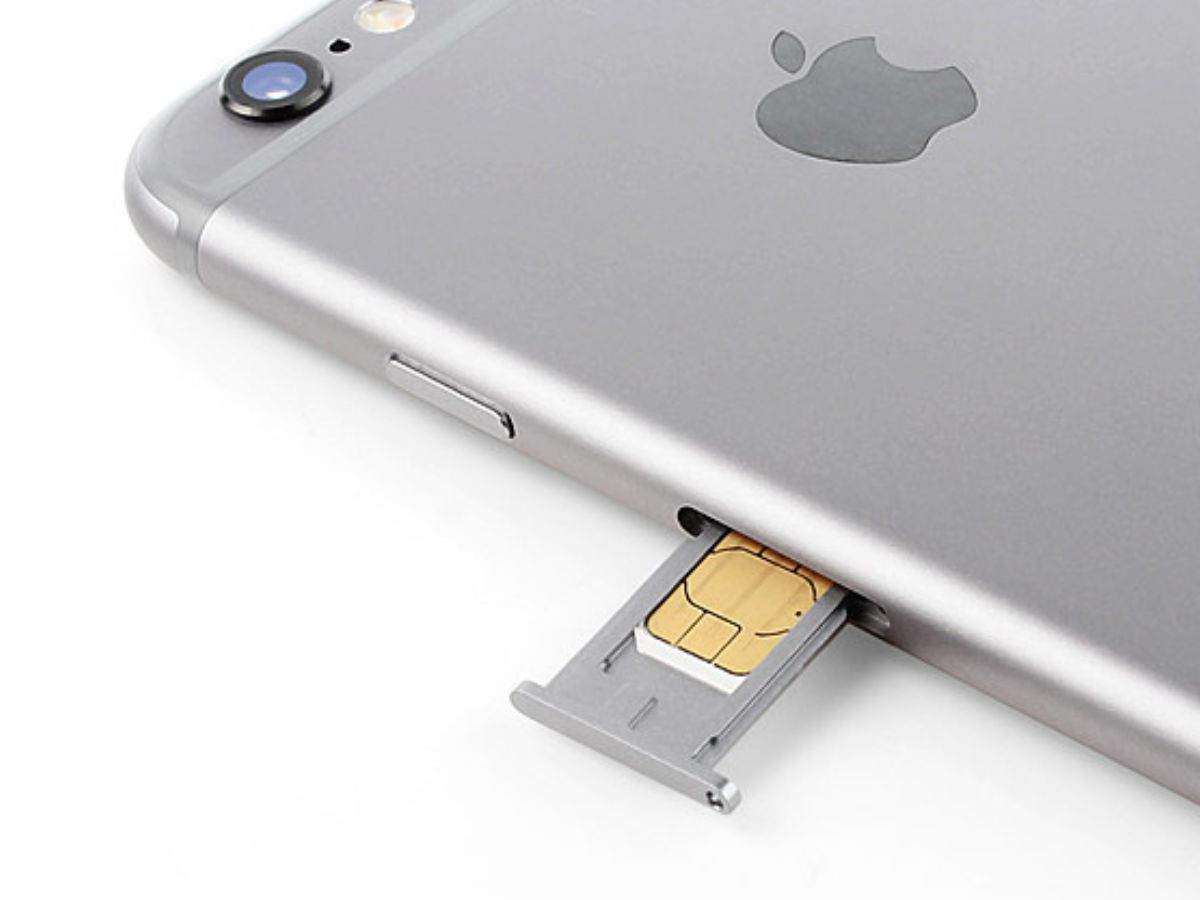
Once the SIM card tray is ejected, handle it with care, holding it by the edges to avoid touching the metal contacts or the SIM card within. With the tray in hand, you can proceed to the next step, which involves removing the old SIM card from the tray or inserting a new SIM card, depending on your specific needs.
By successfully ejecting the SIM card tray from your iPhone, you have reached a critical stage in the SIM card swapping process. This accomplishment brings you one step closer to seamlessly transitioning to a new SIM card or mobile carrier, empowering you to manage your iPhone's connectivity with confidence and ease.
Step 4: Remove the Old SIM Card
With the SIM card tray successfully ejected from your iPhone, the next crucial step is to remove the old SIM card from the tray. Whether you are replacing the SIM card with a new one or simply repositioning the existing card, the removal process requires precision and care to ensure the safety of both the SIM card and the tray.
To remove the old SIM card, carefully examine the layout of the SIM card tray. You will notice a designated slot that accommodates the SIM card. Gently maneuver the tray to access the SIM card slot, taking care not to apply excessive force that could potentially damage the delicate components.
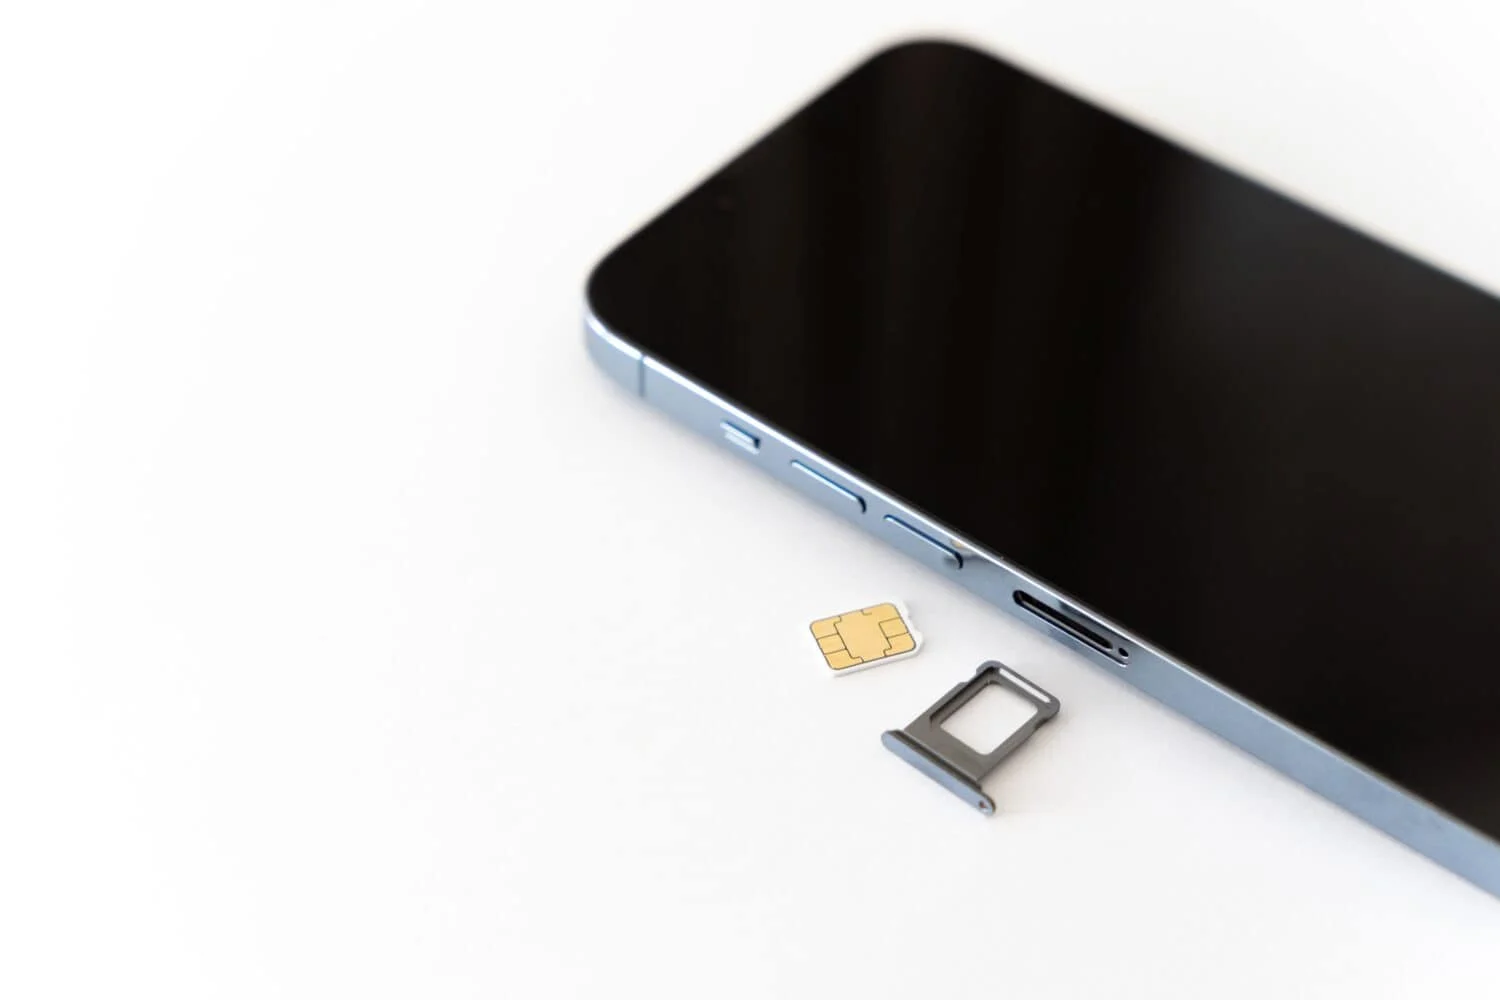
Once you have a clear view of the SIM card slot, identify the old SIM card nestled within. Using your fingertips, delicately grasp the edges of the SIM card and carefully lift it out of the slot. It's important to handle the SIM card with care, avoiding contact with the metal contacts or any forceful bending or twisting that could compromise its integrity.
As you remove the old SIM card, take a moment to inspect it for any signs of damage, such as scratches, dents, or discoloration. If the SIM card appears to be in good condition, you can set it aside for safekeeping, especially if it is associated with an active mobile plan that you may wish to use in the future.
On the other hand, if you are replacing the old SIM card with a new one, ensure that the new card is compatible with your iPhone model and the mobile carrier you intend to use. Align the new SIM card with the designated slot in the tray, taking note of the orientation to ensure a proper fit.
Carefully lower the new SIM card into the slot, ensuring that it sits securely and aligns with the contours of the slot. Avoid applying excessive pressure during this process, as the SIM card should fit snugly without the need for forceful insertion.
By successfully removing the old SIM card and, if necessary, inserting a new one, you have completed a critical phase in the SIM card swapping process. This accomplishment brings you closer to establishing seamless connectivity with a new mobile carrier or a fresh SIM card, setting the stage for a smooth transition as you proceed with reinserting the SIM card tray into your iPhone.
Step 5: Insert the New SIM Card
With the old SIM card removed or a new one ready for insertion, the next pivotal step is to delicately place the new SIM card into the designated slot within the SIM card tray. This process requires precision and attention to detail to ensure that the new SIM card is seamlessly integrated into your iPhone, facilitating connectivity with your chosen mobile carrier.
Before inserting the new SIM card, take a moment to inspect it for any visible damage or irregularities. Ensure that the gold contacts on the SIM card are clean and free from any debris that could impede its functionality. Additionally, verify that the new SIM card is compatible with your iPhone model and the mobile carrier you intend to use, as compatibility is essential for establishing a reliable connection.
Carefully position the new SIM card within the designated slot on the SIM card tray, aligning it with the contours of the slot to guarantee a proper fit. The SIM card should slide smoothly into place without the need for forceful insertion. Avoid applying excessive pressure, as this could potentially damage the SIM card or the tray.
Once the new SIM card is securely seated within the slot, take a moment to ensure that it is positioned correctly and does not protrude from the tray. A flush and secure fit is essential for the SIM card to function optimally within your iPhone, enabling seamless access to voice, text, and data services provided by your chosen mobile carrier.
By successfully inserting the new SIM card into the SIM card tray, you have reached a critical milestone in the process of swapping the SIM card on your iPhone. This accomplishment brings you one step closer to establishing a new identity on the mobile network, empowering you to enjoy uninterrupted connectivity and access to essential communication services.
With the new SIM card securely in place, you are now prepared to proceed to the next step, which involves reinserting the SIM card tray into your iPhone and initiating the power-up sequence to activate the new SIM card. This transition marks a significant advancement in managing your iPhone's connectivity, ensuring that you can seamlessly transition to a new mobile carrier or a fresh SIM card with confidence and ease.
Step 6: Reinsert the SIM Card Tray
After successfully inserting the new SIM card into the designated slot on the SIM card tray, the next crucial step is to delicately reinsert the tray into your iPhone. This process is essential for securing the SIM card within the device and ensuring seamless connectivity with your chosen mobile carrier.
To reinsert the SIM card tray, align it with the corresponding slot on the side of your iPhone. Take care to position the tray correctly, ensuring that it sits flush with the device's exterior. Avoid applying excessive force during this process, as the tray should slide smoothly into place without resistance.
Once the SIM card tray is aligned and positioned correctly, gently press it into the slot, ensuring that it is securely seated within the device. A firm but gentle touch is essential to prevent any potential damage to the tray or the device itself.
As the SIM card tray is reinserted, take a moment to verify that it sits level with the iPhone's exterior, with no protrusions or misalignments. This visual inspection ensures that the tray is securely in place, ready to facilitate the functionality of the new SIM card within your device.
With the SIM card tray successfully reinserted into your iPhone, you have completed a critical phase in the process of swapping the SIM card, setting the stage for seamless connectivity with your chosen mobile carrier. This accomplishment brings you one step closer to enjoying uninterrupted access to voice, text, and data services, empowering you to stay connected with confidence and ease.
With the SIM card tray securely in place, you are now prepared to proceed to the final step, which involves powering on your iPhone to activate the new SIM card. This transition marks a significant advancement in managing your iPhone's connectivity, ensuring that you can seamlessly transition to a new mobile carrier or a fresh SIM card with confidence and ease.
Step 7: Power On Your iPhone
With the new SIM card securely in place and the SIM card tray delicately reinserted into your iPhone, the final step in the process of swapping the SIM card involves powering on your device. This pivotal step initiates the activation of the new SIM card, facilitating seamless connectivity with your chosen mobile carrier and enabling access to essential voice, text, and data services.
To power on your iPhone, follow these simple yet crucial steps:
-
Press and Hold the Side Button: Located on the right side of your iPhone, the side button serves as the power button and is instrumental in initiating the device's startup sequence. Press and hold the side button until the Apple logo appears on the screen, indicating that the iPhone is powering on.
-
Wait for the Startup Sequence: As the Apple logo illuminates the screen, your iPhone will commence the startup sequence, initializing the activation of the new SIM card. It is essential to allow the device ample time to complete the startup process, ensuring that the new SIM card is recognized and integrated into the iPhone's connectivity framework.
-
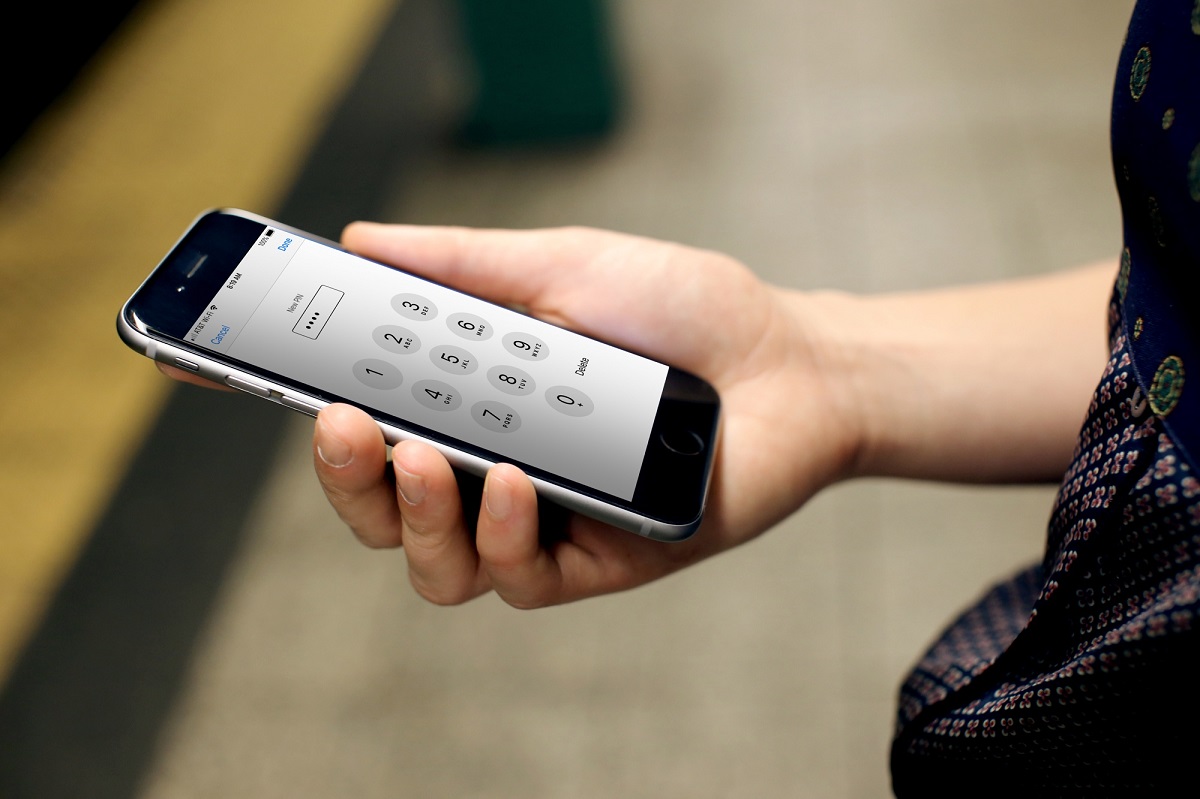
Enter the SIM Card PIN (if required): If your new SIM card is associated with a PIN (Personal Identification Number) for added security, the iPhone will prompt you to enter the PIN after powering on. Carefully input the PIN using the on-screen keypad, following any specific instructions provided by your mobile carrier.
-
Verify Connectivity: Once the startup sequence is complete and, if applicable, the SIM card PIN is entered, verify that your iPhone establishes connectivity with the network associated with the new SIM card. Check for signal bars or network indicators on the device's status bar, confirming that the new SIM card is active and facilitating communication with your chosen mobile carrier.
By powering on your iPhone and activating the new SIM card, you have completed the essential process of swapping the SIM card, ushering in a new phase of seamless connectivity and access to mobile services. This accomplishment empowers you to enjoy uninterrupted communication, data access, and network connectivity, ensuring that your iPhone seamlessly transitions to a new mobile carrier or a fresh SIM card with confidence and ease.
With the new SIM card successfully activated and integrated into your iPhone, you are now poised to enjoy the full spectrum of mobile services offered by your chosen carrier, enabling you to stay connected, informed, and engaged in today's dynamic and interconnected world.
Conclusion
In conclusion, mastering the process of swapping the SIM card on your iPhone is a valuable skill that empowers you to seamlessly transition to a new mobile carrier, replace a damaged SIM card, or adapt to changing connectivity needs. By following the step-by-step guide outlined in this article, you have gained the knowledge and confidence to navigate this essential task with ease and precision.
The SIM card serves as the linchpin of your iPhone's connectivity, enabling it to access voice, text, and data services through the mobile network. Understanding how to manage the SIM card effectively equips you to take control of your iPhone's connectivity, ensuring that you can adapt to new carrier offerings, travel internationally with ease, and address any SIM card-related issues that may arise.
Throughout this guide, you have learned the importance of powering off your iPhone before initiating the SIM card swap, locating and ejecting the SIM card tray, delicately handling the SIM card, and seamlessly integrating a new SIM card into your device. Each step in the process is crucial for ensuring a smooth and successful transition, guaranteeing uninterrupted access to essential communication services.
By carefully following the instructions and recommendations provided, you have demonstrated your ability to manage your iPhone's SIM card with precision and confidence. Whether you are a seasoned iPhone user or a newcomer to the iOS ecosystem, the knowledge gained from this guide empowers you to adapt to changing mobile connectivity needs and take full advantage of the diverse offerings provided by mobile carriers.
With the new SIM card securely in place and activated within your iPhone, you are now poised to enjoy uninterrupted access to voice calls, text messaging, and data services, enabling you to stay connected and engaged in today's fast-paced world. Whether you are embarking on a new mobile plan, exploring international travel opportunities, or simply seeking to optimize your iPhone's connectivity, the ability to swap your SIM card with ease is a valuable asset.
In essence, mastering the process of swapping the SIM card on your iPhone reflects your proactive approach to managing your mobile connectivity. By embracing this knowledge and skill, you are well-prepared to adapt to changing circumstances, explore new mobile carrier offerings, and ensure that your iPhone remains a reliable and versatile communication tool in your daily life.