Introduction
Activating an iPhone SIM card is an essential step in setting up your device for seamless communication and connectivity. Whether you've just purchased a new iPhone or are switching to a different carrier, properly activating the SIM card is crucial for accessing voice calls, text messages, and mobile data services. This comprehensive guide will walk you through the step-by-step process of activating your iPhone SIM card, ensuring that you can start using your device with confidence.
A SIM (Subscriber Identity Module) card serves as the key to accessing your mobile network's services. It securely stores your unique subscriber information, such as your phone number, network authorization details, and contacts. Without a properly activated SIM card, your iPhone would be unable to connect to your mobile network, rendering it unable to make or receive calls, send text messages, or access the internet via cellular data.
By following the instructions in this guide, you'll be equipped to handle the activation process with ease, regardless of whether you're setting up a new iPhone or switching to a new carrier. From gathering the necessary materials to testing the connection, each step is designed to ensure a smooth and successful activation experience. So, let's dive in and get your iPhone SIM card activated, so you can stay connected with the world around you.
Step 1: Gather Necessary Materials
Before embarking on the journey to activate your iPhone SIM card, it's crucial to gather the necessary materials to ensure a seamless and uninterrupted process. Here's what you'll need:
-
iPhone: Ensure that you have the iPhone for which you need to activate the SIM card. Whether it's a brand-new device or one you've been using, having the iPhone at hand is essential for the activation process.
-
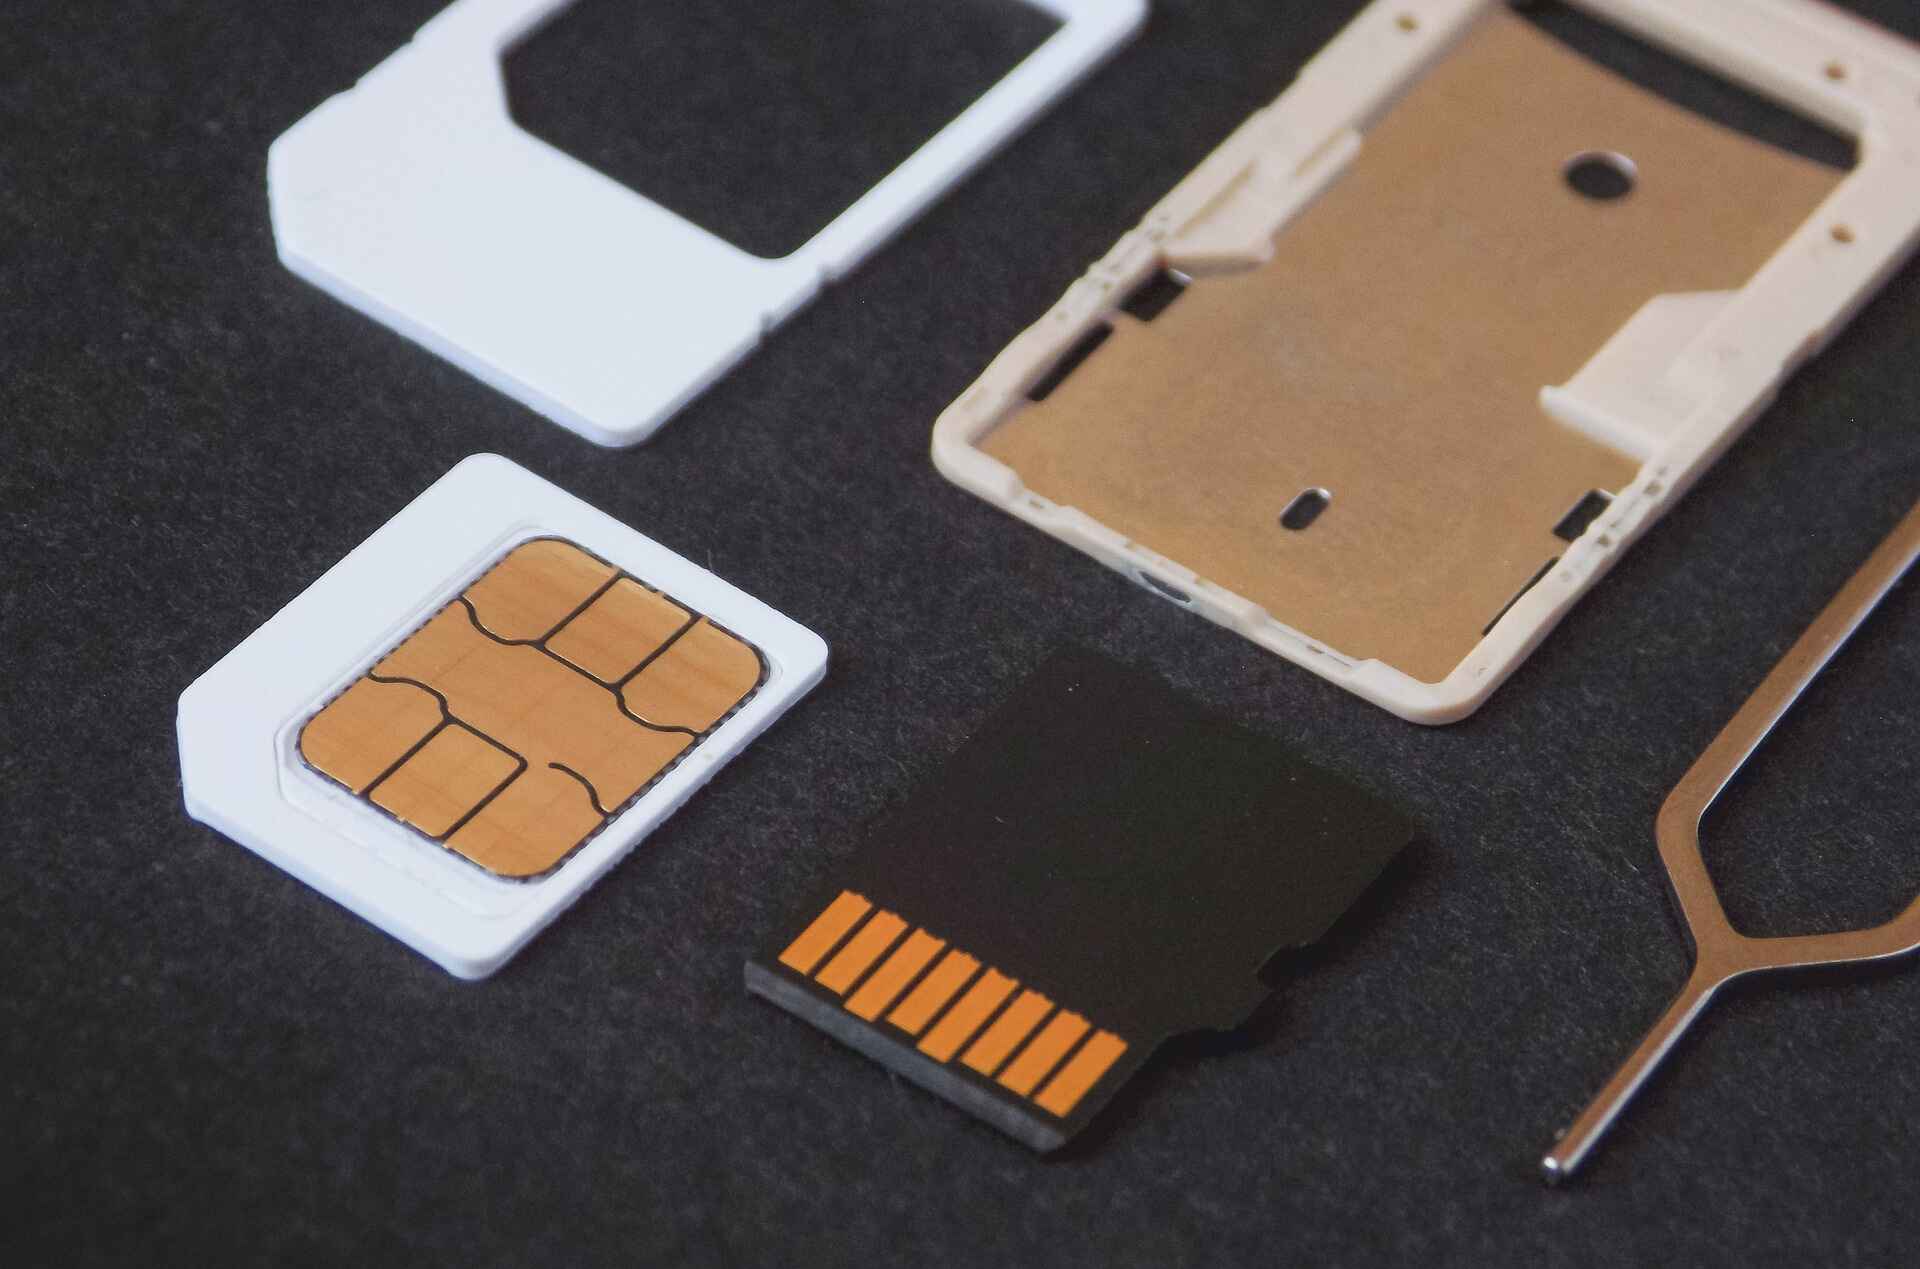
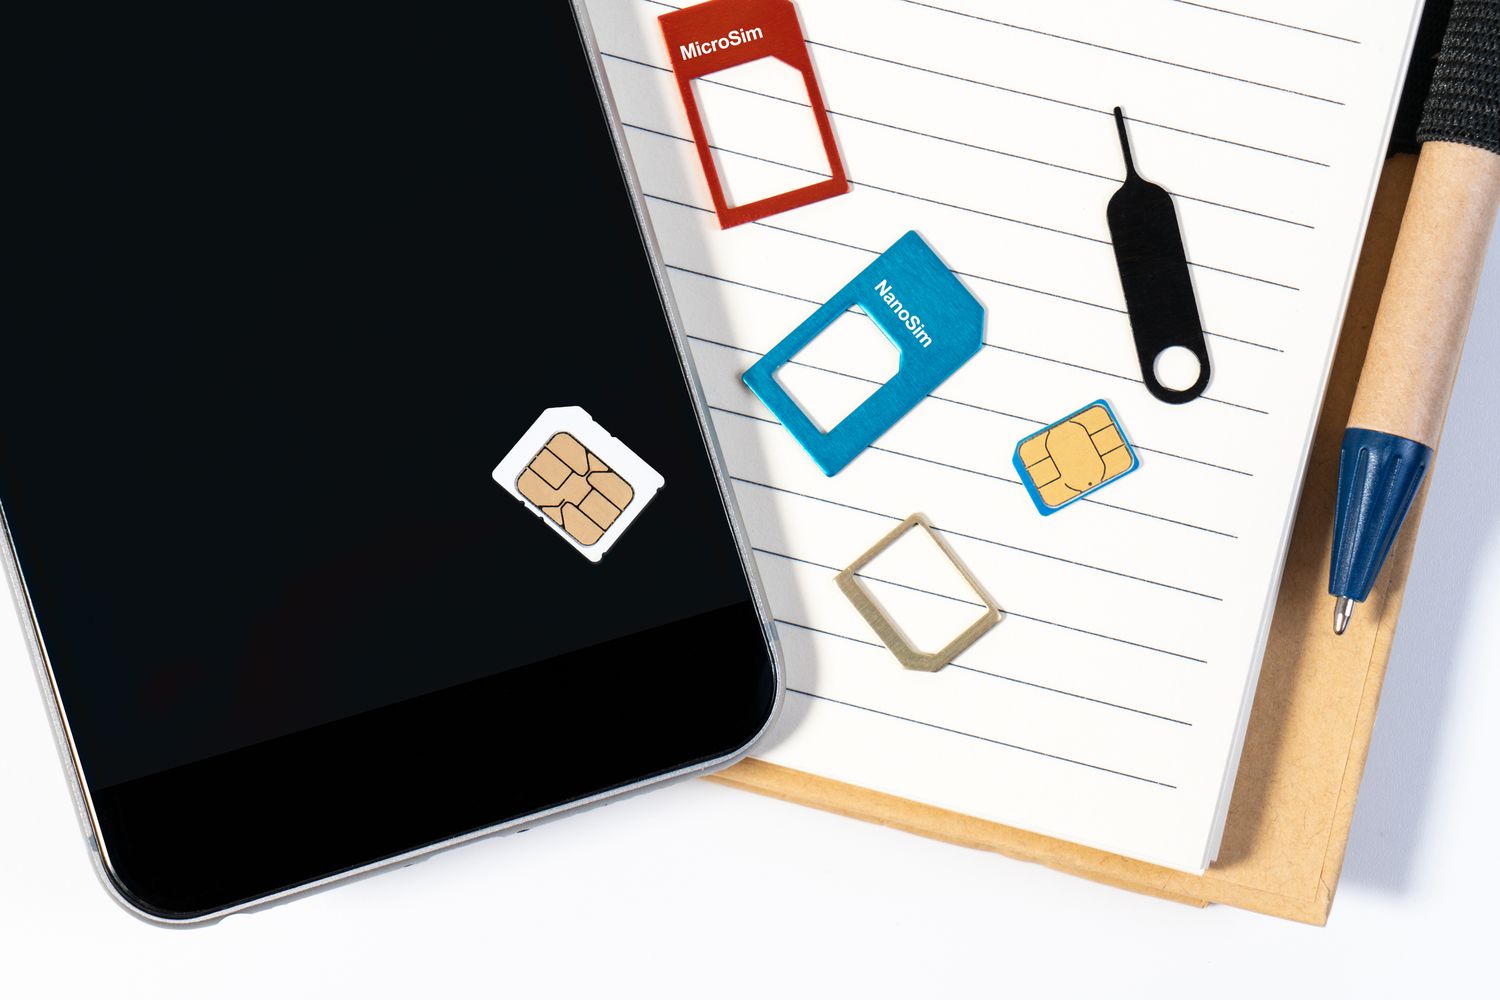
SIM Card: If you're setting up a new iPhone, the SIM card may come pre-installed. However, if you're switching to a new carrier, you'll need the new SIM card provided by the carrier. Make sure to have it readily accessible.
-
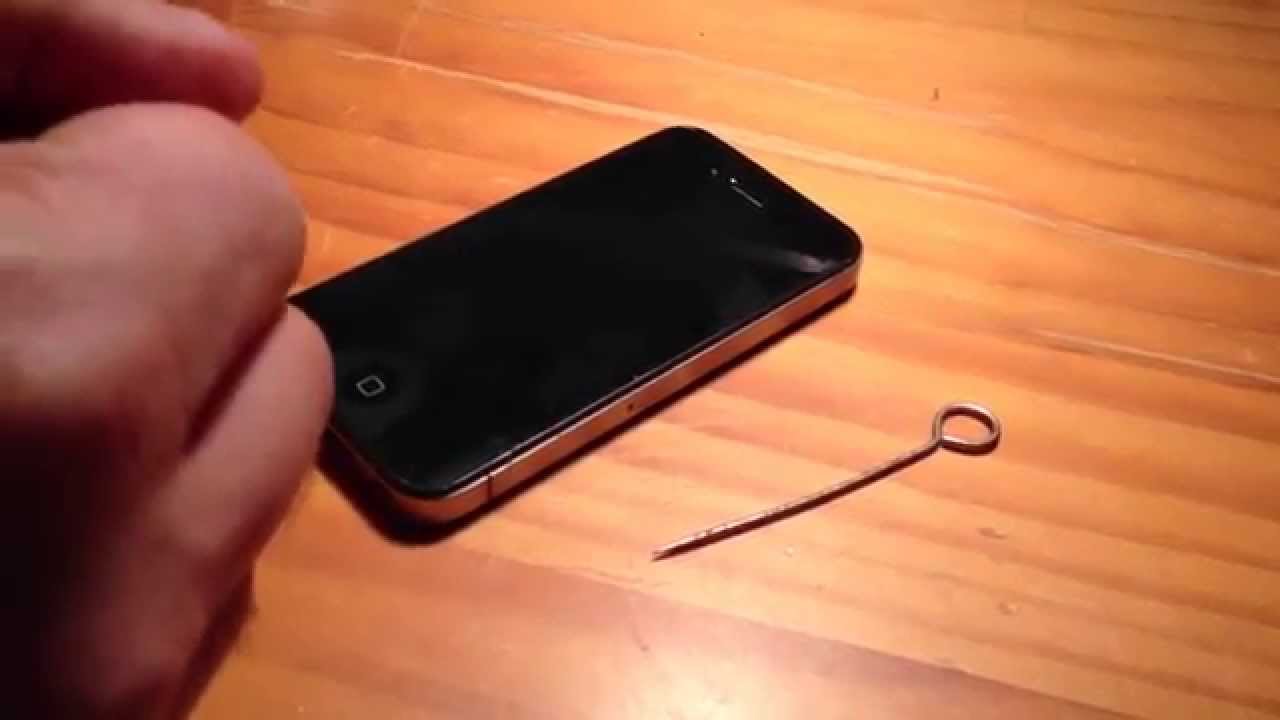
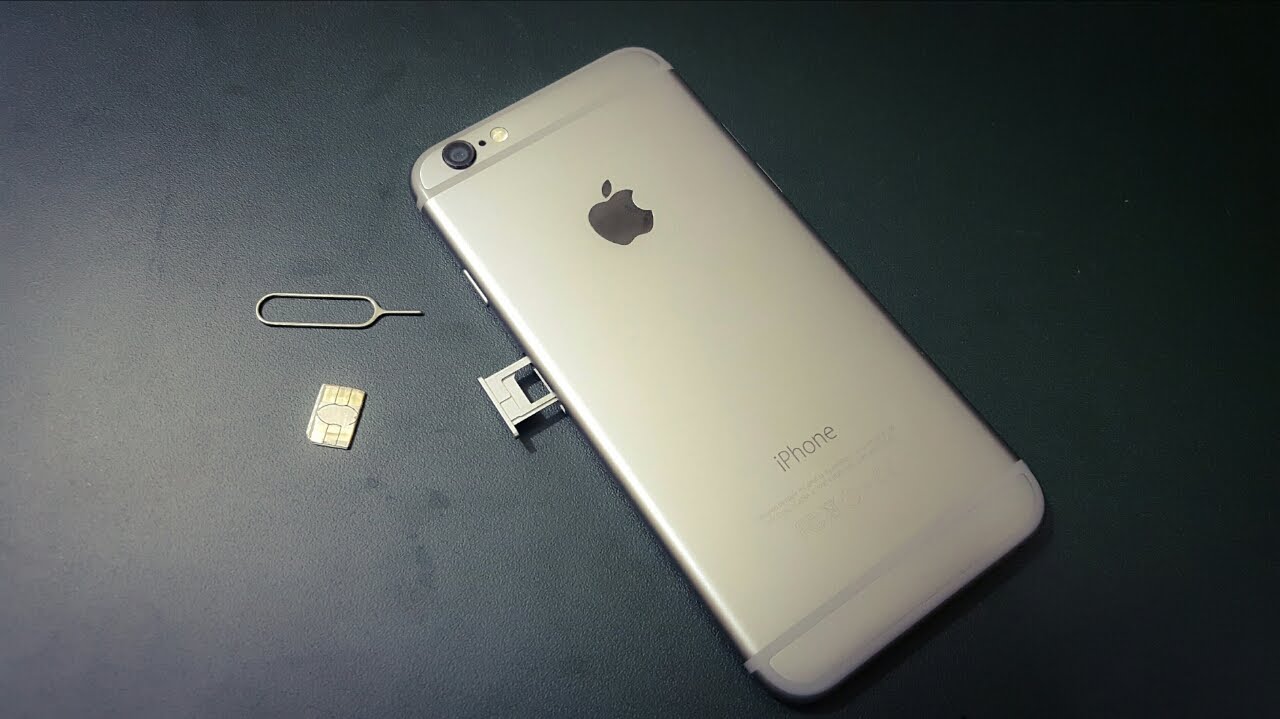
SIM Ejector Tool or Paperclip: To access the SIM card slot on your iPhone, you'll need a SIM ejector tool or a paperclip. This small, pointed tool is essential for removing the SIM card tray without causing any damage to the device.
-
Wi-Fi Connection: Having a stable Wi-Fi connection is advisable during the activation process. While it's possible to activate the SIM card using a cellular data connection, Wi-Fi ensures a more stable and reliable network for the initial setup.
-
Apple ID and Password: If you're setting up a new iPhone, having your Apple ID and password at hand will streamline the activation process. This information is crucial for signing in to your Apple account during the setup.
-
Carrier Information: If you're switching to a new carrier, it's helpful to have any relevant information provided by the carrier, such as activation instructions or account details. This will facilitate a smooth transition to the new network.
By ensuring that you have these materials readily available, you'll be well-prepared to begin the SIM card activation process. With everything in place, you can proceed confidently to the next step, knowing that you have everything you need to successfully activate your iPhone SIM card.
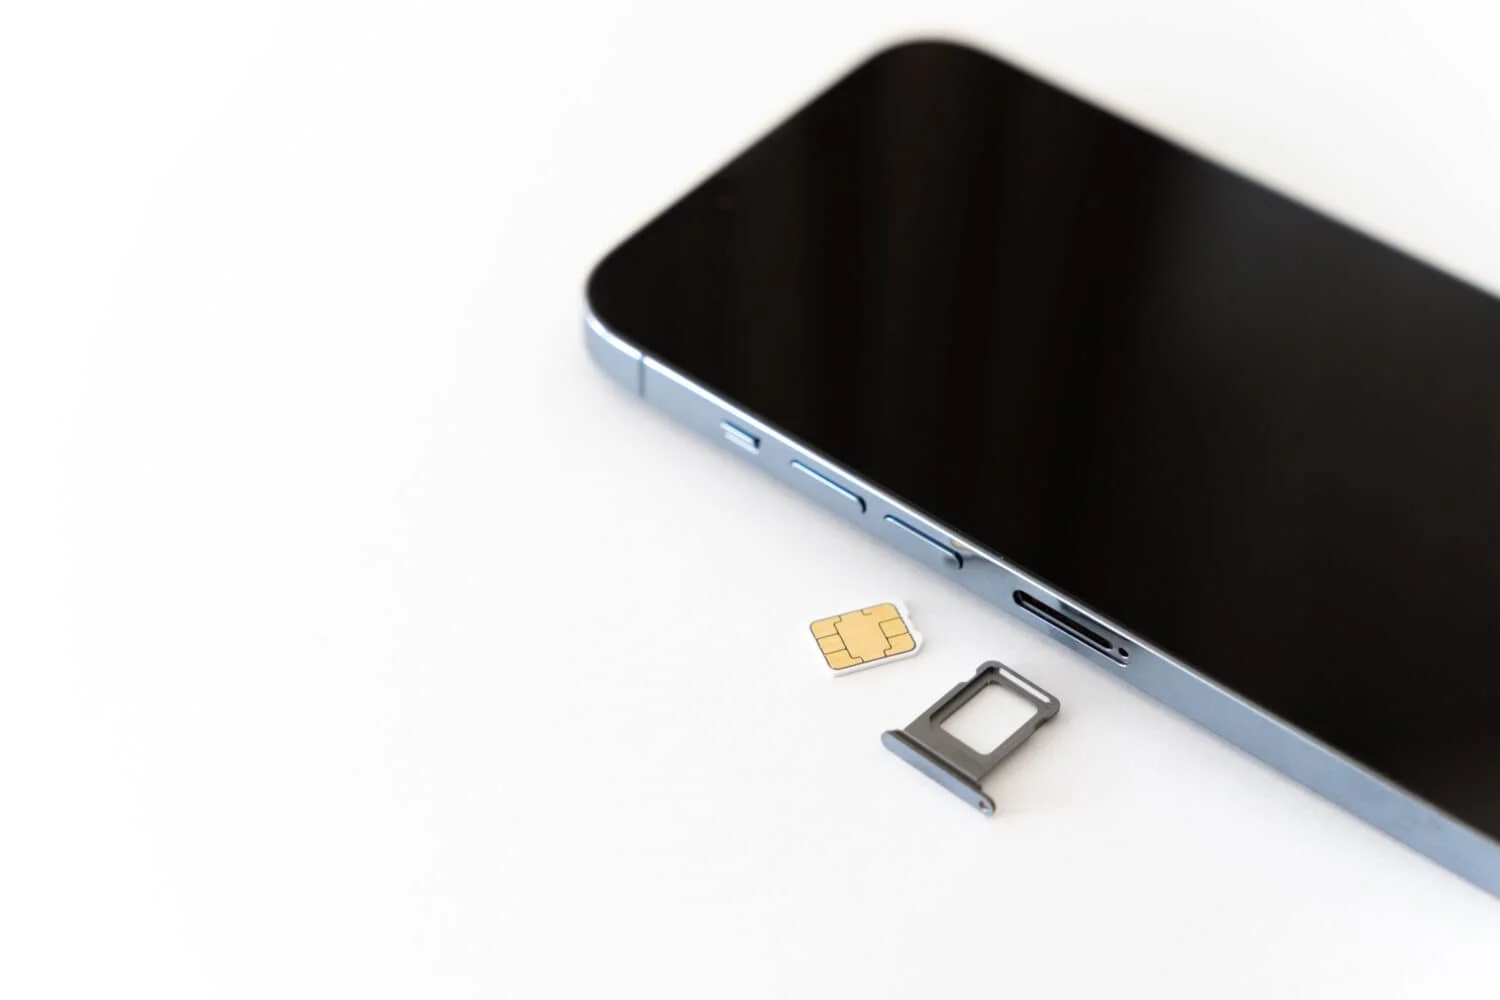
Step 2: Locate the SIM Card Slot
Locating the SIM card slot on your iPhone is the crucial first step in the activation process. The SIM card slot is typically located on the side of the iPhone, although the exact placement may vary depending on the iPhone model. Here's a detailed guide to help you locate the SIM card slot:
iPhone Models with SIM Card Slot on the Side
For most iPhone models, including the iPhone 6, 7, 8, X, and 11 series, the SIM card slot is positioned on the right-hand side of the device. Look for a small, recessed tray, often with a tiny pinhole next to it. This pinhole indicates the location where the SIM ejector tool or paperclip will be inserted to release the SIM card tray.
iPhone Models with SIM Card Slot at the Top
In contrast, certain iPhone models, such as the iPhone 4 and 5 series, feature the SIM card slot at the top of the device. To locate the slot, simply look for a small, elongated tray with a pinhole adjacent to it. This pinhole serves as the entry point for the SIM ejector tool or paperclip.
Using the SIM Ejector Tool
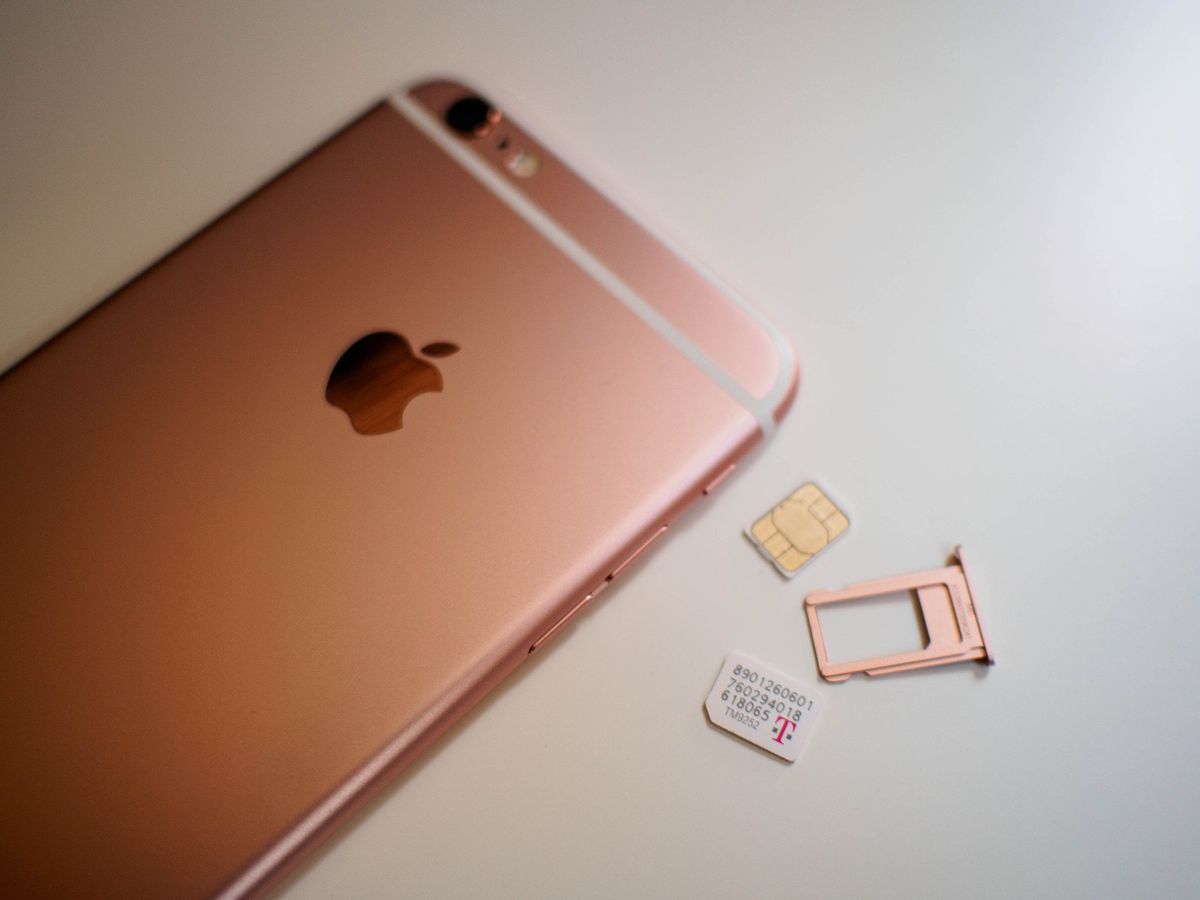
Once you've identified the location of the SIM card slot on your iPhone, it's time to prepare the SIM ejector tool or a straightened paperclip. Insert the pointed end of the tool into the pinhole adjacent to the SIM card slot and apply gentle pressure. This will cause the SIM card tray to pop out slightly, allowing you to grasp and remove it from the iPhone.
Handling the SIM Card Tray
With the SIM card tray partially ejected, carefully pull it out from the iPhone. Take note of the orientation of the SIM card tray, as it will determine the correct positioning of the SIM card. Place the iPhone on a stable surface to ensure that the SIM card removal process is smooth and secure.
By following these steps, you'll successfully locate the SIM card slot on your iPhone, setting the stage for the subsequent activation process. With the SIM card tray in hand, you're ready to proceed to the next step of the activation journey.
Step 3: Remove the Old SIM Card
Removing the old SIM card from your iPhone is a crucial step, especially if you're upgrading to a new device or switching to a different SIM card. Here's a detailed guide on how to safely remove the old SIM card from your iPhone:
-
Power Off the iPhone: Before proceeding with the SIM card removal, ensure that your iPhone is powered off. This precautionary step minimizes the risk of causing any disruption to the device during the process.
-
Eject the SIM Card Tray: Using the SIM ejector tool or a paperclip, gently insert the pointed end into the pinhole next to the SIM card slot. Apply slight pressure to release the SIM card tray from the iPhone. Once the tray is partially ejected, carefully pull it out from the device.
-
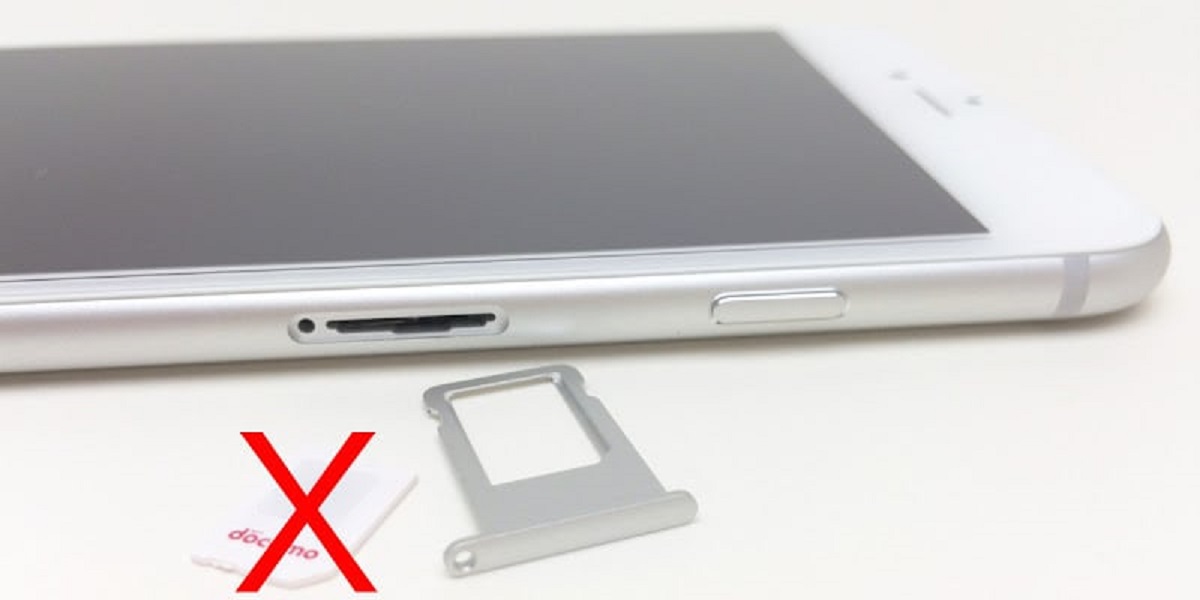
Remove the Old SIM Card: Upon removing the SIM card tray, you'll find the old SIM card nestled within it. To access the old SIM card, gently tip the tray to allow the SIM card to slide out. Handle the old SIM card with care, holding it by the edges to avoid any damage to the delicate electronic components.
-
Inspect the SIM Card Slot: While the old SIM card is removed, take a moment to inspect the SIM card slot on your iPhone. Ensure that there is no debris or foreign objects present within the slot, as these may interfere with the proper installation of the new SIM card.
-
Secure the Old SIM Card: If you're replacing the old SIM card with a new one, it's advisable to keep the old SIM card in a safe place. This is particularly important if the old SIM card contains any stored contacts or messages that you may need to access in the future.
By following these steps, you can safely remove the old SIM card from your iPhone, paving the way for the subsequent insertion of the new SIM card. With the old SIM card securely removed and the SIM card slot inspected, you're now ready to proceed to the next step of activating your iPhone SIM card.
Step 4: Insert the New SIM Card
With the old SIM card safely removed and the SIM card slot inspected, it's time to proceed with inserting the new SIM card into your iPhone. This step is crucial for establishing a connection with your mobile network and enabling the full range of communication and data services on your device. Here's a detailed guide on how to seamlessly insert the new SIM card:
-
Prepare the New SIM Card: If you're setting up a new iPhone, the SIM card may come pre-installed. However, if you're switching to a new carrier, you'll need to use the new SIM card provided by the carrier. Before inserting the new SIM card, ensure that it is free from any visible damage and is compatible with your iPhone model.
-
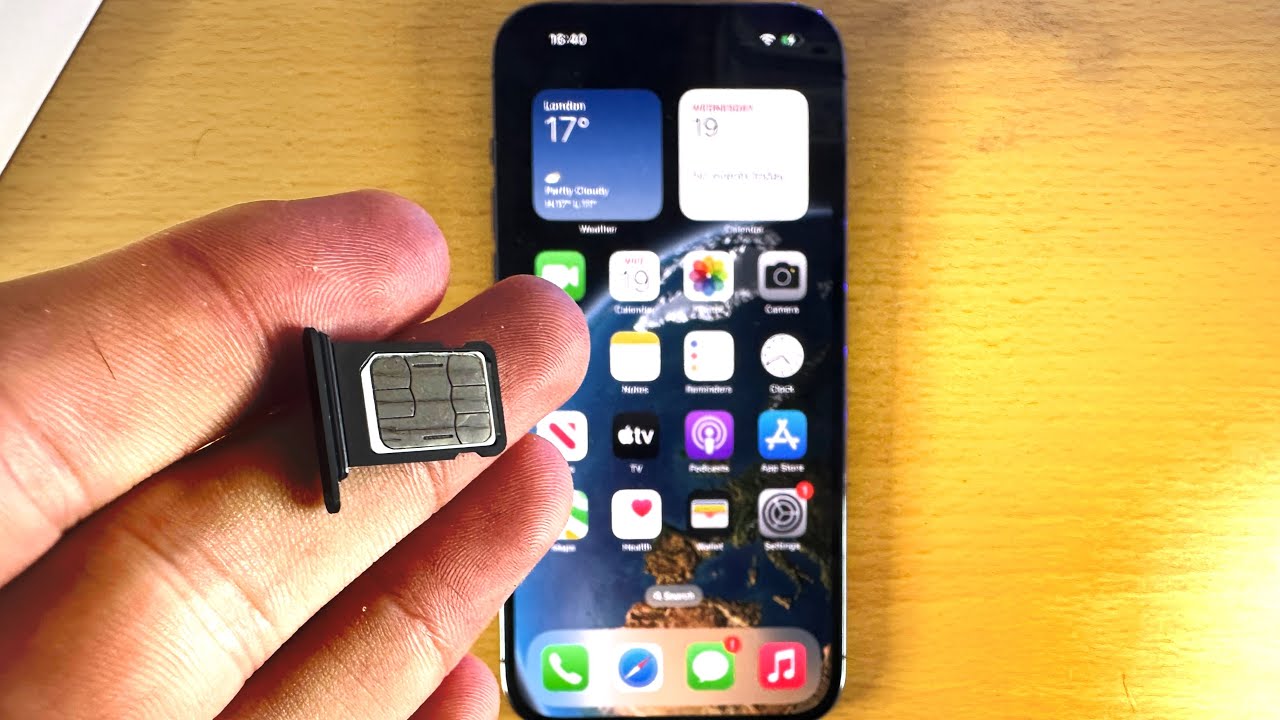
Position the New SIM Card: Examine the SIM card tray to identify the correct orientation for inserting the new SIM card. Most SIM card trays feature a small notch that aligns with a corresponding notch on the SIM card, ensuring that it is inserted in the correct position. Carefully place the new SIM card onto the tray, aligning the notches to ensure a proper fit.
-
Insert the SIM Card Tray: Once the new SIM card is positioned on the tray, carefully slide the tray back into the SIM card slot on your iPhone. Apply gentle pressure to ensure that the tray sits flush with the device. Take care to avoid forcing the tray into the slot, as this may cause damage to the SIM card or the device.
-
Power On the iPhone: With the new SIM card securely inserted, power on your iPhone to initiate the activation process. As the device boots up, it will detect the presence of the new SIM card and begin the necessary procedures to establish a connection with your mobile network.
By following these steps, you'll successfully insert the new SIM card into your iPhone, setting the stage for the subsequent activation process. With the new SIM card securely in place, you're now ready to proceed to the next step of activating your iPhone SIM card.
Step 5: Turn on the iPhone
After successfully inserting the new SIM card into your iPhone, the next pivotal step in the activation process is to power on your device. Turning on the iPhone initiates the crucial sequence of actions that enable the SIM card to be recognized by the device and establish a connection with your mobile network. This step marks the transition from the physical setup to the digital activation of your iPhone's communication capabilities.
To power on your iPhone, locate the power button, typically located on the right-hand side of the device for newer models or at the top for older models. Press and hold the power button until the Apple logo appears on the screen, indicating that the device is booting up. As the iPhone powers on, it will detect the presence of the new SIM card and begin the activation process.
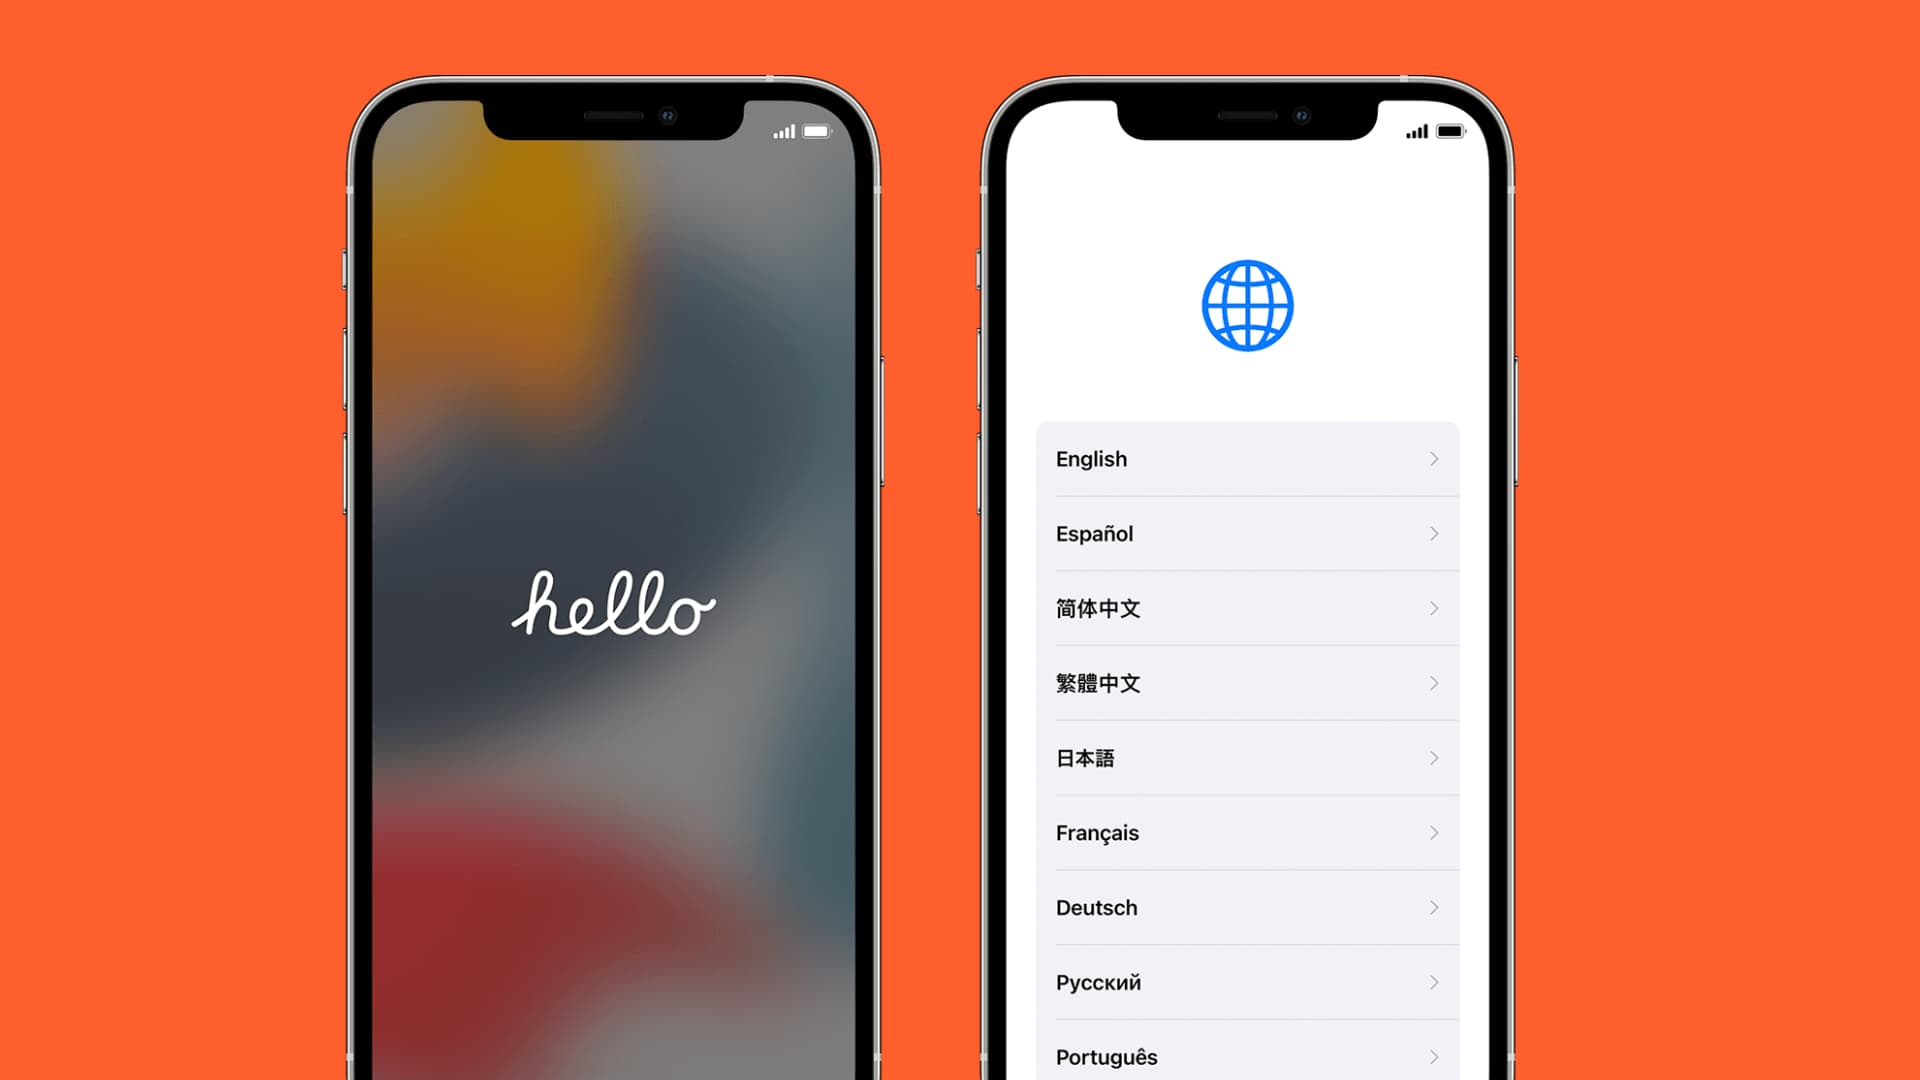
During the initial boot-up, your iPhone will prompt you to enter your Apple ID and password. This step is crucial for activating the device and linking it to your Apple account, enabling access to a range of services such as iCloud, the App Store, and Apple Music. If you're setting up a new iPhone, this is the stage where you'll sign in with your existing Apple ID or create a new one if you're a first-time user.
As the activation progresses, your iPhone will communicate with the mobile network, establishing a secure connection using the information stored on the new SIM card. This process typically involves a brief period of network detection and configuration, during which your iPhone will display indicators such as signal strength and carrier information.
Once the activation is complete, your iPhone will be ready to use, with the new SIM card fully integrated into the device's communication system. At this stage, you'll be able to make and receive calls, send text messages, and access mobile data services using the network associated with the new SIM card.
By following these steps, you'll successfully power on your iPhone, initiating the activation process that allows the device to recognize and establish a connection with the new SIM card. With the iPhone powered on and the activation underway, you're now poised to proceed to the final steps of testing the connection and ensuring that your iPhone is fully activated and ready for use.
Step 6: Activate the SIM Card
Activating the SIM card is the pivotal stage that ensures your iPhone is fully integrated with the mobile network, enabling seamless communication and data connectivity. While the physical installation of the new SIM card sets the stage for activation, this step focuses on the digital processes that link your iPhone to the mobile network and authenticate its access to essential services. Here's a detailed guide on how to activate the SIM card on your iPhone:
-
Network Detection: Upon powering on your iPhone with the new SIM card inserted, the device will initiate the process of network detection. It will search for available mobile networks and identify the one associated with the new SIM card. This step is crucial for establishing the initial connection and determining the network settings required for activation.
-
Carrier Authentication: Once the mobile network is detected, your iPhone will communicate with the carrier to authenticate the new SIM card. This involves verifying the SIM card's unique identifier and associating it with your account on the carrier's network. Authentication ensures that your iPhone is authorized to access voice, messaging, and data services on the network.
-
Activation Confirmation: As the carrier authenticates the new SIM card, your iPhone will display indicators confirming the successful activation. These indicators may include the carrier name, signal strength, and network status. Additionally, you may receive on-screen prompts or messages confirming that the activation process is complete.
-
Data Configuration: During the activation process, your iPhone will receive and apply the necessary network settings for data connectivity. This includes configuring the device to access the internet and other data services using the new SIM card. The device will establish the appropriate data connection profile based on the carrier's specifications.
-
Testing the Connection: Once the activation process is complete, it's essential to test the connection to ensure that your iPhone is fully integrated with the mobile network. Make a test call, send a text message, and access the internet using cellular data to verify that the activation was successful.
By following these steps, you'll successfully activate the SIM card on your iPhone, ensuring that the device is fully integrated with the mobile network and ready for use. With the SIM card activated, your iPhone is equipped to deliver seamless communication and connectivity, allowing you to stay connected with the world around you.
Step 7: Test the Connection
After completing the activation process, it's crucial to test the connection to ensure that your iPhone is seamlessly integrated with the mobile network. This step allows you to verify that the SIM card activation was successful and that your device can effectively make and receive calls, send and receive text messages, and access the internet using cellular data.
Making a Test Call
To begin testing the connection, place a test call to a known number, such as a friend or family member. By initiating a call, you can confirm that your iPhone is able to establish a voice connection through the newly activated SIM card. Pay attention to the call quality and ensure that you can communicate effectively without any disruptions or errors.
Sending a Test Message
Sending a test message, such as a simple text greeting, allows you to verify that your iPhone can send and receive text messages using the activated SIM card. Check for successful message delivery and receipt, ensuring that the messaging functionality is fully operational.
Accessing the Internet
To test the data connectivity, access the internet using cellular data on your iPhone. Open a web browser and navigate to a website to confirm that your device can connect to the internet over the mobile network. This step validates that the data settings are correctly configured and that you can seamlessly access online content and services.
Verifying Signal Strength
Pay attention to the signal strength indicators displayed on your iPhone. Ensure that the device shows a strong and stable signal, indicating reliable network coverage. Consistent signal strength is essential for uninterrupted communication and data access, especially when moving between different locations.
Troubleshooting Any Issues
If you encounter any issues during the testing process, such as failed calls, undelivered messages, or connectivity problems, consider troubleshooting the potential causes. This may involve checking network settings, restarting the device, or contacting your mobile carrier for assistance in resolving any connectivity issues.
By thoroughly testing the connection, you can confirm that your iPhone is fully activated and ready for use. A successful test ensures that your device is seamlessly integrated with the mobile network, empowering you to stay connected and enjoy the full range of communication and data services offered by your carrier.
Conclusion
In conclusion, successfully activating your iPhone SIM card is a pivotal step in ensuring seamless communication and connectivity. By following the comprehensive step-by-step guide outlined in this article, you've gained the knowledge and confidence to navigate the activation process with ease, whether setting up a new iPhone or transitioning to a different carrier.
The journey began with gathering the necessary materials, emphasizing the importance of having the iPhone, SIM card, SIM ejector tool, Wi-Fi connection, Apple ID, and carrier information readily available. This preparation set the stage for a smooth and uninterrupted activation experience.
Locating the SIM card slot and safely removing the old SIM card were essential physical steps that ensured the seamless transition to inserting the new SIM card. By carefully positioning the new SIM card and powering on the iPhone, the digital activation process was initiated, allowing the device to recognize and establish a connection with the new SIM card.
The subsequent activation of the SIM card involved network detection, carrier authentication, and data configuration, culminating in the confirmation of a successful activation. Testing the connection through making calls, sending messages, and accessing the internet provided the assurance that your iPhone is fully integrated with the mobile network, ready to deliver seamless communication and data connectivity.
With the activation process complete and the connection tested, you can now confidently engage with your iPhone, knowing that it is equipped to keep you connected with the world around you. Whether it's staying in touch with loved ones, accessing essential information on the go, or enjoying the myriad of communication and entertainment services offered by your carrier, your iPhone is now a powerful tool at your fingertips.
As technology continues to evolve, the activation process ensures that your iPhone remains at the forefront of connectivity, enabling you to harness the full potential of mobile communication and data services. By mastering the activation of your iPhone SIM card, you've taken a significant step towards leveraging the capabilities of your device to stay connected and engaged in today's interconnected world.