Introduction
Smartphones have become an indispensable part of our daily lives, serving as our communication hub, entertainment center, and productivity tool all rolled into one. One crucial component of a smartphone is the Subscriber Identity Module (SIM) card, which stores essential information such as the user's identity, contacts, and network authorization. Whether you're upgrading to a new device, troubleshooting connectivity issues, or simply swapping SIM cards, knowing how to safely remove and handle the SIM card is an essential skill for any smartphone user.
In this comprehensive guide, we will walk you through the step-by-step process of safely removing a SIM card from an Android phone. By following these instructions, you can ensure that the delicate components of your device remain unharmed and that you can seamlessly transition to a new SIM card or perform maintenance on your current one. From powering off the device to using the SIM card ejection tool, we'll cover all the necessary steps to carry out this process with confidence and ease.
Understanding the intricacies of handling a SIM card is not only practical but also empowers you to take control of your device's maintenance and customization. Whether you're a tech enthusiast or a casual smartphone user, having this knowledge in your arsenal can save you time and potentially prevent accidental damage to your device.
Now, let's delve into the specifics of safely removing a SIM card from your Android phone, equipping you with the expertise to navigate this essential aspect of smartphone ownership. Let's get started!
Step 1: Power off the phone
Before embarking on the process of removing the SIM card from your Android phone, it's crucial to power off the device to prevent any potential damage and ensure a safe handling of the SIM card.
To power off your Android phone, locate the power button, typically found on the right-hand side or the top of the device. Press and hold the power button until the power-off menu appears on the screen. Depending on the model of your phone, you may need to swipe or select an option to power off the device. Once initiated, the phone will begin shutting down, and you will see the screen go blank or display the manufacturer's logo as it powers off completely.
It's important to note that powering off the phone is a critical initial step as it minimizes the risk of damaging the SIM card or the phone's internal components during the removal process. By ensuring the device is fully powered down, you create a safe environment for handling the SIM card and accessing the SIM card slot without the risk of causing any disruption to the phone's functionality.
In addition to providing a safe environment for SIM card removal, powering off the phone also prevents any potential network interference during the process. This is particularly important when swapping SIM cards or troubleshooting connectivity issues, as it allows for a clean transition between SIM cards without any network-related complications.
By following this first step and powering off your Android phone, you set the stage for a smooth and secure SIM card removal process. This foundational step lays the groundwork for the subsequent actions, ensuring that the SIM card can be safely accessed and handled without any risk to your device or the SIM card itself.
With the phone powered off, you are now ready to proceed to the next step of locating the SIM card slot and initiating the SIM card removal process. This ensures that you can approach the subsequent steps with confidence, knowing that the device is in a safe and optimal state for SIM card maintenance.
Step 2: Locate the SIM card slot
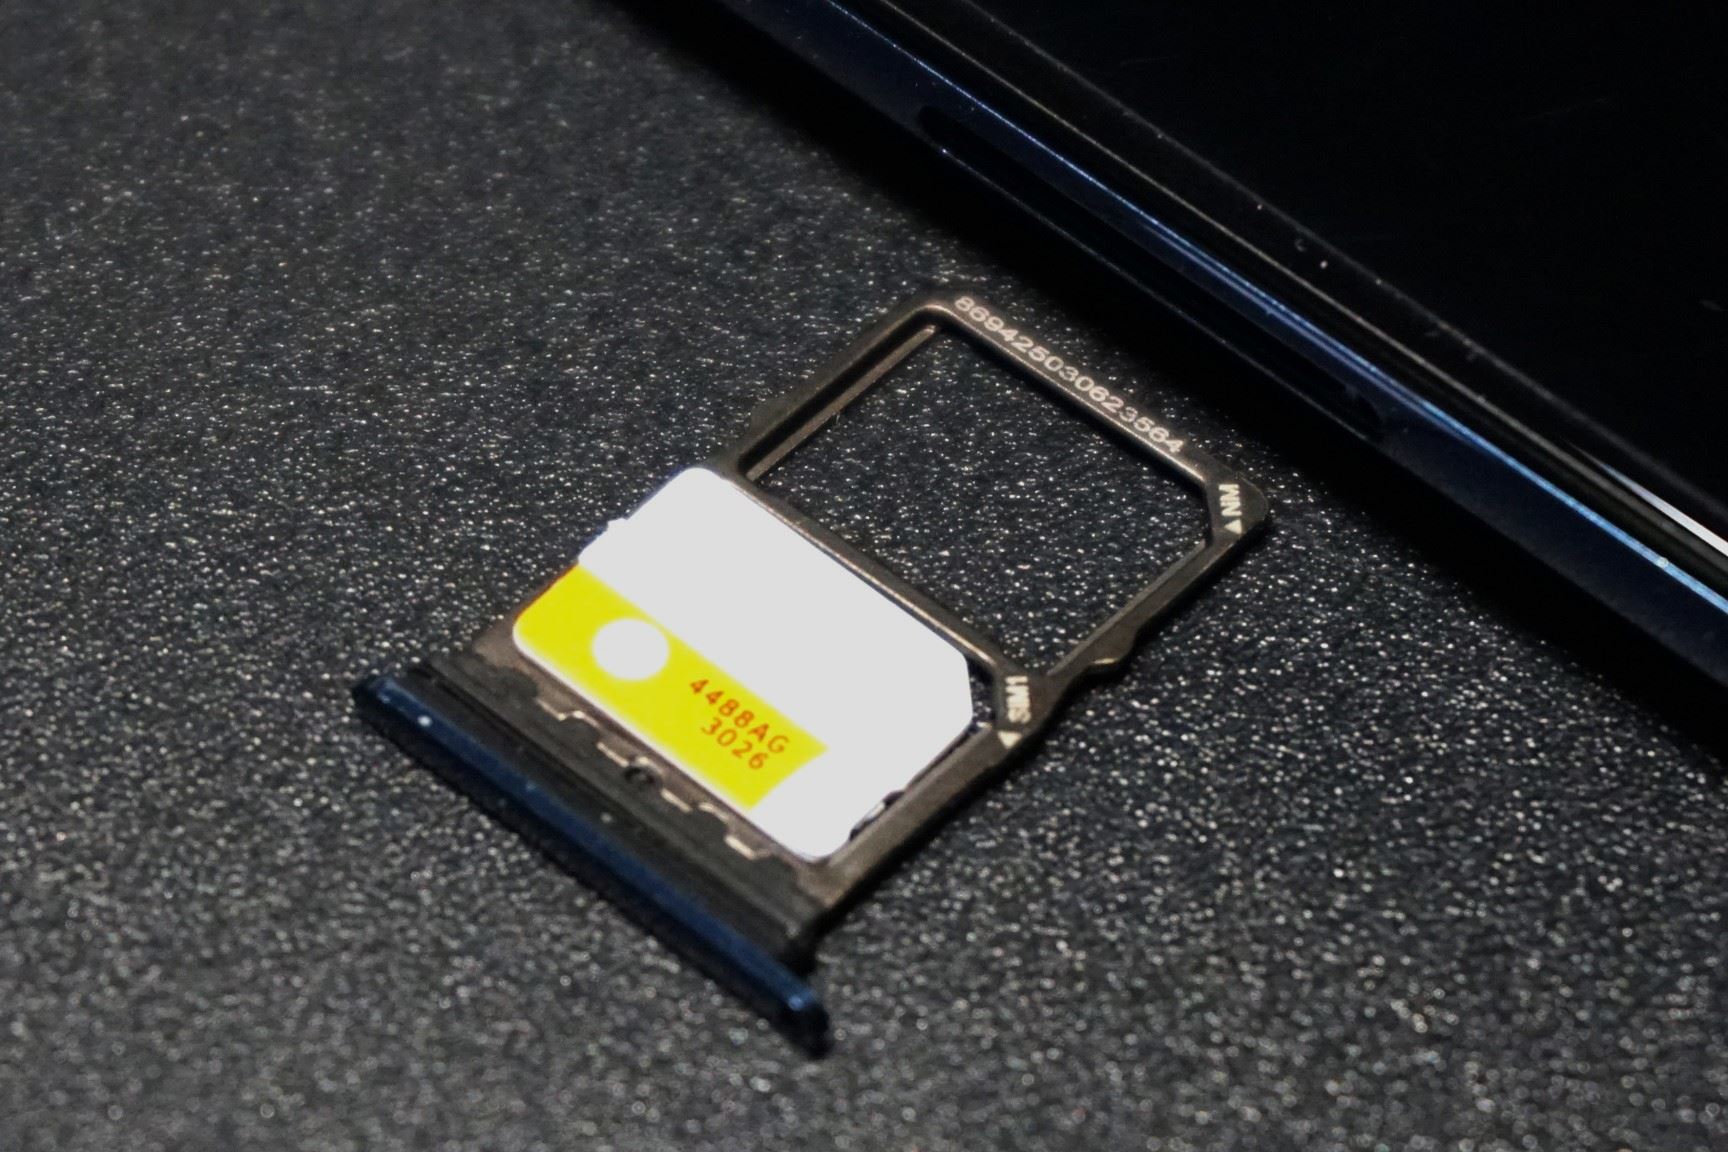
Once your Android phone is powered off, the next step is to locate the SIM card slot. The exact location of the SIM card slot can vary depending on the make and model of your device. However, most modern Android smartphones feature a SIM card slot either on the side of the device or under the back cover.
If your phone has a removable back cover, you will likely find the SIM card slot beneath it. In this case, gently remove the back cover by applying pressure and sliding it off the device. Once the back cover is removed, you will have direct access to the SIM card slot. Take a moment to familiarize yourself with the layout of the internal components, ensuring that you can easily identify the SIM card slot.
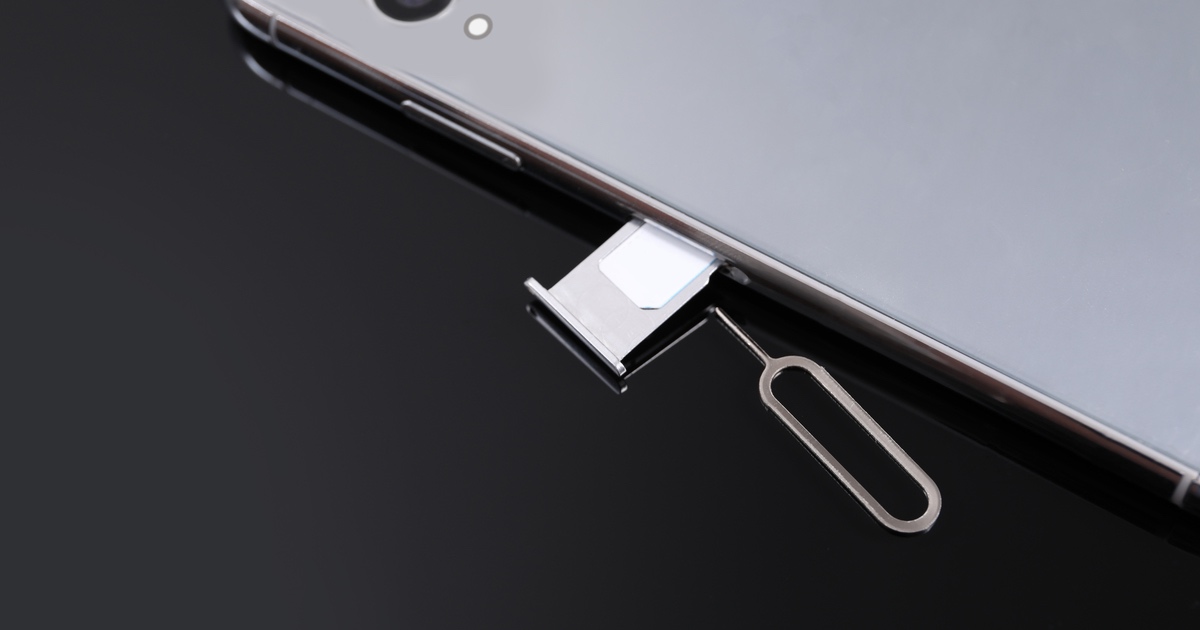
For phones with non-removable back covers, the SIM card slot is typically located on the side of the device. Look for a small tray or slot with a pinhole next to it. This pinhole is designed to accommodate the SIM card ejection tool, which will be used in the subsequent steps to safely remove the SIM card.
It's important to approach this step with care and attention to detail, especially when dealing with devices that have non-removable back covers. Take a moment to inspect the sides of your phone, looking for any markings or indicators that point towards the SIM card slot. Some manufacturers also include user manuals or online resources that provide specific guidance on locating the SIM card slot for their devices.
By successfully locating the SIM card slot, you are one step closer to safely removing the SIM card from your Android phone. This foundational step sets the stage for the subsequent actions, ensuring that you can proceed with confidence and precision in handling the SIM card and accessing the slot for removal.
With the SIM card slot located, you are now prepared to move on to the next step, which involves using the SIM card ejection tool to initiate the removal process. This seamless progression allows you to navigate the SIM card removal procedure with ease and clarity, setting the groundwork for a successful and secure SIM card maintenance experience.
Step 3: Use the SIM card ejection tool
With the SIM card slot located, the next crucial step in safely removing the SIM card from your Android phone involves using the SIM card ejection tool. This specialized tool, often provided by the smartphone manufacturer, is designed to facilitate the safe removal of the SIM card from its slot without causing any damage to the delicate components.
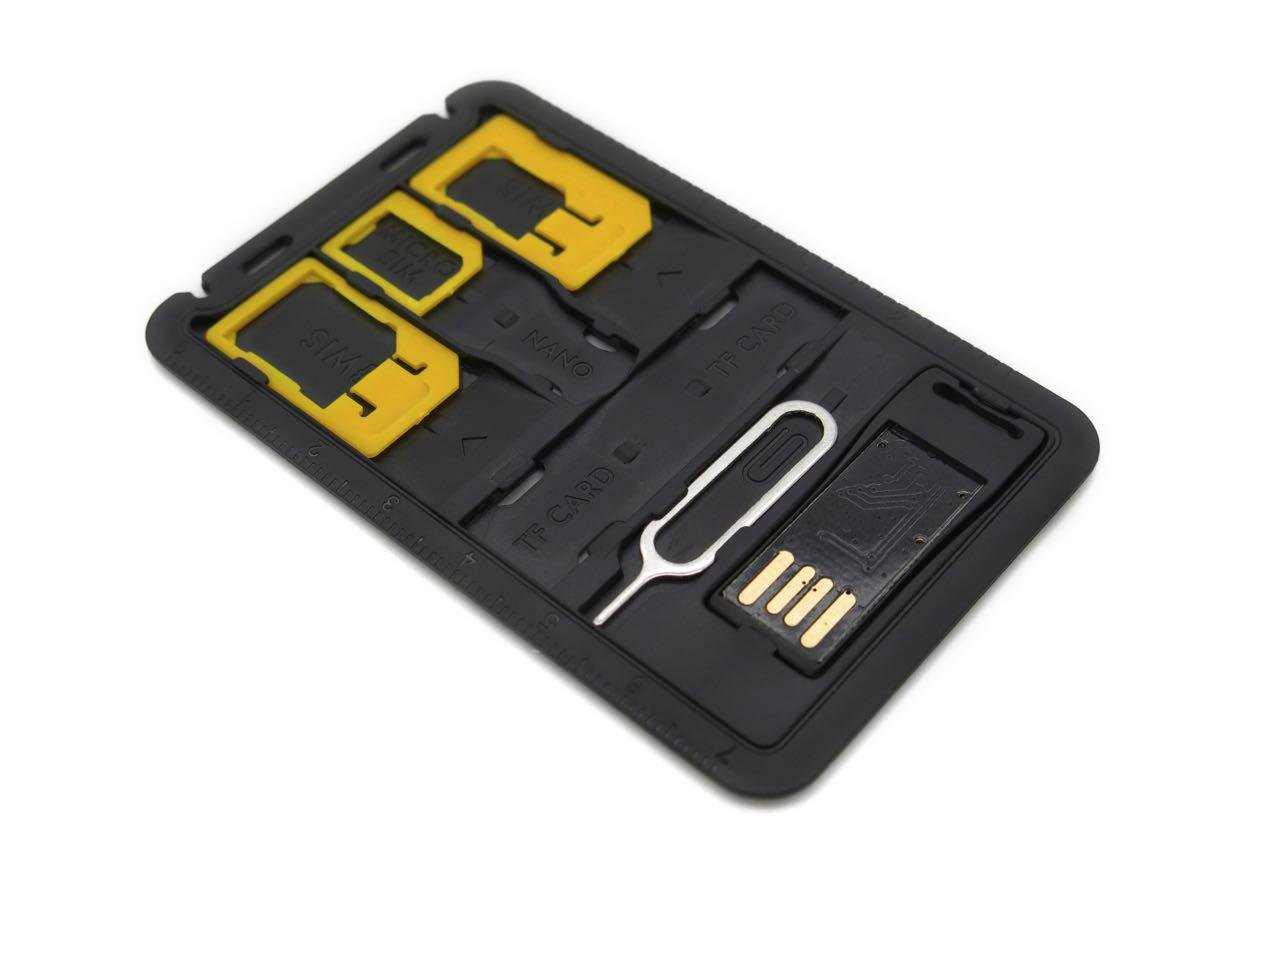
The SIM card ejection tool is typically a small, pointed instrument, often resembling a paperclip or a tiny metal pin. It is specifically designed to fit into the pinhole adjacent to the SIM card slot, allowing for the release of the SIM card tray or facilitating the direct ejection of the SIM card from its slot.
To begin the process, carefully retrieve the SIM card ejection tool from its storage location, which may be included in the original packaging of your Android phone or stored within the device's user manual. If the tool is not readily available, you can use a straightened paperclip as a makeshift alternative, ensuring that it is small enough to fit into the pinhole next to the SIM card slot.
Once you have the SIM card ejection tool in hand, inspect the pinhole next to the SIM card slot and gently insert the tool into the hole. Apply light pressure until you feel a slight resistance, indicating that the tool has engaged with the internal mechanism responsible for releasing the SIM card tray or ejecting the SIM card directly.
It's important to exercise caution and precision during this step, ensuring that the tool is inserted straight into the pinhole without applying excessive force. By maintaining a steady and gentle approach, you can avoid any potential damage to the internal components of the phone and successfully initiate the SIM card removal process.
Upon successful engagement with the internal mechanism, you will feel a subtle release, indicating that the SIM card tray is ready to be ejected or that the SIM card itself has been partially pushed out of its slot. At this point, carefully withdraw the SIM card ejection tool from the pinhole, preparing to proceed with the subsequent step of removing the SIM card from the device.
By effectively using the SIM card ejection tool, you have set the stage for the safe and controlled removal of the SIM card from your Android phone. This pivotal step ensures that the delicate process of dislodging the SIM card from its slot is carried out with precision and care, laying the foundation for the seamless transition to the next phase of the SIM card maintenance procedure.
Step 4: Remove the SIM card
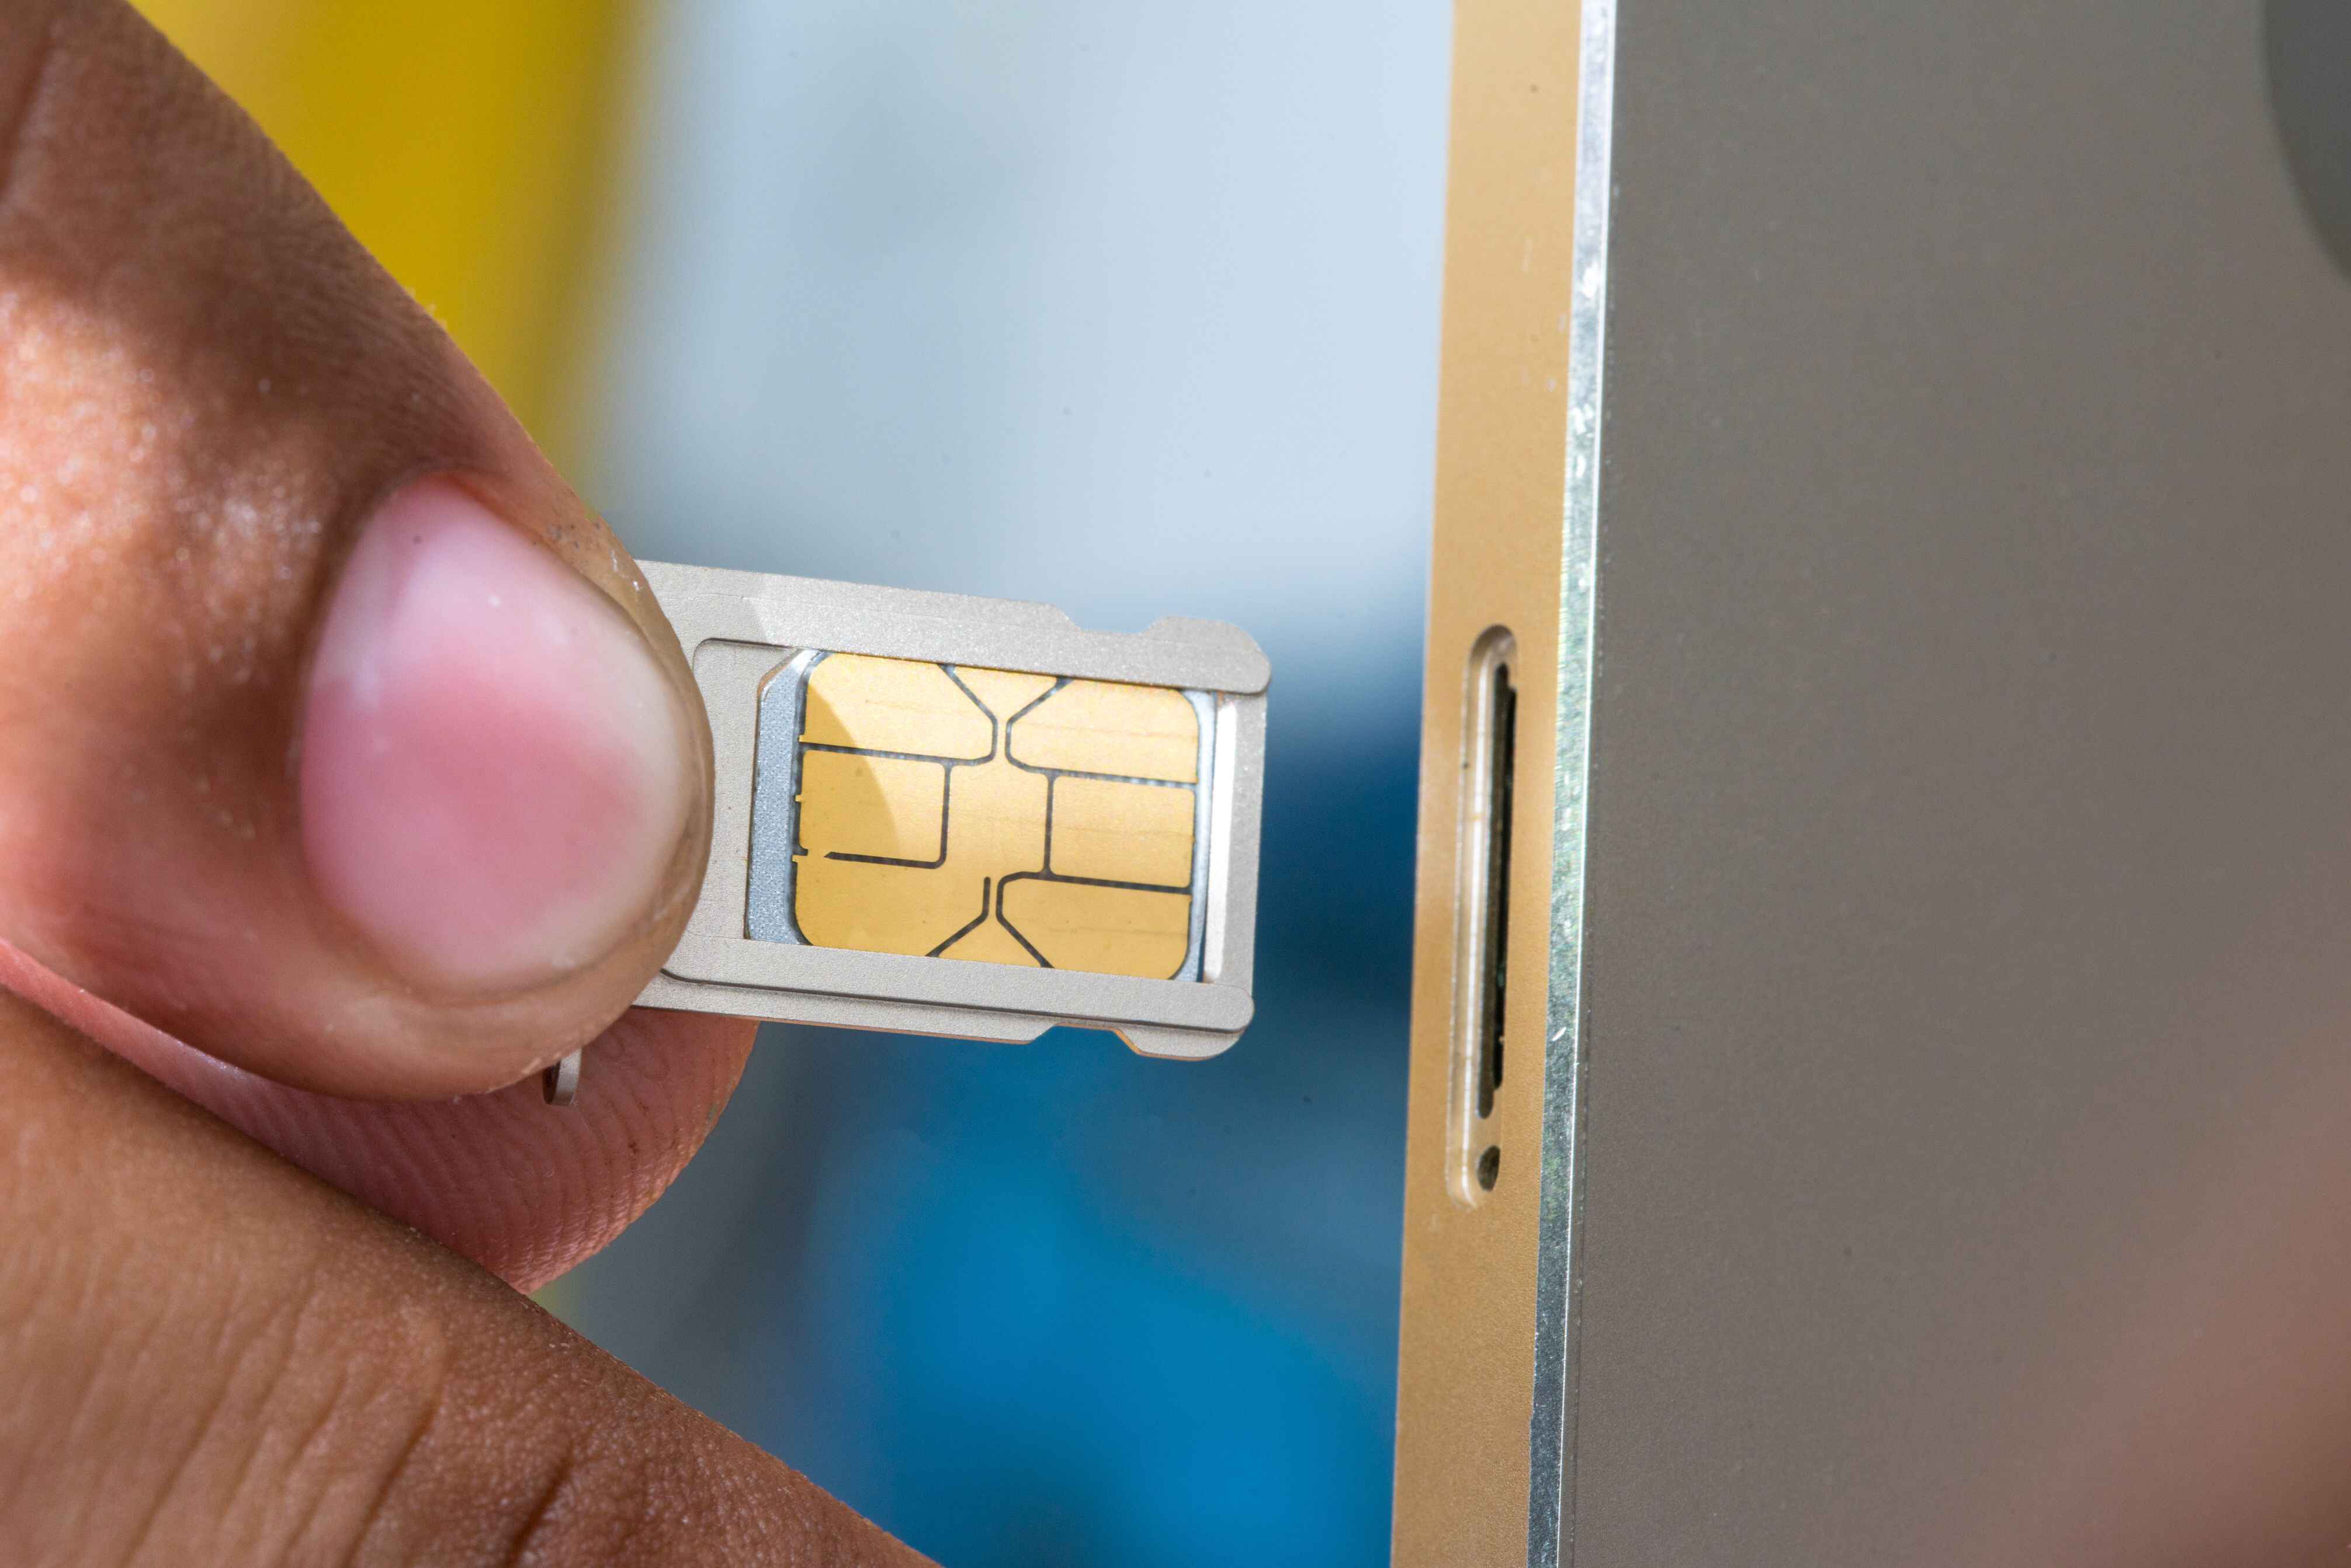
After successfully engaging the internal mechanism using the SIM card ejection tool, you are now poised to delicately remove the SIM card from your Android phone. Whether the SIM card tray has been partially ejected or the SIM card is protruding from its slot, the following steps will guide you through the process of safely extracting the SIM card from the device.
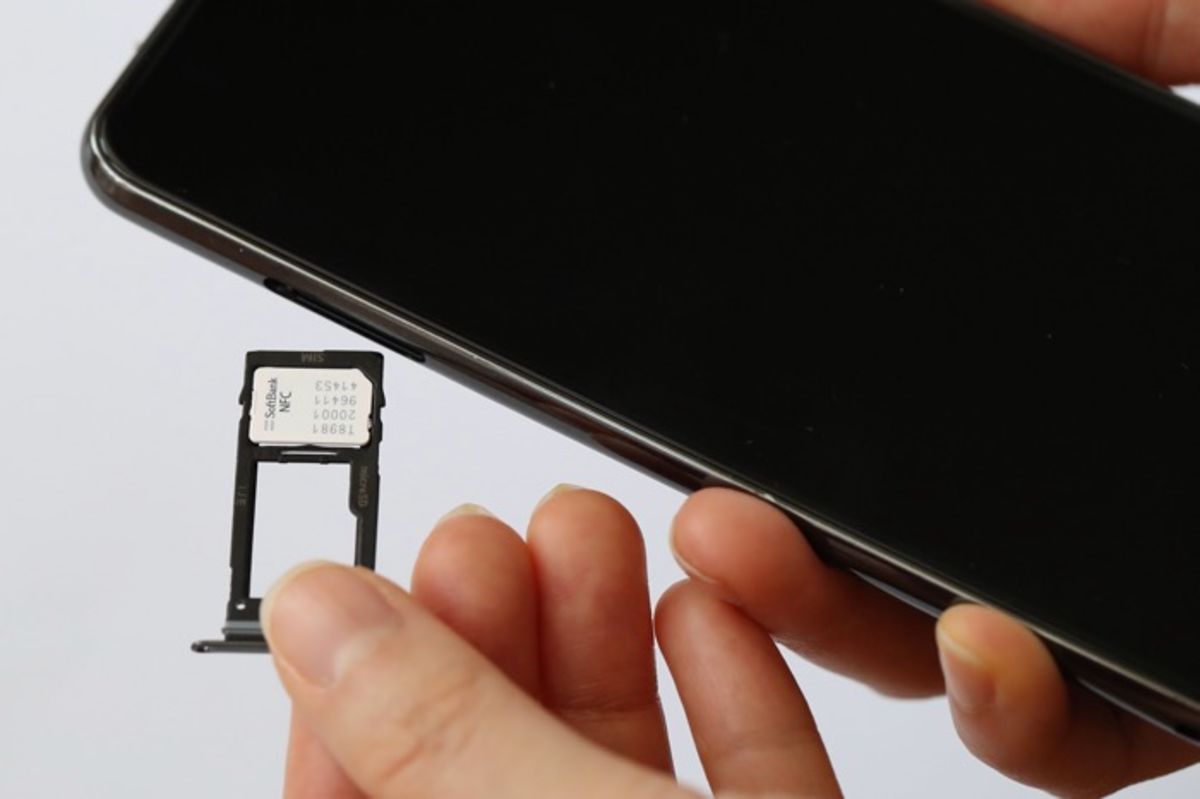
If your phone features a SIM card tray, gently pull the tray out of the slot using your fingers or the SIM card ejection tool. Exercise caution to ensure a smooth and controlled removal, avoiding any abrupt movements that could potentially damage the SIM card or the internal components of the phone.
In cases where the SIM card is directly ejected from its slot, carefully grasp the exposed edge of the SIM card and gently pull it out of the device. It's important to handle the SIM card with care, avoiding any excessive bending or flexing that could compromise its integrity.
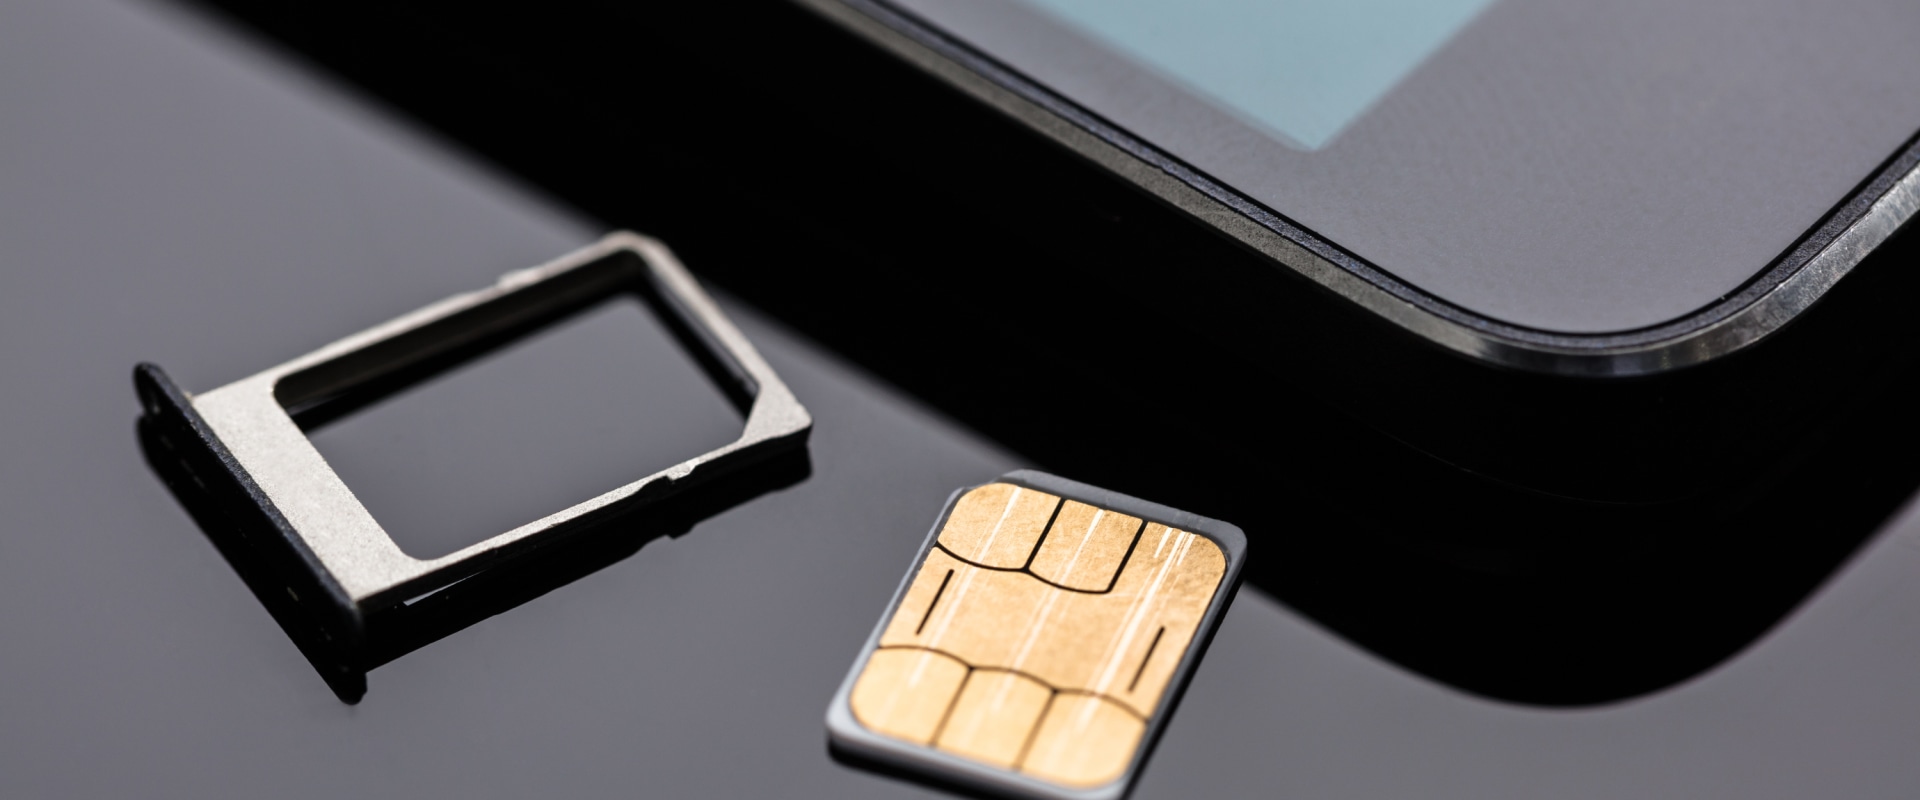
As you remove the SIM card from the device, take note of its orientation and position within the SIM card tray or slot. Most SIM cards feature a notched corner or a specific logo that indicates the correct alignment when reinserting the card into the device.
Upon successfully removing the SIM card, place it in a secure location, such as a SIM card holder or a designated compartment in your wallet or bag. This ensures that the SIM card remains protected and easily accessible, especially if you are transitioning to a new SIM card or temporarily removing the existing one for maintenance purposes.
By effectively removing the SIM card from your Android phone, you have completed a crucial step in the process of SIM card maintenance and customization. This meticulous action sets the stage for the potential reinsertion of the same SIM card or the seamless transition to a new one, empowering you to navigate the intricacies of smartphone ownership with confidence and precision.
Step 5: Reinsert the SIM card (optional)
After safely removing the SIM card from your Android phone, you may need to reinsert it into the device, especially if you were performing maintenance or troubleshooting connectivity issues. The process of reinserting the SIM card is straightforward and ensures that your device remains fully functional and connected to the mobile network.
To reinsert the SIM card, begin by carefully aligning the card with the designated slot or tray. Most SIM cards feature a notched corner or a specific logo that corresponds to the correct orientation within the slot. Ensure that the SIM card is positioned correctly, taking note of any markings or indicators that guide its alignment.
If your phone features a SIM card tray, gently place the SIM card onto the tray, ensuring that it fits securely without any forceful insertion. Once the SIM card is properly seated on the tray, carefully slide the tray back into the slot, taking care to avoid any misalignment or resistance during the reinsertion process.
For devices with a direct SIM card slot, delicately place the SIM card back into the designated slot, ensuring that it is positioned correctly and seated securely within the compartment. Exercise caution to avoid any damage to the SIM card or the internal components of the phone during the reinsertion process.
Once the SIM card is successfully reinserted, power on your Android phone to initiate the device's startup sequence. As the phone boots up, it will detect the presence of the SIM card and establish the necessary network connections, allowing you to seamlessly resume communication, browsing, and other mobile network-dependent activities.
Reinserting the SIM card into your Android phone ensures that your device remains fully operational and connected to the mobile network, enabling you to leverage its full range of features and functionalities. This optional step completes the cycle of SIM card maintenance, providing you with the assurance that your device is ready for uninterrupted use and connectivity.
By reinserting the SIM card with precision and care, you demonstrate a proactive approach to maintaining and optimizing your smartphone's functionality, underscoring the importance of this final step in the SIM card removal and reinsertion process.
This marks the completion of the comprehensive guide to safely removing and potentially reinserting the SIM card from an Android phone. Armed with this knowledge, you are well-equipped to navigate SIM card maintenance and customization with confidence and ease, ensuring that your smartphone remains a reliable and seamlessly integrated part of your daily life.
Conclusion
In conclusion, the process of safely removing a SIM card from an Android phone is a fundamental aspect of smartphone ownership that empowers users to manage their device's connectivity and customization with confidence and precision. By following the step-by-step guide outlined in this comprehensive article, you have gained valuable insights into the intricacies of handling a SIM card, ensuring that the delicate components of your device remain unharmed throughout the removal and potential reinsertion process.
Understanding the significance of powering off the phone as the initial step sets the foundation for safe SIM card maintenance, minimizing the risk of damage to the device and creating a conducive environment for the subsequent actions. Locating the SIM card slot with attention to detail ensures that you can easily access the slot and proceed with the removal process, setting the stage for a seamless transition to the next steps.
Using the SIM card ejection tool with precision and care is a pivotal step that facilitates the safe dislodging of the SIM card from its slot, emphasizing the importance of gentle handling and deliberate engagement with the internal mechanism. This meticulous approach ensures that the SIM card removal process is carried out without causing any disruption to the phone's functionality or compromising the integrity of the SIM card.
Delicately removing the SIM card from the device and potentially reinserting it, if necessary, underscores the user's proactive approach to maintaining and optimizing their smartphone's connectivity. This optional step completes the cycle of SIM card maintenance, providing assurance that the device is ready for uninterrupted use and seamless integration with the mobile network.
By navigating the SIM card removal and reinsertion process with expertise and attention to detail, you have demonstrated a proactive stance in managing your device's essential components, underscoring the significance of this knowledge in enhancing your smartphone ownership experience.
Armed with the expertise gained from this guide, you are well-prepared to handle SIM card maintenance and customization with confidence, ensuring that your Android phone remains a reliable and seamlessly integrated part of your daily life. Whether you are upgrading to a new device, troubleshooting connectivity issues, or simply swapping SIM cards, the knowledge and skills acquired from this guide empower you to navigate the intricacies of SIM card management with ease and precision.