Introduction
Inserting a SIM card into your Android phone is a fundamental step in setting up your device for cellular connectivity. Whether you've just purchased a new phone or are swapping out your SIM card for an upgrade, understanding the process of inserting a SIM card is essential. This comprehensive guide will walk you through the step-by-step process, ensuring that you can seamlessly integrate your SIM card into your Android device.
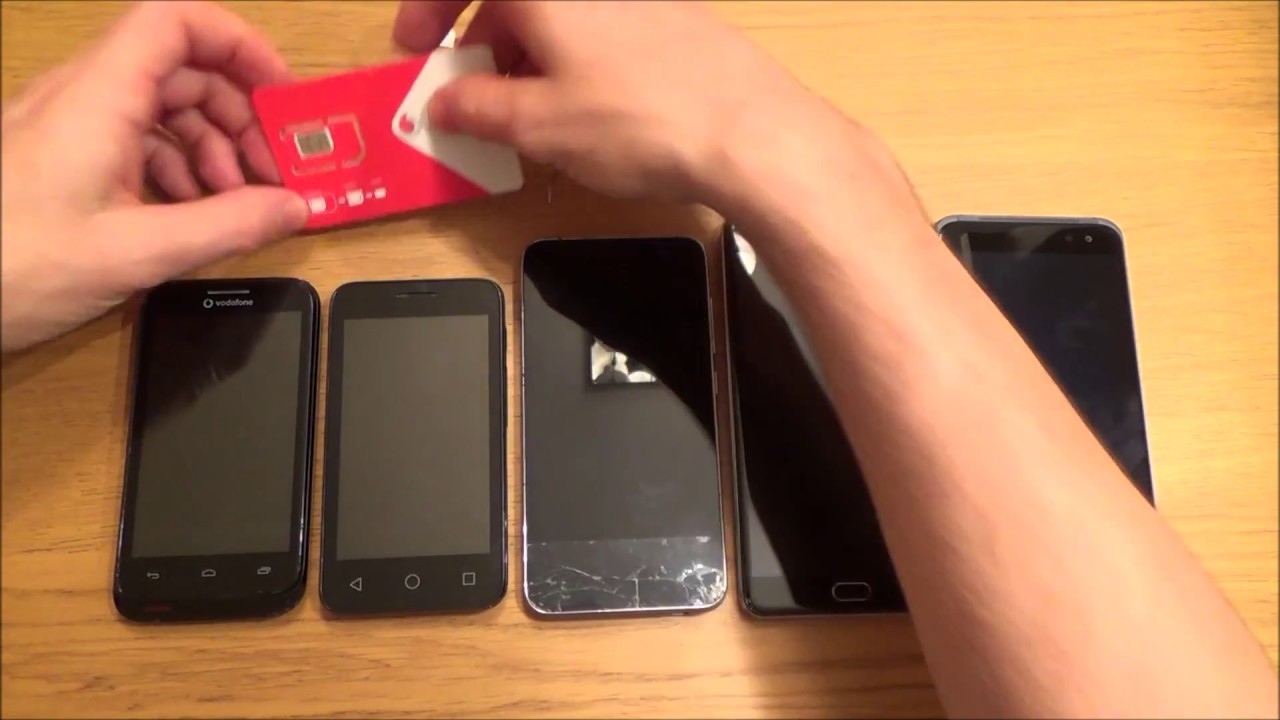
A SIM card, short for Subscriber Identity Module, serves as the key to accessing your mobile network. It stores essential information, including your phone number, network authentication details, and contacts. By inserting a SIM card into your Android phone, you enable it to connect to your mobile network provider, allowing you to make calls, send messages, and access mobile data.
Understanding how to insert a SIM card into your Android phone empowers you to take full advantage of your device's capabilities. Whether you're a tech enthusiast or a newcomer to the world of mobile devices, mastering this process is an essential skill that ensures you stay connected wherever you go.
In the following sections, we will delve into the step-by-step process, guiding you through each stage with clear and concise instructions. By following this guide, you will gain the confidence to handle the insertion of a SIM card with ease, allowing you to harness the full potential of your Android phone. Let's embark on this journey to seamlessly integrate your SIM card into your Android device.
Step 1: Locate the SIM card slot
Locating the SIM card slot on your Android phone is the initial step in the process of inserting a SIM card. The SIM card slot is typically located on the side of the phone or underneath the back cover, depending on the model of your device. It is important to note that the location of the SIM card slot may vary from one phone to another, so it's essential to refer to your phone's user manual for specific guidance.
If your phone has a removable back cover, the SIM card slot is often found underneath it. In this case, you will need to power off your device, gently remove the back cover, and locate the SIM card slot. On the other hand, if your phone features a tray-based SIM card slot, you will typically find a small pinhole on the side of the device. This pinhole is designed to eject the SIM tray when a SIM eject tool or a paperclip is inserted into it.
Once you have located the SIM card slot, take a moment to familiarize yourself with its appearance and position. The slot is usually accompanied by a small icon depicting a SIM card, making it easier to identify. Some phones may also have a separate slot for the SIM card and the microSD card, so it's important to ensure that you are identifying the correct slot for the SIM card.
In some cases, the SIM card slot may be secured with a small cover or door to protect the internal components. If this is the case, gently open the cover to reveal the SIM card slot. It's important to handle this part of the process with care to avoid damaging the SIM card slot or the cover.
By locating the SIM card slot on your Android phone, you are laying the groundwork for the subsequent steps of inserting the SIM card. This initial step sets the stage for a smooth and successful integration of the SIM card into your device, ensuring that you can enjoy seamless connectivity and communication capabilities.
Understanding the location and appearance of the SIM card slot is crucial, as it paves the way for the subsequent steps of the SIM card insertion process. With this foundational knowledge in place, you are ready to proceed to the next step of powering off the phone in preparation for inserting the SIM card.
Step 2: Power off the phone
Powering off your Android phone is a crucial step before inserting a SIM card. This ensures that the device is in a safe and stable state for the SIM card insertion process. By turning off the phone, you minimize the risk of any disruptions or potential damage to the SIM card or the phone's internal components.
To power off your Android phone, begin by pressing the power button, which is typically located on the side or top of the device. Upon pressing the power button, you will see the power menu displayed on the screen. This menu usually includes options such as "Power off," "Restart," and "Emergency mode."
Next, tap on the "Power off" option to initiate the shutdown process. Depending on your phone model and software version, you may be prompted to confirm the action by tapping "Power off" again or by swiping a virtual button to power off the device.
Once the phone is powered off, it is important to wait for a few seconds to ensure that it has completely shut down. This brief pause allows the phone's internal processes to come to a halt, creating a safe environment for the SIM card insertion.
Powering off your phone is a simple yet critical step that prepares the device for the next stage of the SIM card insertion process. It ensures that the phone is in a state where the SIM card can be safely inserted without any potential conflicts or interruptions.
By following this step, you demonstrate a proactive approach to handling your device, prioritizing the safety and integrity of both the phone and the SIM card. With the phone powered off, you are now ready to proceed to the next step of removing the SIM tray in preparation for inserting the SIM card.
Ensuring that your phone is powered off sets the stage for a smooth and successful SIM card insertion process. This proactive approach reflects your commitment to handling your device with care and attention to detail, ultimately contributing to a seamless and hassle-free experience as you integrate the SIM card into your Android phone.
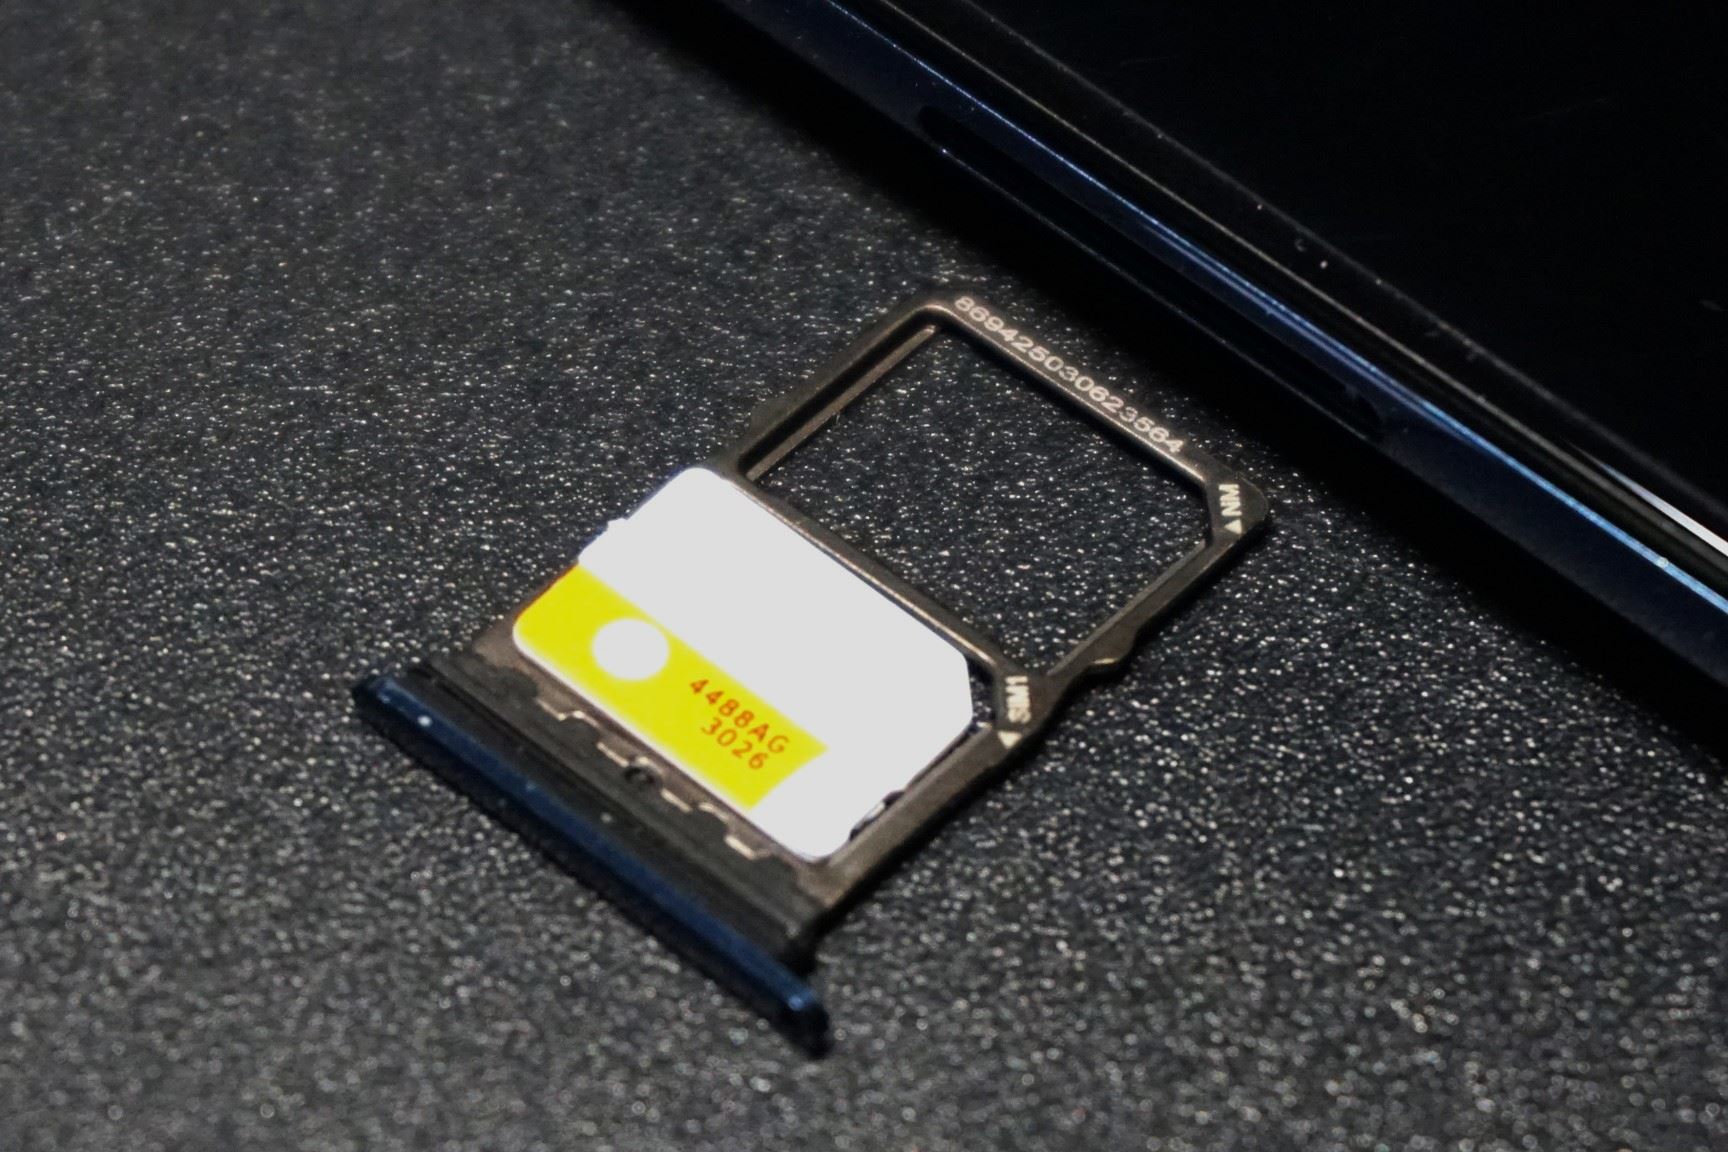
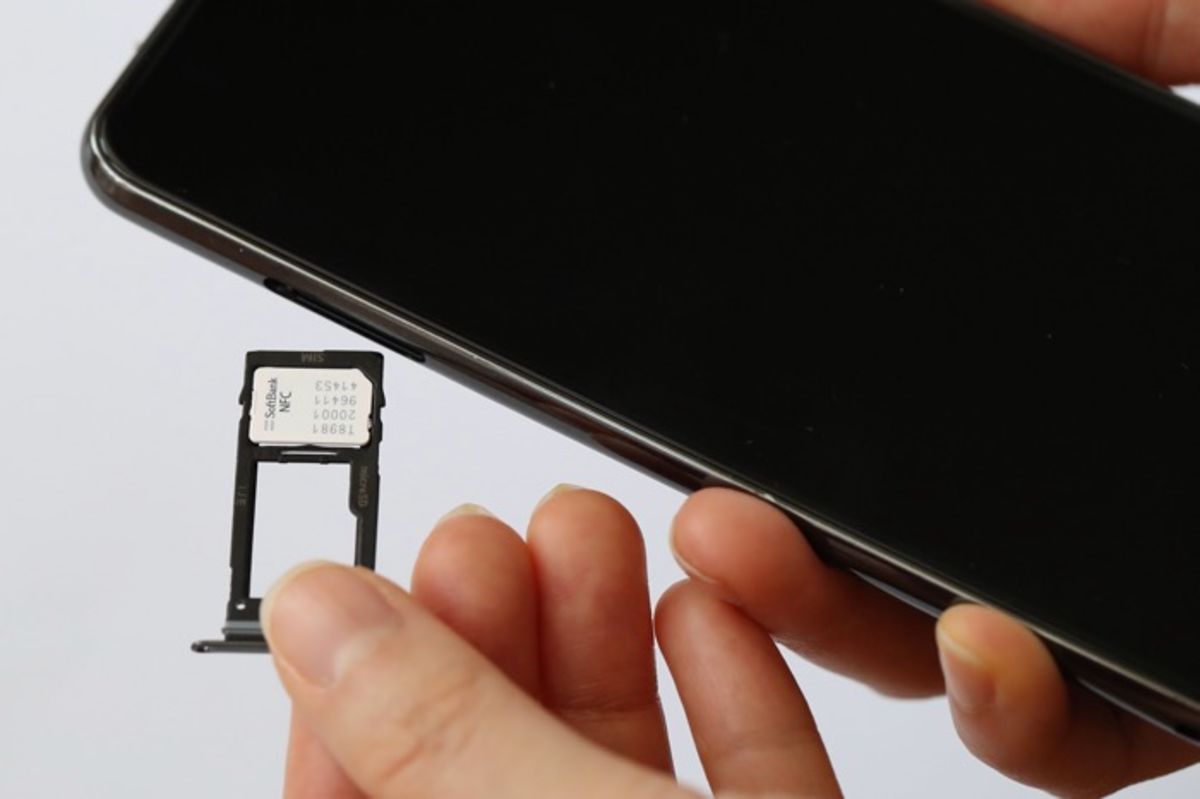
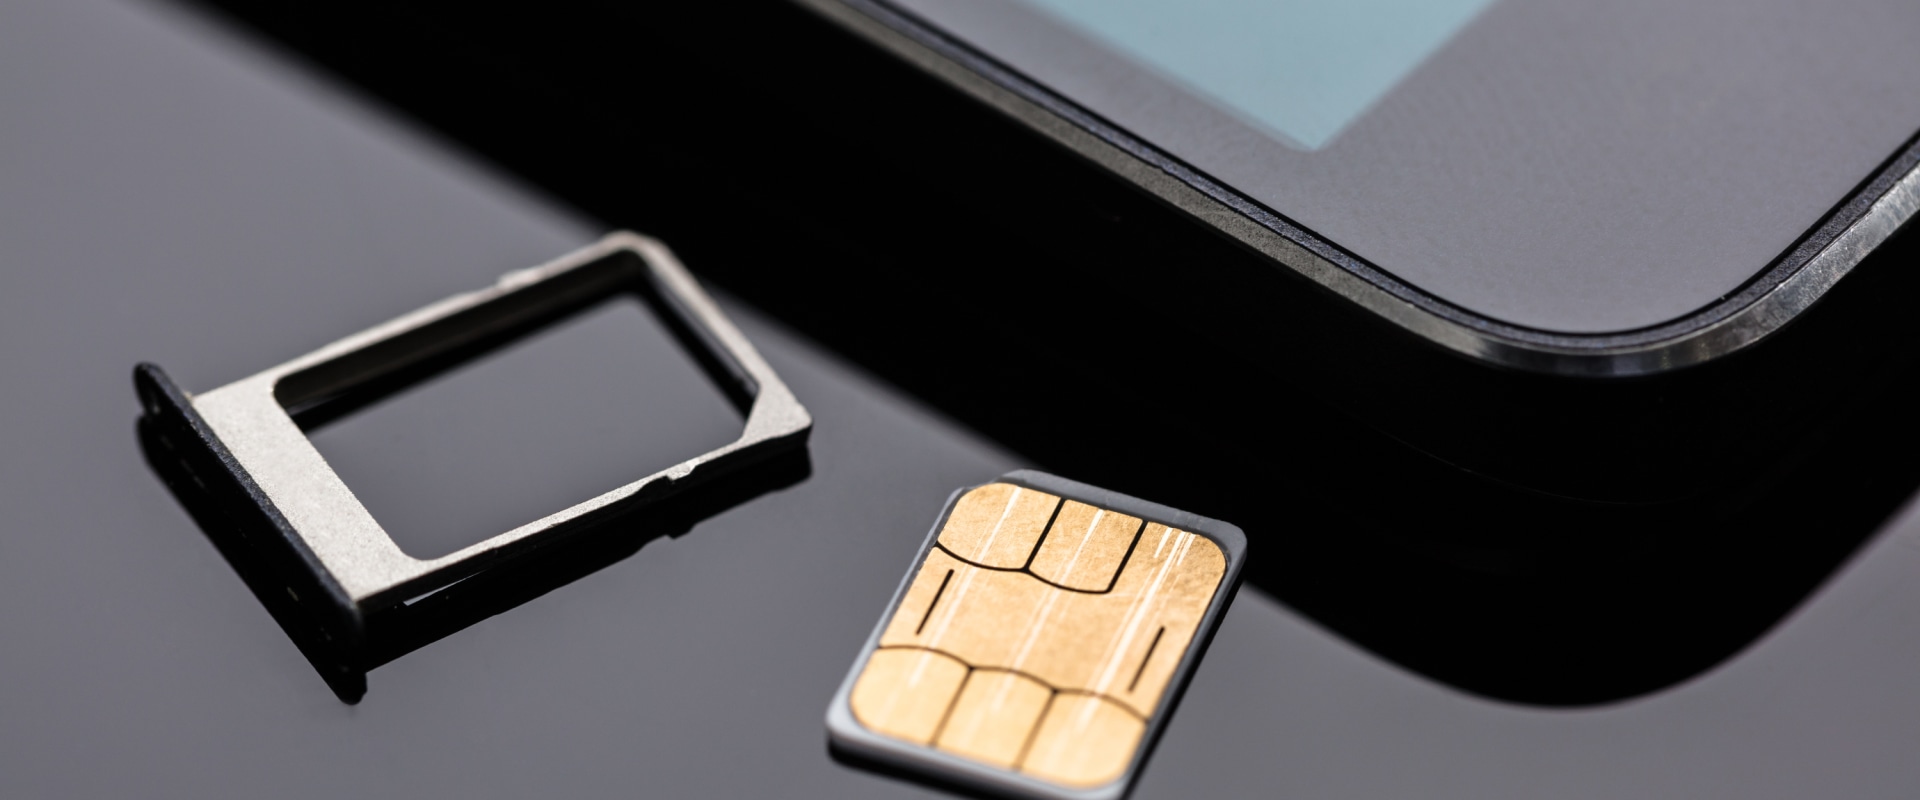
Step 3: Remove the SIM tray
Removing the SIM tray is a pivotal step in the process of inserting a SIM card into your Android phone. The SIM tray, also known as the SIM card holder, serves as the slot where the SIM card will be placed. By removing the SIM tray from your phone, you gain access to the slot, allowing you to seamlessly insert the SIM card and proceed with the activation process.
To remove the SIM tray, you will need to locate the SIM card slot on your Android phone. As mentioned earlier, the location of the SIM card slot varies depending on the phone model. If your phone features a tray-based SIM card slot, you will typically find a small pinhole on the side of the device. This pinhole is designed to eject the SIM tray when a SIM eject tool or a paperclip is inserted into it.
Once you have located the pinhole, take the SIM eject tool or a straightened paperclip and insert it into the pinhole. Apply gentle pressure to push the tool into the pinhole until the SIM tray begins to protrude from the slot. It's important to exercise caution and avoid using excessive force to prevent any damage to the SIM tray or the phone.
Once the SIM tray is partially ejected, carefully pull it out from the phone using your fingers. Take care to handle the SIM tray delicately, ensuring that you do not apply excessive force or bend it during the removal process. The SIM tray is a delicate component, and mishandling it can lead to damage or misalignment, potentially affecting the functionality of the SIM card slot.
As you remove the SIM tray, take a moment to inspect it for any dust or debris that may have accumulated in the slot. Gently clean the SIM tray and the surrounding area using a soft, dry cloth to ensure that the slot is free from any obstructions. This simple maintenance step contributes to a smooth and secure insertion of the SIM card, minimizing the risk of any connectivity issues.
By successfully removing the SIM tray from your Android phone, you have reached a pivotal stage in the process of inserting a SIM card. This step sets the stage for the subsequent insertion of the SIM card into the designated slot, paving the way for seamless connectivity and access to your mobile network.
With the SIM tray in hand and the SIM card ready for insertion, you are now poised to proceed to the next step of inserting the SIM card into your Android phone, further advancing the process of integrating the SIM card into your device.
This step is vital in ensuring the smooth and secure insertion of the SIM card, setting the stage for seamless connectivity and communication capabilities on your Android phone.
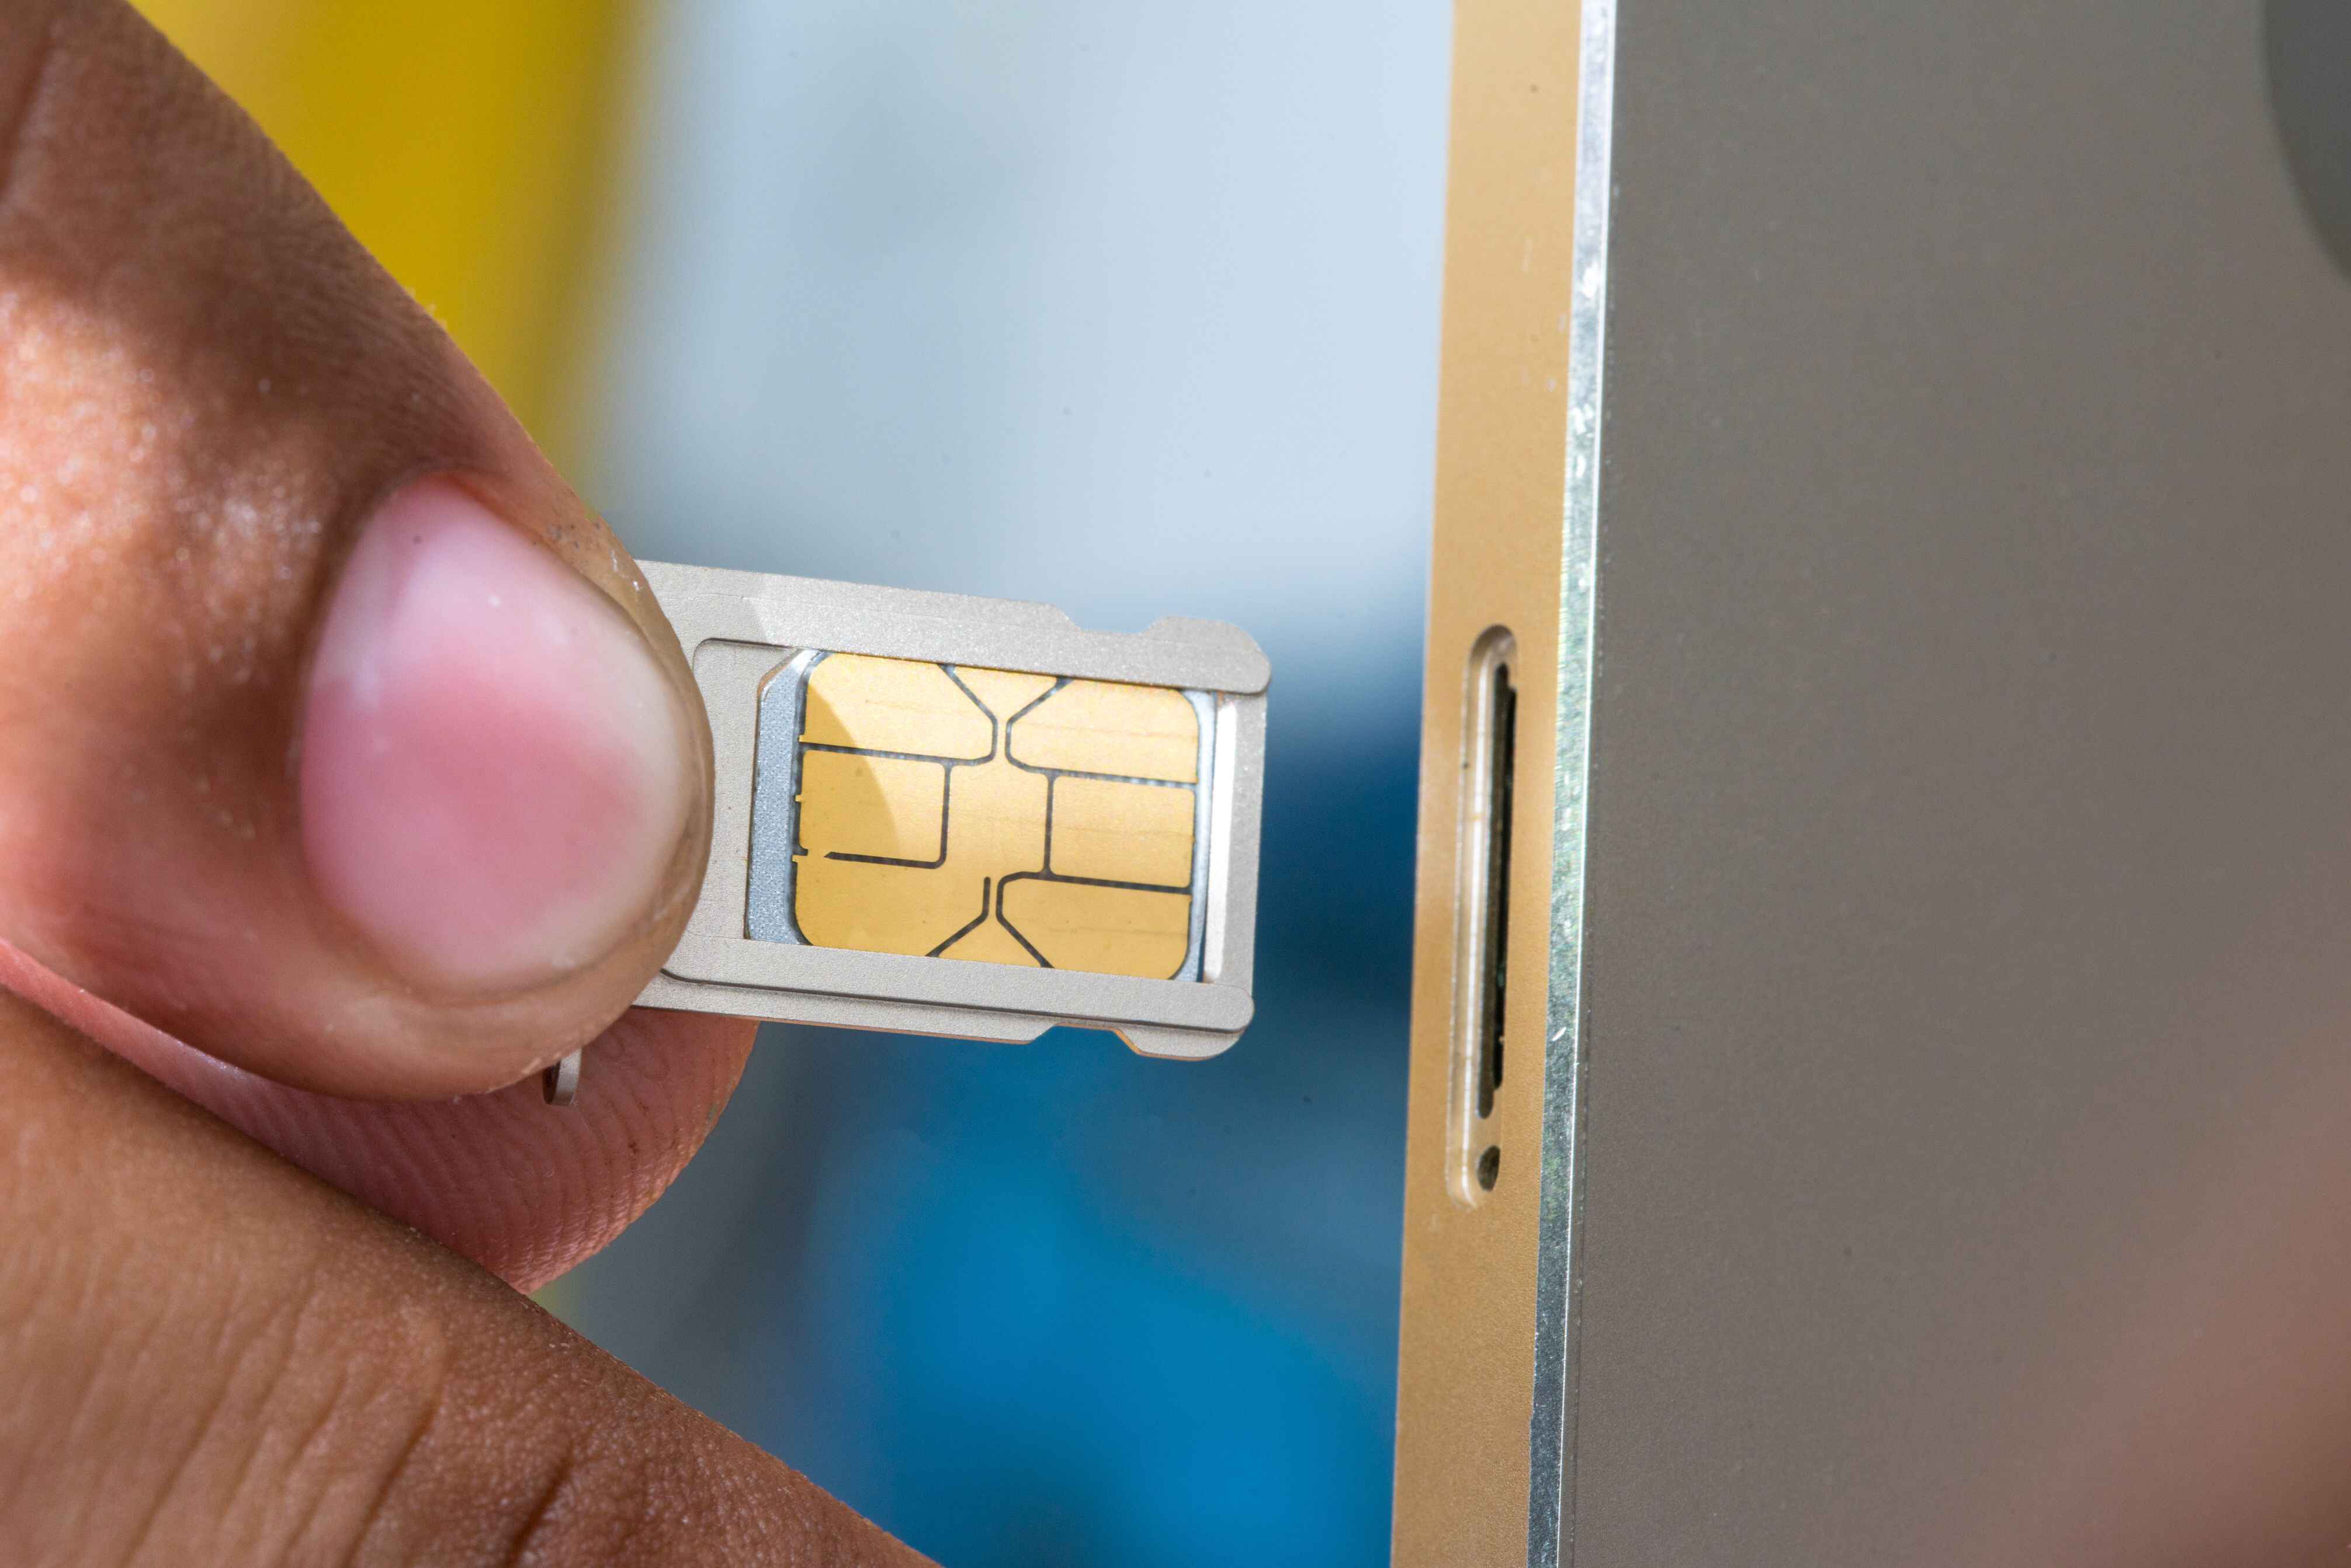
Step 4: Insert the SIM card
With the SIM tray in hand and the designated slot exposed, you are now ready to proceed with the pivotal step of inserting the SIM card into your Android phone. The SIM card, a small, rectangular chip with metal contacts, holds vital information that enables your phone to connect to the mobile network and access essential services such as calls, messages, and mobile data. By carefully inserting the SIM card into the designated slot, you pave the way for seamless connectivity and communication capabilities on your Android device.
To insert the SIM card, carefully place it onto the SIM tray, ensuring that the metal contacts on the card align with the corresponding contacts on the tray. The SIM card typically features a notched corner, which aligns with a similar notch on the tray, ensuring that the card is oriented correctly for insertion. Take a moment to verify that the SIM card is positioned accurately, as improper alignment can lead to connectivity issues or difficulty in inserting the tray back into the phone.
Once the SIM card is aligned with the tray, gently place it into the designated slot, ensuring a smooth and secure fit. Exercise caution to avoid applying excessive force, as the SIM card and tray are delicate components that require careful handling. With a steady and gentle approach, carefully push the tray back into the phone until it sits flush with the device's exterior, securing the SIM card in place within the slot.
As the SIM card is securely inserted into the designated slot, you have reached a pivotal milestone in the process of integrating the SIM card into your Android phone. This seamless insertion ensures that the SIM card is properly aligned and securely positioned, setting the stage for successful network connectivity and communication capabilities. With the SIM card in place, you are now prepared to proceed to the next step of reinserting the SIM tray, further advancing the process of integrating the SIM card into your device.
By successfully inserting the SIM card into your Android phone, you demonstrate a meticulous approach to handling the SIM card and tray, prioritizing the secure integration of the card into the device. This proactive step lays the foundation for seamless connectivity and communication capabilities, empowering you to make the most of your Android phone's features and services.
Step 5: Reinsert the SIM tray
After successfully inserting the SIM card into the designated slot, the next crucial step is to reinsert the SIM tray into your Android phone. The SIM tray, now securely holding the SIM card, plays a pivotal role in maintaining the proper positioning and connectivity of the card within the device. By carefully reinserting the SIM tray, you ensure that the SIM card remains securely in place, setting the stage for seamless network access and communication capabilities on your Android phone.
To reinsert the SIM tray, carefully align it with the slot, ensuring that it is positioned correctly for insertion. Take note of any notches or grooves on the tray that correspond to the contours of the slot, as these serve as alignment guides to ensure a proper fit. With a steady and gentle approach, carefully slide the SIM tray back into the phone, applying light pressure to ensure that it glides smoothly into place.
As the SIM tray is reinserted, take a moment to verify that it sits flush with the device's exterior, indicating that it is securely positioned within the slot. It's essential to ensure that the tray is fully inserted, as any protrusions or misalignments can affect the stability of the SIM card within the device. By confirming that the tray is securely in place, you affirm the proper integration of the SIM card, paving the way for reliable network connectivity and communication services.
Once the SIM tray is securely reinserted, take a moment to power on your Android phone. Initiating the power-up process allows the device to recognize the newly inserted SIM card and establish the necessary network connections. As the phone powers on, observe the signal strength indicator to confirm that the SIM card is successfully detected and that the device is connected to the mobile network.
By successfully reinserting the SIM tray and powering on your Android phone, you complete the process of integrating the SIM card into your device. This final step signifies the seamless incorporation of the SIM card, ensuring that your Android phone is ready to deliver reliable connectivity and communication capabilities. With the SIM card securely in place and the phone powered on, you are now poised to make calls, send messages, and access mobile data, fully leveraging the capabilities of your Android device.
Step 6: Power on the phone
Powering on your Android phone is the final and pivotal step in the process of integrating the SIM card into your device. By initiating the power-up sequence, you enable the phone to recognize the newly inserted SIM card and establish the essential network connections, paving the way for seamless connectivity and communication capabilities.
To power on your Android phone, press and hold the power button, typically located on the side or top of the device. As the phone boots up, the screen illuminates, displaying the manufacturer's logo followed by the familiar interface of your device's home screen. During this startup process, the phone undergoes internal checks and configurations, preparing to recognize and activate the newly inserted SIM card.
As the phone powers on, observe the signal strength indicator, typically displayed in the status bar at the top of the screen. This indicator provides valuable insight into the phone's connection to the mobile network, reflecting the successful detection and activation of the SIM card. A strong signal strength icon signifies a robust network connection, indicating that the SIM card is functioning optimally within the device.
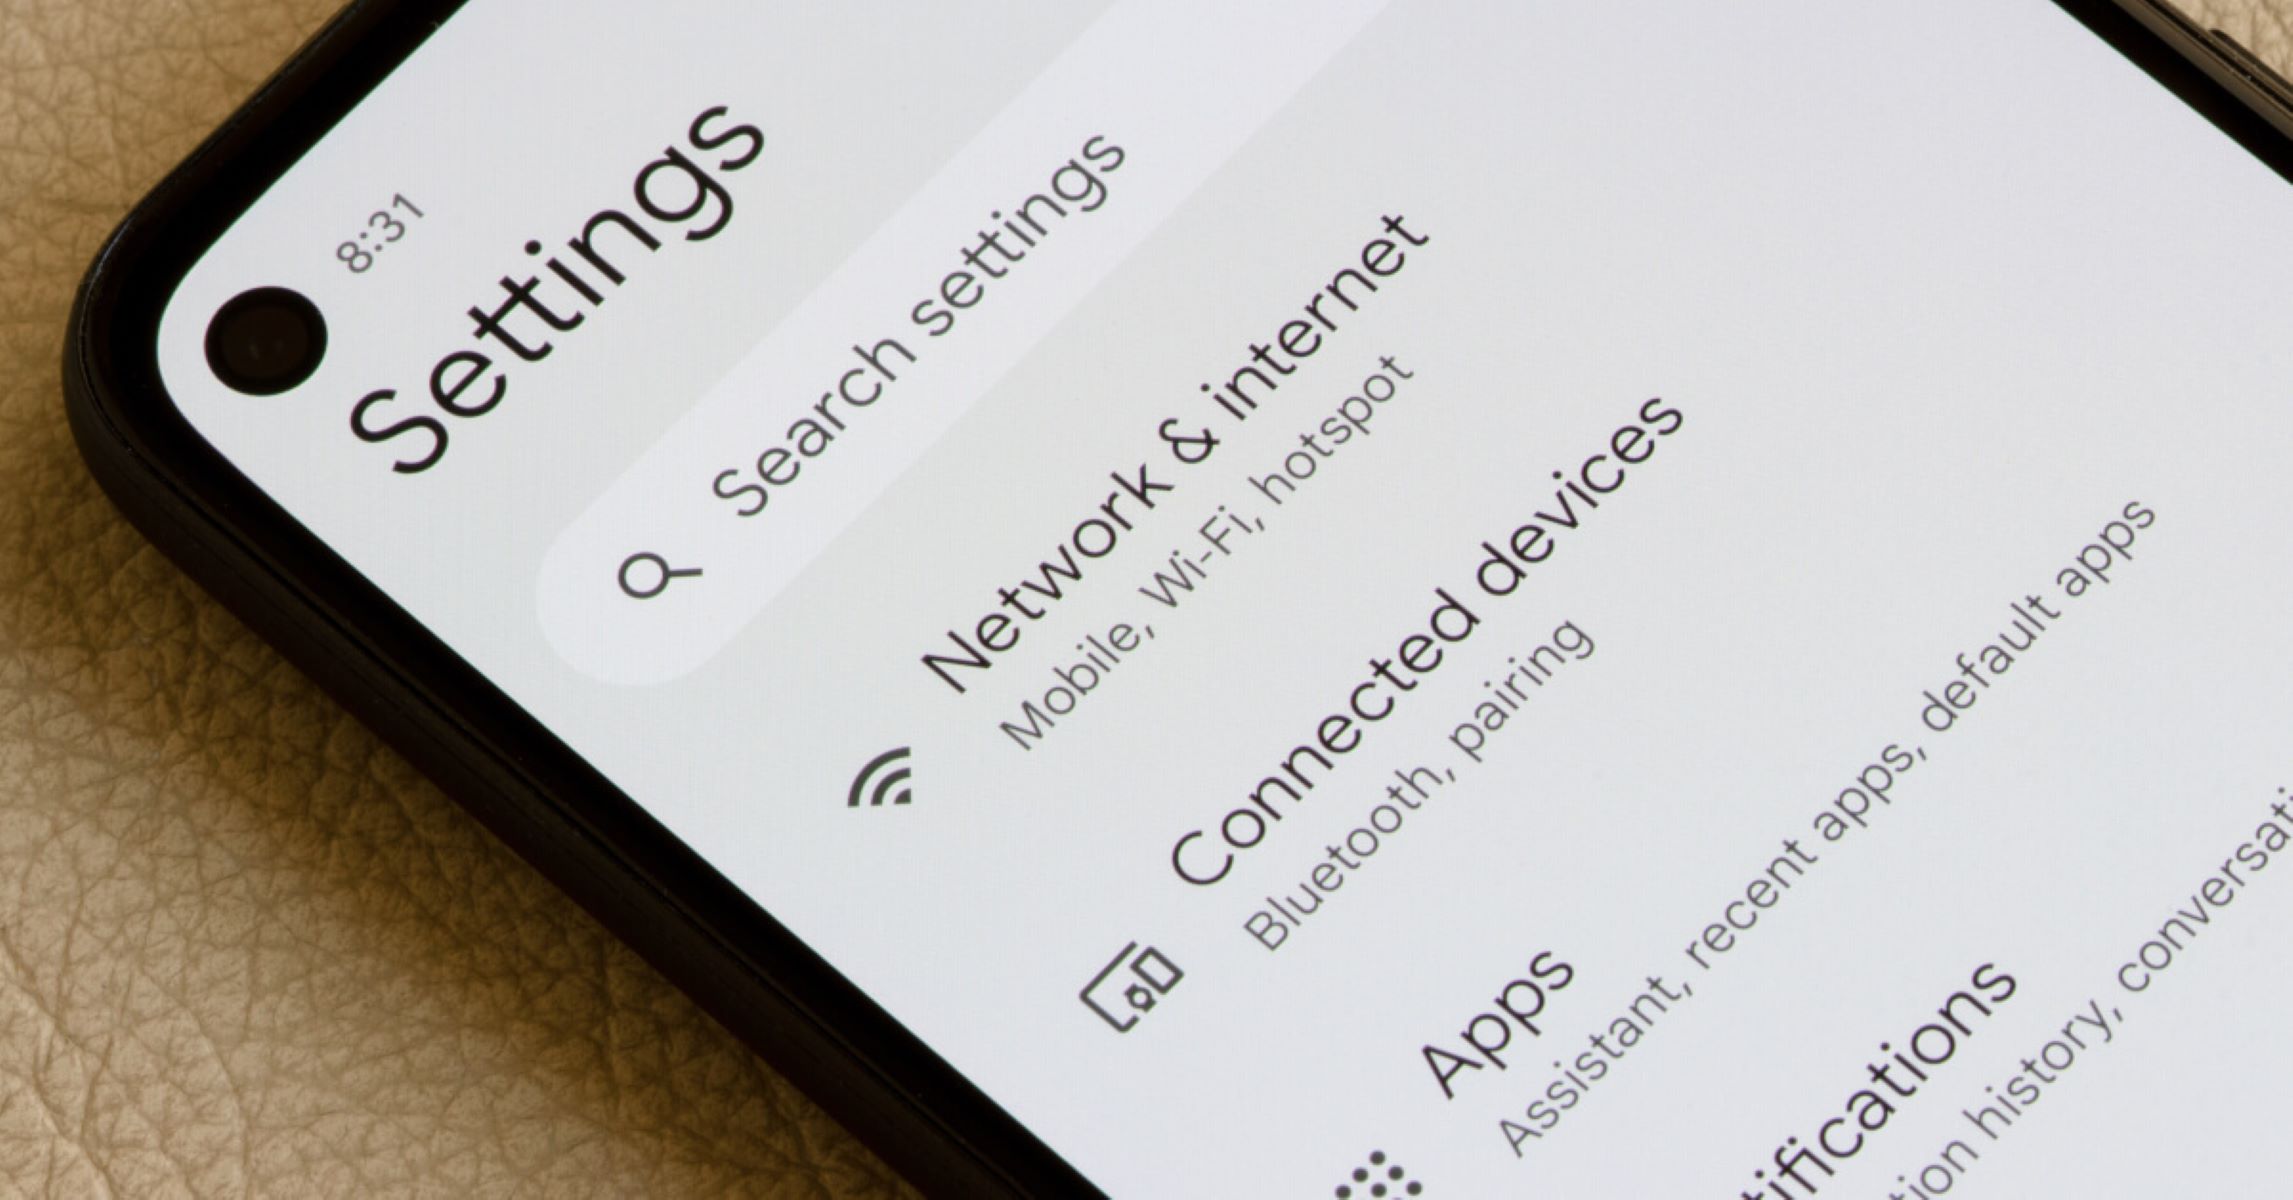
Upon completing the power-up sequence, navigate to the phone's settings and locate the "SIM card & mobile network" or similar menu. Within this section, you can verify the status of the inserted SIM card, ensuring that it is recognized by the device and is set up to access voice, messaging, and data services. This step allows you to confirm that the SIM card is seamlessly integrated into your Android phone, ready to deliver reliable connectivity and communication capabilities.
With the phone powered on and the SIM card successfully recognized, you are now poised to leverage the full potential of your Android device. Whether you're making calls, sending messages, or accessing mobile data, the seamless integration of the SIM card ensures that you can stay connected and productive, harnessing the capabilities of your Android phone to their fullest extent.
By completing the power-up process, you affirm the successful integration of the SIM card into your Android phone, marking the culmination of the SIM card insertion process. With the device powered on and the SIM card seamlessly integrated, you are ready to embark on a seamless and connected mobile experience, fully leveraging the capabilities of your Android device.
Conclusion
Congratulations on successfully integrating the SIM card into your Android phone! Through the step-by-step process outlined in this comprehensive guide, you have gained the knowledge and confidence to seamlessly insert a SIM card, paving the way for reliable connectivity and communication capabilities on your device.
Mastering the process of inserting a SIM card empowers you to harness the full potential of your Android phone, enabling you to make calls, send messages, and access mobile data with ease. By locating the SIM card slot, powering off the phone, removing and reinserting the SIM tray, and powering on the device, you have demonstrated a proactive approach to handling your device, prioritizing the secure integration of the SIM card.
The successful insertion of the SIM card sets the stage for a seamless and connected mobile experience, ensuring that you can stay in touch with friends, family, and colleagues while accessing essential mobile services. Whether you're navigating your daily tasks, staying connected on the go, or exploring the myriad features of your Android phone, the integrated SIM card serves as the gateway to a world of connectivity and communication possibilities.
As you embark on your journey with your Android phone, remember that the SIM card plays a pivotal role in enabling your device to connect to the mobile network, providing you with the essential lifeline of communication and connectivity. By prioritizing the proper insertion and integration of the SIM card, you have taken a proactive step in ensuring a seamless and reliable mobile experience.
In the dynamic and interconnected world of mobile devices, understanding the fundamentals of SIM card insertion empowers you to navigate the ever-evolving landscape of communication and connectivity. Whether you're upgrading to a new device, switching to a different SIM card, or simply exploring the capabilities of your Android phone, the knowledge and skills acquired through this guide serve as a valuable asset in your mobile journey.
With the SIM card securely integrated into your Android phone, you are now poised to embrace a seamless and connected mobile experience, leveraging the full range of features and services that your device has to offer. Whether you're making important calls, staying connected with loved ones, or accessing vital information on the go, the successful integration of the SIM card ensures that your Android phone is ready to meet your communication needs with reliability and efficiency.
As you continue to explore the myriad possibilities of your Android phone, the seamless integration of the SIM card stands as a testament to your proactive approach to device management, ensuring that you can make the most of your mobile experience. With the SIM card securely in place, you are ready to embark on a connected and productive journey, fully leveraging the capabilities of your Android device.