Introduction
Extracting the SIM card from an Android phone may seem like a simple task, but it's essential to handle this process with care to avoid any damage to the device. Whether you need to switch to a new phone, replace the SIM card, or troubleshoot connectivity issues, knowing how to safely remove the SIM card is crucial. In this comprehensive guide, we will walk you through the step-by-step process of safely extracting the SIM card from your Android phone.
A Subscriber Identity Module (SIM) card is a small, removable smart card that stores the key identifying information of a mobile device user. It allows the user to connect to a mobile network, make calls, send text messages, and access mobile data. Given its significance, it's important to handle the SIM card and the device delicately during the extraction process.
By following the instructions outlined in this guide, you can ensure that you extract the SIM card without causing any harm to your Android phone. Additionally, we will provide insights into the significance of each step, empowering you with the knowledge to perform this task confidently.
Now, let's delve into the step-by-step process of safely extracting the SIM card from your Android phone. Whether you're a tech-savvy individual or a novice in the world of mobile devices, this guide will equip you with the expertise to handle this task with precision and ease. Let's get started!
Step 1: Power Off Your Android Phone
Before you begin the process of removing the SIM card from your Android phone, it's crucial to power off the device. This step is essential to ensure the safety of both the phone and the SIM card during the extraction process.
To power off your Android phone, locate the power button, which is typically located on the side or top of the device. Press and hold the power button until the power-off options appear on the screen. Then, select "Power Off" or a similar option to shut down the device.
Turning off your Android phone before removing the SIM card serves two primary purposes. Firstly, it prevents any potential damage to the SIM card that could occur if it is removed while the device is powered on. Secondly, it reduces the risk of disrupting the phone's internal components, ensuring that the extraction process is carried out smoothly and without any technical complications.
By powering off your Android phone, you create a safe environment for removing the SIM card, minimizing the likelihood of any mishaps. This simple yet crucial step sets the foundation for a successful SIM card extraction process and demonstrates a responsible approach to handling mobile devices.
Remember, even though powering off your phone may seem like a routine task, it plays a significant role in maintaining the integrity of both the device and the SIM card. With your Android phone now powered off, you are ready to proceed to the next step in safely extracting the SIM card.
Ensuring that your Android phone is powered off before continuing with the SIM card extraction process reflects a proactive and mindful approach to handling mobile devices. This foundational step sets the stage for a seamless and risk-free SIM card removal experience.
Step 2: Locate the SIM Card Tray
Locating the SIM card tray is the next crucial step in the process of safely extracting the SIM card from your Android phone. The SIM card tray is the compartment that houses the SIM card and is designed to ensure secure placement within the device. Here's how you can effectively locate the SIM card tray:
-
Consult the User Manual: If you are unsure about the location of the SIM card tray on your specific Android phone model, referring to the user manual can provide valuable guidance. The user manual typically contains detailed illustrations and instructions for accessing and handling the SIM card tray.
-
Identify the Tray Slot: Most modern Android phones feature a SIM card tray slot that is strategically positioned along the edge of the device. The tray slot is often accompanied by a small pinhole, indicating the presence of the SIM card tray.
-
Inspect the Edges: Carefully examine the edges of your Android phone to identify the slot where the SIM card tray is housed. The tray is usually located on either the side or the top of the device, and its precise placement may vary depending on the phone model.
-
Use Visual Cues: Some Android phones have visual cues, such as a small icon or label next to the tray slot, to assist users in locating the SIM card tray. These visual indicators can serve as helpful references when identifying the position of the tray.
-
Avoid Applying Excessive Force: While locating the SIM card tray, it's important to handle the phone gently and refrain from applying excessive force. Attempting to forcefully access the tray can lead to unintended damage, so exercise patience and precision during this step.
By effectively locating the SIM card tray, you pave the way for a smooth and controlled extraction process. This step sets the stage for the subsequent actions involved in removing the SIM card from your Android phone, ensuring that you proceed with confidence and accuracy.
With the SIM card tray now located, you are ready to proceed to the next step, which involves using the SIM ejector tool to safely extract the SIM card from your Android phone.
Step 3: Use the SIM Ejector Tool
Once you have located the SIM card tray on your Android phone, the next step involves using the SIM ejector tool to safely extract the SIM card. The SIM ejector tool, also known as a SIM card eject pin or SIM card removal tool, is a small, pointed instrument provided by the phone manufacturer for the specific purpose of removing the SIM card tray.
Here's how you can effectively use the SIM ejector tool to proceed with the SIM card extraction process:
-
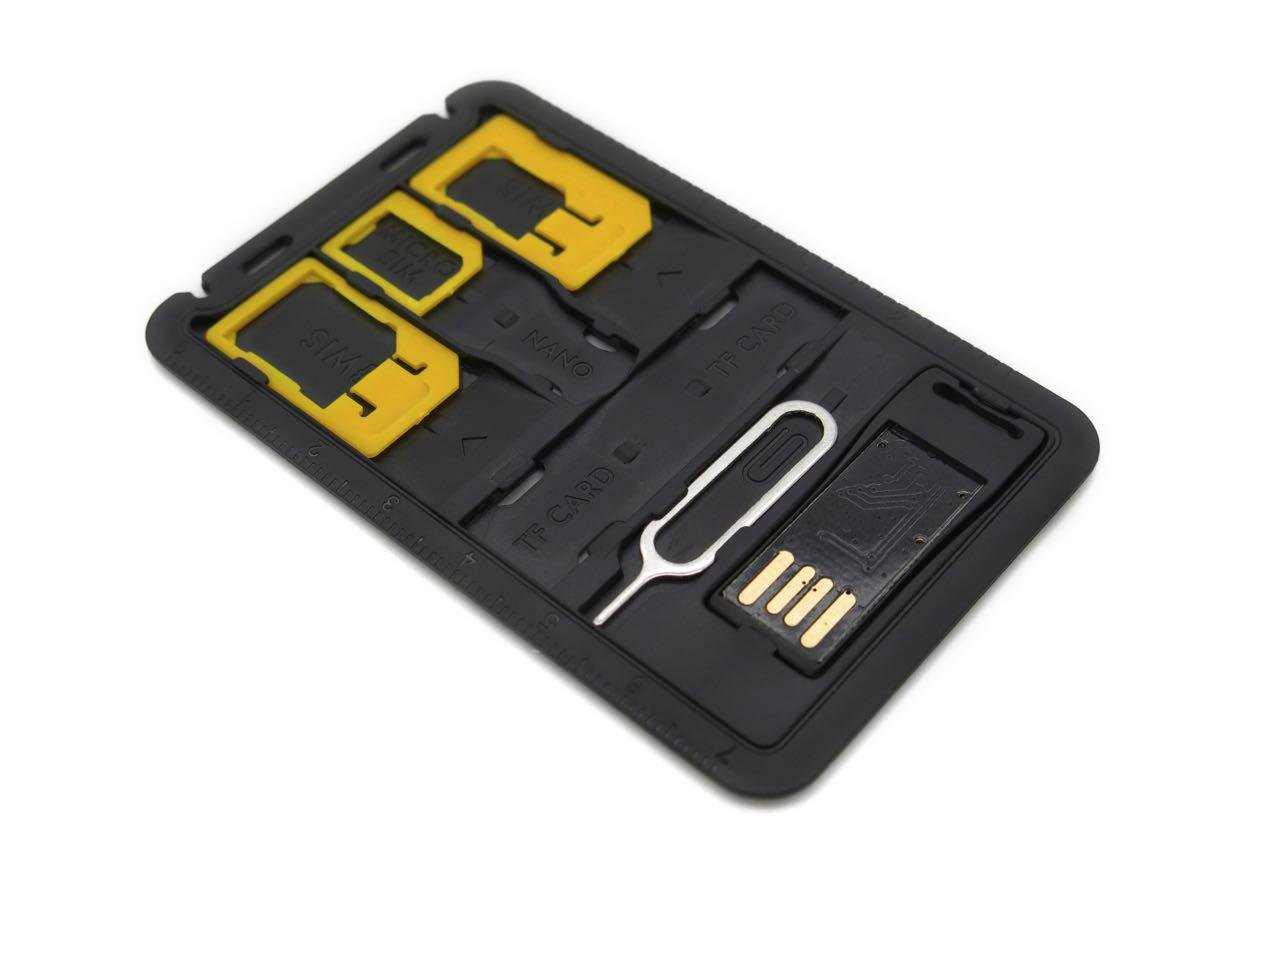
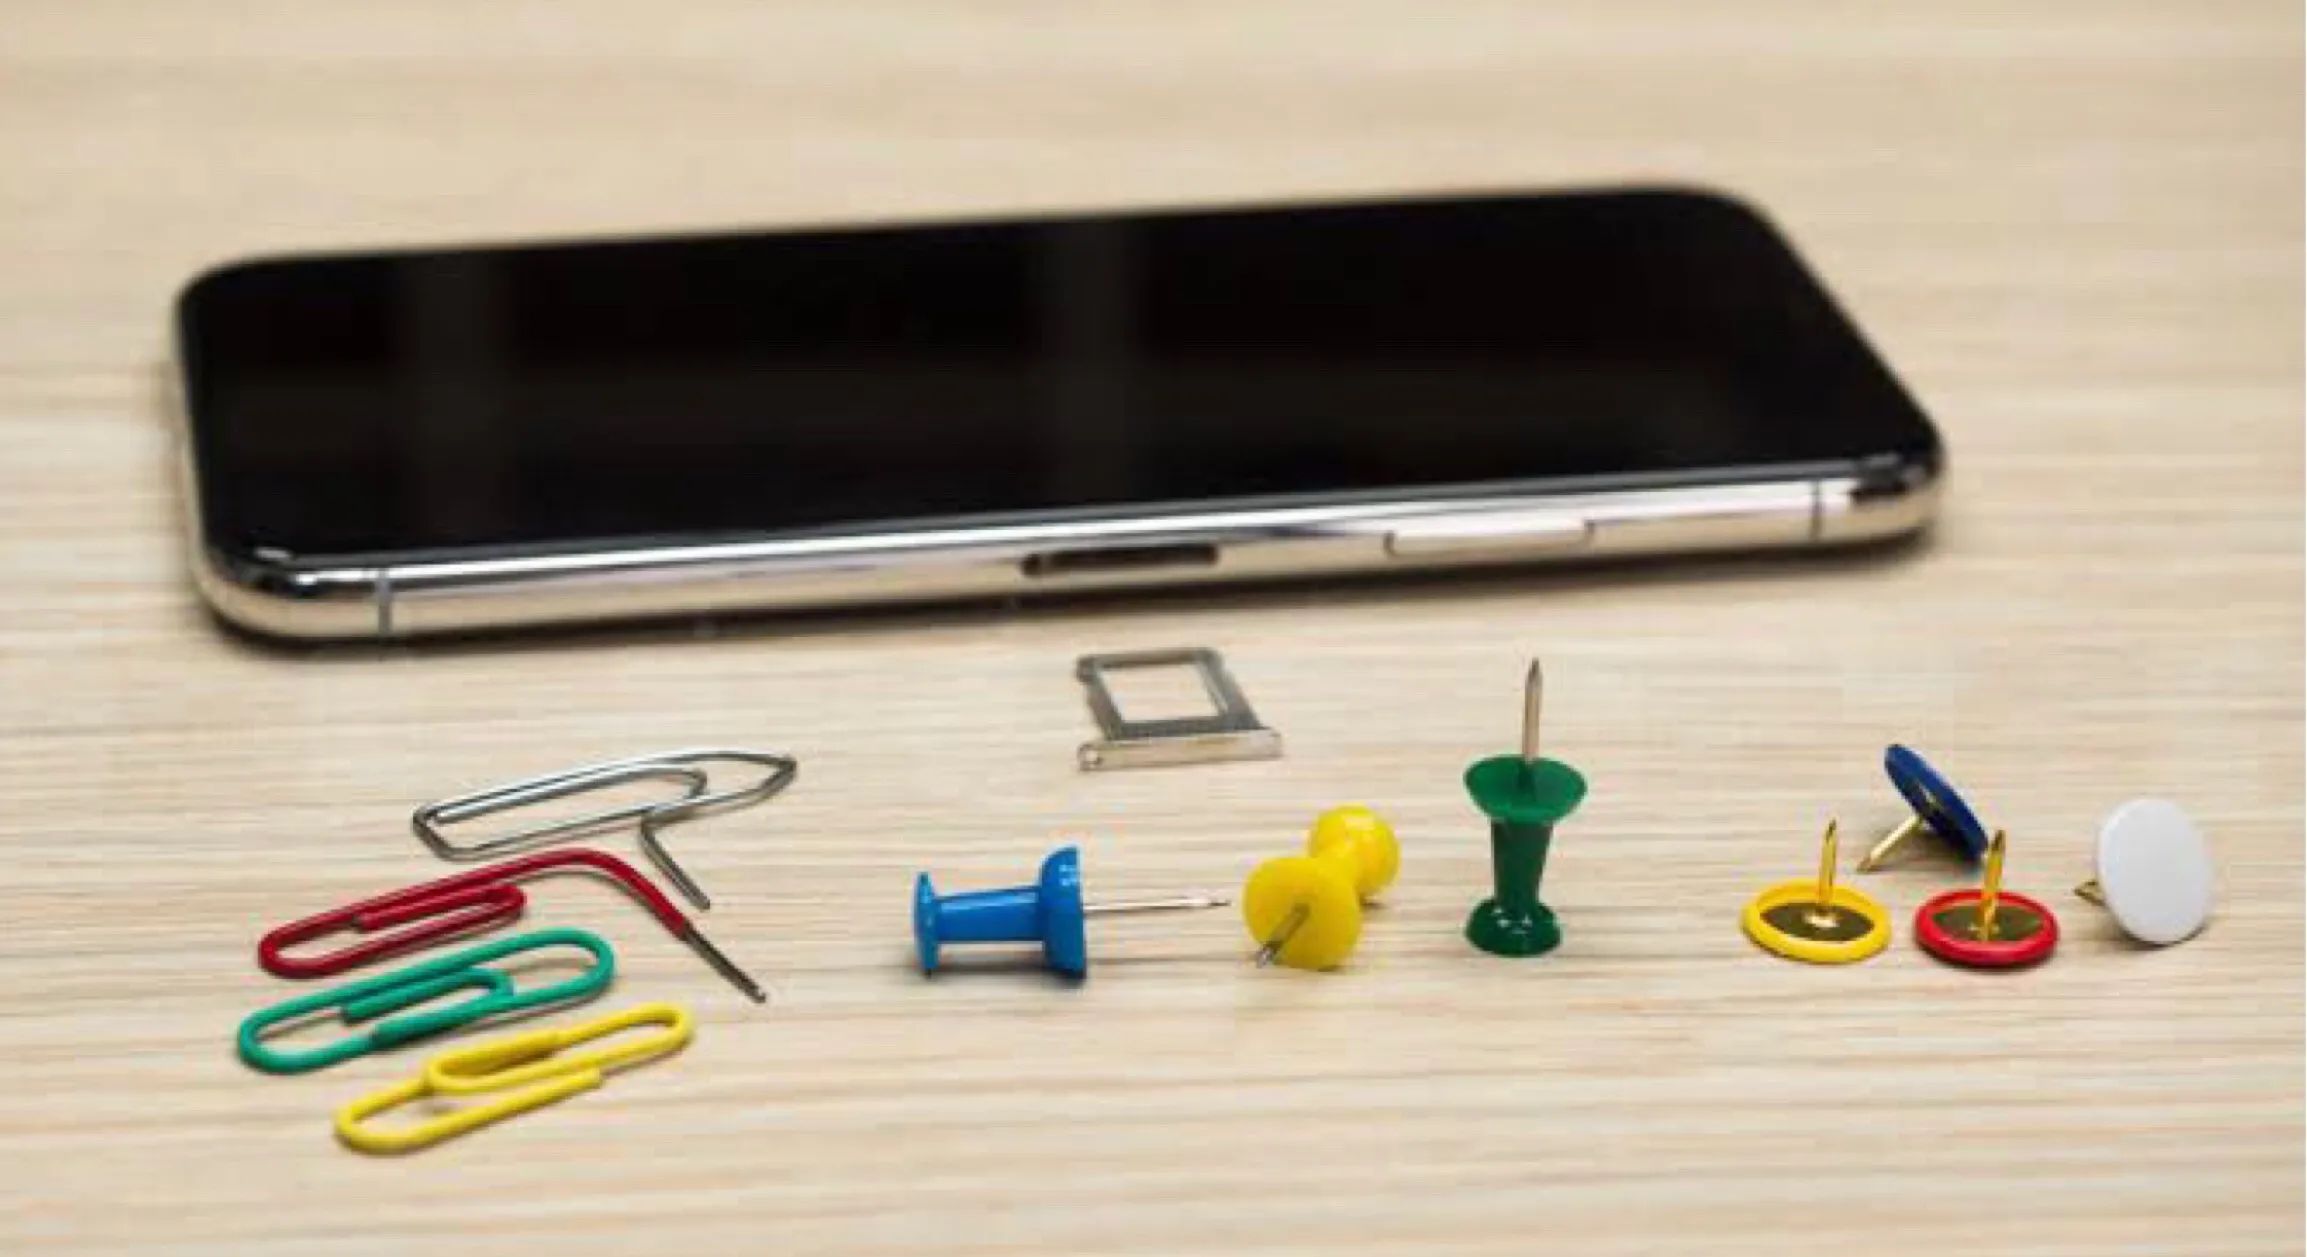
Identify the SIM Ejector Tool: The SIM ejector tool is typically a small, metal pin with a pointed end. It may be included in the original packaging of your Android phone or stored in the phone's accessory compartment. If you cannot locate the SIM ejector tool, a paperclip or a similar small, pointed object can serve as an alternative, ensuring that it fits into the designated pinhole on the SIM card tray.
-
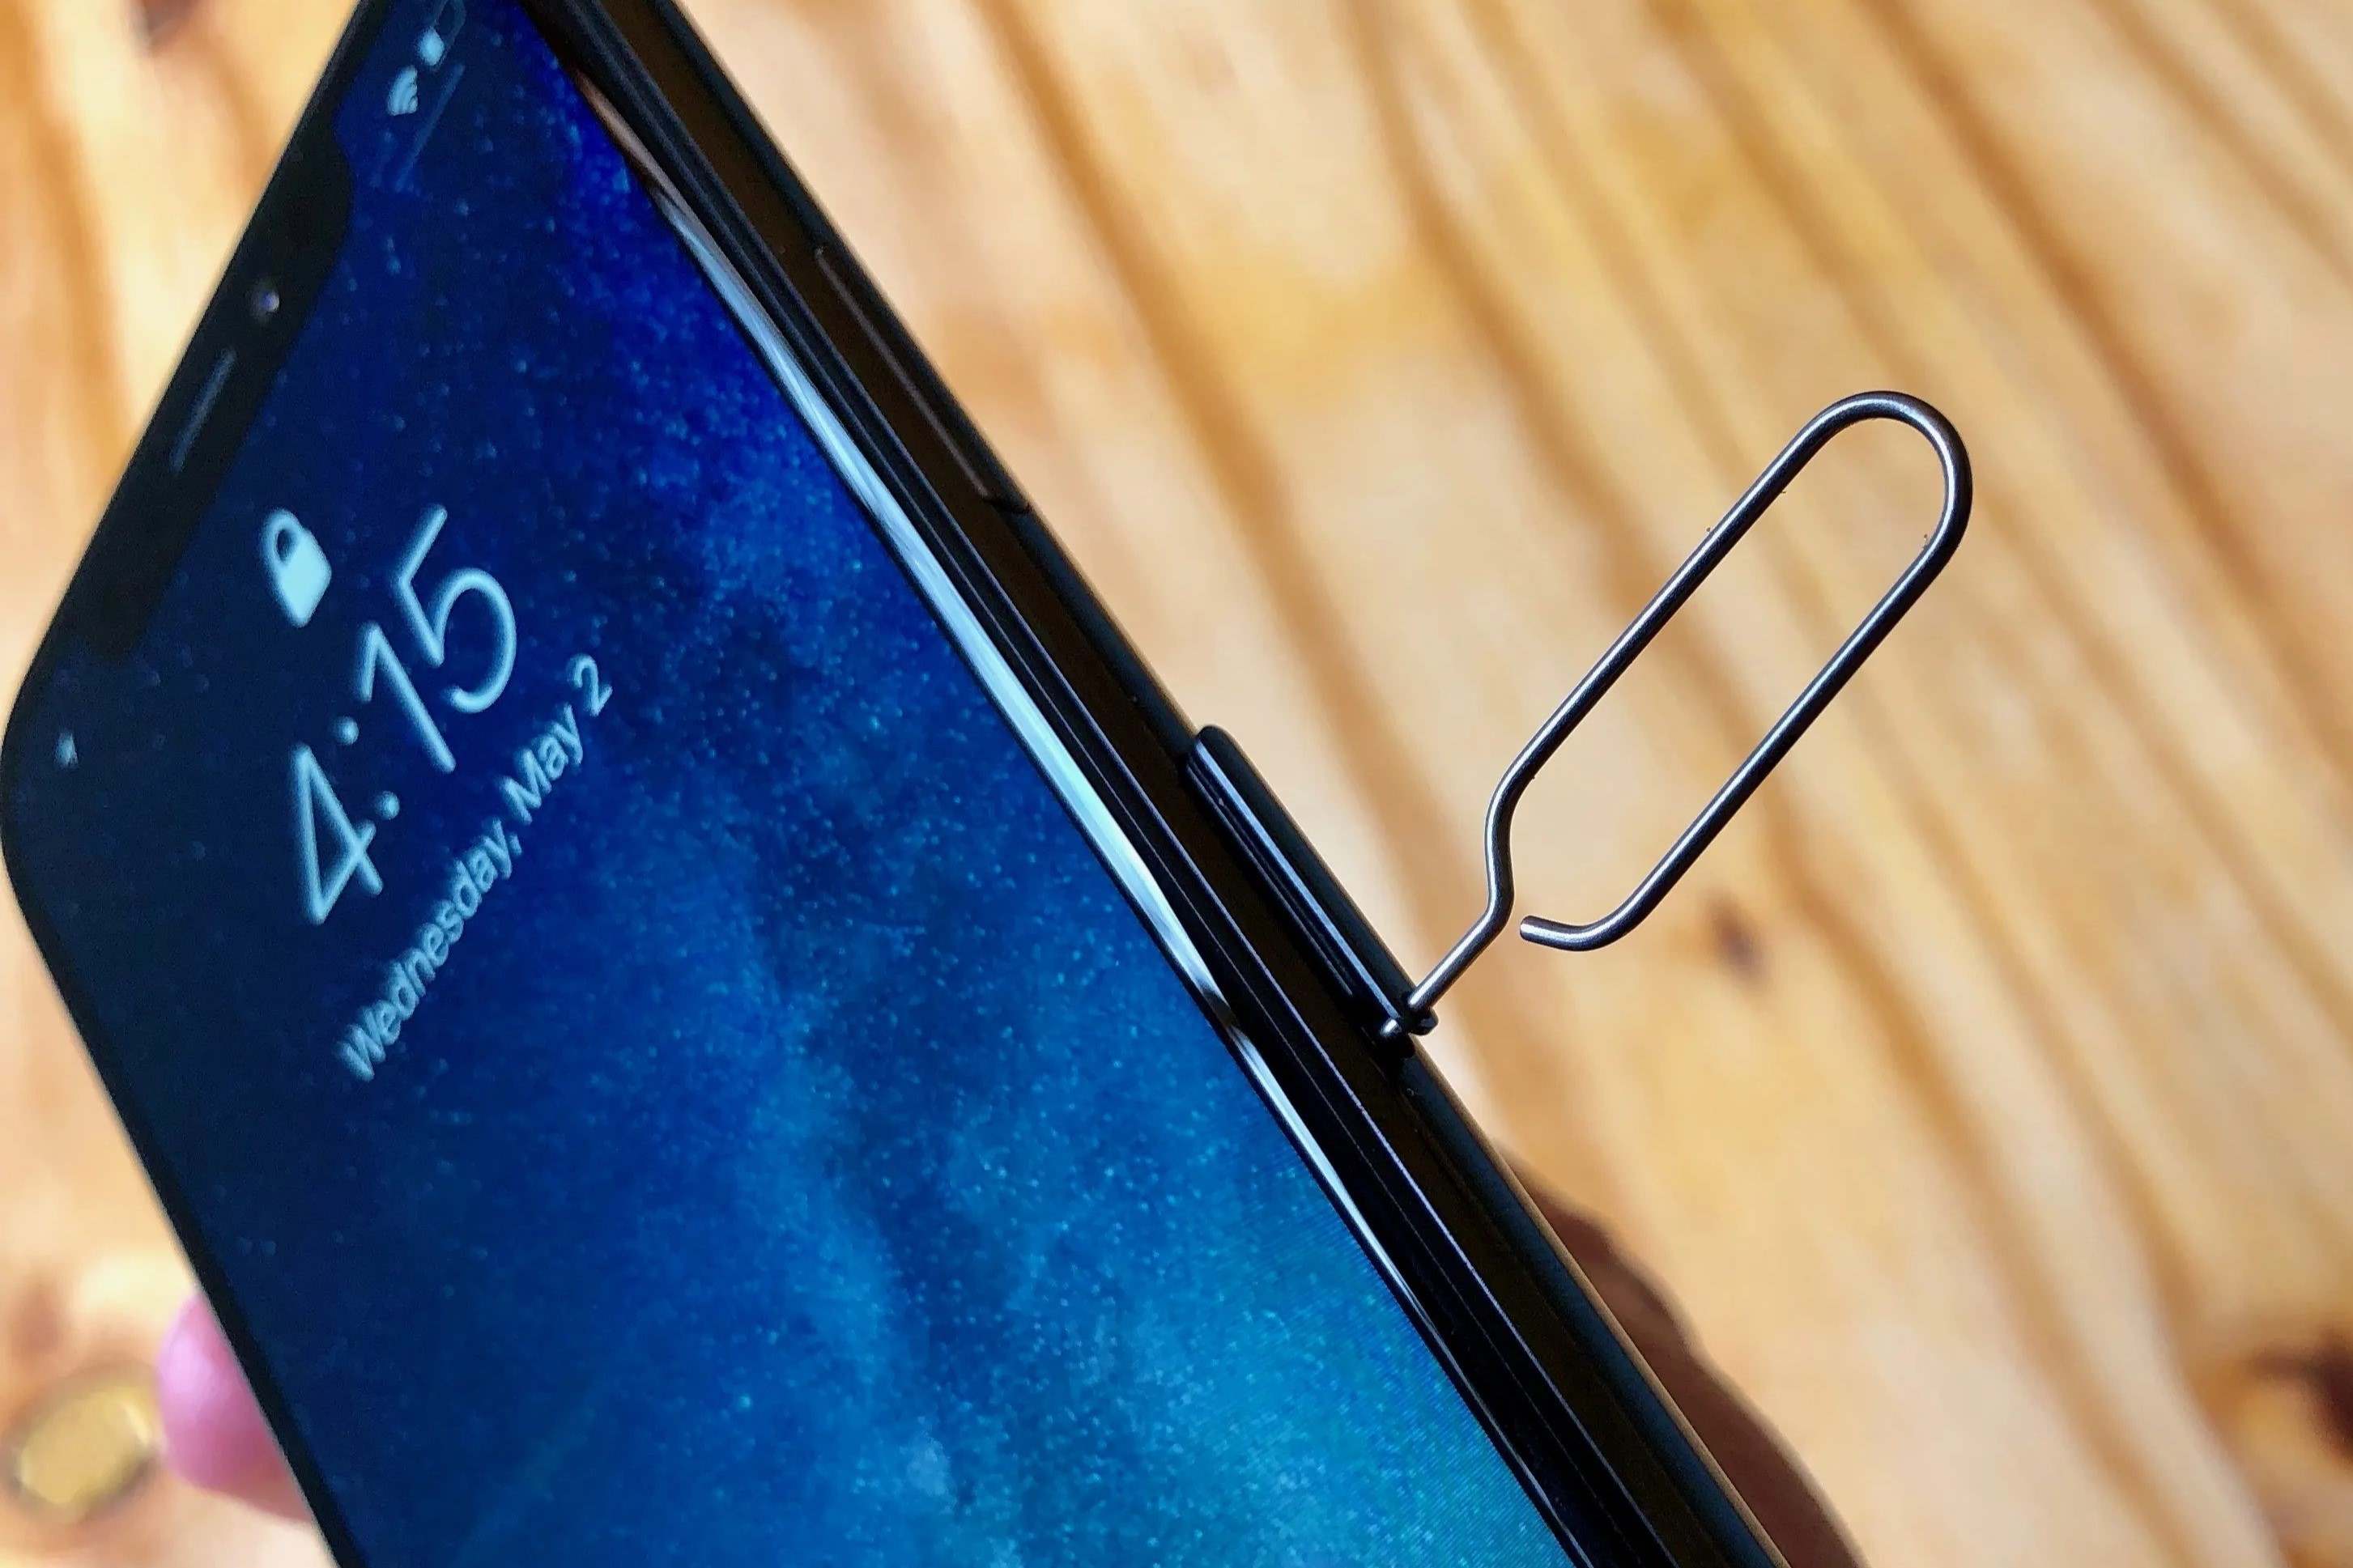
Insert the SIM Ejector Tool: With the SIM ejector tool in hand, carefully insert the pointed end into the pinhole located near the SIM card tray. Apply gentle pressure to push the tool into the pinhole until you feel a slight resistance. This action activates the mechanism that releases the SIM card tray from its secured position within the phone.
-
Apply Even Pressure: Once the SIM ejector tool is inserted into the pinhole, maintain even pressure as you push inward. This consistent pressure prompts the SIM card tray to partially pop out of the phone, allowing you to grasp and remove it with ease.
-
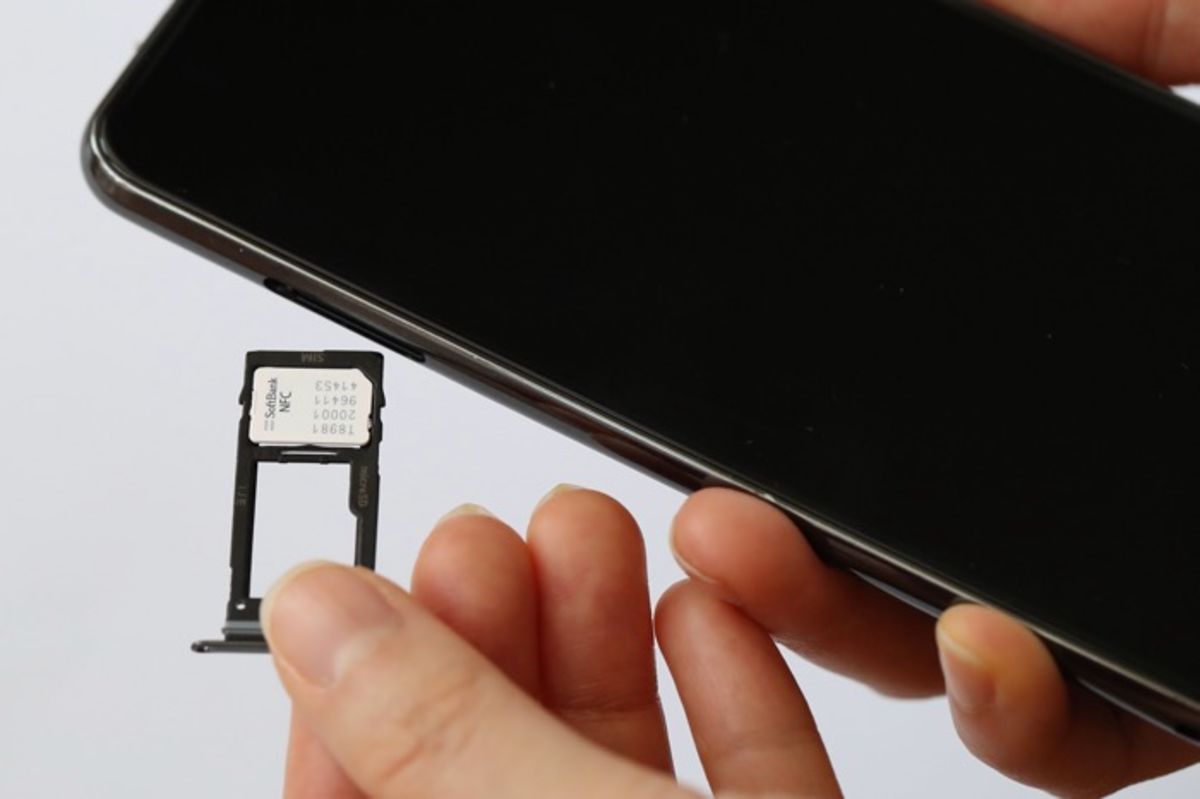
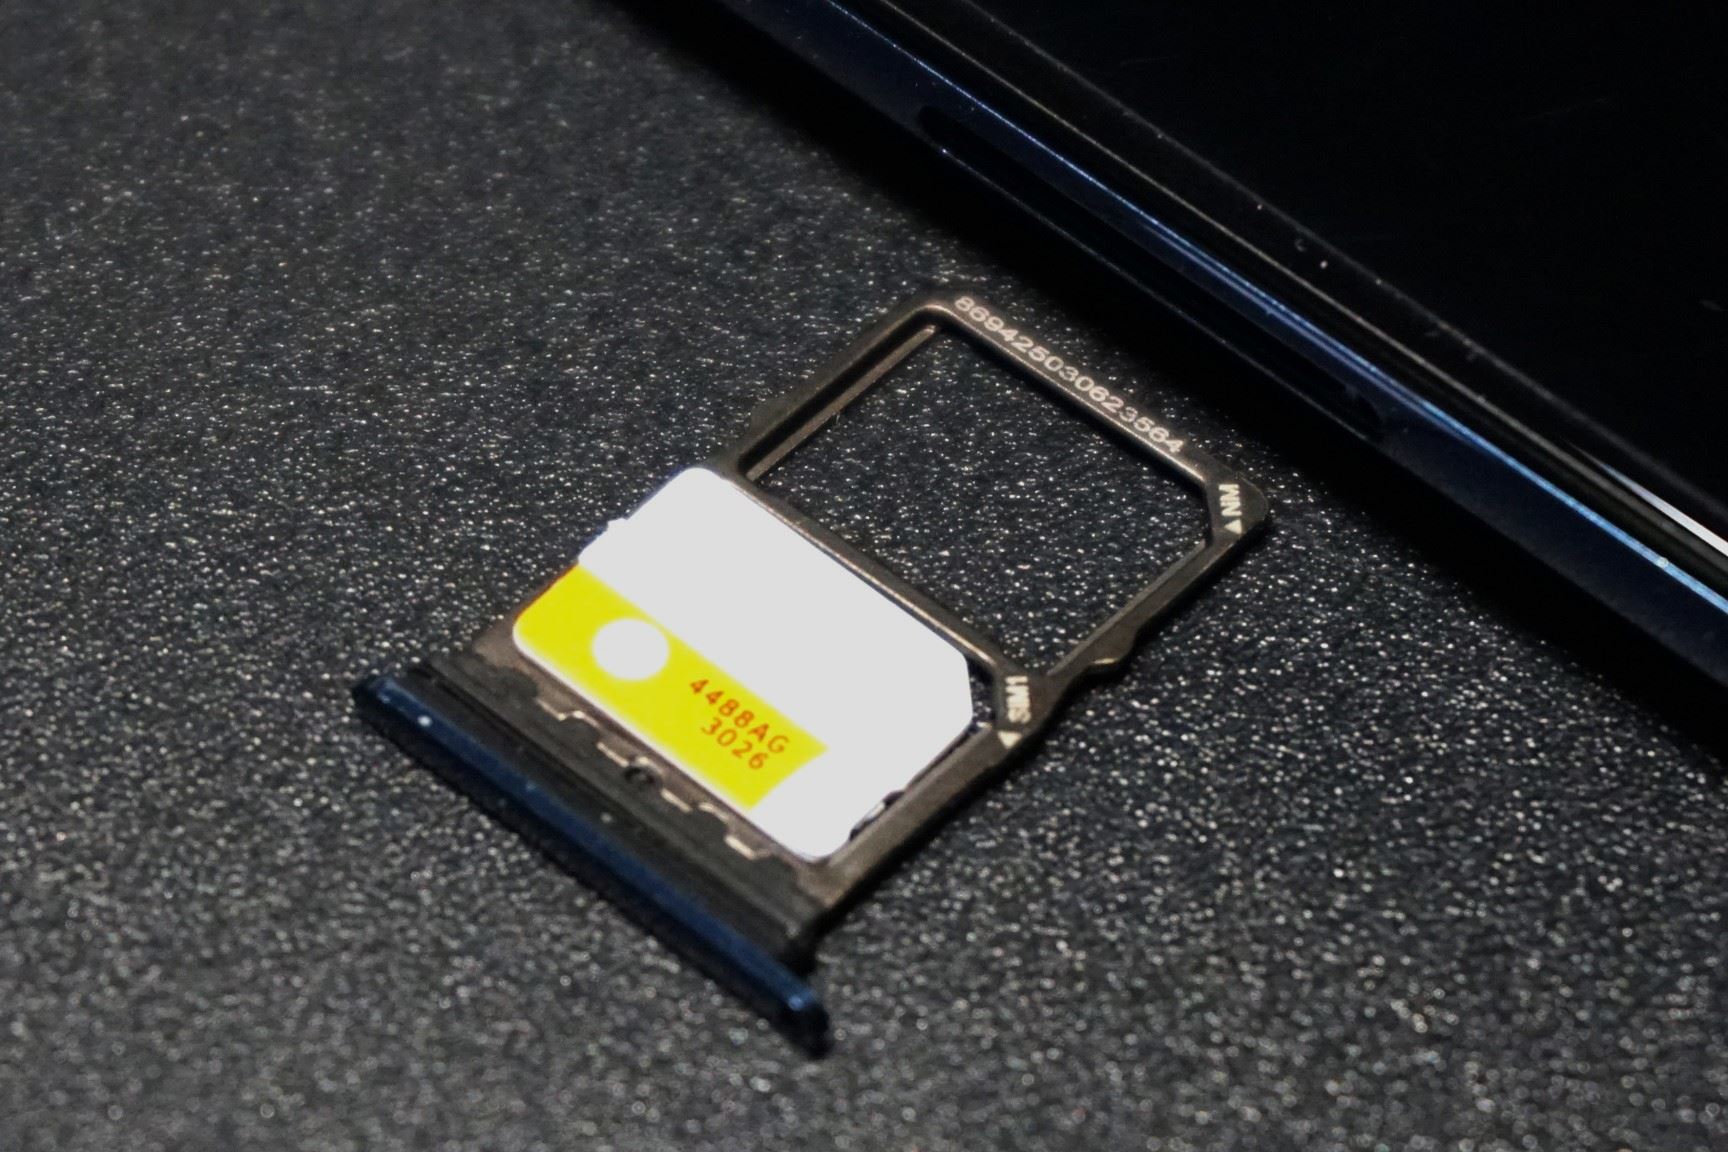
Handle the SIM Card Tray: As the SIM card tray is partially ejected, carefully pull it out from the phone using your fingers. Exercise caution to avoid tilting or shaking the tray excessively, as this can dislodge the SIM card from its position within the tray.
By effectively utilizing the SIM ejector tool, you can safely and precisely release the SIM card tray from your Android phone, setting the stage for the next step in the extraction process. This essential tool streamlines the extraction procedure, ensuring that you handle the SIM card and the phone with care and precision.
With the SIM card tray now partially ejected, you are ready to proceed to the subsequent step, which involves gently removing the SIM card from the tray.
Step 4: Gently Remove the SIM Card
With the SIM card tray partially ejected from your Android phone, the next critical step is to gently remove the SIM card from the tray. This process requires precision and delicacy to ensure that the SIM card is extracted without any damage. Here's a detailed guide on how to effectively and safely remove the SIM card:
-
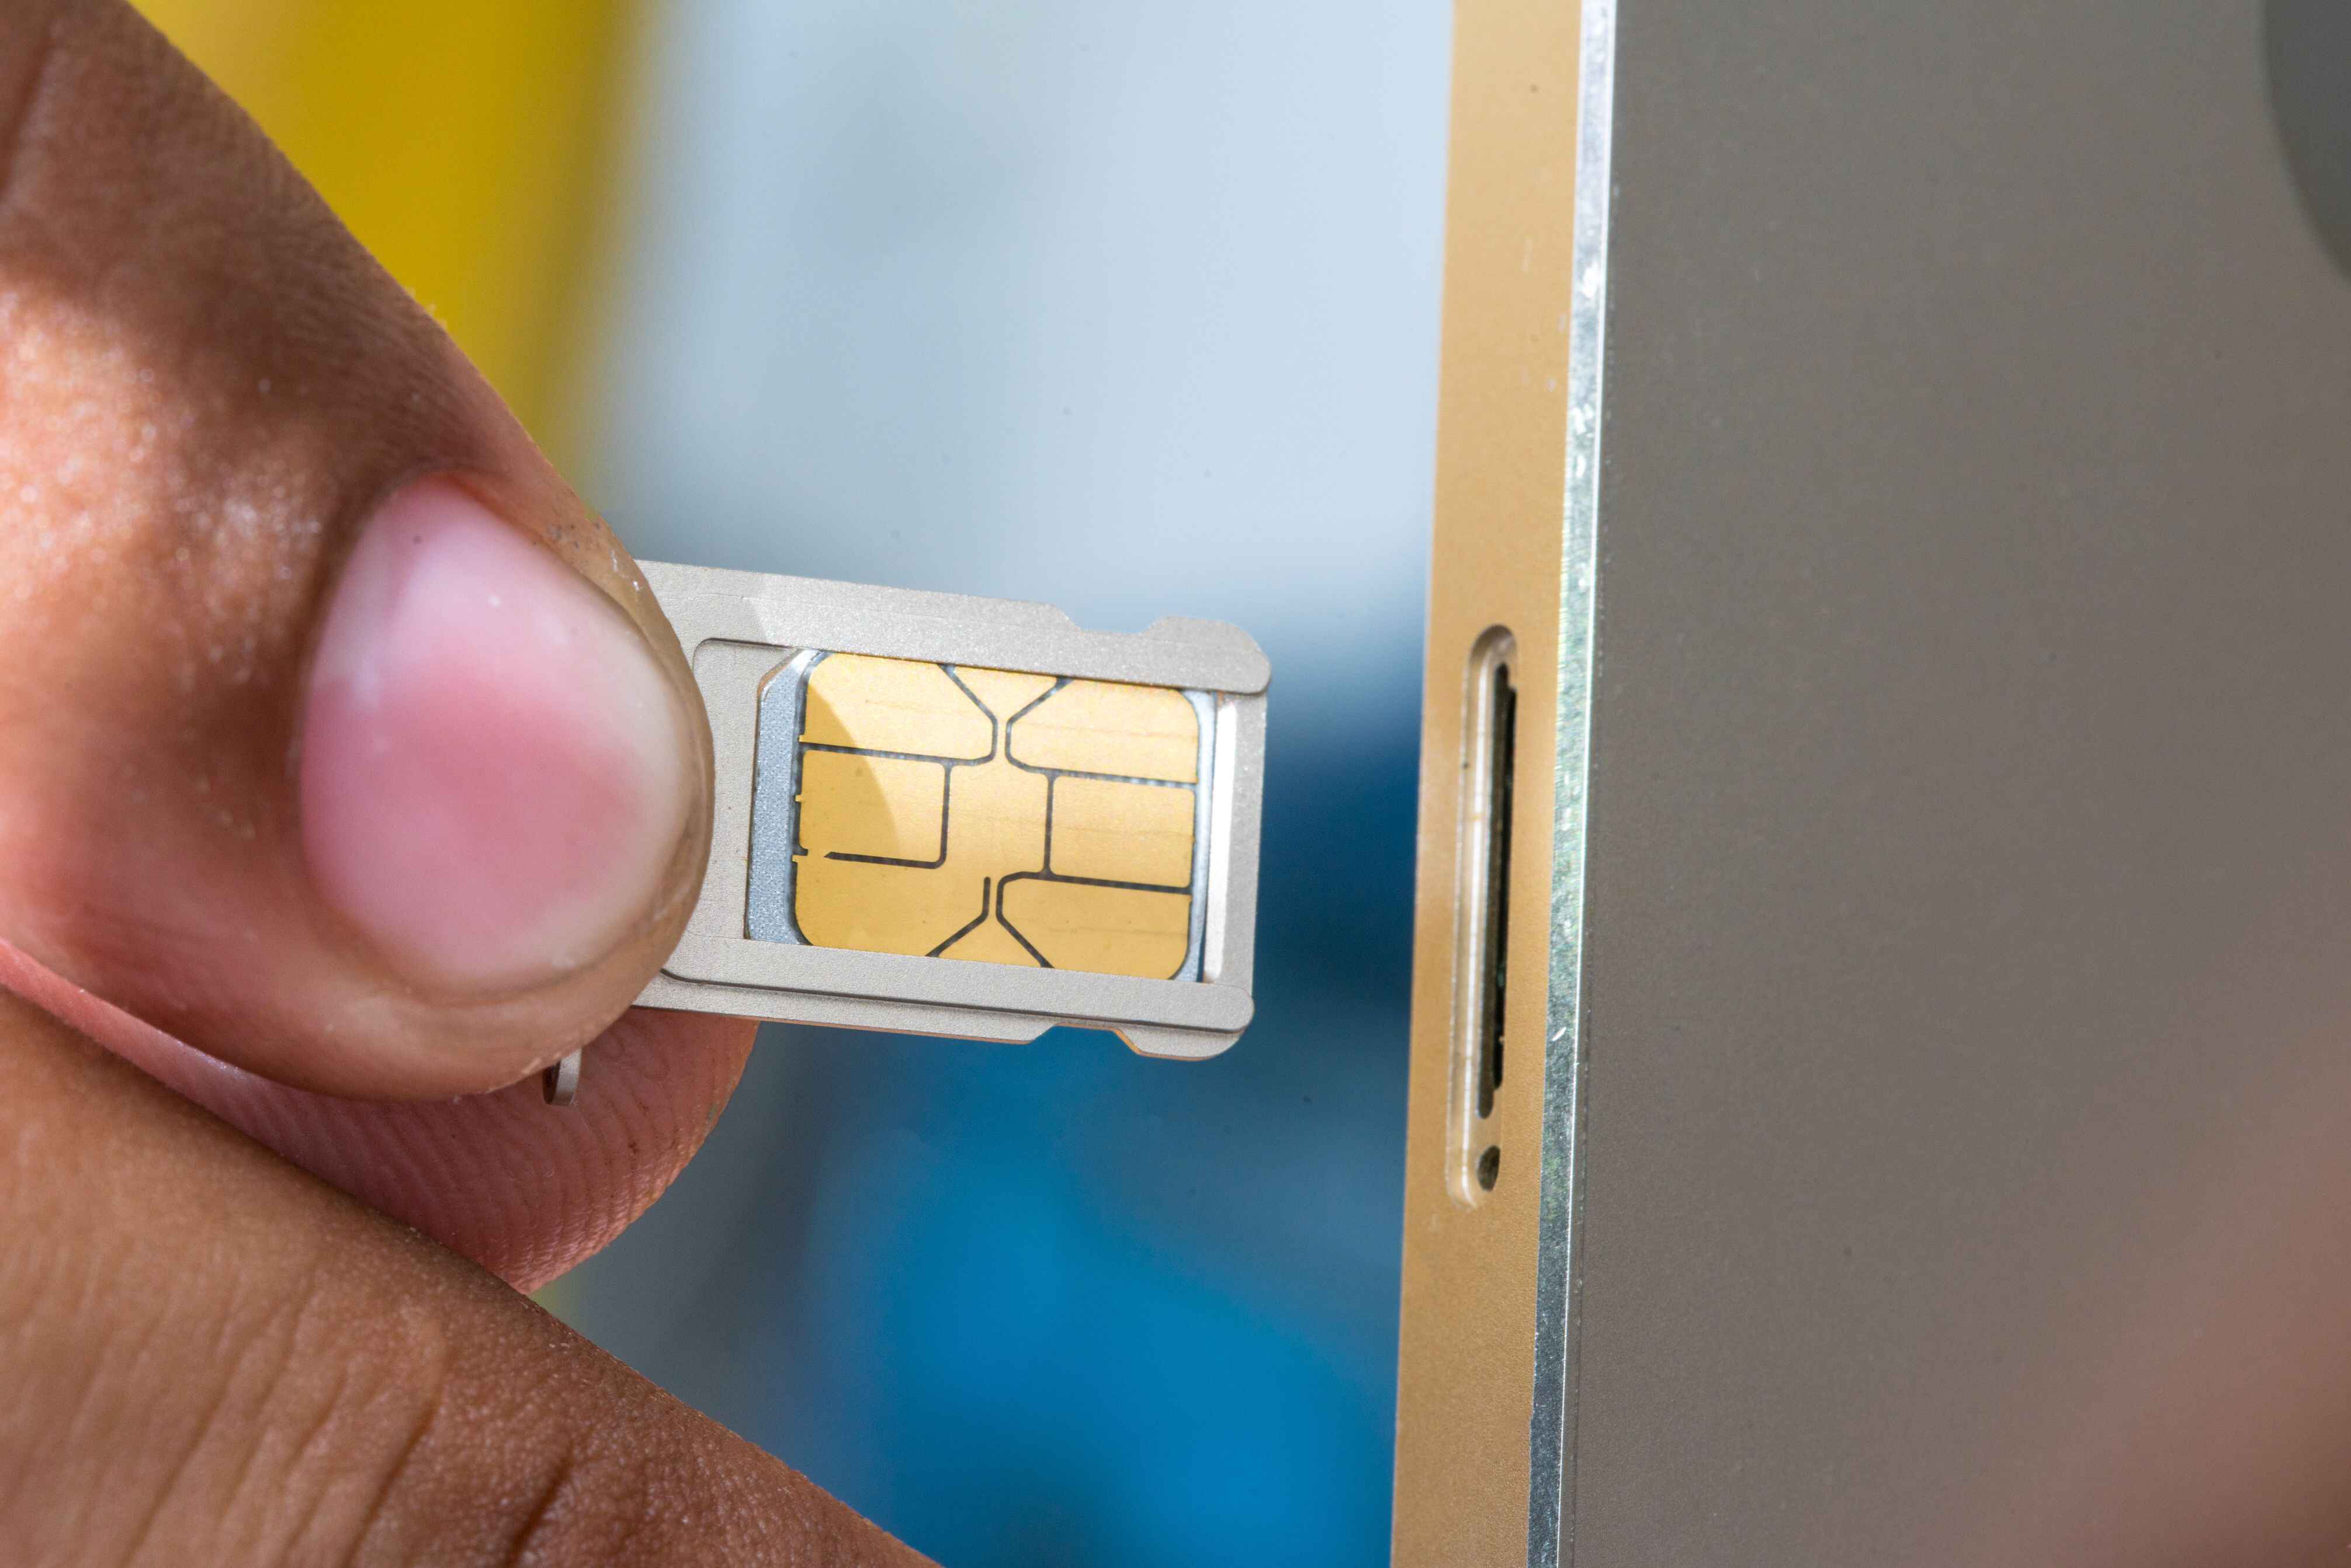
Inspect the SIM Card: Before proceeding with the removal, take a moment to inspect the SIM card. Note the orientation of the card within the tray, as it will guide you in reinserting it correctly later. Additionally, check for any visible signs of damage or debris on the SIM card, ensuring that it remains in optimal condition throughout the extraction process.
-
Use Fingertips: With the SIM card tray partially ejected, gently grasp the tray and carefully slide it out further until the SIM card is fully accessible. Using your fingertips, delicately grasp the edges of the SIM card, ensuring that you apply minimal pressure to avoid bending or damaging the card.
-
Avoid Contact with Metal Contacts: When handling the SIM card, it's crucial to avoid direct contact with the metal contacts on the card's surface. These contacts facilitate communication between the SIM card and the phone, and any damage to them can impact the card's functionality. Hold the SIM card by its edges to minimize contact with the metal components.
-
Carefully Remove the SIM Card: Once you have a firm grip on the SIM card, gently slide it out of the tray in the same orientation in which it was inserted. Maintain a steady and controlled motion to prevent any abrupt movements that could dislodge or damage the card. Exercise patience and precision throughout this process, ensuring that the SIM card is extracted smoothly and without any resistance.
-
Place the SIM Card in a Safe Location: As you remove the SIM card from the tray, designate a safe location to temporarily store the card. A clean, dry surface away from any potential hazards such as liquids or static electricity is ideal. This precaution ensures that the SIM card remains protected until it is ready to be reinserted into the device.
By following these detailed steps, you can effectively and safely remove the SIM card from the tray, maintaining its integrity and functionality. With the SIM card now in your possession, you are prepared to proceed to the final step, which involves reinserting the SIM card tray into your Android phone.
The process of gently removing the SIM card is a pivotal stage in the overall extraction procedure, requiring attentiveness and precision to ensure the card's safety and usability. With the SIM card successfully removed from the tray, you are now ready to proceed to the final step in this comprehensive guide.
Step 5: Reinsert the SIM Card Tray
After safely removing the SIM card from your Android phone, the final step in this comprehensive guide is to reinsert the SIM card tray back into the device. This step is crucial as it ensures that the SIM card is securely placed within the phone, allowing for seamless connectivity and functionality. Here's a detailed guide on how to effectively reinsert the SIM card tray:
-
Inspect the Tray and SIM Card: Before reinserting the SIM card tray, take a moment to inspect both the tray and the SIM card. Ensure that the tray is free from any debris or obstructions that could hinder the reinsertion process. Additionally, verify that the SIM card remains in optimal condition, free from damage or visible defects.
-
Align the SIM Card: Orient the SIM card in the same position in which it was originally inserted into the tray. The SIM card features a notched corner that aligns with a corresponding notch in the tray, ensuring the correct placement. Aligning the card properly is essential for seamless reintegration into the device.
-
Carefully Place the SIM Card: With the SIM card positioned correctly, gently slide it back into the designated slot within the SIM card tray. Exercise caution to avoid applying excessive force, ensuring that the card glides smoothly into place. Maintain a steady and controlled motion to prevent any misalignment or damage to the SIM card.
-
Insert the Tray into the Phone: Once the SIM card is securely placed within the tray, carefully align the tray with the slot in your Android phone. Gently slide the tray back into the phone, ensuring that it fits snugly and securely. Avoid any abrupt movements and handle the phone with care to prevent any potential damage during the reinsertion process.
-
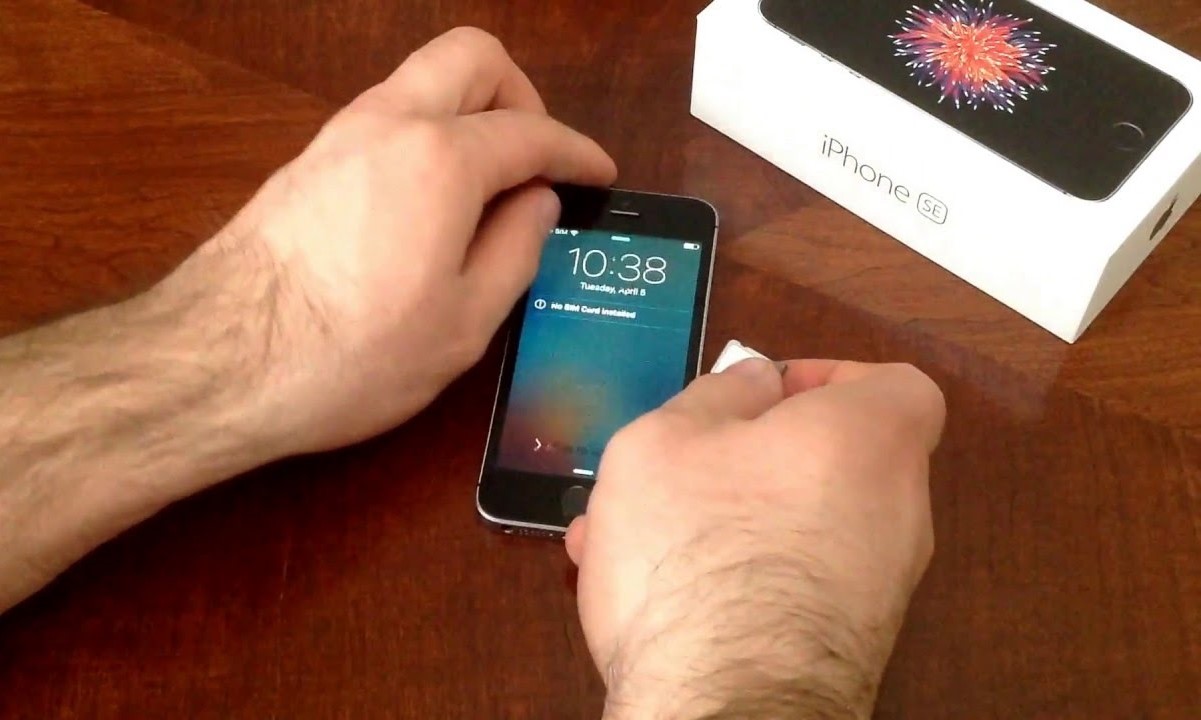
Power On Your Android Phone: With the SIM card tray successfully reinserted, power on your Android phone by pressing and holding the power button. Once the device is powered on, allow it to initialize and establish connectivity with the reinserted SIM card. Verify that the phone recognizes the SIM card and displays the network signal, indicating a successful reinsertion.
By following these detailed steps, you can effectively reinsert the SIM card tray into your Android phone, ensuring that the SIM card is securely and correctly placed within the device. This final step completes the comprehensive process of safely extracting and reinserting the SIM card, empowering you with the knowledge and expertise to handle this task with confidence and precision.
With the SIM card tray securely back in place and the device powered on, you have successfully completed the process of safely extracting and reinserting the SIM card from your Android phone. This accomplishment reflects a responsible and informed approach to handling mobile devices, ensuring that the SIM card remains intact and fully functional.
Conclusion
In conclusion, safely extracting the SIM card from your Android phone is a task that demands careful attention and precision. By following the step-by-step guide outlined in this comprehensive resource, you have gained valuable insights into the significance of each stage of the extraction process. From powering off the device to reinserting the SIM card tray, every step plays a crucial role in ensuring the safety and integrity of both the SIM card and the phone.
Understanding the importance of powering off the Android phone before removing the SIM card sets the foundation for a responsible and proactive approach to handling mobile devices. This initial step demonstrates a mindful consideration for the well-being of the device and the SIM card, minimizing the risk of potential damage or technical complications.
The process of locating the SIM card tray showcases the significance of patience and precision in identifying the compartment that houses the SIM card. By utilizing visual cues and handling the phone with care, you set the stage for a controlled and seamless extraction process, ensuring that the SIM card is safely removed from the device.
The use of the SIM ejector tool serves as a pivotal element in streamlining the extraction procedure, allowing for the safe and precise release of the SIM card tray. This tool empowers you to handle the extraction process with confidence and accuracy, minimizing the likelihood of any mishaps or damage to the SIM card and the phone.
Gently removing the SIM card from the tray underscores the need for attentiveness and delicacy in handling the card. By exercising patience and avoiding direct contact with the card's metal contacts, you ensure the smooth and safe extraction of the SIM card, maintaining its functionality and usability.
Finally, reinserting the SIM card tray back into the Android phone completes the comprehensive process, ensuring that the SIM card is securely placed within the device. This final step reflects a responsible and informed approach to handling mobile devices, empowering you with the expertise to safely extract and reinsert the SIM card with confidence and precision.
By embracing the knowledge and insights gained from this guide, you are equipped to handle the task of extracting the SIM card from your Android phone with a heightened sense of awareness and proficiency. The careful execution of each step demonstrates a proactive and mindful approach to preserving the integrity and functionality of both the device and the SIM card.
In essence, the process of safely extracting the SIM card from your Android phone embodies a blend of precision, care, and responsibility. By adhering to the guidelines outlined in this comprehensive guide, you have demonstrated a commitment to safeguarding the essential components of your mobile device, ensuring a seamless and risk-free extraction experience.