Introduction
Welcome to our step-by-step guide on extracting the SIM card from your Android device. Whether you're switching to a new phone, changing service providers, or troubleshooting connectivity issues, knowing how to safely remove and reinsert your SIM card is a valuable skill for any Android user. This comprehensive tutorial will walk you through the process, ensuring that you can complete the task with confidence and ease.
Understanding the intricacies of your Android device is crucial in maintaining its functionality. The SIM card, a small but essential component, plays a pivotal role in connecting your device to your mobile network. By learning how to extract and reinsert the SIM card, you'll be equipped to handle various situations that may arise during your device's lifecycle.
Follow along as we provide detailed instructions and valuable tips to help you navigate this process seamlessly. With our guidance, you'll gain the knowledge and skills necessary to handle your Android device with confidence and precision. Let's dive into the step-by-step process of extracting the SIM card from your Android device.
Step 1: Gather Necessary Tools
Before embarking on the process of extracting your Android device's SIM card, it's crucial to gather the necessary tools to ensure a smooth and hassle-free experience. Here are the essential tools you'll need:
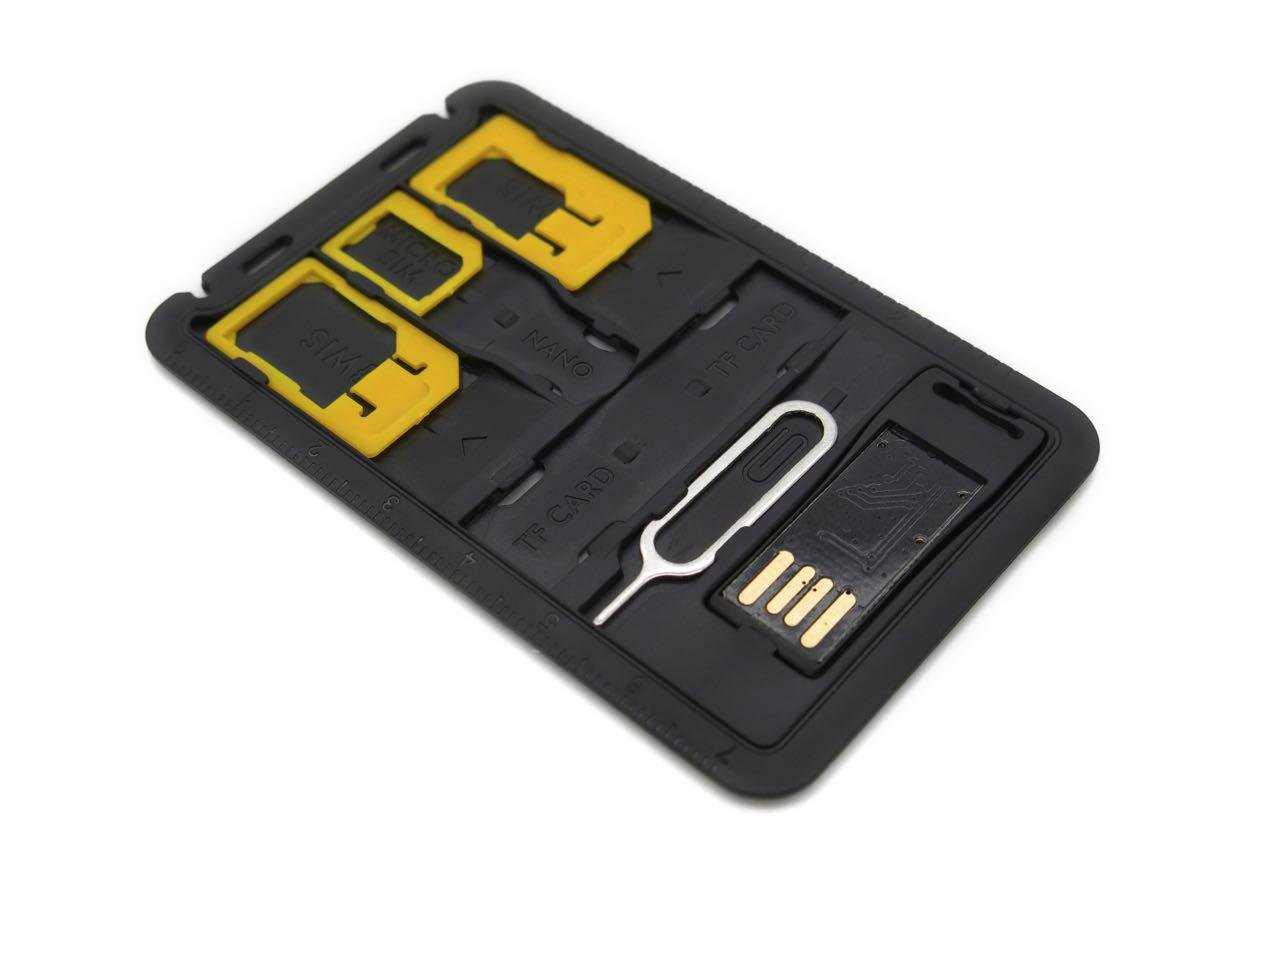
1. SIM Ejector Tool or Paperclip
To safely remove the SIM card tray from your Android device, you'll need a SIM ejector tool or a paperclip. Most Android devices come with a SIM ejector tool included in the original packaging. If you don't have one on hand, a paperclip can serve as an effective alternative. Ensure that the paperclip is straightened out to facilitate the ejection process.
2. Soft Cloth
Having a soft cloth at your disposal is essential for maintaining the cleanliness of the SIM card and the device's SIM card slot. A microfiber cloth is ideal for this purpose, as it effectively removes dust, fingerprints, and other debris without leaving behind any lint or scratches.
3. Adequate Lighting
Proper lighting is essential for clearly identifying the SIM card slot on your Android device. Whether you're working in a well-lit room or using an additional light source, ensuring adequate lighting will facilitate a seamless extraction process.
4. Stable Surface
Select a stable and flat surface to work on, such as a table or desk, to prevent any accidental drops or damage to the SIM card or device. A stable surface provides a secure foundation for the extraction process, minimizing the risk of mishaps.
By gathering these essential tools, you'll be well-prepared to proceed with confidence to the next step in the process. With the necessary tools at your disposal, you're ready to power off your Android device and prepare for the SIM card extraction process.
Now that you have the required tools at hand, let's move on to the next step in the process: powering off the Android device.
Step 2: Power Off the Android Device
Before proceeding with the SIM card extraction, it is essential to power off your Android device. This step is crucial to ensure the safety of both the device and the SIM card during the extraction process. By powering off the device, you minimize the risk of potential damage and create a conducive environment for handling the SIM card.
To power off your Android device, follow these simple steps:
-
Locate the Power Button: Depending on the model of your Android device, the power button may be located on the side, top, or back of the device. Identify the power button's location before proceeding.
-
Press and Hold the Power Button: Press and hold the power button until the power-off options appear on the screen. This action prompts the device to initiate the power-off sequence.
-
Select "Power Off" or "Shut Down": Once the power-off options are displayed on the screen, tap the "Power Off" or "Shut Down" option to confirm the device's shutdown. This action prompts the device to begin the power-off process.
-
Wait for the Device to Power Off: Allow the device to complete the power-off sequence. Depending on the device, this process may take a few seconds. Once the device has powered off, the screen will go dark, indicating that the shutdown process is complete.
By following these steps, you have successfully powered off your Android device, preparing it for the next phase of the SIM card extraction process. With the device safely powered off, you are now ready to proceed to the next step: locating the SIM card slot on your Android device.
With the device powered off, you have taken a crucial step in ensuring a safe and efficient SIM card extraction process. Now, let's move on to the next step and continue the journey of extracting the SIM card from your Android device.
Step 3: Locate the SIM Card Slot
Locating the SIM card slot on your Android device is a fundamental step in the process of extracting the SIM card. The SIM card slot is where the SIM card is housed within the device, and its precise location may vary depending on the make and model of your Android phone. Here's a detailed guide to help you locate the SIM card slot:
-
Refer to the Device Manual: If you are unsure about the location of the SIM card slot on your specific Android device, referencing the device manual can provide valuable insights. The manual typically contains detailed illustrations and descriptions of the device's physical features, including the SIM card slot's location.
-
Examine the Device's Exterior: Inspect the exterior of your Android device, paying close attention to the edges and sides. In most cases, the SIM card slot is located along the device's outer frame and may be accompanied by a small pinhole or tray.
-
Check for SIM Card Slot Labels: Some Android devices feature labels or markings adjacent to the SIM card slot, indicating its presence. Look for terms such as "SIM," "SIM card," or an icon representing a SIM card. These visual cues can help you pinpoint the location of the SIM card slot with ease.
-
Use Online Resources: If you are unable to locate the SIM card slot through the manual or visual inspection, consider accessing online resources specific to your device model. Manufacturer websites, forums, and instructional videos often provide detailed guidance on identifying the SIM card slot.
-
Consult Customer Support: In the event that you encounter challenges in locating the SIM card slot, reaching out to the device manufacturer's customer support can offer direct assistance. Customer support representatives can provide personalized guidance tailored to your specific device model.
By carefully following these steps, you can successfully pinpoint the SIM card slot on your Android device, setting the stage for the subsequent phases of the SIM card extraction process. Once you have located the SIM card slot, you will be ready to proceed to the next step: ejecting the SIM card tray.
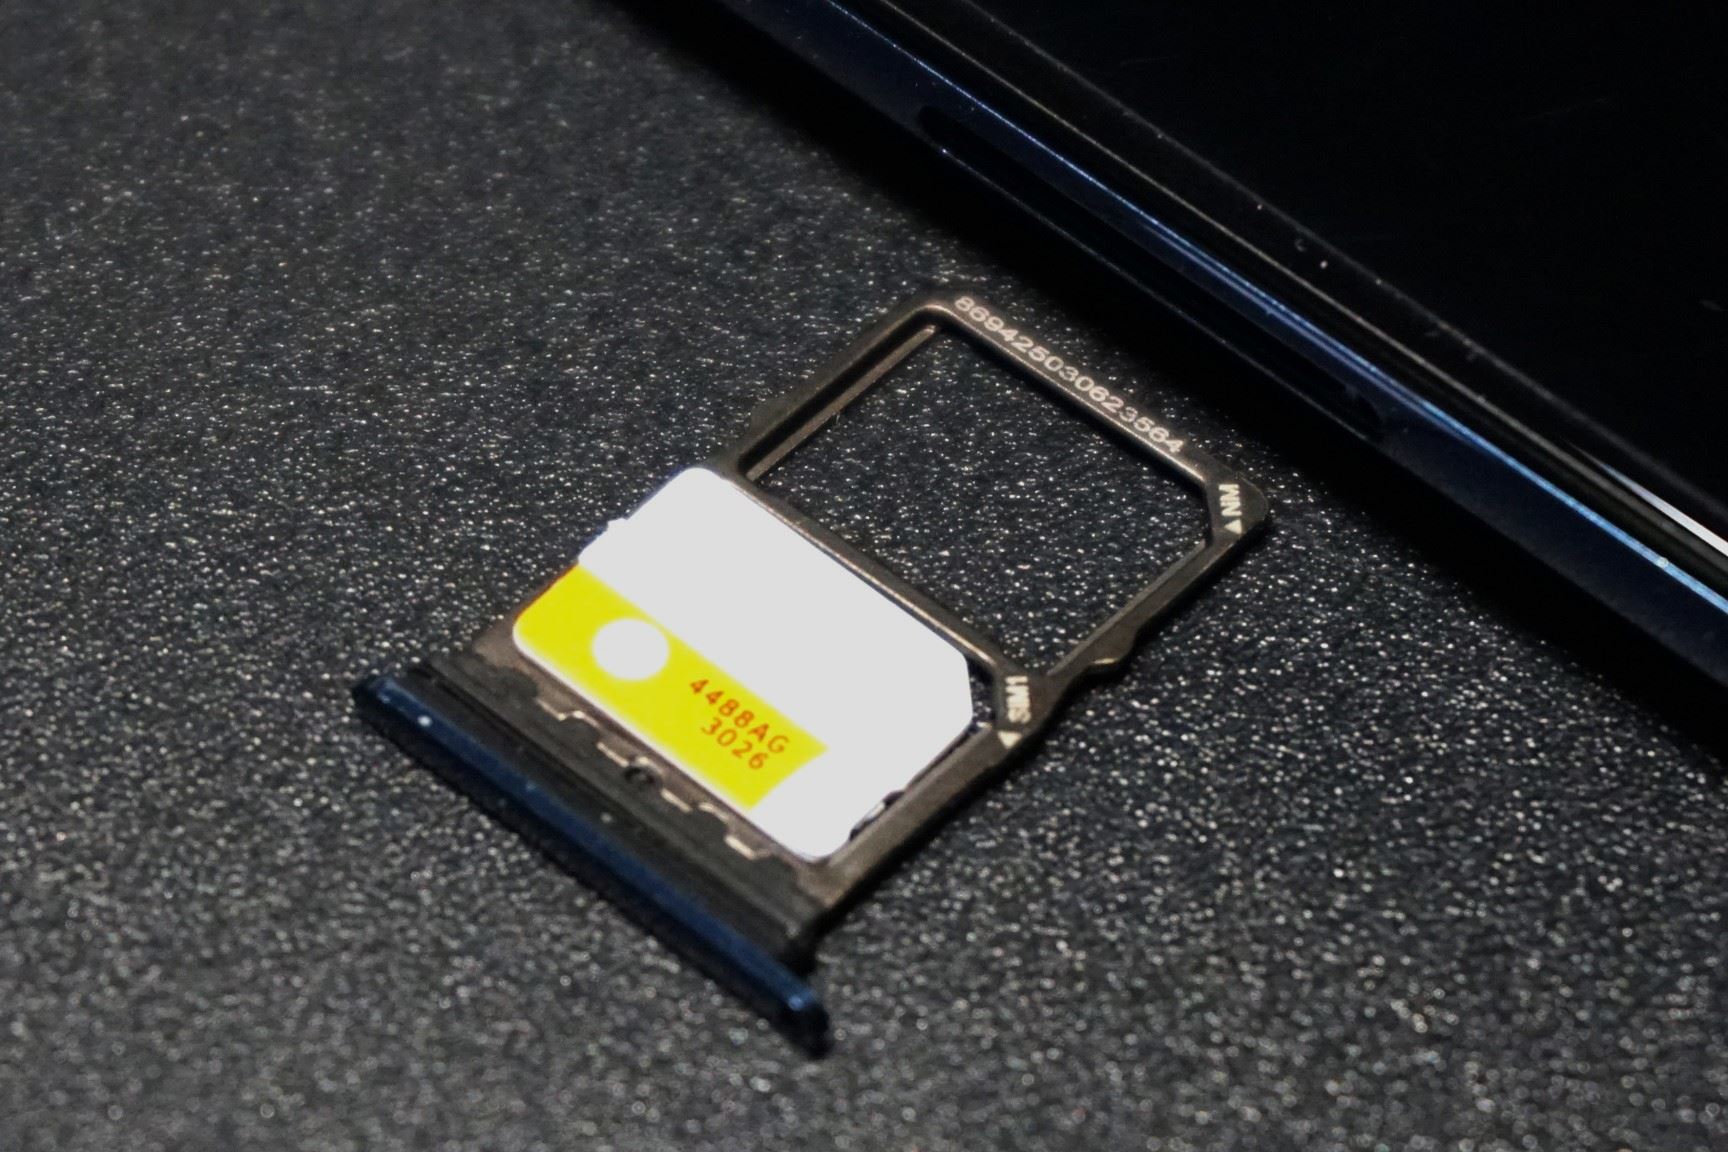
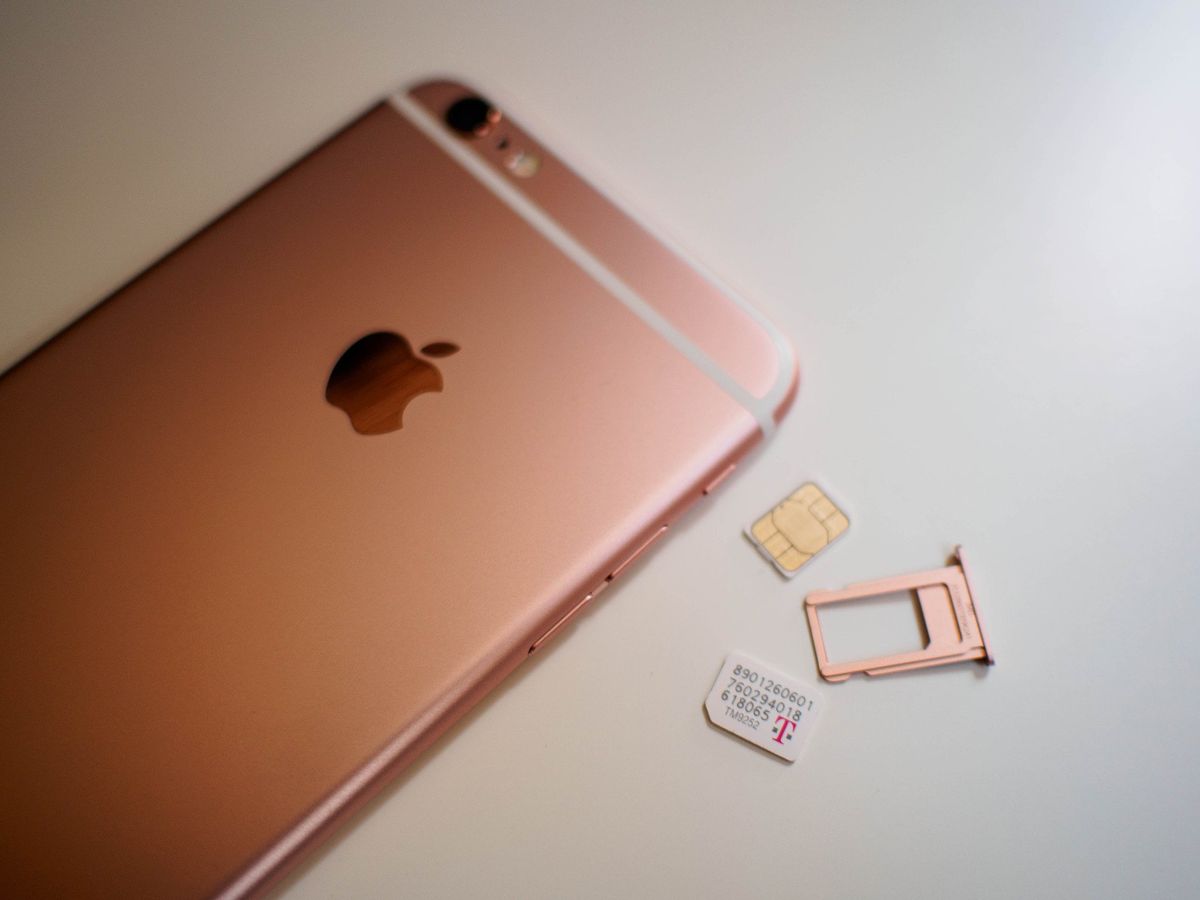
Step 4: Eject the SIM Card Tray
Ejecting the SIM card tray is a pivotal step in the process of extracting the SIM card from your Android device. The SIM card tray serves as the housing unit for the SIM card within the device, and safely ejecting it allows for seamless removal of the SIM card. Follow these detailed instructions to successfully eject the SIM card tray from your Android device:
-
Identify the SIM Card Tray Slot: Locate the SIM card tray slot on your Android device. The slot is typically positioned on the side of the device and may be accompanied by a small pinhole or a visible seam indicating the presence of the tray.
-
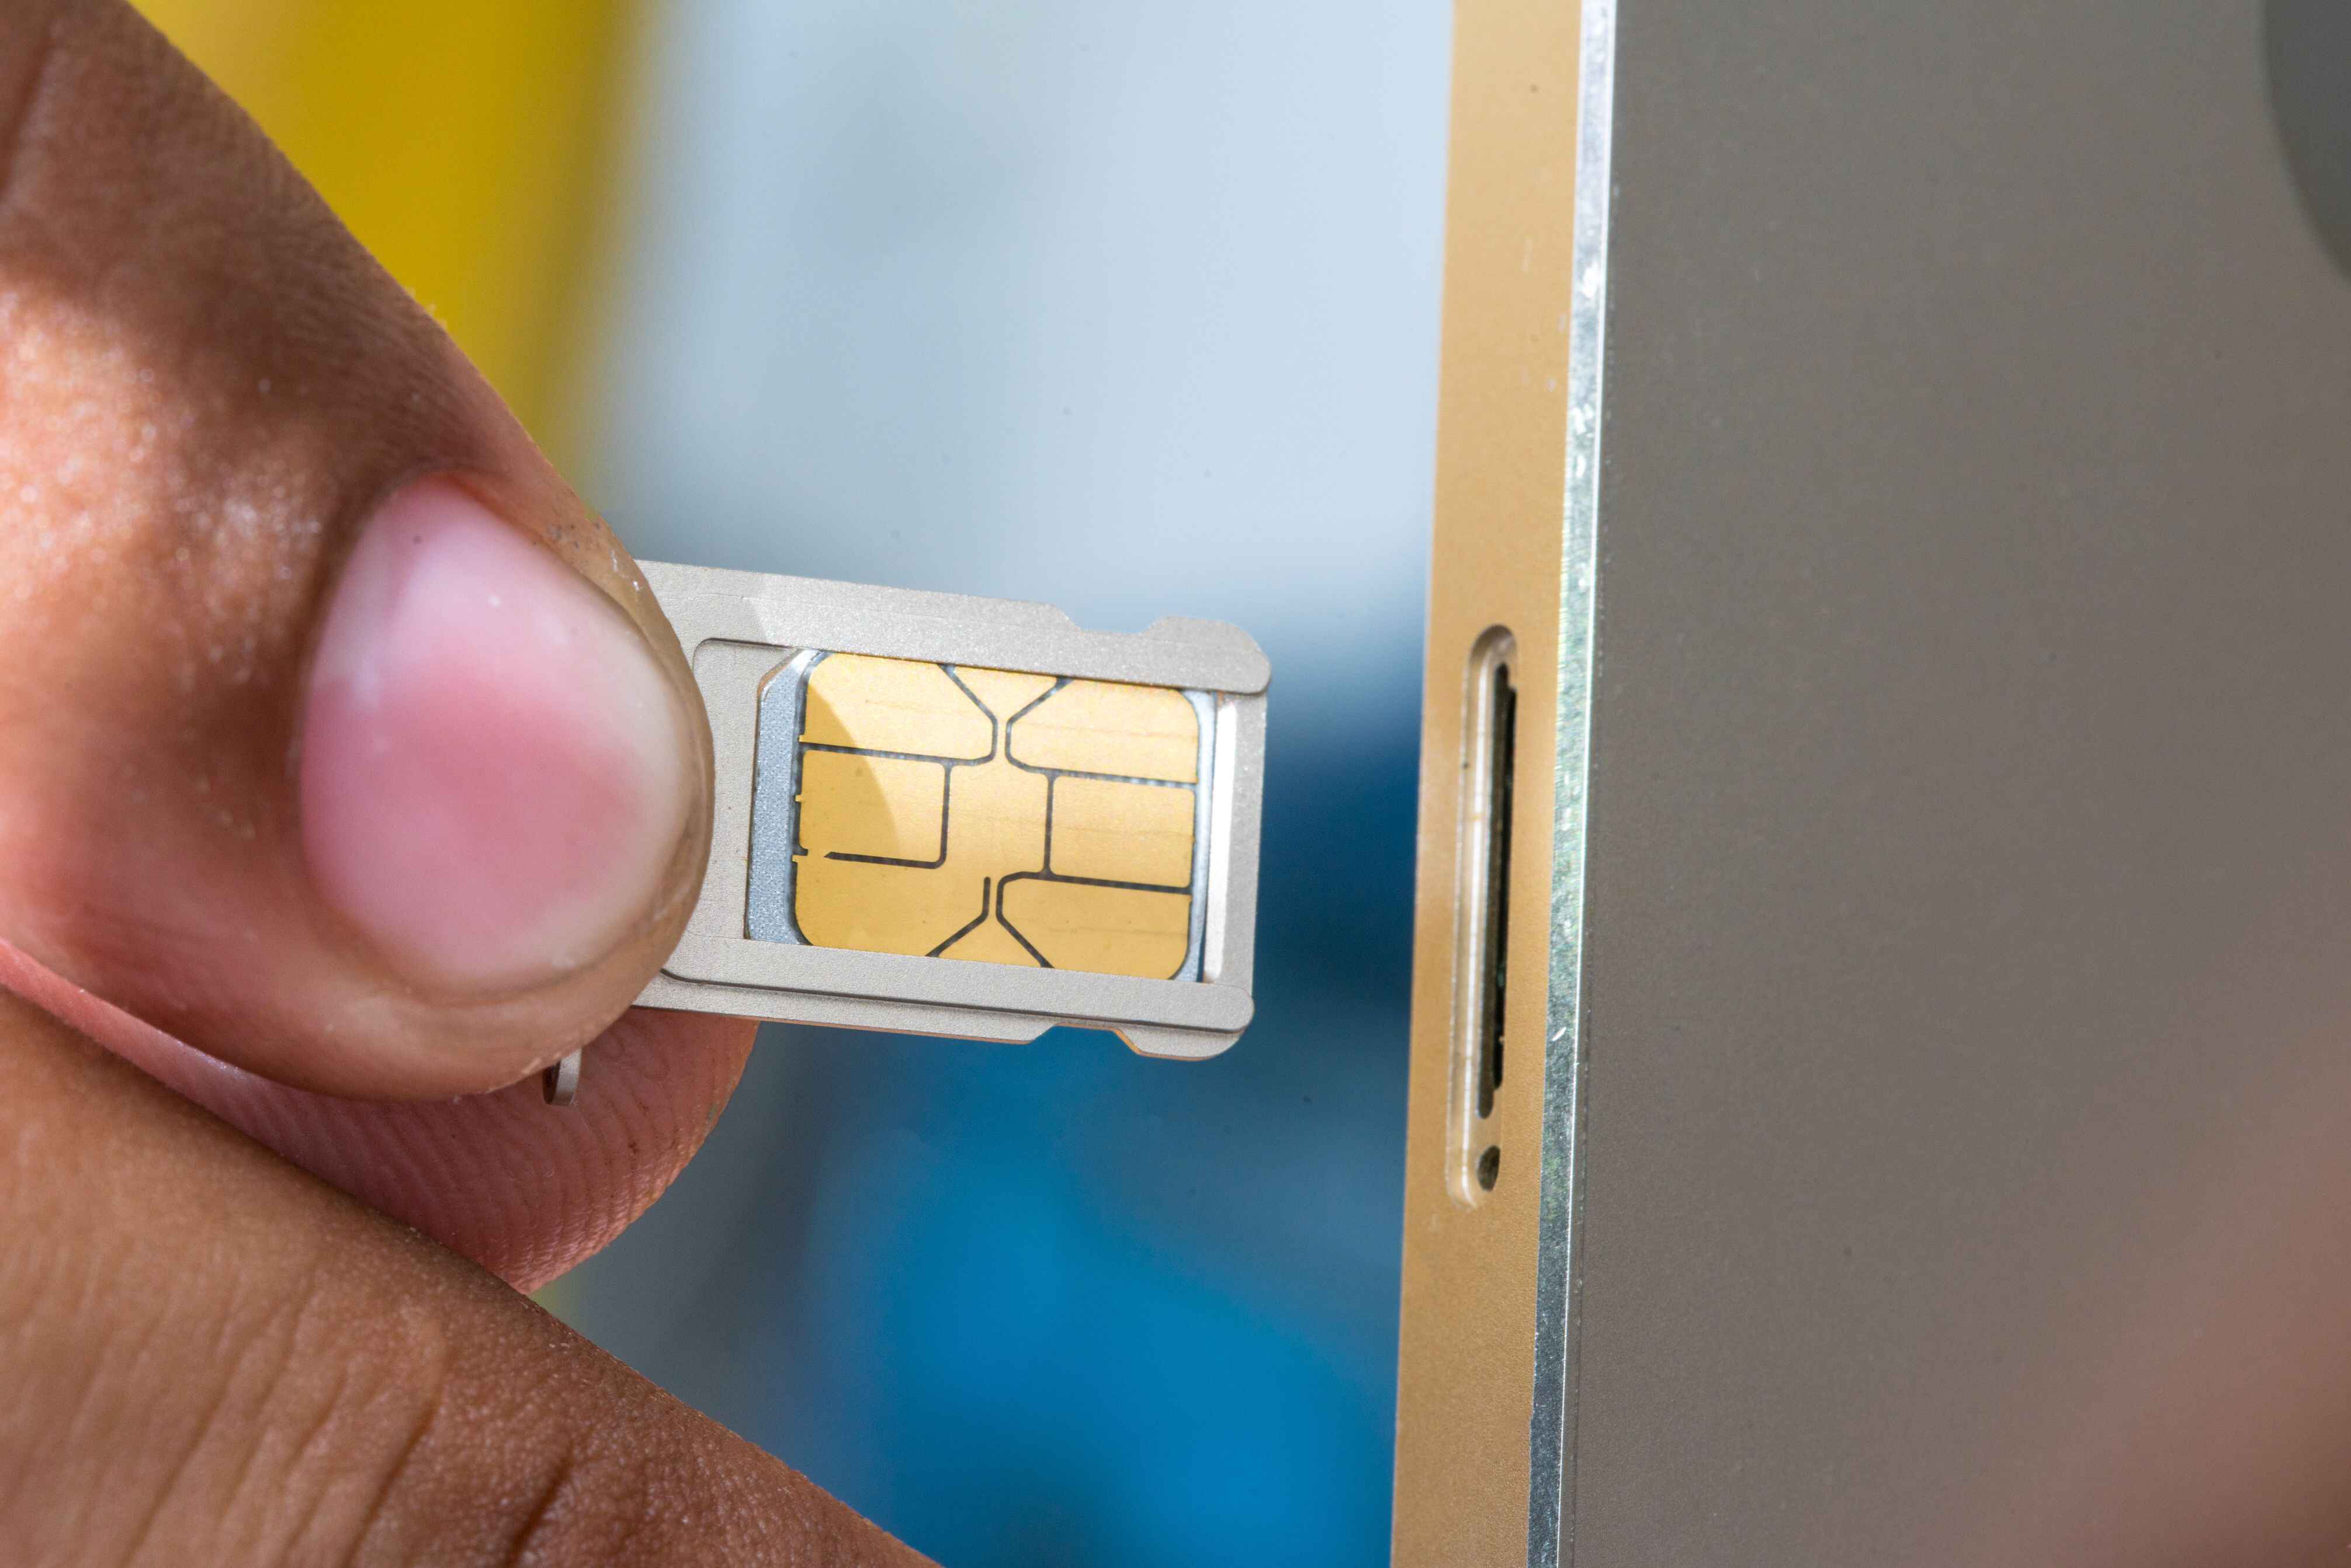
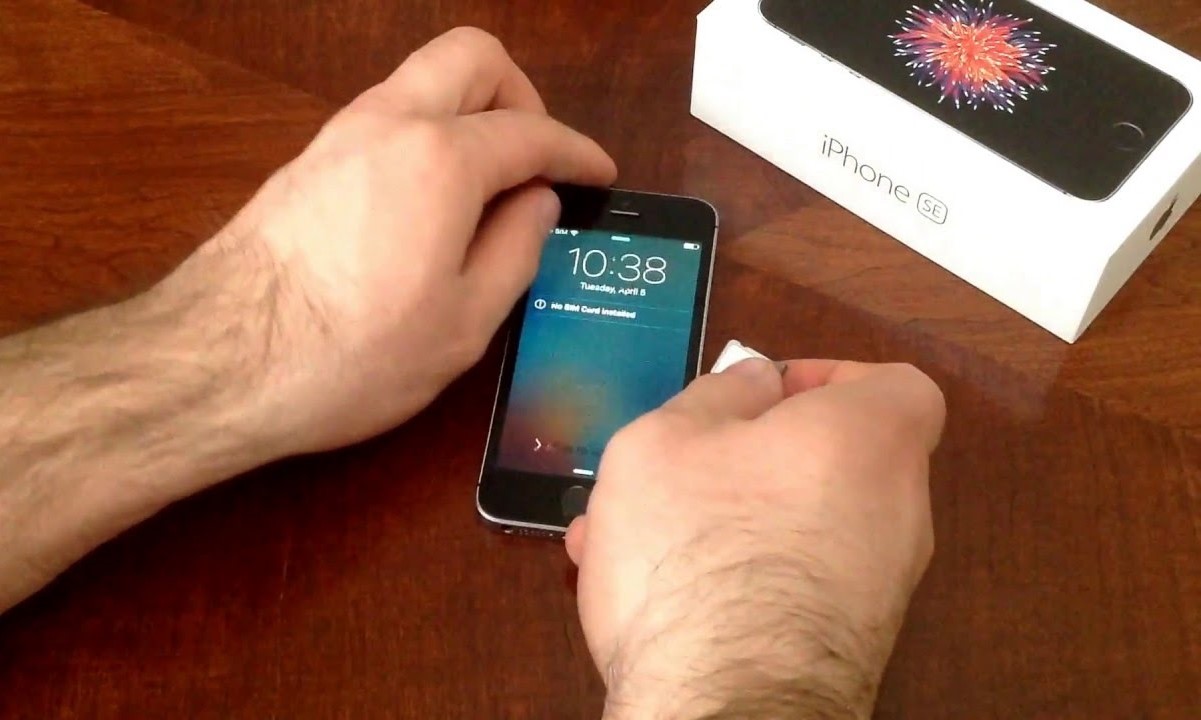
Insert the Ejector Tool or Paperclip: Take the SIM ejector tool or straightened paperclip and insert it into the small pinhole adjacent to the SIM card tray slot. Apply gentle pressure to ensure that the tool is securely inserted into the pinhole.
-
Apply Even Pressure: While the ejector tool or paperclip is inserted, apply even pressure to initiate the ejection mechanism. The SIM card tray will begin to protrude from the device, allowing for easy access to the SIM card housed within.
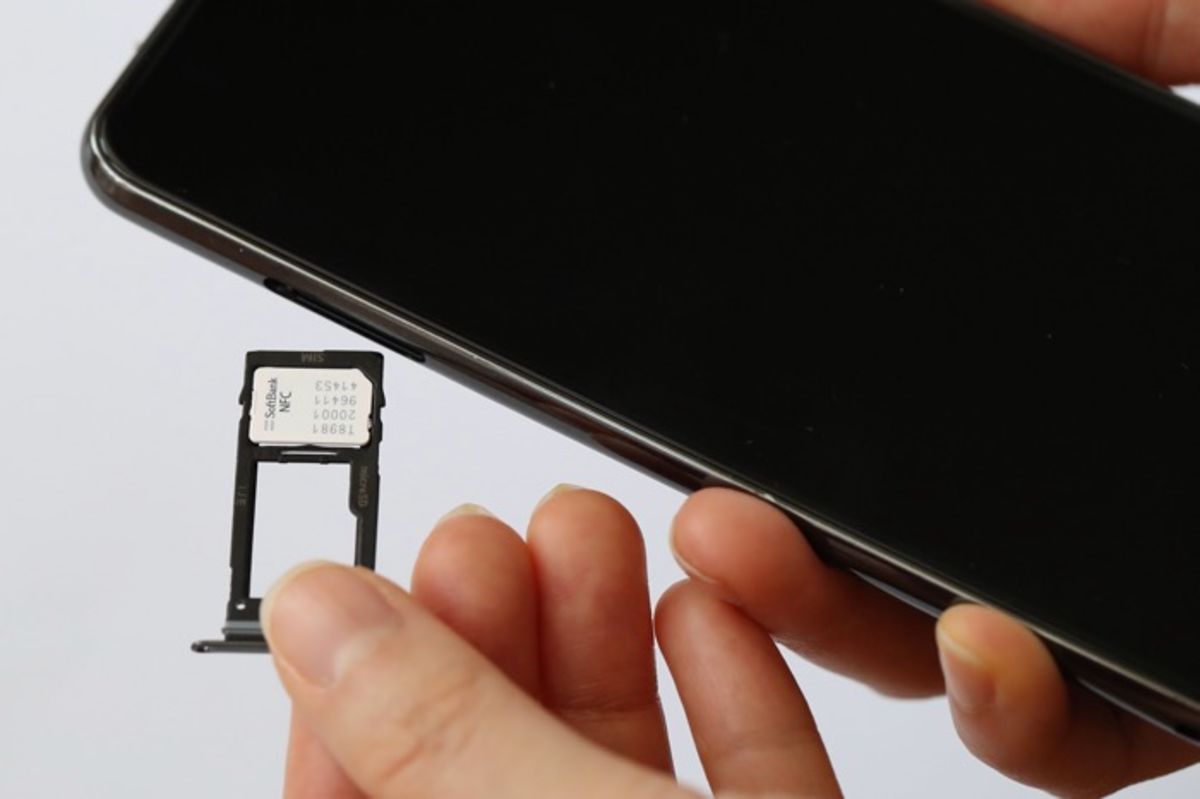
-
Carefully Remove the SIM Card Tray: Once the SIM card tray is partially ejected, carefully pull it out from the device using your fingers. Exercise caution to avoid applying excessive force or causing any damage to the tray or the device.
-
Retrieve the SIM Card: With the SIM card tray removed, the SIM card will be visible within the tray. Gently remove the SIM card from the tray, ensuring that you handle it with care to prevent any damage to the delicate components.
By following these steps, you can successfully eject the SIM card tray from your Android device, paving the way for the next phase of the SIM card extraction process. With the SIM card tray in hand and the SIM card safely removed, you are now ready to proceed to the subsequent step: removing the SIM card from the tray.
With the SIM card tray successfully ejected, you have completed a crucial phase in the process of extracting the SIM card from your Android device. Let's move forward to the next step and continue the seamless journey of handling the SIM card with precision and confidence.
Step 5: Remove the SIM Card
With the SIM card tray successfully ejected from your Android device, the next step is to delicately remove the SIM card from the tray. The SIM card is a small, rectangular chip that contains vital information for connecting to your mobile network. It's essential to handle the SIM card with care to avoid any damage to its delicate components. Follow these detailed instructions to safely remove the SIM card from the tray:
-
Inspect the SIM Card: Before proceeding with the removal, take a moment to inspect the SIM card. Ensure that there are no visible signs of damage, such as cracks or bends. Additionally, check for any dust or debris that may have accumulated on the SIM card's surface.
-
Gently Remove the SIM Card: Using your fingers, carefully lift the SIM card from the tray. Apply gentle pressure to release the SIM card from its position, ensuring that you maintain a firm yet delicate grip. Avoid bending or flexing the SIM card during this process.
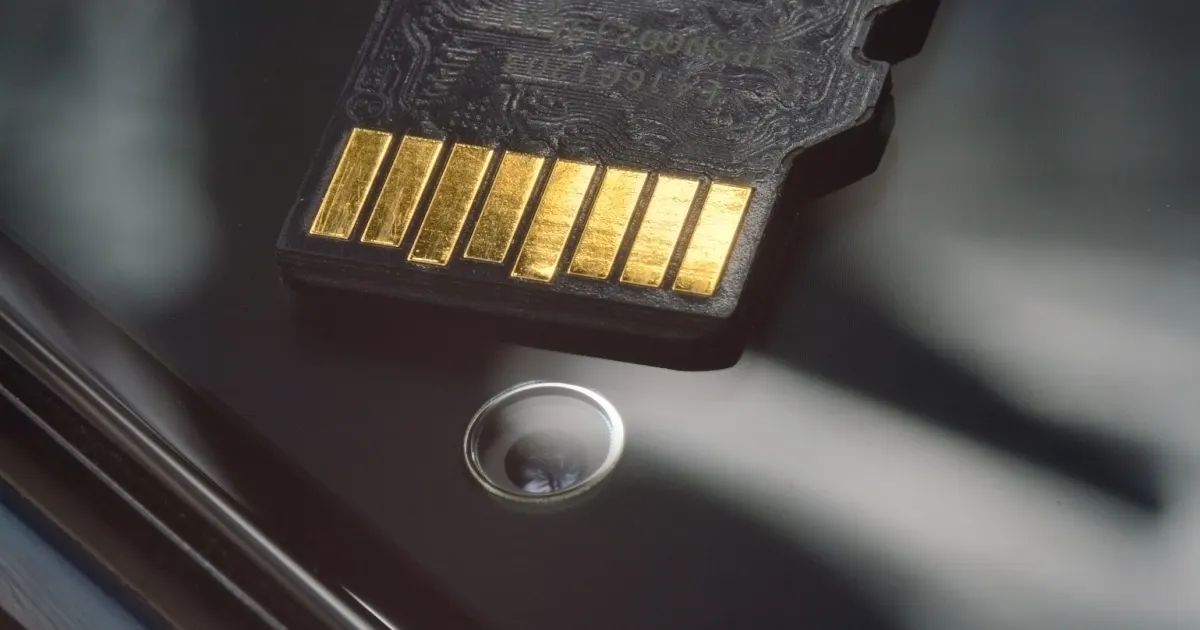
-
Examine the SIM Card Contacts: Once the SIM card is removed, take a moment to examine the metal contacts on the back of the card. These contacts facilitate the connection between the SIM card and the device. Ensure that the contacts are clean and free from any debris or corrosion.
-
Place the SIM Card in a Safe Location: After removing the SIM card, place it in a secure and clean location. A small container or a designated SIM card holder can provide a safe storage space for the SIM card while it is not in use. Avoid exposing the SIM card to extreme temperatures or moisture.
By following these steps, you can successfully remove the SIM card from the tray without causing any damage to the card or its essential components. With the SIM card safely in your possession, you are now prepared to proceed with the final phase of the extraction process: reinserting the SIM card tray into your Android device.
With the SIM card delicately removed from the tray, you have completed a crucial stage in the process of handling the SIM card with precision and care. Let's move forward to the next step and continue the seamless journey of managing the SIM card with confidence and expertise.
Step 6: Reinsert the SIM Card Tray
After safely removing the SIM card from your Android device, the final step in the process is to reinsert the SIM card tray, ensuring that the SIM card is securely placed back into the device. This step is crucial in maintaining the connectivity and functionality of your Android device. Follow these detailed instructions to seamlessly reinsert the SIM card tray and complete the SIM card extraction process:
-
Inspect the SIM Card Tray: Before reinserting the SIM card tray, take a moment to inspect it for any signs of damage or debris. Ensure that the tray is clean and free from any obstructions that could interfere with the proper seating of the SIM card.
-
Position the SIM Card in the Tray: Carefully place the SIM card back into the designated slot on the SIM card tray. Align the SIM card with the tray's grooves and ensure that it fits snugly into place. Take note of the orientation of the SIM card to match the tray's configuration.
-
Align the SIM Card Tray: Once the SIM card is securely placed in the tray, align the tray with the corresponding slot on your Android device. Ensure that the tray is positioned correctly and that it smoothly slides into place without any resistance.
-
Gently Insert the SIM Card Tray: With the SIM card tray aligned, gently insert it back into the SIM card slot on your device. Apply even pressure to ensure that the tray smoothly enters the slot, avoiding any forceful movements that could potentially damage the tray or the device.
-
Power On the Android Device: After reinserting the SIM card tray, power on your Android device by pressing and holding the power button. Once the device powers on, allow it to initialize and establish the connection with the reinserted SIM card.
By following these steps, you have successfully reinserted the SIM card tray into your Android device, completing the comprehensive process of extracting and reinserting the SIM card. With the SIM card securely back in place, your Android device is ready to resume its seamless connectivity and functionality.
With the SIM card tray successfully reinserted and the SIM card securely placed back into your Android device, you have accomplished the final phase of the SIM card extraction process with precision and expertise.
Conclusion
Congratulations! You have successfully navigated through the step-by-step process of extracting the SIM card from your Android device. By following this comprehensive guide, you have gained valuable insights into handling the essential components of your device with precision and care. As you conclude this journey, it's essential to reflect on the significance of mastering the skill of SIM card extraction and reinsertion.
The ability to confidently extract and reinsert the SIM card empowers you to address various scenarios that may arise during your device's lifecycle. Whether you are upgrading to a new phone, troubleshooting connectivity issues, or changing service providers, this skill equips you to navigate these transitions seamlessly. Additionally, understanding the intricate process of handling the SIM card fosters a deeper connection with your Android device, allowing you to maintain its functionality with ease.
Furthermore, the knowledge and expertise gained from this guide enable you to take proactive measures in ensuring the optimal performance of your Android device. By mastering the art of SIM card extraction, you are better equipped to handle routine maintenance, device upgrades, and connectivity optimizations, contributing to a seamless and efficient user experience.
As technology continues to evolve, the ability to adapt and engage with the fundamental aspects of device maintenance becomes increasingly valuable. By embracing the process of SIM card extraction, you have demonstrated a commitment to understanding and mastering the intricacies of your Android device, setting the stage for a confident and informed approach to device management.
In conclusion, the journey of extracting the SIM card from your Android device serves as a testament to your dedication to device care and maintenance. Armed with the knowledge and skills acquired from this guide, you are well-prepared to navigate the dynamic landscape of mobile device management with confidence and expertise. Embrace this newfound capability and approach your Android device with the assurance that you can handle its essential components with precision and care.