Introduction
Welcome to our step-by-step guide on how to link Venmo to Linktree! Venmo and Linktree are two popular platforms that can greatly benefit individuals and businesses alike. Venmo allows you to easily send and receive payments, while Linktree allows you to showcase multiple links on your social media profiles. By linking Venmo to Linktree, you can provide a seamless payment experience to your followers and customers.
Whether you are a small business owner, a content creator, or someone who simply wants to make it easier for others to support or connect with you, integrating Venmo with Linktree can be a powerful tool. This integration not only streamlines the payment process but also enables you to promote multiple links such as your website, social media profiles, merchandise store, and more.
In this guide, we will walk you through the step-by-step process of linking Venmo to Linktree. By following these simple steps, you will be able to take advantage of the benefits of both platforms and enhance your online presence. So, let’s get started!
Step 1: Sign up for a Linktree account
The first step to linking Venmo to Linktree is to sign up for a Linktree account. Linktree is a platform that allows you to create a personalized landing page where you can showcase multiple links. It’s a great tool for optimizing your social media profiles and making it easy for your audience to navigate to different websites or platforms.
To begin, visit the Linktree website and click on the “Sign up” button. You will be prompted to create an account using your email address or by connecting one of your existing social media accounts. Choose the option that is most convenient for you and follow the on-screen instructions to complete the sign-up process.
Once you have created your Linktree account, you will need to set up your profile. Customize your profile by uploading a profile picture, adding a bio, and entering any additional information you wish to share with your audience. This is an opportunity to introduce yourself or your brand and give your followers a glimpse into what you offer.
Linktree offers both free and paid plans, each with its own set of features. The free plan allows you to create and customize your Linktree link, while the paid plans offer additional benefits such as analytics, custom branding, and more. Choose the plan that best suits your needs and budget.
With your Linktree account created and profile set up, you are now ready to move on to the next step: creating your Linktree link.
Step 2: Create a Linktree link
After signing up for a Linktree account, the next step is to create your Linktree link. This is the link that you will share with your audience, which will direct them to your personalized Linktree landing page.
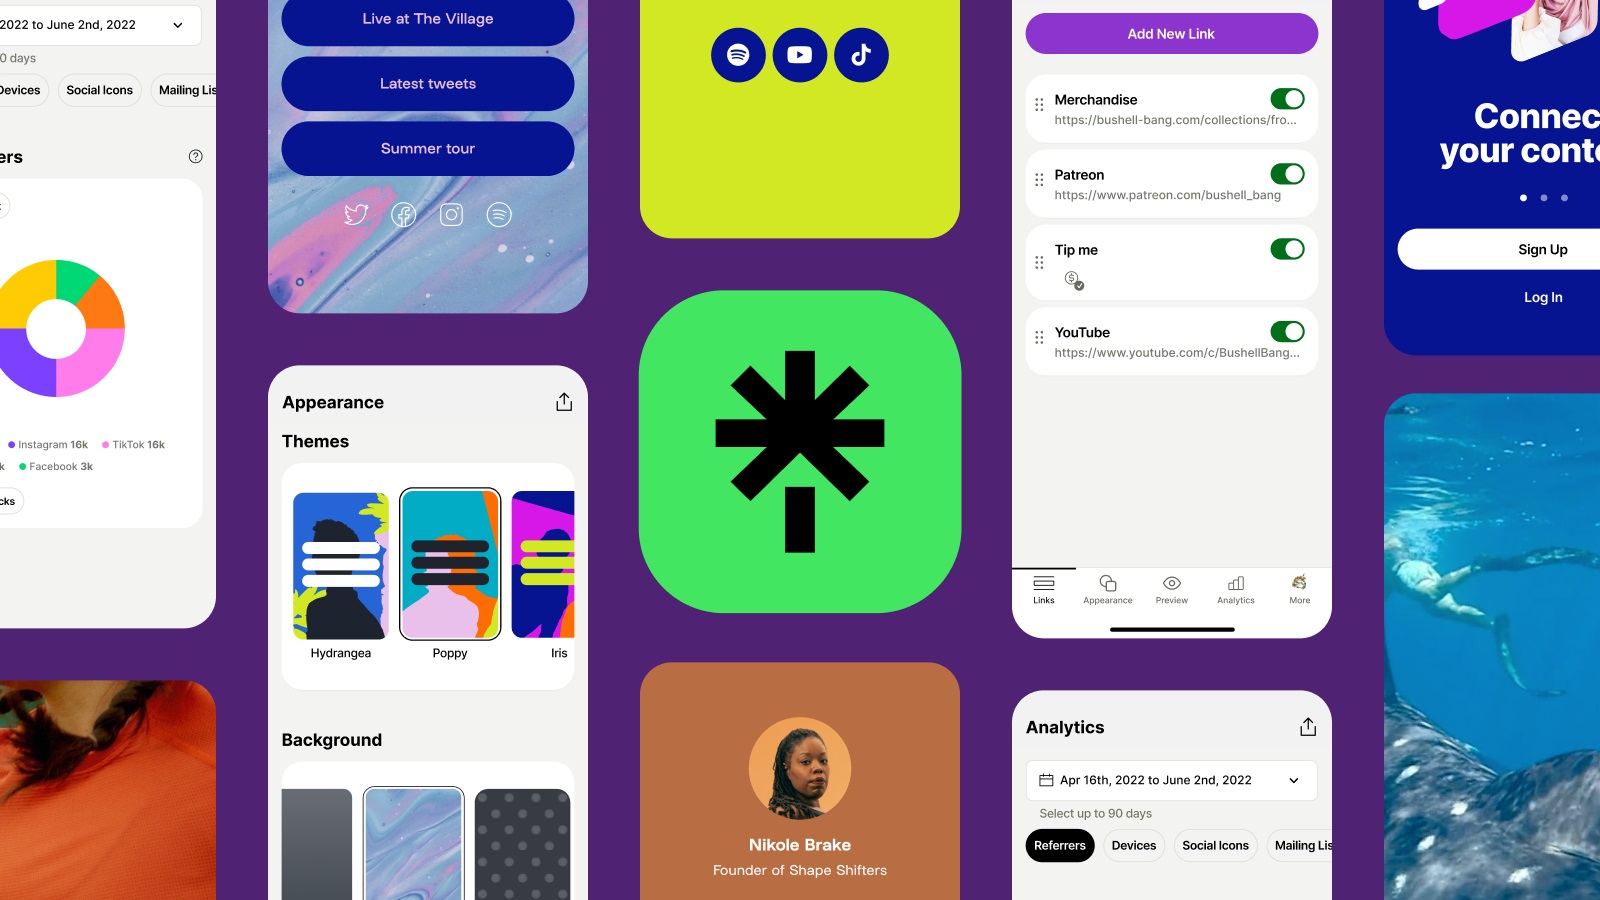
To create your Linktree link, log in to your Linktree account and navigate to your dashboard. On the dashboard, you will find an option to “Add New Link.” Click on this button to start adding your links.
When adding a new link, you have the option to choose from a range of icons and customize the title. This allows you to create a visually appealing and easy-to-navigate Linktree landing page. Consider using icons and titles that represent the different links you plan to showcase.
Once you have chosen an icon and customized the title, it’s time to add the actual link. Think about the links you want to include on your Linktree page. These can be links to your social media profiles, blog, website, online store, or any other links that you want to share with your audience. Copy and paste the URLs for each link and add them one by one to your Linktree link.
Linktree also allows you to rearrange the order of your links by simply dragging and dropping them. This way, you can prioritize the most important links and make them easily accessible to your audience.
As you add and arrange your links, make sure to save your progress. Once you are satisfied with the layout and content of your Linktree link, click on the “Save” or “Update” button to ensure that your changes are applied.
Now that you have successfully created your Linktree link, you are ready to move on to the next step: adding Venmo as a new link on Linktree.
Step 3: Add Venmo as a new link on Linktree
Adding Venmo as a new link on Linktree allows you to provide a convenient payment option to your audience. By integrating Venmo into your Linktree profile, you can easily receive payments for products, services, donations, or any other transactions.
To add Venmo as a new link, go to your Linktree dashboard and click on the “Add New Link” button once again. This will bring up the option to add a new link to your Linktree profile. Select the Venmo icon or choose an appropriate icon that represents payments.
In the title section, you can customize the name of the link to something like “Support” or “Donate.” This way, it will be clear to your audience that this link is for making payments or contributing funds.
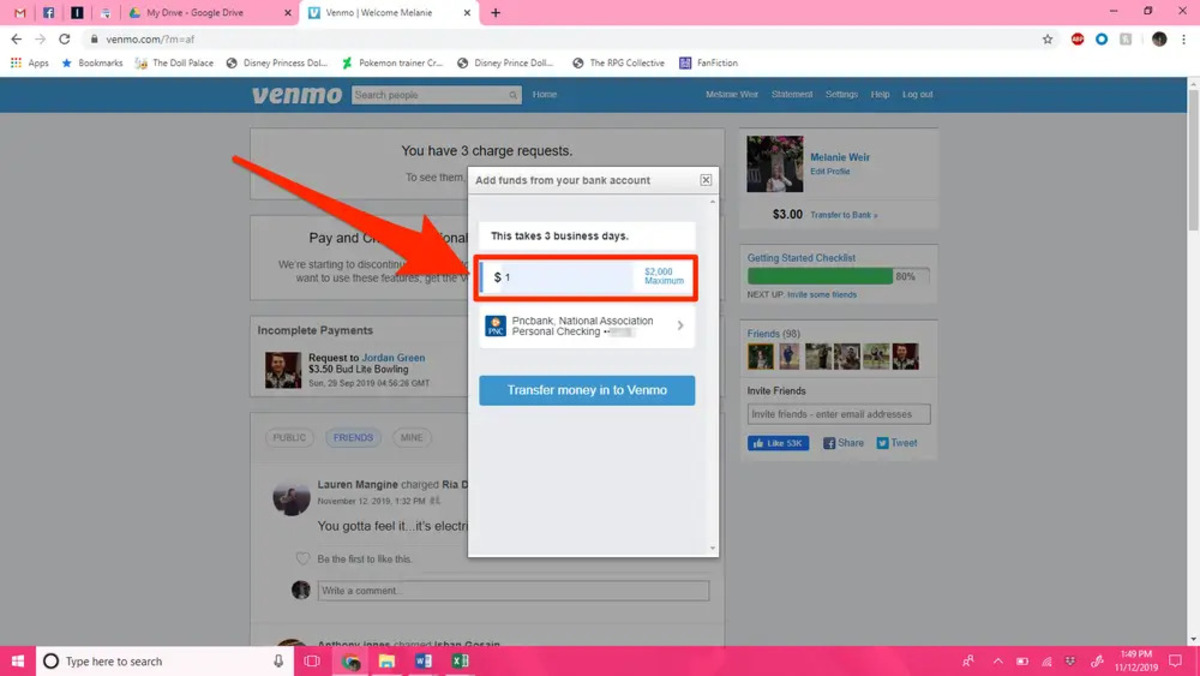
To add the Venmo link, you will need to retrieve your unique Venmo profile URL. Log in to your Venmo account and navigate to your profile. Copy the URL from the address bar at the top of the screen. Then, go back to the Linktree dashboard and paste the Venmo URL into the designated field for the link.
Once you have added the Venmo link, you can choose a call-to-action button. This can be something like “Pay Now,” “Support Now,” or any other text that encourages your audience to click on the link and make a payment.
Save your changes and ensure that the Venmo link is in the desired position on your Linktree profile. You can rearrange the order of the links by dragging and dropping them as needed.
Now, whenever someone visits your Linktree page, they will see the Venmo link along with your other links. This makes it easy for them to make quick and secure payments through Venmo.
With Venmo successfully added as a new link on your Linktree profile, you are ready to move on to the next step: connecting your Venmo account to Linktree.
Step 4: Connect your Venmo account to Linktree
Connecting your Venmo account to Linktree is essential to ensure that payments made through your Linktree profile are securely and directly transferred to your Venmo account. This step allows you to seamlessly receive payments from your audience or customers.
To connect your Venmo account to Linktree, navigate to your Linktree dashboard and find the Venmo link that you previously added. Click on the “Settings” icon or the three dots next to the Venmo link.
In the settings menu, you will see an option to “Connect Account” or “Authenticate Venmo.” Click on this option to initiate the connection process.
A pop-up window will appear, prompting you to log in to your Venmo account. Enter your Venmo username or email address and password, then click on the “Authorize” or “Connect” button.
Once you have authorized the connection between Venmo and Linktree, you will receive a confirmation message on the screen. This indicates that your Venmo account is now successfully linked to your Linktree profile.
It’s important to note that by connecting your Venmo account to Linktree, you are granting permission for payments to be processed directly through Venmo. This ensures that your transactions are safe, secure, and easily managed.
With your Venmo account connected to Linktree, you can now accept payments from your audience or customers with ease. Whether you’re selling products, offering services, or accepting donations, you can rely on the seamless integration between Venmo and Linktree to facilitate smooth payment transactions.
With this step completed, you’re now ready to move on to the final step: customizing your Venmo link on Linktree.
Step 5: Customize your Venmo link on Linktree
Customizing your Venmo link on Linktree adds a personal touch and helps make it more appealing and engaging to your audience. By customizing the appearance and description of your Venmo link, you can effectively convey its purpose and encourage your viewers to take action.
To customize your Venmo link on Linktree, go to your Linktree dashboard and locate the Venmo link you added earlier. Click on the “Settings” icon or the three dots next to the Venmo link.
In the settings menu, you will find various customization options. Start by selecting an appropriate icon that represents payments or Venmo. Linktree provides a wide range of icons to choose from, allowing you to find one that best fits your style or brand image.
Next, you can customize the title of your Venmo link. Consider something catchy and descriptive like “Support Me,” “Donate Now,” or “Pay with Venmo.” This title should clearly convey the purpose of the link and encourage people to click on it.
Beneath the title, you will find a description field where you can provide additional information or instructions about making payments through Venmo. This is a great opportunity to explain any specific processes or details, such as mentioning whether you offer discounts, packages, or have specific payment guidelines.
Add any relevant hashtags or keywords to the description to make it easily discoverable by your target audience. These can be related to your industry, your brand, or any associated campaigns or promotions.
Additionally, you can choose a call-to-action button in order to prompt your viewers to take action. Options such as “Click Here,” “Donate Now,” or “Support” can encourage visitors to click on your Venmo link and make a payment.
Remember to save your changes to ensure that the customizations are applied to your Venmo link on Linktree. Preview your Linktree profile to see how everything looks and make any necessary adjustments before sharing it with your audience.
By customizing your Venmo link on Linktree, you create a more engaging and informative experience for your viewers. This customization can help increase the chances of receiving payments and enhance the overall user experience.
With this final step completed, you have successfully linked Venmo to Linktree and customized your Venmo link. Congratulations! Your audience can now easily make payments and support you through your Linktree profile.
Conclusion
Linking Venmo to Linktree provides a seamless and convenient way to receive payments and showcase multiple links on your social media profiles. This integration allows you to streamline the payment process and enhance your online presence. Whether you’re a small business owner, a content creator, or someone looking to connect with your audience, integrating Venmo with Linktree can greatly benefit you.
In this guide, we have covered the step-by-step process of linking Venmo to Linktree. We started by signing up for a Linktree account and creating a Linktree link. Then, we added Venmo as a new link and connected our Venmo account to Linktree. Finally, we customized our Venmo link on Linktree to make it more engaging and appealing to our audience.
By following these steps, you can now provide a seamless payment experience to your followers and customers. Your Linktree profile will not only showcase your social media profiles but also allow your audience to make payments through Venmo with ease. This integration helps you promote your brand or personal projects and gives your audience a convenient way to support you financially.
Remember, as you continue to use Venmo and Linktree, it’s essential to monitor your transactions and engage with your audience. Regularly update your Linktree links, track your payments, and respond to any inquiries or comments from your followers. This will help you build trust and maintain a strong relationship with your audience.
Keep in mind that both Venmo and Linktree offer additional features and functionalities that may suit your specific needs. Explore these options to further enhance your online presence and optimize your payment processes.
Linking Venmo to Linktree opens up new possibilities for monetizing your content, connecting with your audience, and growing your business. Embrace these tools and leverage their power to achieve your goals. Now, go ahead and start linking Venmo to your Linktree profile to take your online presence to new heights!