Introduction
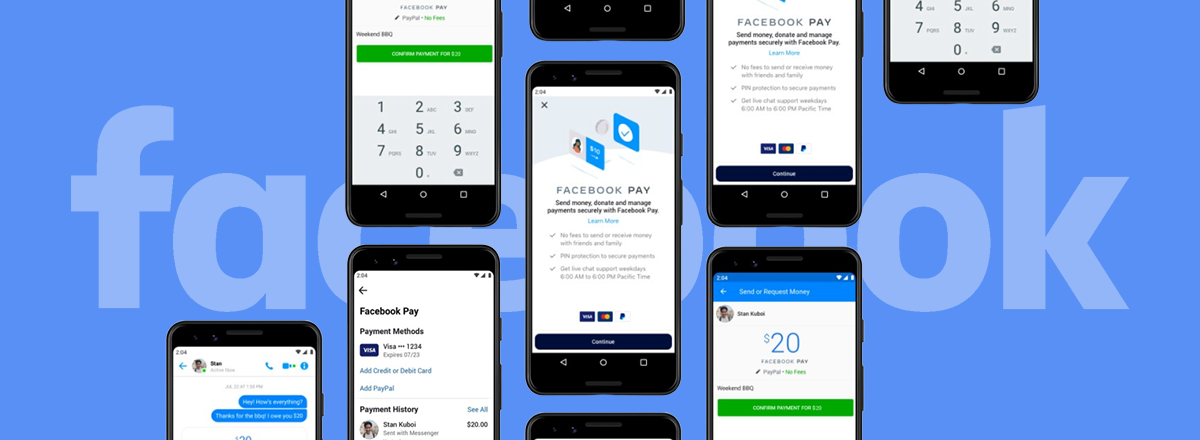
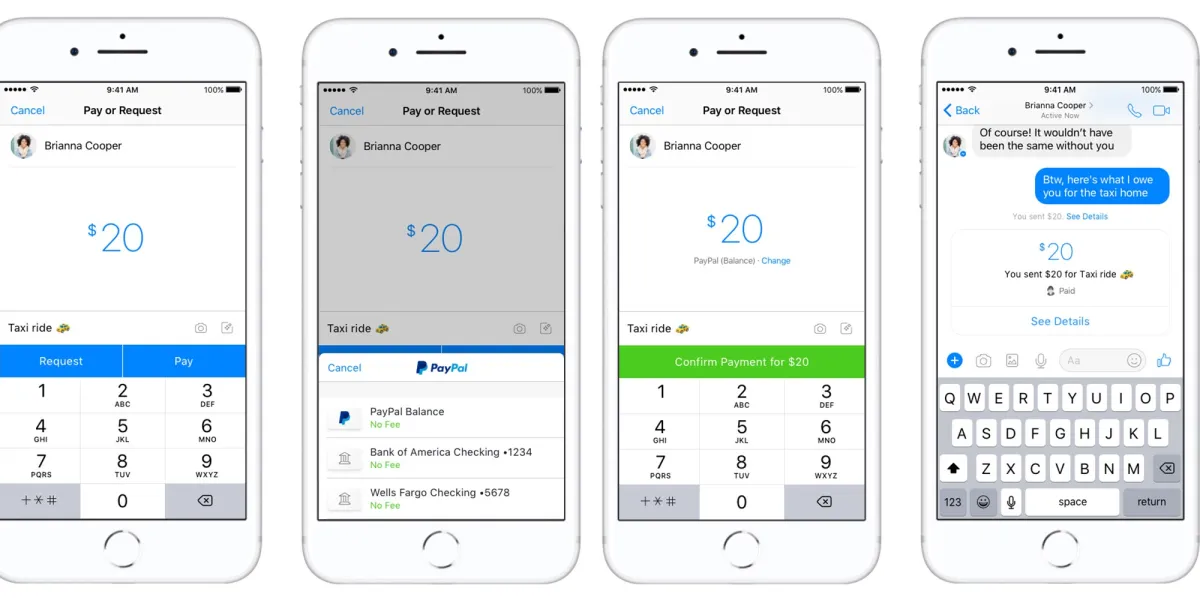
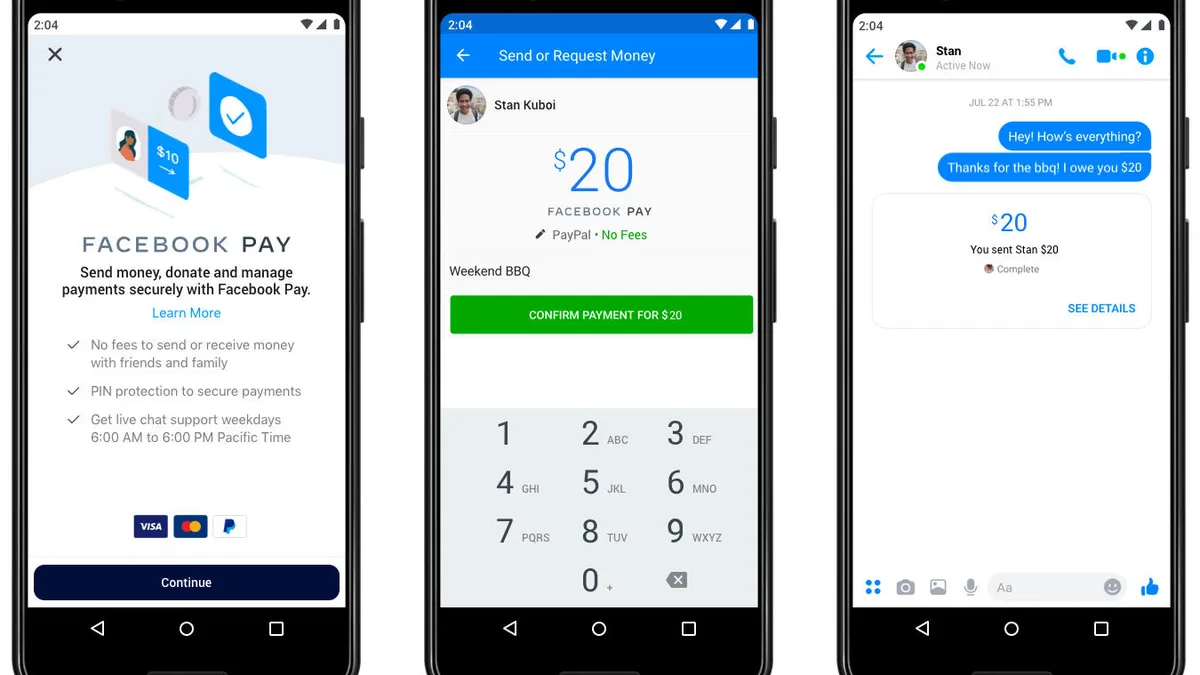
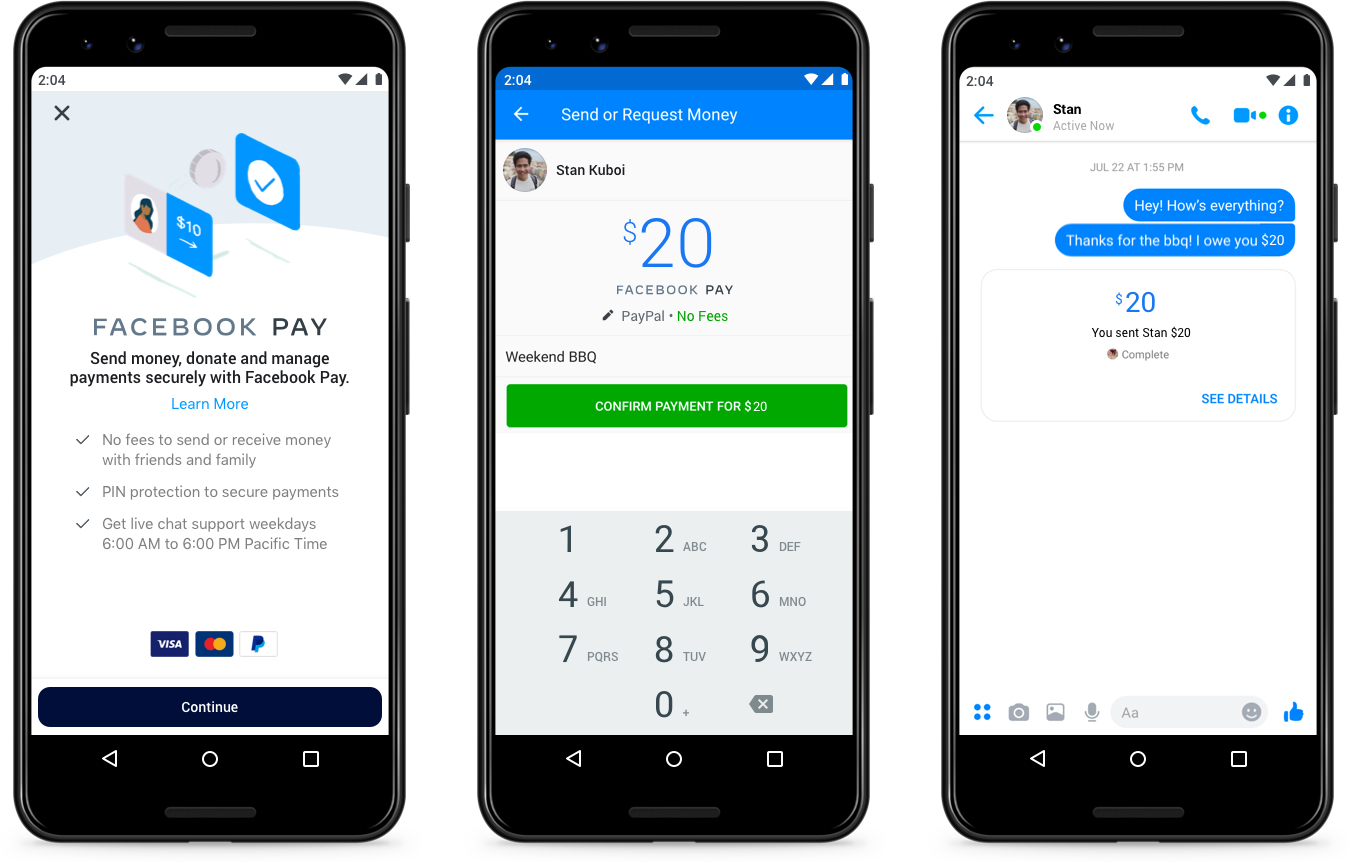
Facebook Pay is a convenient and secure way to make payments on the Facebook platform. Whether you want to purchase products through Facebook Marketplace, donate to a cause, or send money to friends, adding a card to Facebook Pay is a necessary step. By doing so, you can easily access your preferred payment method for seamless transactions.
In this guide, we will walk you through the process of adding a card to Facebook Pay. You’ll learn how to navigate the payment settings and input your card details to ensure a smooth payment experience. Additionally, we will cover alternative options like adding PayPal as a payment method or linking your bank account for direct deposit.
With Facebook Pay, you can take advantage of a wide range of available payment methods, whether it’s a credit or debit card, PayPal, or a direct bank account link. By following the steps outlined in this guide, you’ll have your preferred payment option ready to use for various transactions on Facebook.
Now, let’s dive into the process of adding a card to Facebook Pay and explore the different options available to suit your needs.
Adding a Card to Facebook Pay
Adding a card to Facebook Pay is a simple process that can be completed in just a few steps. By adding a card, you’ll be able to make payments seamlessly on Facebook and enjoy a hassle-free shopping or donation experience. Follow the steps below to add your card:
Step 1: Open Facebook Pay
To begin, open the Facebook app on your mobile device or visit the Facebook website on your computer. Log in to your account using your credentials.
Step 2: Access Payment Settings
Next, navigate to the settings menu. On the mobile app, tap the three horizontal lines in the bottom right corner of the screen. Scroll down and select “Settings & Privacy,” then choose “Settings.” On the website, click on the downward-facing arrow in the top right corner of the screen and select “Settings & Privacy” from the drop-down menu. Choose “Settings.”
Step 3: Add a Card
In the settings menu, look for “Facebook Pay” or a similar option related to payments or financial information. Select this option to access the Facebook Pay settings.
Option 1: Add a Debit or Credit Card
If you prefer to add a debit or credit card as your payment method, choose the option to “Add Card.” This will prompt you to enter the card details, including the card number, expiration date, and security code. Fill in the required information accurately.
Option 2: Add PayPal as a Payment Method
Step 1: Open Facebook Pay
The first step in adding a card to Facebook Pay is to open the Facebook app on your mobile device or visit the Facebook website on your computer. Make sure you are logged in to your Facebook account using your credentials.
If you are using the Facebook app on your mobile device, locate and tap on the Facebook icon to launch the application. If you are accessing Facebook via a web browser on your computer, open the browser and enter “www.facebook.com” in the address bar.
Once you have successfully logged in, you will be directed to your Facebook News Feed, where you can see updates from your friends, groups, and pages you follow.
In the mobile app, you will find the navigation menu at the bottom of the screen, represented by three horizontal lines. Tap on this menu icon to access the various features and settings of the app.
On the Facebook website, you will see a header at the top of the page, with icons for notifications, messages, and requests. Directly below the header is a search bar, followed by a series of icons for quick access to different areas of Facebook. Locate and click on the downward-facing arrow icon, which will open a drop-down menu.
In the drop-down menu, you will find options such as “News Feed Preferences,” “Settings & Privacy,” “Help & Support,” and more. To proceed with adding a card to Facebook Pay, click on “Settings & Privacy.”
After clicking on “Settings & Privacy,” another menu will appear. Look for and select the “Settings” option from this menu to access the main settings page of your Facebook account.
Once you have reached the settings page, you are ready to proceed to the next step of adding a card to Facebook Pay.
Step 2: Access Payment Settings
After opening Facebook Pay, the next step in adding a card is to access the payment settings. This will allow you to manage and add payment methods for your Facebook transactions.
On the mobile app, tap on the three horizontal lines at the bottom right corner of the screen to open the navigation menu. Scroll down and select “Settings & Privacy.” From there, choose “Settings.”
If you are using the Facebook website on your computer, click on the downward-facing arrow in the top right corner of the screen. In the drop-down menu, select “Settings & Privacy,” then choose “Settings.”
Within the settings menu, look for an option related to payments or financial information, such as “Facebook Pay” or “Payment Settings.” The exact wording may vary based on your device and location.
Click or tap on the payment settings option, and you will be brought to the Facebook Pay settings page.
Here, you will find various options and settings related to your payment methods and transactions on Facebook.
It’s worth noting that Facebook Pay allows you to link multiple payment methods, such as credit or debit cards, PayPal, or even a direct bank account link.
By having multiple payment methods available, you can choose the one that suits your needs for each specific transaction.
In the payment settings, you will also have the ability to view your transaction history, update your payment information, and set a default payment method.
Now that you have accessed the payment settings on Facebook, you are ready to proceed to the next step of adding a card to Facebook Pay.
Step 3: Add a Card
Once you have accessed the payment settings on Facebook, the next step is to add a card as your preferred payment method. Facebook Pay allows you to link debit or credit cards, PayPal, or even a direct bank account link.
There are several options available to add a card:
Option 1: Add a Debit or Credit Card
If you prefer to add a debit or credit card to Facebook Pay, look for the option to “Add Card” or a similar phrase. This option allows you to directly input your card details so that you can easily make payments on Facebook.
Click or tap on the “Add Card” option, and a form will appear where you can enter the necessary information.
Start by entering the card number, which is typically a 16-digit number displayed on the front of your card. Make sure to accurately input all the digits without any spaces or dashes.
Next, enter the expiration date of the card. This information is usually found on the front or back of the card and consists of the month and year the card expires.
Finally, input the security code, which is a three-digit number located on the back of most cards. This code provides an extra layer of security and is usually found near the signature strip.
Once you have filled in the required information, double-check that it is accurate and click or tap on the “Confirm” or “Save” button to proceed.
Option 2: Add PayPal as a Payment Method
If you prefer to use PayPal as your payment method on Facebook, there is an option to add PayPal to Facebook Pay. Look for the “Add PayPal” or similar option within the payment settings.
Click or tap on the “Add PayPal” option, and you will be prompted to log in to your PayPal account. Once logged in, you’ll need to grant permission for Facebook to access your PayPal information.
Follow the on-screen instructions to complete the process and link your PayPal account to Facebook Pay.
Option 3: Add a Bank Account for Direct Deposit
If you prefer to link your bank account directly to Facebook Pay, some regions offer the option to add a bank account for direct deposit. This allows you to transfer funds between your bank account and Facebook Pay.
Check if the “Add Bank Account” option is available within the payment settings. Click or tap on this option, and you will be prompted to provide the necessary banking information, such as your account number and routing number.
Ensure that you input the correct information and follow any additional instructions provided to complete the process.
Adding a card or payment method is an important step in setting up Facebook Pay. Once you have added your preferred payment method, you can proceed to the next steps.
Option 1: Add a Debit or Credit Card
One of the options available for adding a card to Facebook Pay is to link a debit or credit card. This option allows you to conveniently make payments on Facebook using your card.
To add a debit or credit card to Facebook Pay, follow these steps:
Step 1: Select “Add Card”
Within the payment settings of Facebook, look for the option to “Add Card” or a similar phrase. This option will lead you to a form where you can input your card details.
Step 2: Enter Card Details
Start by entering the card number, which is usually a 16-digit number found on the front of your card. Take care to input the entire number without any spaces or dashes.
Next, you’ll need to enter the expiration date of your card. This information typically consists of the month and year your card expires, and can be found on the front or back of the card.
Finally, input the security code, which is a three-digit number located on the back of most cards. This code adds an extra layer of security and is usually found near the signature strip.
Step 3: Confirm Card Addition
Once you have filled in the required card information, take a moment to review it and ensure its accuracy. Double-check that you have entered the correct card number, expiration date, and security code.
After confirming the accuracy of the information, click or tap on the “Confirm” or “Save” button to proceed. This action will add your debit or credit card to Facebook Pay, allowing you to use it for payments on the platform.
Optional: Set Card as Default
Once you have added a card to Facebook Pay, you may choose to set it as your default payment method. Setting a default card ensures that it is automatically selected for future transactions, saving you time and effort.
To set a card as your default payment method, locate the option to “Set as Default” or a similar phrase next to the card details within your payment settings. Click or tap on this option to make the selected card your default choice.
Adding a debit or credit card to Facebook Pay provides you with a convenient and secure way to make payments easily within the platform. Once you have added your card, you can proceed to use it for various transactions on Facebook.
Option 2: Add PayPal as a Payment Method
Another option available for adding a payment method to Facebook Pay is to link your PayPal account. PayPal offers a secure and widely accepted digital payment solution that enables you to make transactions on Facebook with ease.
To add PayPal as a payment method to Facebook Pay, follow these steps:
Step 1: Select “Add PayPal”
Within the payment settings of Facebook, look for the option to “Add PayPal” or a similar phrase. This option will prompt you to log in to your PayPal account.
Step 2: Log in to PayPal
Click or tap on the “Add PayPal” option, and Facebook will redirect you to the PayPal login page. Enter your PayPal credentials, such as your email address or mobile number, along with your password.
Step 3: Grant Permission
After logging in, Facebook will request permission to access your PayPal information. Review the permissions requested and click or tap on the “Agree” or “Allow” button to proceed.
Step 4: Confirm Linking
Once you have granted permission, Facebook will confirm that your PayPal account has been successfully linked to Facebook Pay.
From now on, when you make a payment on Facebook, you can select PayPal as your preferred payment method.
Note: It’s important to ensure that your PayPal account is properly linked and verified. If you encounter any issues during the linking process, refer to PayPal’s support resources or contact their customer service for assistance.
Adding PayPal as a payment method to Facebook Pay offers you a flexible and secure way to make transactions. You can easily manage your payments and enjoy the convenience of using your PayPal account on the Facebook platform.
Option 3: Add a Bank Account for Direct Deposit
If you prefer to link your bank account directly to Facebook Pay, you have the option to add a bank account for direct deposit. This enables you to transfer funds between your bank account and Facebook Pay, providing you with an additional payment method option.
To add a bank account for direct deposit to Facebook Pay, follow these steps:
Step 1: Select “Add Bank Account”
Within the payment settings of Facebook, look for the option to “Add Bank Account” or a similar phrase. This option will lead you to a form where you can input the necessary banking information.
Step 2: Enter Bank Account Details
Start by entering your account number, which is a unique set of numbers assigned to your bank account.
Next, you’ll need to provide the routing number of your bank. The routing number is a nine-digit code that identifies your bank and allows for seamless transfers of funds.
Make sure that you input the correct information and double-check for any errors before proceeding.
Step 3: Confirm Bank Account Addition
Once you have filled in the required bank account information, take a moment to review it and ensure its accuracy. Double-check that you have entered the correct account number and routing number.
After confirming the accuracy of the information, click or tap on the “Confirm” or “Save” button to proceed. This action will add your bank account for direct deposit to Facebook Pay, allowing for easy fund transfers.
Note: It’s important to ensure that you input the correct bank account information. Any errors may result in failed transactions or delays in transferring funds. If you are unsure about your bank account details, it’s advisable to contact your bank or refer to a recent bank statement.
Adding a bank account for direct deposit to Facebook Pay gives you the convenience of seamlessly transferring funds between your bank account and Facebook. It offers you an additional payment method option and allows for efficient financial management within the platform.
Step 4: Enter Card Details
Now that you have selected the option to add a card to Facebook Pay, you will be prompted to enter your card details. This step is crucial for securely linking your card to your Facebook account and enabling seamless transactions on the platform.
Follow these steps to enter your card details:
Step 1: Card Number
Start by entering the card number, which is typically a 16-digit number displayed on the front of your card. Make sure to input the entire number without any spaces or dashes. This ensures accurate recognition and processing of your card information.
Step 2: Expiration Date
Next, you’ll need to enter the expiration date of your card. This information can usually be found on the front or back of the card and consists of the month and year the card expires. Select the appropriate month and year from the available options to indicate the validity of your card.
Step 3: Security Code
Lastly, input the security code, also known as the CVV (Card Verification Value) or CVC (Card Verification Code). This three-digit number is typically found on the back of most cards and adds an extra layer of security to your transactions.
After entering all the necessary card details, take a moment to review the information you provided. Double-check that you have accurately inputted the card number, expiration date, and security code.
If any of the details are incorrect or you need to make changes, use the relevant fields to edit the information. Pay close attention to avoid any typos or mistakes that could hinder the successful linking of your card.
Once you have reviewed and confirmed the accuracy of your card details, proceed to the next step to finalize the addition of your card to Facebook Pay.
Please note that it’s important to ensure the security of your card details and only enter them on trusted platforms. Facebook employs measures to protect your information, but it’s also crucial to be mindful of any potential risks when providing sensitive financial information online.
By successfully entering your card details, you are now one step closer to enjoying seamless and convenient payments on Facebook.
Step 5: Confirm Card Addition
After entering your card details in the previous step, it’s time to confirm the addition of your card to Facebook Pay. Confirming the card addition ensures that your card is securely linked to your Facebook account and ready to use for seamless transactions.
Follow these steps to confirm the addition of your card:
Step 1: Review Card Information
Before confirming, take a moment to review the card information you provided. Double-check that the card number, expiration date, and security code are all accurately entered. Verifying this information ensures that your card details are correct and match the physical card.
Step 2: Confirm or Save
Once you have reviewed the card details, click or tap on the “Confirm” or “Save” button to finalize the addition of your card to Facebook Pay. The exact wording of the button may vary, but look for an option that indicates your consent to proceed.
Step 3: Verification and Security Measures
To ensure the security of your account and protect against unauthorized use, Facebook Pay may employ additional verification or security measures. These measures can include sending a verification code to your registered email address or mobile phone number, confirming your identity by answering security questions, or using two-factor authentication.
Follow the instructions provided by Facebook Pay to complete any necessary verification steps. These measures are in place to safeguard your financial information and provide a secure payment environment.
Step 4: Confirmation Message
After successfully confirming the addition of your card, you will receive a confirmation message on the Facebook platform. This message will typically indicate that your card has been added to Facebook Pay and is now ready for use.
It’s important to keep a record of this confirmation message for future reference. You may also receive a confirmation email or notification from Facebook for your records.
By completing the confirmation process, your card has been successfully added to Facebook Pay, and you can now use it for various transactions on the platform.
Remember to keep your card information updated, monitor your transactions, and be mindful of any suspicious activities to ensure the security of your financial information on Facebook.
With your card confirmed and added to Facebook Pay, you can conveniently make payments, donate to causes, and shop on the platform with ease.
Step 6: Set Card as Default (Optional)
After successfully adding a card to Facebook Pay, you have the option to set it as your default payment method. Setting a card as the default ensures that it is automatically selected for future transactions, saving you time and effort.
Follow these steps to set your card as the default payment method:
Step 1: Access Payment Settings
Within the Facebook Pay settings, locate the section that displays your added payment methods. This section will show the cards, PayPal, and any other linked payment options.
Step 2: Select Default Card
Identify the card that you would like to set as the default payment method. Look for an option such as “Set as Default” or a similar phrase next to the card’s details within the payment settings.
Step 3: Click or Tap “Set as Default”
Click or tap on the “Set as Default” option next to the desired card. This action will make the selected card the default payment method for all future transactions on Facebook.
Note: If you only have one payment method linked in Facebook Pay, it will be automatically set as the default.
Setting a default card is a convenient option, as you won’t need to manually select your preferred payment method for every transaction on Facebook. Anytime you make a purchase or donation, Facebook will automatically charge the default card unless you choose to use a different payment method.
Keep in mind that you can change the default card at any time by repeating the steps above and selecting a different card as your default payment method.
Setting a default card within Facebook Pay streamlines the payment process and enhances your overall user experience by reducing the need for manual selection during each transaction.
Ensure that you select a card that you are comfortable with using for most of your transactions on Facebook. It’s also important to regularly review your payment settings and card details to keep them up to date.
By setting a default card, you can enjoy the convenience of seamless payments on Facebook without the hassle of manually selecting your payment method each time you make a transaction.
Troubleshooting: Common Issues and Solutions
While adding a card to Facebook Pay is generally a straightforward process, you may encounter some common issues along the way. Here are a few troubleshooting tips and solutions to help you navigate any challenges that may arise:
Problem: Card not being accepted
Solution: Ensure that you have entered the card details accurately, including the card number, expiration date, and security code. Verify that the card is valid, not expired, and eligible for use on Facebook Pay. If the issue persists, contact your bank or card issuer to check if there are any restrictions or blocks on the card.
Problem: Unable to access payment settings
Solution: Double-check that you are using the correct credentials and are logged in to the correct Facebook account. If you are using the mobile app, ensure that you have the latest version installed. Clearing the app cache or reinstalling the app may also help resolve this issue. If you are still unable to access the payment settings, reach out to Facebook support for assistance.
Problem: Error messages during confirmation
Solution: Read the error message carefully and follow any instructions provided. Common error messages may indicate issues with connectivity, server errors, or missing/invalid information. Check your internet connection and try again. If the problem persists, wait a few moments and attempt the confirmation process again. If the error message persists, contact Facebook support for further assistance.
Problem: PayPal account not linking
Solution: Ensure that you are entering the correct PayPal login credentials and that your PayPal account is in good standing. Check if the PayPal account is eligible for linking with Facebook Pay in your region. If you continue to experience issues, contact PayPal support for further assistance.
Problem: Bank account not linking
Solution: Double-check the accuracy of the bank account details entered, including the account number and routing number. Ensure that your bank account supports direct deposit and allows linking to external platforms like Facebook Pay. If the issue persists, contact your bank or financial institution for guidance.
Remember, if you encounter any other issues not mentioned above or have difficulty resolving any problems during the card addition process, it’s best to reach out to Facebook support or the respective payment provider for further assistance. They will be able to provide specific guidance tailored to your situation.
By troubleshooting common issues effectively, you can overcome any obstacles and successfully add your card to Facebook Pay, enabling smooth and secure transactions on the platform.
Conclusion
Adding a card to Facebook Pay is a simple and convenient process that allows you to make seamless transactions on the platform. Whether you choose to link a debit or credit card, PayPal, or a bank account, the steps outlined in this guide have provided you with a clear path to successfully add your preferred payment method.
We started by opening Facebook Pay and accessing the payment settings. From there, we explored different options, including adding a debit or credit card, linking PayPal as a payment method, and adding a bank account for direct deposit.
Each option presented its own set of instructions and considerations, but by following the outlined steps, you can easily navigate through the process and add the desired payment method to Facebook Pay.
Throughout this guide, we have emphasized the importance of accuracy when entering card details and verifying information. Additionally, we have provided troubleshooting tips for common issues that may arise during the card addition process.
Remember to consider your security and privacy when adding your card to Facebook Pay. Only provide your card information on trusted platforms, and regularly review your payment settings and transaction history to ensure the security of your financial information.
By successfully adding your card to Facebook Pay, you now have a convenient and secure payment method at your fingertips. Whether you want to shop on Facebook Marketplace, make donations, or send money to friends, the added card will enable you to do so with ease.
Should you encounter any difficulties or have specific inquiries related to card addition on Facebook Pay, don’t hesitate to reach out to Facebook’s support resources for further assistance.
Now that you have the necessary knowledge, go ahead and add your card to Facebook Pay! Enjoy the smooth and hassle-free payment experience on the platform and make the most out of its various features and functionalities.


