Introduction
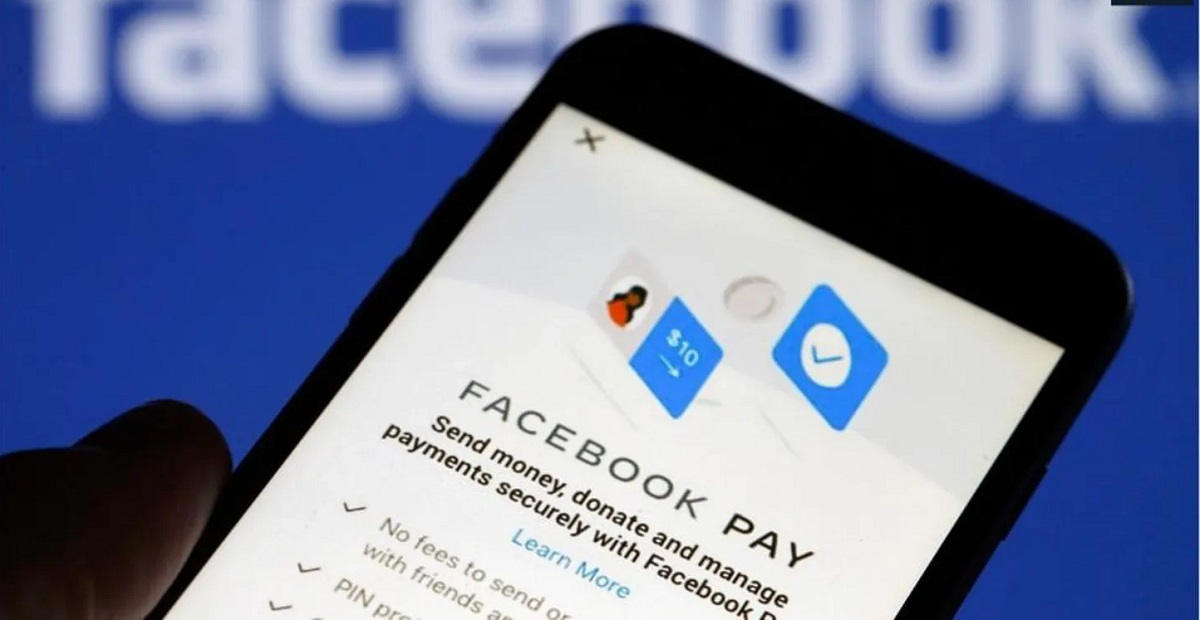
Welcome to the world of Facebook Pay – a secure and convenient way to make payments on Facebook. Whether you want to buy products, make in-app purchases, or send money to friends and family, Facebook Pay offers a streamlined experience that brings all your payment needs under one roof.
In this guide, we’ll walk you through the process of accessing and configuring your Facebook Pay settings. From linking payment methods to managing your payment history, we’ll cover everything you need to know to make the most out of this payment platform.
With Facebook Pay, you’ll have the peace of mind knowing that your payment information is securely stored and protected. Facebook Pay also offers convenient features such as real-time notifications, ensuring you stay up to date with your transactions, and the ability to update your personal information easily.
So, if you’re ready to explore the world of Facebook Pay and unlock its full potential, let’s dive in and discover how you can get started with setting up and managing your payment settings.
Accessing Facebook Pay Settings
Accessing your Facebook Pay settings is a straightforward process. Here’s how you can do it:
- Open the Facebook app on your mobile device or visit the Facebook website on your computer.
- Log in to your Facebook account using your credentials.
- On the mobile app, tap on the three horizontal lines at the top right corner of the screen to open the menu. On the website, click on the down arrow icon at the top right corner of the page to access the drop-down menu.
- Scroll down the menu and select “Settings & Privacy.”
- In the “Settings & Privacy” menu, tap on “Settings.”
- Within the “Settings” menu, locate and tap on “Facebook Pay.”
Once you’ve reached the Facebook Pay settings page, you’re now ready to configure your payment options and preferences.
It’s worth noting that Facebook Pay may not be available in all locations or for all users. If you don’t see the option to access Facebook Pay in your settings, it may not be available in your region or to your account yet.
Now that you know how to access Facebook Pay settings, let’s move on to the next section where we’ll explore how to link payment methods.
Linking Payment Methods
Once you have accessed your Facebook Pay settings, the next step is to link your preferred payment methods. By linking your payment methods, you can easily make payments and purchases on Facebook without the hassle of entering your information every time.
Here’s how you can link your payment methods:
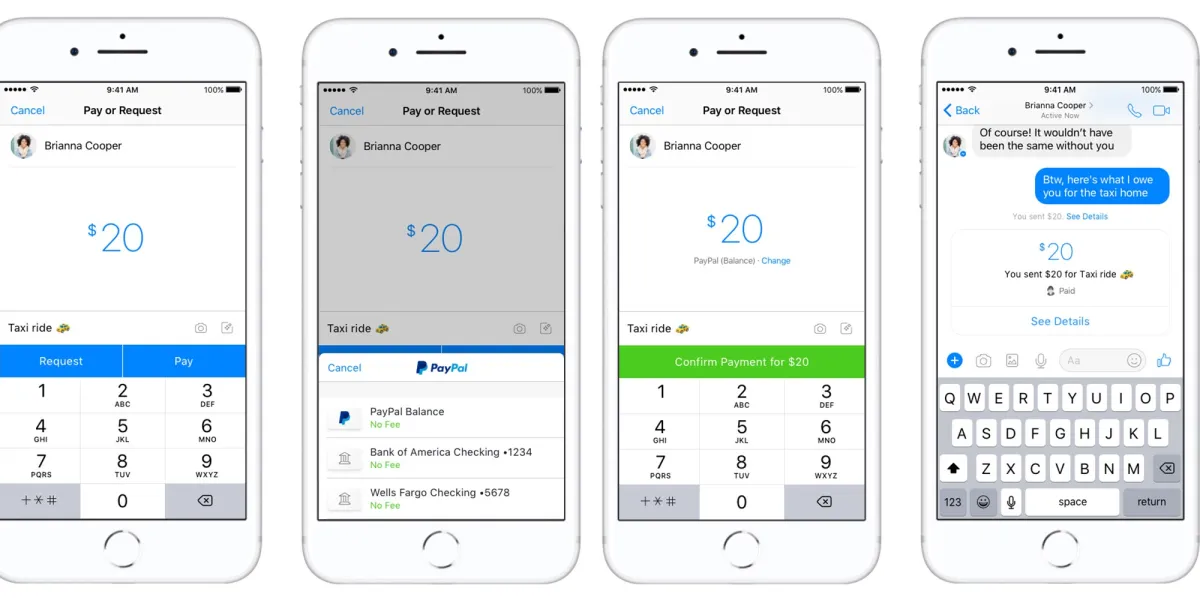
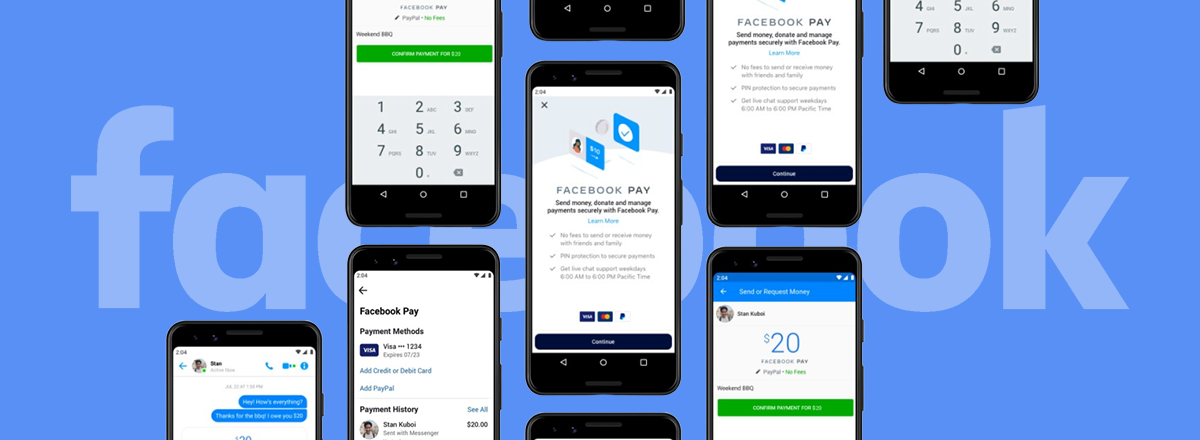
- On the Facebook Pay settings page, select the “Add Payment Method” option.
- You will be presented with various payment method options. Choose the method you want to link, such as a debit or credit card, PayPal, or your bank account.
- Follow the on-screen instructions to enter your payment details. Facebook Pay prioritizes security, so you can rest assured that your information will be encrypted and protected.
- Once you have entered your payment information, review and confirm the details.
- Your payment method is now linked to your Facebook Pay account, and you can start using it for purchases, donations, or transfers.
It’s important to note that Facebook Pay allows you to add multiple payment methods, giving you the flexibility to choose the most convenient option for each transaction. You can easily switch between linked payment methods when making a purchase or sending money.
Having your payment methods linked also allows for a seamless experience when using Facebook Marketplace, where you can buy and sell items locally. You can conveniently make secure payments for your purchases directly through the platform.
Now that you have successfully linked your payment method, let’s move on to the next section where we’ll explore how to manage your payment history.
Managing Payment History
Facebook Pay makes it easy to keep track of your payment history, allowing you to review past transactions and monitor your spending. Here’s how you can manage your payment history:
- On the Facebook Pay settings page, locate the “Payment History” section.
- Click or tap on “Payment History” to view a record of your recent transactions.
- You can filter the payment history by date range or search for specific transactions using keywords.
- Each transaction in the payment history displays relevant details such as the purchase amount, the recipient or seller, and the date of the transaction.
- To get more information about a specific transaction, click or tap on it to open the transaction details.
- Within the transaction details, you can find additional information like the payment method used, any associated fees, and the status of the transaction.
- If you need a receipt for a transaction, you can easily download or print it from the transaction details page.
Being able to access and manage your payment history allows you to review your spending habits, track your purchases, and ensure that all transactions are accurate. It can be particularly helpful when reconciling your finances or seeking reimbursement for a payment.
Additionally, if you encounter any issues with a transaction or notice any unauthorized activity, you can use the payment history as a reference when contacting Facebook’s support team for assistance.
Now that you know how to manage your payment history let’s move on to the next section where we’ll explore how to configure notifications and security settings.
Configuring Notifications and Security
Ensuring the security of your Facebook Pay transactions and staying informed about your payment activity is crucial. Facebook Pay provides various options to configure notifications and security settings to meet your preferences. Here’s how you can personalize these settings:
- On the Facebook Pay settings page, locate the “Notifications” section.
- Click or tap on “Notifications” to access notification settings.
- You can choose to enable or disable notifications for various activities, such as successful transactions, failed transactions, or when someone requests money from you.
- Customize your notification preferences based on your preferences and how you want to stay informed about your payment activity.
- To enhance the security of your Facebook Pay account, enable additional security features such as two-factor authentication.
- In the “Security” section of the Facebook Pay settings, you can enable two-factor authentication, which adds an extra layer of protection to your account by requiring a verification code in addition to your password when signing in.
- Take the time to review other security settings on your Facebook account, such as account privacy and login alerts, to further protect your payment information.
Configuring your notification and security settings allows you to have better control and awareness of your payment activity on Facebook. By receiving notifications, you can quickly identify any unauthorized transactions and take immediate action.
Furthermore, enabling two-factor authentication adds an extra level of security, making it more difficult for unauthorized individuals to access your account. It’s a simple yet effective way to safeguard your payment information and personal data.
Now that you know how to configure notifications and security settings let’s move on to the next section where we’ll explore how to update your personal information.
Updating Personal Information
Keeping your personal information up to date is important to ensure a smooth and accurate experience while using Facebook Pay. If you need to update any of your personal details, here’s how you can do it:
- On the Facebook Pay settings page, find the “Personal Information” section.
- Click or tap on “Personal Information” to access your account details.
- You can update various personal information such as your name, email address, phone number, and billing address.
- Make the necessary changes to the information you want to update.
- Review the modifications and ensure the accuracy of the details you’ve entered.
- Click or tap on the “Save” or “Update” button to save the changes.
Updating your personal information ensures that your payment activity on Facebook Pay is tied to the correct and current information. It also helps prevent any potential issues with transactions or difficulties in identifying your account.
Additionally, keeping your personal information up to date allows Facebook Pay to provide you with a more personalized and tailored payment experience. It helps facilitate smooth communication and ensures that any relevant notifications or updates reach you promptly.
Now that you know how to update your personal information, let’s move on to the next section where we’ll explore troubleshooting common issues you may encounter with Facebook Pay settings.
Troubleshooting Facebook Pay Settings
While using Facebook Pay, you may encounter some issues or have questions about certain features or functionalities. Here are some common troubleshooting steps and tips to help you resolve any problems you might face:
- Ensure that you have the latest version of the Facebook app installed on your mobile device or that you are accessing the Facebook website from a compatible browser on your computer.
- Check your internet connection to ensure that it is stable and working properly. A weak or unstable connection can cause issues with accessing or using Facebook Pay.
- If you are unable to access the Facebook Pay settings, make sure that the feature is available in your region or to your account. Facebook Pay may not be available for all users or in certain countries.
- If you encounter any error messages or issues while making a payment or linking a payment method, double-check that you have entered the correct information and that the payment method is supported by Facebook Pay.
- If you experience repeated technical issues or errors, try closing the app or refreshing the website, and then accessing Facebook Pay settings again.
- If none of the troubleshooting steps mentioned above resolve the problem, you can reach out to Facebook’s support team for further assistance. They will be able to provide you with more specific guidance based on the issue you are facing.
Remember, troubleshooting steps may vary depending on the specific situation or error you encounter. It’s always a good idea to consult Facebook’s official support resources for the most up-to-date and accurate information.
By following these troubleshooting steps, you can overcome common issues and make the most out of your Facebook Pay experience.
Now that we’ve discussed troubleshooting, let’s summarize what we’ve covered in this guide so far.
Conclusion
Facebook Pay provides a convenient and secure way to make payments, purchase products, and send money within the Facebook ecosystem. By following the steps outlined in this guide, you can access and configure your Facebook Pay settings to suit your preferences and needs.
We started by learning how to access Facebook Pay settings and then moved on to linking payment methods for easy and hassle-free transactions. We also explored managing payment history, configuring notifications and security settings, and updating personal information.
Furthermore, we discussed troubleshooting steps to help resolve any issues you may encounter while using Facebook Pay. By following these troubleshooting tips and reaching out to Facebook’s support team, you can overcome technical difficulties and maximize your payment experience.
It’s important to note that Facebook Pay availability may vary depending on your location and account eligibility. If you do not see the Facebook Pay option in your settings, it may not be available to you at the moment.
With Facebook Pay, you can enjoy the convenience of making payments, purchases, and transfers within the Facebook platform. As you use this feature, remember to prioritize your security by enabling two-factor authentication and keep your personal information up to date.
Now that you have a comprehensive understanding of Facebook Pay settings, it’s time to explore and make the most out of this payment platform. Enjoy the seamless and secure payment experience that Facebook Pay has to offer!