Introduction
Welcome to our guide on how to change your Facebook Pay information. Facebook Pay is a convenient and secure payment feature offered by Facebook, allowing users to make payments and purchases directly within the Facebook platform. Whether you want to update your payment methods, add a new payment option, or remove an existing one, this article will provide step-by-step instructions to help you navigate these changes.
With the growing popularity of online shopping and the increasing use of digital payments, it is essential to keep your Facebook Pay information up to date. By doing so, you can enjoy a seamless purchasing experience and ensure the security of your financial transactions on the platform.
Changing your Facebook Pay information may be necessary for various reasons. Perhaps you want to update your credit card details due to an expired card or a change in billing address. Maybe you want to remove a payment method that you no longer use or add a new one to give yourself more options while making purchases on Facebook.
Whatever the reason may be, this guide will walk you through the process of changing your Facebook Pay information step-by-step. We will also cover how to verify your identity, update your payment methods, add new payment options, remove existing ones, and set a default payment method.
So, without further ado, let us dive into the details of changing your Facebook Pay information and ensure a seamless payment experience on the platform.
What is Facebook Pay?
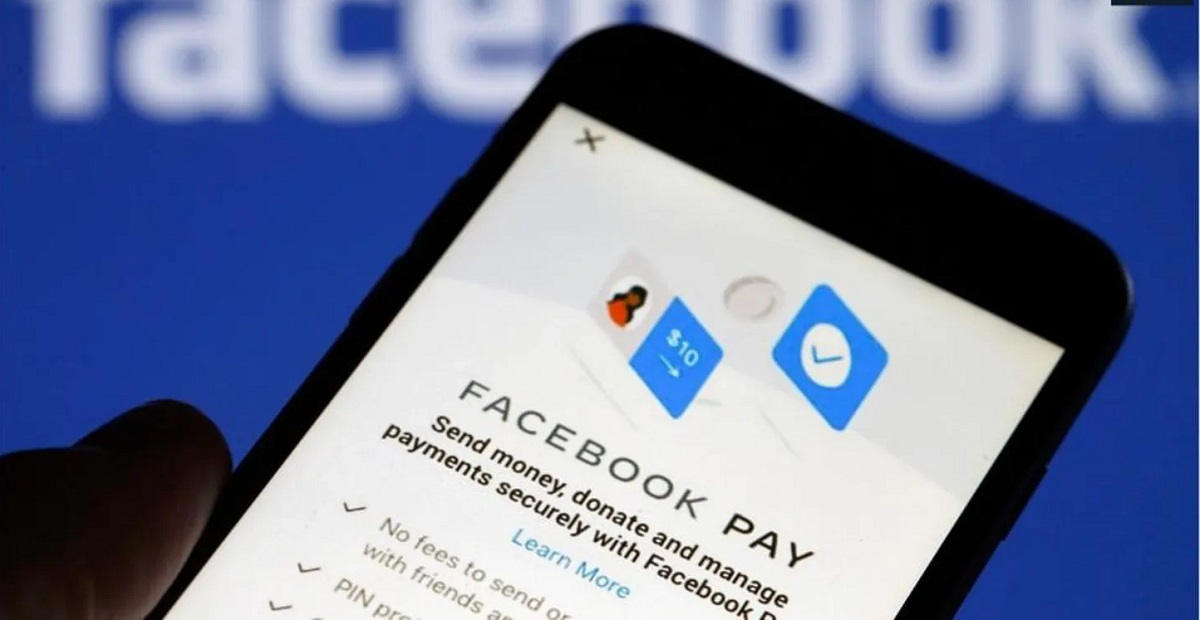
Facebook Pay is a secure and convenient payment feature offered by Facebook. It allows users to make payments, send money, and purchase products or services directly within the Facebook platform. With Facebook Pay, you can link your payment methods, such as credit or debit cards and PayPal, to your Facebook account and use them to make seamless transactions.
Facebook Pay is designed to enhance the user experience and streamline the payment process within the Facebook ecosystem. It offers a unified and consistent payment experience across various Facebook-owned platforms, including Facebook, Messenger, Instagram, and WhatsApp.
This payment service provides a wide range of functionalities, such as:
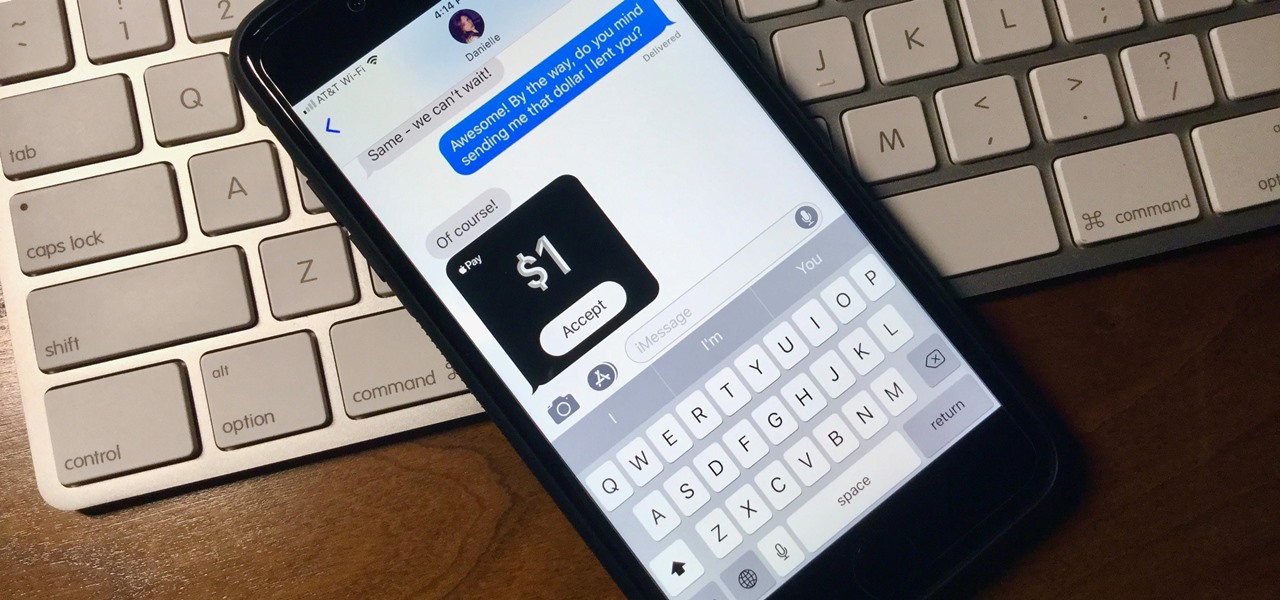
- Sending and receiving money: Easily send money to friends, family, or individuals through Messenger.
- Making purchases: Safely make in-app and online purchases on Facebook and participating businesses.
- Donations: Donate to charitable organizations and nonprofits directly through Facebook.
- Event tickets: Purchase tickets for events or experiences organized through Facebook events.
Facebook Pay offers secure transactions by encrypting your payment information and providing layers of authentication to protect your financial details. It also provides real-time notifications and transaction history for better transparency and control over your payments.
It is important to note that Facebook Pay is separate from Facebook’s cryptocurrency initiative, Libra (now known as Diem). While Facebook Pay deals with traditional currencies and payment methods, Diem focuses on the development and realization of a global digital currency.
Now that you have a basic understanding of what Facebook Pay is, let us proceed to the next section, where we will explore why you might need to change your Facebook Pay information.
Why change your Facebook Pay information?
There are several reasons why you may need to change your Facebook Pay information. Keeping your payment details up to date is essential for a seamless and secure payment experience on the platform. Here are a few scenarios that might prompt you to make changes:
- Expired or outdated payment methods: If your credit or debit card has expired or your payment information, such as billing address, has changed, you will need to update your Facebook Pay settings to ensure smooth transactions.
- Adding new payment methods: Suppose you want to have multiple payment options or switch to a different card or payment service. In that case, you may need to add a new payment method to your Facebook Pay account for increased convenience and flexibility.
- Removing unused payment methods: If you have payment methods linked to your Facebook Pay account that you no longer use or want to keep active, removing them can help declutter your payment options and reduce the risk of unauthorized access to your financial information.
- Security concerns: If you suspect any unauthorized activity or suspect that your payment information has been compromised, it is crucial to change your Facebook Pay information immediately to protect your financial data.
By regularly reviewing and updating your Facebook Pay information, you can ensure the accuracy of your payment details, enhance the security of your transactions, and have a more convenient payment experience across the Facebook platform.
Now that you understand the importance of changing your Facebook Pay information let’s dive into the step-by-step guide on how to make these changes.
Step-by-step guide to changing your Facebook Pay information
Changing your Facebook Pay information is a straightforward process that can be done in just a few simple steps. Here’s a comprehensive guide to help you update your payment details:
- Sign in to Facebook: Open the Facebook app or visit the Facebook website and sign in to your account using your credentials.
- Access your settings: Look for the menu icon (three horizontal lines) in the top-right corner of the screen. Tap on it, scroll down, and select “Settings & Privacy.”
- Go to Facebook Pay: In the “Settings & Privacy” menu, you will find the “Facebook Pay” option. Tap on it to access your Facebook Pay settings.
- Verify your identity: Depending on your account settings, you may be prompted to verify your identity before accessing the payment settings. Follow the on-screen prompts to complete the verification process.
- Update your payment methods: Once you are in the Facebook Pay settings, you will see the “Payment Methods” section. Tap on it to view and manage your existing payment methods.
- Add a new payment method: To add a new payment method, tap on the “Add Payment Method” button. You will be prompted to enter the required information, such as your credit card details or PayPal account information. Follow the instructions and input the necessary details to add the new payment method to your Facebook Pay account.
- Remove a payment method: If you want to remove an existing payment method, select the payment method you wish to remove from the list and tap on the “Remove” button. Confirm the action when prompted, and the payment method will be deleted from your Facebook Pay account.
- Set a default payment method: You can choose a default payment method for your Facebook Pay account. This will be the primary payment method used for transactions unless you manually select a different option during checkout. To set a default payment method, select the payment method you want to set as default and toggle on the “Set as Default” option.
It’s important to note that the steps may vary slightly depending on your device and the version of the Facebook app or website you are using. However, the overall process remains similar.
Now that you know how to change your Facebook Pay information let’s explore the process of verifying your identity, as it may be a required step in some circumstances.
Verifying your identity
Verifying your identity is an important step when changing your Facebook Pay information. Facebook may require you to verify your identity to ensure the security and integrity of your financial transactions. The verification process helps in preventing fraudulent activities and unauthorized use of your payment information. Here’s how you can verify your identity:
- Follow the prompts: When accessing your Facebook Pay settings, you may be prompted to verify your identity. Follow the on-screen prompts to begin the verification process.
- Provide the requested information: Facebook may ask you to provide certain information to verify your identity. This information may include your phone number or a photo of a government-issued ID, such as a driver’s license or passport.
- Submit the required documents: If you are asked to provide a photo of your ID, you can use your smartphone to take a clear photo and submit it for verification. Ensure that the photo is of high quality and that the information on the ID is clearly visible.
- Wait for confirmation: After submitting the requested information or documents, Facebook will review them to verify your identity. This process may take some time, and you may receive a confirmation email or notification once your identity is successfully verified.
It’s important to note that the verification process may not be required for everyone. Facebook utilizes this verification step to ensure the safety and security of its users’ financial transactions, especially when adding or modifying payment methods.
If you encounter any issues or have difficulties during the verification process, you can reach out to Facebook’s support for further assistance. They will guide you through any necessary steps and help resolve any problems you may be facing.
Now that you understand how to verify your identity when changing your Facebook Pay information, let’s move on to the next section, which discusses updating your payment methods.
Updating your payment methods
Updating your payment methods is a vital aspect of managing your Facebook Pay information. Whether you need to change your credit card details, update your billing address, or switch to a different payment service, Facebook provides a user-friendly interface to make these adjustments. Here’s how you can update your payment methods:
- Access your Facebook Pay settings: Sign in to your Facebook account and navigate to the settings menu. Look for the “Facebook Pay” option and click on it to access your Facebook Pay settings.
- View your payment methods: Once in the Facebook Pay settings, locate the “Payment Methods” section. Here, you will find a list of the payment methods currently linked to your Facebook Pay account.
- Edit payment method details: To update the details of an existing payment method, select the payment method from the list. You will have the option to edit various details, such as the card number, expiration date, or billing address. Make the necessary changes and save the updated information.
- Save changes: After making the required updates, click on the “Save” or “Update” button to save the changes to your payment method.
It’s important to ensure that all the information you provide is accurate and up to date. This ensures successful transactions and helps prevent any issues or delays in payments.
If you encounter any challenges while updating your payment methods or need further assistance, you can refer to Facebook’s support documentation or reach out to their customer support team for guidance.
Now that you know how to update your payment methods, let’s explore how to add a new payment method to your Facebook Pay account.
Adding a new payment method
Adding a new payment method to your Facebook Pay account is a simple process that allows you to expand your options for making purchases and transactions on the platform. You can add a credit or debit card, as well as link your PayPal account. Follow these steps to add a new payment method:
- Access your Facebook Pay settings: Sign in to your Facebook account and navigate to the settings menu. Look for the “Facebook Pay” option and click on it to access your Facebook Pay settings.
- Go to the payment methods section: Once in the Facebook Pay settings, locate the “Payment Methods” section. Here, you will find a list of the payment methods currently linked to your Facebook Pay account.
- Add a payment method: To add a new payment method, click on the “Add Payment Method” button. You will be presented with different options, such as adding a credit or debit card or linking your PayPal account.
- Enter the required information: Depending on the payment method you choose, you will be prompted to enter the necessary information. For credit or debit cards, provide the card details, including the card number, expiration date, and CVV. If you are linking your PayPal account, you will need to log in to your PayPal account and authorize the connection.
- Save the new payment method: After providing the required information, click on the “Save” or “Add” button to add the new payment method to your Facebook Pay account.
Once you have successfully added a new payment method, it will be available for you to use during purchases or transactions on Facebook. You can select your preferred payment method at the checkout page or set a default payment method for convenience.
Remember to double-check the accuracy of the information you provide to ensure seamless and successful transactions. If you encounter any issues or need assistance during the process, Facebook’s support documentation and customer support are available to help you.
Now that you know how to add a new payment method, let’s move on to the next section, which covers removing a payment method from your Facebook Pay account.
Removing a payment method
If you have a payment method linked to your Facebook Pay account that you no longer wish to use or want to keep active, you can easily remove it. Removing an unnecessary payment method helps declutter your options and ensures the security of your financial information. Here’s how you can remove a payment method from your Facebook Pay account:
- Access your Facebook Pay settings: Sign in to your Facebook account and navigate to the settings menu. Find the “Facebook Pay” option and click on it to access your Facebook Pay settings.
- Locate the payment methods section: Once in the Facebook Pay settings, scroll down to find the “Payment Methods” section. Here, you will see a list of the payment methods currently linked to your Facebook Pay account.
- Select the payment method to remove: From the list of your payment methods, choose the one you wish to remove. Click on it to proceed with the removal process.
- Remove the payment method: After selecting the payment method, look for the “Remove” button associated with it. Click on the “Remove” button to proceed with removing the payment method from your Facebook Pay account.
- Confirm the removal: Once you click on the “Remove” button, Facebook may ask for confirmation. Confirm the removal when prompted to complete the process.
Removing a payment method will permanently delete it from your Facebook Pay account. However, keep in mind that any existing transactions or subscriptions associated with the removed payment method will not be affected. It is advisable to review any active subscriptions and update the payment method before removing it to avoid disruption of services.
By removing obsolete or unused payment methods, you can keep your payment options organized and up to date, ensuring a smooth and hassle-free experience when making purchases on Facebook.
If you encounter any difficulties or need further assistance during the removal process, Facebook’s support documentation and customer support team are available to provide guidance.
Now that you know how to remove a payment method, let’s proceed to the next section, which discusses setting a default payment method for your Facebook Pay account.
Setting a default payment method
Setting a default payment method in your Facebook Pay account allows you to streamline your transactions and ensure a seamless payment experience. When you have multiple payment methods added, setting one as the default means it will be automatically selected during purchases unless you manually choose a different option. Here’s how you can set a default payment method:
- Access your Facebook Pay settings: Sign in to your Facebook account and navigate to the settings menu. Look for the “Facebook Pay” option and click on it to access your Facebook Pay settings.
- Go to the payment methods section: Once in the Facebook Pay settings, scroll down to find the “Payment Methods” section. Here, you will see a list of the payment methods you have linked to your Facebook Pay account.
- Select the payment method to set as default: From the list of payment methods, locate the one you want to set as the default. Click on it to proceed.
- Enable the default payment option: Within the payment method settings, you will find an option to set it as the default. Toggle on the “Set as Default” or similar option associated with the payment method you have selected.
- Save the changes: After enabling the default payment option, click on the “Save” or “Update” button to save the changes in your Facebook Pay settings.
Once you have set a default payment method, it will be automatically selected during future purchases and transactions on Facebook unless you choose an alternative payment method at the time of checkout.
Setting a default payment method streamlines the payment process, saving you time and effort by eliminating the need to manually select a payment method for each transaction. However, it’s important to periodically review your default payment method and update it if necessary to ensure it aligns with your current preferences and needs.
If you encounter any issues while setting a default payment method or have questions regarding the process, consult Facebook’s support documentation or reach out to their customer support team for assistance.
Now that you understand how to set a default payment method, let’s move on to the next section, where we will cover some common troubleshooting tips for Facebook Pay.
Troubleshooting common issues
While using Facebook Pay, you may encounter some common issues that can affect your payment experience. To help you overcome these challenges, here are some troubleshooting tips for common issues:
- Payment method not being accepted: If you are experiencing difficulties with a payment method not being accepted, double-check the accuracy of the information entered, such as card numbers, expiration dates, and CVV codes. Additionally, ensure that the payment method is valid and active.
- Payment failing or not going through: If a payment fails or does not go through, check your internet connection and ensure that you have sufficient funds available in the chosen payment method. It is also advisable to contact your bank or financial institution to ensure there are no restrictions or issues with the transaction.
- Identity verification issues: If you encounter problems during the identity verification process, review the instructions carefully and provide accurate and clear information or documents. If the issue persists, reach out to Facebook’s customer support for assistance.
- Transactions or charges appearing incorrectly: If you notice any transactions or charges that appear incorrect or unfamiliar, review your transaction history and verify if they are accurate. If you suspect fraudulent activity, promptly report it to Facebook’s customer support and your financial institution.
- Unable to access Facebook Pay settings: If you are unable to access your Facebook Pay settings, ensure that you are logged in to your Facebook account using the correct credentials. If the issue persists, try clearing your browser cache or using a different device or browser.
If none of the troubleshooting tips above resolve your issue, it is recommended to contact Facebook’s customer support for further assistance. They can provide specific guidance tailored to your situation and help resolve any underlying issues with your Facebook Pay experience.
Remember to keep your payment methods and financial information secure by regularly monitoring your transaction history, updating your passwords, and being cautious of phishing attempts or suspicious activities.
Now that we have covered some common troubleshooting tips, let’s proceed to the concluding section of this guide.
Conclusion
Changing your Facebook Pay information is a simple process that allows you to keep your payment methods up to date, add new options, remove unused ones, and set a default payment method. By following the step-by-step guide provided in this article, you can easily navigate the settings of your Facebook Pay account and make the necessary adjustments.
We discussed the importance of keeping your Facebook Pay information current and explored various reasons why you may need to update it. Whether it’s due to expired payment methods, the need for additional options, or security concerns, staying on top of your payment details ensures a smooth and secure transaction experience on the platform.
We also covered the process of verifying your identity, updating payment methods, adding new payment options, removing existing ones, and setting a default payment method. Each step is designed to help you manage your Facebook Pay account efficiently and personalize your payment experience according to your preferences and needs.
In addition, we provided troubleshooting tips for common issues that may arise during your use of Facebook Pay. If you encounter any challenges or have specific concerns, Facebook’s customer support is available to assist you and provide guidance tailored to your situation.
Remember to review your payment methods regularly, protect your financial information, and stay vigilant against potential fraudulent activities. By doing so, you can make the most of Facebook Pay and enjoy secure and convenient payment transactions within the Facebook platform.
We hope this guide has been helpful in guiding you through the process of changing your Facebook Pay information. Explore the settings of your Facebook Pay account and make the necessary updates to ensure a seamless and stress-free payment experience on Facebook!