Introduction
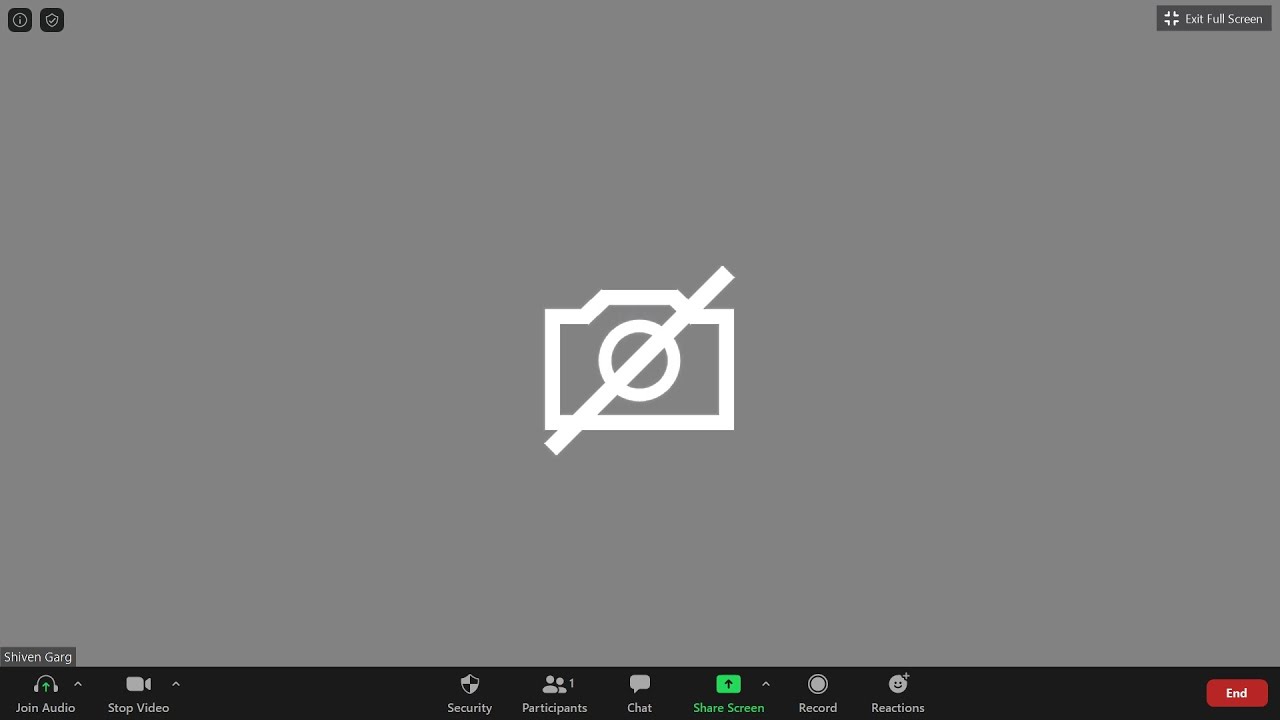
Welcome to the digital age, where video conferencing has become an essential part of our daily lives. Whether you’re attending virtual meetings, online classes, or connecting with loved ones, a working camera is crucial for engaging communication. However, there may be instances where you encounter issues with your Zoom camera not working.
It can be frustrating to experience camera malfunctions, but fear not! In this article, we will explore the common causes behind a non-functioning Zoom camera and provide you with solutions to get it up and running again.
Before we delve into troubleshooting steps, it’s essential to understand that camera issues can arise due to various factors. These can include software glitches, connectivity problems, conflicting camera settings, outdated drivers, or even hardware malfunctions. By identifying the root cause, you’ll have a better chance of resolving the issue promptly.
The following sections will highlight potential causes of your Zoom camera not working and offer effective solutions to help you troubleshoot and find a resolution. Let’s dive in!
Common Causes of Zoom Camera Not Working
When your Zoom camera fails to work as expected, several factors could be at play. Understanding these common causes will help you diagnose and address the issue effectively:
1. Camera Connection Issues: One of the most common reasons for a non-functioning Zoom camera is a faulty or loose connection. Ensure that your camera is properly connected to your computer or mobile device. Check the cables and make sure they are securely plugged in.
2. Lack of Camera Access: Zoom requires access to your camera to enable video conferencing. If you haven’t granted camera access, it might be the reason your camera isn’t working. Verify that Zoom has the necessary permissions to use your camera.
3. Outdated Zoom App: An outdated Zoom application can lead to compatibility issues and camera malfunctions. Make sure you have the latest version of the Zoom app installed on your device. Regularly updating the app can resolve many software-related bugs and glitches.
4. Device Restart: Sometimes, a simple device restart can fix camera-related issues. Restart your computer or mobile device and check if the camera starts working once it boots up again. This can help refresh the system and resolve minor software conflicts.
5. Zoom Camera Settings: Incorrect camera settings within the Zoom app can prevent your camera from working correctly. Check the camera settings in Zoom and ensure that the correct camera source is selected. You may need to adjust settings such as resolution, frame rate, or video quality.
6. Camera Drivers: Outdated or incompatible camera drivers can lead to camera malfunctions in Zoom. Navigate to your device manufacturer’s website and download the latest camera drivers for your specific model. Install the updated drivers and check if the camera starts functioning in Zoom.
7. Hardware Issues: In some cases, hardware problems can cause the camera to stop working. This can include a faulty camera module or a damaged USB port. If you suspect a hardware issue, it’s advisable to contact the manufacturer or seek professional assistance to diagnose and repair the problem.
By considering these common causes, you can narrow down the potential reasons behind your Zoom camera not working. In the following sections, we will go through each troubleshooting step in detail to help you resolve the issue and get back to seamless video conferencing.
Check Your Camera Connection
When troubleshooting a Zoom camera issue, the first step is to ensure that your camera is properly connected to your device. Follow these steps to check your camera connection:
1. Inspect the cables: Examine the cables connecting your camera to your computer or mobile device. Look for any visible damage or loose connections. If you notice any issues, try replacing the cable or reseating the connections securely.
2. Test the camera on a different device: To rule out any camera-related hardware problems, connect your camera to a different device (if possible) and check if it works. If the camera functions properly on another device, the problem might lie in the original device’s settings or software.
3. Try a different USB port: If you’re using a USB camera, try plugging it into a different USB port on your computer. Sometimes, a faulty USB port can cause connectivity issues. By switching ports, you can determine if the problem lies with the port or the camera itself.
4. Restart your computer: A simple restart can solve many connectivity issues. Restart your computer and check if the camera starts working in Zoom after the reboot.
5. Check camera power: If your camera requires a power source, ensure that it is properly connected and powered on. Some cameras have an LED indicator that shows if they are receiving power. If the camera is not receiving power, troubleshoot the power source or consult the camera’s user manual for guidance.
Once you’ve checked and verified the camera connection, launch the Zoom application and test your camera again. If the issue persists, proceed to the next troubleshooting step.
Remember, a stable and properly connected camera is essential for an optimal Zoom experience. Taking the time to ensure a reliable camera connection can help you avoid disruptions and enjoy seamless video communication.
Grant Camera Access in Zoom
One of the common reasons for a Zoom camera not working is the lack of camera access granted to the Zoom application. By following these steps, you can ensure that Zoom has the necessary permissions to use your camera:
1. Check system camera permissions: Start by checking if your operating system has allowed camera access for Zoom. On Windows, go to the “Privacy” settings and navigate to the “Camera” section. Make sure the toggle switch is enabled for Zoom or that Zoom is listed as an allowed app. On macOS, go to “System Preferences”, click on “Security & Privacy”, and select the “Privacy” tab. Ensure that Zoom has been granted camera access.
2. Grant camera access within Zoom: Launch the Zoom application on your device and sign in to your account. Once you’re in the main Zoom window, click on the small arrow next to the “Start Video” button. From the menu that appears, select “Video Settings”. In the “Video Settings” window, make sure that your camera is selected as the video source. If you can see a preview of your camera feed, it means that Zoom has camera access.
3. Test the camera: To verify if camera access is working correctly, start a video meeting or click the “Test Speaker and Microphone” option. This will allow you to test your camera and check if it is functioning properly in Zoom. If you encounter any issues during the test, proceed to the next troubleshooting step.
If granting camera access doesn’t resolve the issue, consider updating your Zoom app to the latest version to address any potential bugs or glitches. Additionally, ensure that your device’s operating system is up to date, as outdated software can cause compatibility issues.
By granting the necessary camera access to Zoom, you are ensuring that the application can utilize your camera effectively for video conferencing. Take the time to double-check the camera access settings to eliminate any potential access-related hurdles.
Update Your Zoom App
Keeping your Zoom app up to date is crucial for resolving compatibility issues and ensuring smooth functionality. Here’s how you can update your Zoom app:
1. Check for updates: Launch the Zoom application on your device and sign in to your account. Once you’re in the main Zoom window, click on your profile picture or initials in the top right corner. From the dropdown menu, select “Check for Updates”. Zoom will now check for any available updates.
2. Install the latest version: If there are updates available, follow the on-screen prompts to download and install the latest version of Zoom. Make sure you have a stable internet connection during this process. Depending on your device, you might need to provide administrative privileges to complete the installation.
3. Restart Zoom: After the update is installed, restart the Zoom application. This will ensure that any new changes or bug fixes are applied properly. It’s also a good idea to close any other unnecessary applications running in the background to free up system resources.
4. Test your camera: Launch a Zoom meeting or use the “Test Speaker and Microphone” option to check if your camera is now functioning correctly. If the camera issue persists, move on to the next troubleshooting step.
Regularly updating your Zoom app is essential for accessing new features and improving overall performance. Developers frequently release updates to address bugs, security vulnerabilities, and compatibility issues, which can impact camera functionality. By staying up to date with the latest version, you increase the likelihood of resolving camera-related problems.
If updating your Zoom app doesn’t resolve the issue, it’s time to consider other troubleshooting steps to pinpoint the cause of the camera problem.
Restart Your Device
Restarting your device is a simple yet effective troubleshooting step that can often resolve issues with a non-functioning Zoom camera. Here’s how you can restart your device:
1. Save your work and close all applications: Before restarting your device, make sure to save any ongoing work and close all open applications. This will prevent data loss and ensure a smooth restart process.
2. Shut down or restart your computer: On Windows, click on the “Start” button, select the power icon, and choose either “Restart” or “Shut down”. On macOS, click on the Apple menu, select “Restart” or “Shut Down”, and follow the prompts. On mobile devices, access the power menu through the settings app and select “Restart” or “Shut down”.
3. Wait for your device to completely shut down: Allow your device to power off completely. This usually takes a few moments, during which the screen will go blank, and any indicators or lights on the device will turn off.
4. Power on your device: Press the power button to turn on your device. Wait for the system to boot up, and log in to your account as usual.
5. Launch Zoom and test your camera: Once your device has restarted, open the Zoom application and check if the camera is now functioning correctly. Start a meeting or use the “Test Speaker and Microphone” option to ensure that the camera issue has been resolved.
Restarting your device can help refresh the system and resolve minor software conflicts that may be causing the camera problem. It also allows the operating system and applications to start with a clean slate, potentially resolving any temporary glitches or issues.
If restarting your device doesn’t fix the Zoom camera problem, continue troubleshooting by examining the Zoom camera settings and exploring other possible causes.
Check Zoom Camera Settings
Incorrect camera settings within Zoom can prevent your camera from working as expected. Here are the steps to check and adjust your Zoom camera settings:
1. Launch Zoom and sign in: Open the Zoom application on your device and sign in to your account. Once you’re in the main Zoom window, click on your profile picture or initials in the top right corner to access the settings menu.
2. Select “Settings”: From the dropdown menu, choose “Settings” to open the Zoom settings window. Alternatively, you can also access the settings by clicking on the gear icon.
3. Navigate to “Video Settings”: In the settings window, click on “Video” on the left-hand side. This will take you to the video settings section, where you can configure your camera settings.
4. Choose the correct camera: Ensure that the correct camera is selected as the video source. If your device has multiple cameras (such as a built-in webcam and an external camera), select the appropriate one from the camera dropdown menu.
5. Adjust camera settings: Zoom allows you to adjust various camera settings, such as resolution, frame rate, video quality, and brightness. Make sure these settings are configured according to your preferences. You can also enable or disable the “HD” or “Mirror my video” options, depending on your needs.
6. Test your camera: To verify if the camera settings are working correctly, start a Zoom meeting or use the “Test Speaker and Microphone” option. This will allow you to test your camera and check if it is functioning properly in Zoom. If the camera still does not work, proceed to the next troubleshooting step.
By checking and adjusting the Zoom camera settings, you can ensure that the correct camera is selected and that the settings are optimized for your needs. Sometimes, incorrect settings or incompatible configurations can cause the camera to malfunction in Zoom. Taking the time to verify and adjust these settings can often resolve the camera issue.
If the problem persists, proceed to troubleshoot the camera drivers or investigate potential hardware issues that may be causing the Zoom camera problem.
Troubleshoot Camera Drivers
Outdated or incompatible camera drivers can cause your Zoom camera to malfunction. Follow these steps to troubleshoot your camera drivers:
1. Identify your camera model: Determine the make and model of your camera. You can usually find this information on the camera itself or in the user manual.
2. Visit the manufacturer’s website: Go to the official website of the camera’s manufacturer. Look for a “Support” or “Downloads” section where you can find drivers specific to your camera model.
3. Download the latest driver: Locate and download the latest driver for your camera. Make sure it is compatible with your operating system.
4. Install the driver: Once the driver is downloaded, open the installation file and follow the on-screen prompts to install it. This may involve accepting license agreements, choosing installation options, and restarting your computer.
5. Update the driver: If you already have a driver installed, but suspect it may be outdated, you can try updating it. Use the device manager on your computer (found in the Control Panel on Windows or the System Preferences on macOS) to update the driver.
6. Restart your computer: After installing or updating the driver, restart your computer to ensure that the changes take effect.
7. Launch Zoom and test your camera: Once your computer has restarted, open the Zoom application and check if the camera now functions correctly. Start a video meeting or use the “Test Speaker and Microphone” option to ensure the camera issue has been resolved.
Troubleshooting camera drivers can often resolve camera-related issues in Zoom. By ensuring that you have the latest, compatible drivers installed, you eliminate potential conflicts and improve the overall performance and functionality of your camera.
If updating or reinstalling the camera driver does not resolve the issue, further investigation into hardware-related problems may be required.
Troubleshoot Hardware Issues
If you’ve tried all the software-related troubleshooting steps and your Zoom camera still isn’t working, it’s time to explore potential hardware issues. Here’s how you can troubleshoot hardware problems:
1. Inspect the camera: Carefully examine your camera for any physical damage, such as a broken lens or loose connections. Ensure that the camera is properly connected to your device and that all cables are securely plugged in.
2. Try a different camera: If possible, test your Zoom app with a different camera. This could be an external webcam or a built-in camera on a different device. If the alternative camera works fine, it could indicate a problem with your original camera.
3. Test the camera on a different device: Connect your camera to a different computer or mobile device and check if it functions correctly. This will help identify if the issue lies with your camera or the specific device it was initially connected to.
4. Check USB ports: If you’re using a USB camera, ensure the USB port you’re using is functioning properly. Try connecting other USB devices to the same port to see if they are recognized. If other devices work while the camera does not, it could indicate a problem with the USB port.
5. Update your device’s firmware: If your camera is integrated with your device, check for any firmware updates for your specific device model. Firmware updates may address camera-related issues and improve functionality.
6. Contact the manufacturer: If you continue to experience hardware issues with your camera, it’s best to reach out to the manufacturer. They can provide further guidance or assist with repairs if necessary. Check the manufacturer’s website or customer support channels for assistance.
Hardware issues can be more challenging to troubleshoot and may require professional help or repair. Identifying any hardware-related problems will help you determine if the camera needs replacement or if there are other repair options available.
Remember to follow any warranty or support policies provided by the camera manufacturer to ensure you receive the necessary assistance for your specific hardware issue.
Conclusion
Encountering issues with a non-functioning Zoom camera can be frustrating, but there are several steps you can take to troubleshoot and resolve the problem. By following the troubleshooting tips outlined in this article, you can effectively diagnose and address common causes of a Zoom camera not working.
We first explored the common causes of camera issues, including camera connection problems, lack of camera access, outdated Zoom app, device restart, incorrect camera settings, camera driver problems, and potential hardware issues.
To resolve camera problems, we suggested checking camera connections, granting camera access in Zoom, updating the Zoom app, restarting your device, checking Zoom camera settings, troubleshooting camera drivers, and investigating hardware issues.
Remember to thoroughly check your camera connections, grant necessary camera access to Zoom, keep your Zoom app updated, restart your device, verify Zoom camera settings, troubleshoot camera drivers, and inspect for any hardware problems. These steps will help you narrow down the possible causes and find a solution to get your Zoom camera up and running again.
If you’ve tried all the troubleshooting steps and the camera issue persists, it might be necessary to seek professional assistance or contact the camera manufacturer for further support.
Zoom camera problems can be resolved with patience and persistence. With the right troubleshooting approach, you can overcome these challenges and enjoy smooth and successful video conferencing experiences.


