Introduction
Welcome to the world of iPhone photography! With every new generation of iPhone, Apple continues to improve the capabilities of its camera, making it more versatile and powerful. One of the key features that iPhone users often utilize is the ability to zoom in on the camera. Whether you want to capture a distant landscape, focus on intricate details, or get a closer look at a subject, zooming in on your iPhone camera can significantly enhance your photography experience.
Zooming in on your iPhone camera allows you to capture details that might be missed at a normal distance. It helps you bring subjects closer, making it ideal for wildlife photography, capturing intricate patterns, or even for taking close-up portraits. By zooming in, you can accentuate textures and reveal details that add depth and interest to your photos. Whether you’re an amateur photographer or a seasoned pro, learning how to effectively zoom in on your iPhone camera can take your photography skills to a whole new level.
In this article, we will explore different methods to zoom in on your iPhone camera and provide you with some helpful tips to ensure you get the best possible results. Whether you have the latest iPhone model or an older version, these techniques can be applied across most iPhone devices running on the latest iOS.
So, let’s dive in and discover how you can make the most of your iPhone camera’s zoom feature!
Why Zooming In on iPhone Camera is Important
The ability to zoom in on your iPhone camera offers a plethora of benefits that can enhance your photography experience and result in stunning images. Here are a few reasons why zooming in on your iPhone camera is important:
1. Get Closer to Your Subject: Zooming in allows you to get closer to your subject without physically moving closer. Whether you’re capturing a beautiful flower, a distant mountain range, or a bird perched on a tree, zooming in lets you capture the details and nuances that may be missed at a normal distance.
2. Capture Intricate Details: Zooming in with your iPhone camera allows you to capture intricate details that might otherwise go unnoticed. From capturing the delicate patterns on a butterfly’s wings to the intricate texture of a piece of fabric, zooming in allows you to highlight the finer details that make your photos more visually appealing.
3. Accentuate Textures: Zooming in on your subject is particularly useful when you want to emphasize textures or patterns. Whether it’s the rough bark of a tree, the sandy grains on a beach, or the intricate lines on a leaf, zooming in enables you to showcase and emphasize these textures in your photographs.
4. Enhance Composition: By zooming in, you can improve the composition of your images. It allows you to eliminate unnecessary elements in the frame and focus on the main subject, resulting in a more impactful and visually pleasing photograph.
5. Explore Macro Photography: With the ability to zoom in on your iPhone camera, you can venture into the fascinating world of macro photography. Macro photography involves capturing extreme close-up shots of tiny subjects, such as insects, flowers, or intricate objects. Zooming in helps you achieve a macro-like effect, allowing you to capture stunning close-up shots.
6. Improve Social Media Content: With the rise of social media platforms like Instagram and Facebook, sharing visually captivating content has become more important than ever. By zooming in on your iPhone camera, you can capture unique and attention-grabbing shots that stand out in the sea of ordinary smartphone photographs.
7. Flexibility in Framing: Zooming in provides you with the flexibility to adjust your framing without moving physically. It allows you to experiment with different perspectives and compositions, resulting in more creative and visually engaging photographs.
8. Better Control of Background and Foreground: Zooming in enables you to have better control over the background and foreground elements in your photographs. By zooming in, you can blur the background, creating a beautiful bokeh effect, which helps draw attention to the main subject and adds depth to your images.
By understanding the importance of zooming in on your iPhone camera, you can leverage this feature to capture stunning and captivating photographs that truly stand out.
How to Zoom In on iPhone Camera
Zooming in on your iPhone camera is a simple and intuitive process that can be achieved through various methods. Here are different ways to zoom in on your iPhone camera:
- Method 1: Pinch-zoom Gesture: The most common method to zoom in on your iPhone camera is by using the pinch-zoom gesture. Open the Camera app and tap on the screen to focus on your subject. Then, place two fingers (usually your thumb and index finger) on the screen and pinch them together to zoom in. Spread your fingers apart to zoom out. This method provides fine control over the zoom level.
- Method 2: Using the Zoom Slider: Another option to zoom in on your iPhone camera is by using the zoom slider. Open the Camera app and tap on the screen to focus. Look for the small zoom icon (a magnifying glass) at the bottom of the screen. Slide the zoom icon towards the plus sign to zoom in or towards the minus sign to zoom out. This method allows you to adjust the zoom level more precisely.
- Method 3: Using the Volume Buttons: Did you know that the volume buttons on your iPhone can also be used to zoom in on the camera? Open the Camera app and tap on the screen to set the focus. Then, press the volume up or down button to zoom in or out, respectively. This method is convenient, especially when you want to avoid touching the screen and potentially causing camera shake.
- Method 4: Using the Grid Feature: If you want to ensure better composition while zooming in, you can enable the grid feature on your iPhone camera. Open the Settings app, go to the Camera section, and toggle on the “Grid” option. This will display a grid on the camera screen, helping you align your subject and achieve better balance and symmetry in your composition while zooming in.
Experiment with each of these methods to find the one that works best for you and the specific shooting situation. Whether you prefer the intuitive pinch-zoom gesture or the precision of the zoom slider, these methods make it easy to control and adjust the zoom level on your iPhone camera.
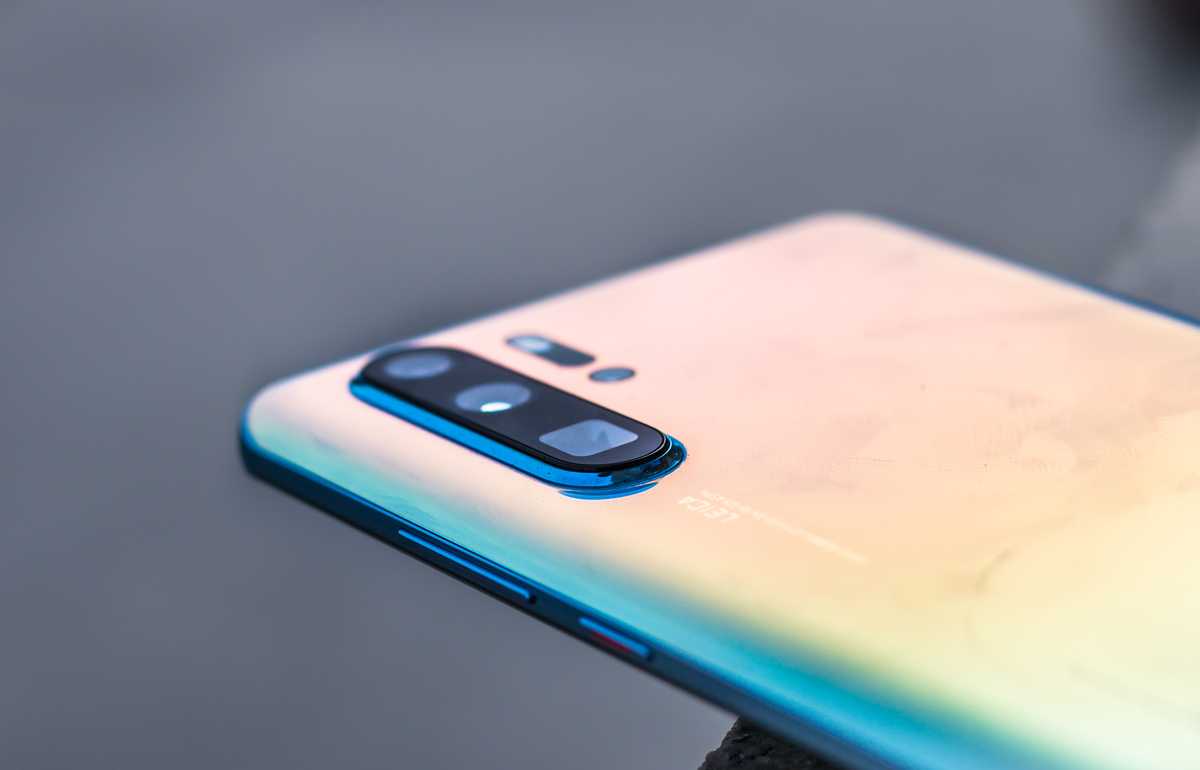
It’s worth noting that the maximum zoom level may vary depending on the model of your iPhone. Older iPhone models may have limited optical zoom capabilities compared to the newer models, which offer enhanced digital zoom features. However, regardless of the model, these techniques will help you make the most of your iPhone camera’s zoom function.
Method 1: Pinch-Zoom Gesture
The pinch-zoom gesture is a popular and intuitive method to zoom in on your iPhone camera. Follow these steps to use the pinch-zoom gesture:
- Open the Camera app on your iPhone.
- Tap on the screen to set the focus on your subject. This will ensure that the camera adjusts the exposure and focus correctly.
- Once you have tapped to focus, place two fingers (usually your thumb and index finger) on the screen.
- Gently pinch your fingers together to zoom in. As you pinch, you will notice the image on the screen getting closer and the zoom level increasing.
- To zoom out, spread your fingers apart. The image on the screen will appear smaller, and the zoom level will decrease.
The pinch-zoom gesture allows you to have precise control over the zoom level, giving you the freedom to zoom in as much as you want to capture details or zoom out for a wider view. It’s a versatile method that can be easily adjusted to your desired level of zoom with just a simple finger gesture.
Keep in mind that while digital zoom can be useful, it does have its limitations. Digital zoom uses software processing to magnify the image, resulting in a loss of image quality and potential pixelation. For the best results, it’s recommended to use optical zoom when available, which is provided by some newer iPhone models with multiple lenses.
By mastering the pinch-zoom gesture, you can quickly and effortlessly zoom in on your iPhone camera, capturing detailed shots and exploring new photographic possibilities.
Method 2: Using the Zoom Slider
If you prefer a more precise and controlled way of zooming in on your iPhone camera, you can use the zoom slider. This method allows you to adjust the zoom level with greater accuracy. Follow these steps to use the zoom slider:
- Open the Camera app on your iPhone.
- Tap on the screen to focus on your subject. This ensures that the camera sets the exposure and focus correctly.
- Look for the zoom icon at the bottom of the screen. It resembles a small magnifying glass.
- When you find the zoom icon, slide it towards the plus sign (+) to zoom in. You will see the image on the screen getting closer and the zoom level increasing.
- If you want to zoom out, slide the zoom icon towards the minus sign (-). The image on the screen will appear smaller, and the zoom level will decrease.
Using the zoom slider offers several advantages. First, it allows for more precise control over the zoom level, enabling you to fine-tune the composition and capture exactly what you want. Second, it eliminates the risk of accidentally touching the screen and potentially causing camera shake. This is particularly beneficial when shooting in low-light conditions or when trying to capture a moving subject.
It’s important to note that the maximum zoom level may vary depending on your iPhone model. Older iPhones typically have a limited optical zoom range, while newer models equipped with multiple lenses offer enhanced zoom capabilities.
Remember that while zooming in can be beneficial for capturing details, excessive zooming may result in a decrease in image quality, especially when using digital zoom. Therefore, it’s always advisable to get as close to your subject as possible physically before resorting to digital zoom.
By utilizing the zoom slider, you have greater control over the zoom level, enabling you to compose your shots precisely and capture stunning details with ease.
Method 3: Using the Volume Buttons
If you’re looking for a convenient and discreet method to zoom in on your iPhone camera, using the volume buttons can be a practical solution. This method allows you to control the zoom level without touching the screen, which can help minimize camera shake. Follow these steps to use the volume buttons for zooming in:
- Open the Camera app on your iPhone.
- Tap on the screen to focus on your subject, ensuring that the camera adjusts the exposure and focus accurately.
- Once you’re ready to zoom in, locate the volume up button on the side of your iPhone.
- Press and hold the volume up button to zoom in. As you do so, the image on the screen will appear closer, and the zoom level will increase.
- If you want to zoom out, press and hold the volume down button. The image on the screen will become smaller, and the zoom level will decrease.
Using the volume buttons to zoom in on your iPhone camera offers several advantages. First, it allows for discreet zooming, as you can adjust the zoom level without drawing attention by touching the screen. This can be particularly useful when you want to capture candid shots or in environments where silence is necessary.
Second, using the volume buttons provides a tactile experience, allowing you to have a better sense of control and avoiding inadvertent slips or accidental touches on the screen. This can help reduce camera shake and ensure sharper images, especially in low-light situations or when photographing a moving subject.
It’s important to note that the maximum zoom level may vary depending on the model of your iPhone. Newer iPhone models equipped with multiple lenses offer enhanced zoom capabilities, providing better optical zoom performance compared to older models.
Keep in mind that while using the volume buttons is a convenient way to control the zoom level, it may not be accessible if you’re using external headphones or if your device is in a case that covers the volume buttons. In such cases, you can try other zooming methods, such as the pinch-zoom gesture or the zoom slider.
By mastering the method of using the volume buttons for zooming in on your iPhone camera, you can effortlessly adjust the zoom level and capture the perfect shot, all while maintaining a discreet and stable shooting experience.
Method 4: Using the Grid Feature
When it comes to framing and composition, the grid feature on your iPhone camera can be a great aid. By enabling the grid, you can align your subjects more effectively and create well-balanced compositions. Here’s how to use the grid feature for zooming in on your iPhone camera:
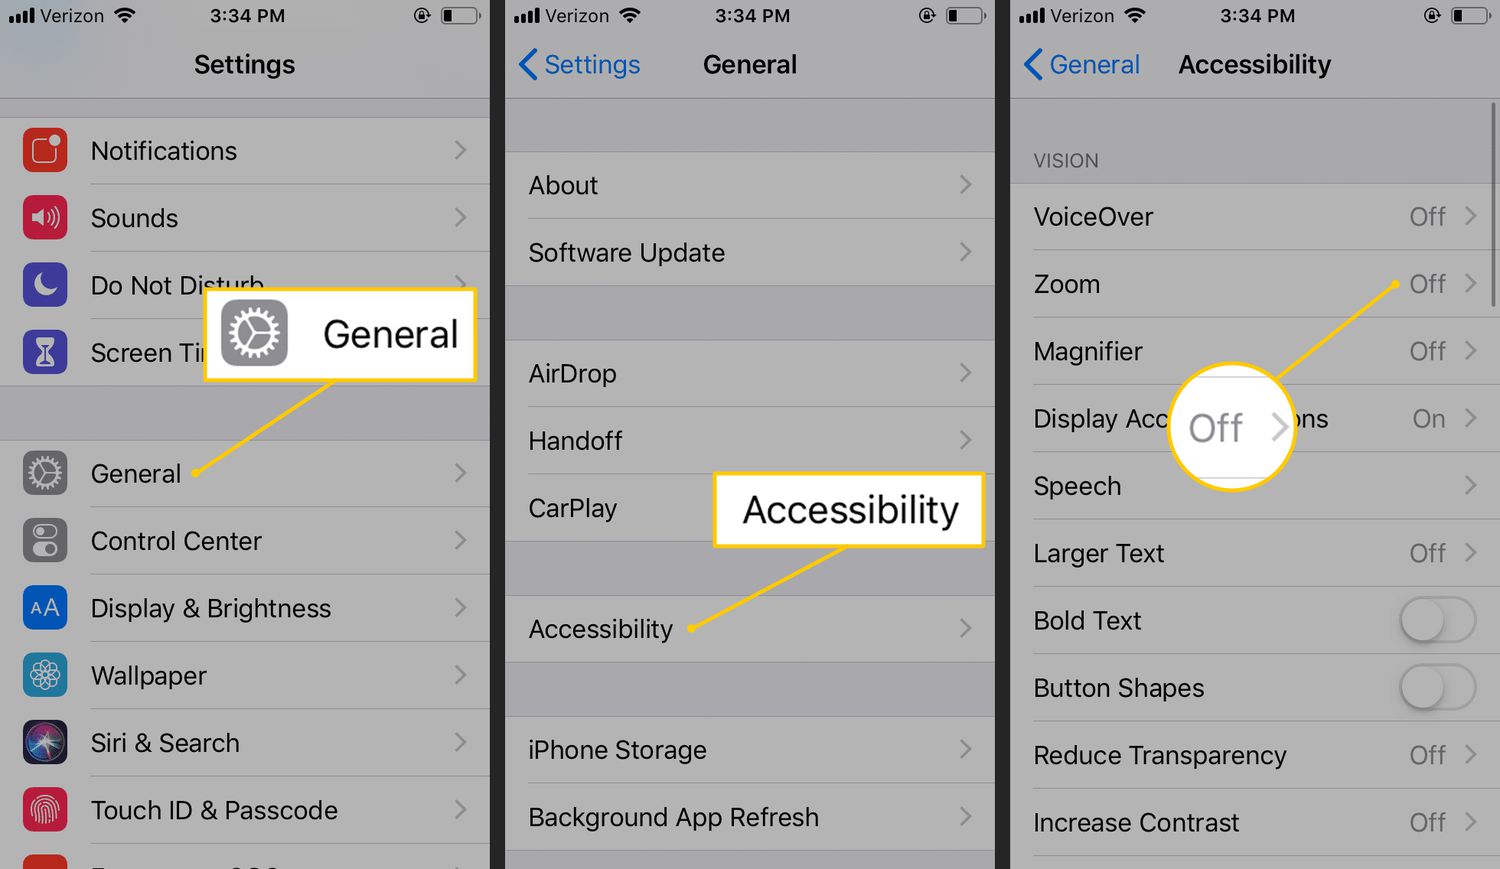
- Open the Settings app on your iPhone.
- Scroll down and tap on “Camera”.
- Toggle on the “Grid” option to enable it.
- Once enabled, open the Camera app on your iPhone.
- The grid lines will now appear on the screen, dividing it into nine equal sections.
- Tap on the screen to set the focus on your subject.
- Use the pinch-zoom gesture or the zoom slider to zoom in on your subject while aligning it within the grid lines.
The grid feature provides a visual guide to help you compose your shots more accurately while zooming in on your iPhone camera. The grid lines divide the screen into nine sections, following the rule of thirds, which is a tried-and-true composition technique.
By aligning your subject along the grid lines, you can create more balanced and visually pleasing compositions. For example, you can position your subject at the intersection points of the grid lines, which often result in a more dynamic composition.
In addition to composition assistance, the grid feature can also help you ensure that your shots are straight and level. By aligning horizons or vertical lines with the grid lines, you can avoid unintentional tilting or distortion in your images.
It’s worth noting that the grid feature is not limited to zoomed-in shots; it can be helpful for any type of photography on your iPhone. So, whether you’re zooming in on a small detail or capturing a wide landscape, the grid feature will assist you in achieving better composition and overall image quality.
Experiment with the grid feature and see how it can improve your photography skills. By using the grid as a guide while zooming in, you can create visually compelling images with well-balanced compositions and precise subject placement.
Tips for Getting the Best Zoomed-in Shots
Zooming in on your iPhone camera can greatly enhance your photography, allowing you to capture stunning details and create impactful compositions. To ensure you get the best results when using the zoom feature, consider the following tips:
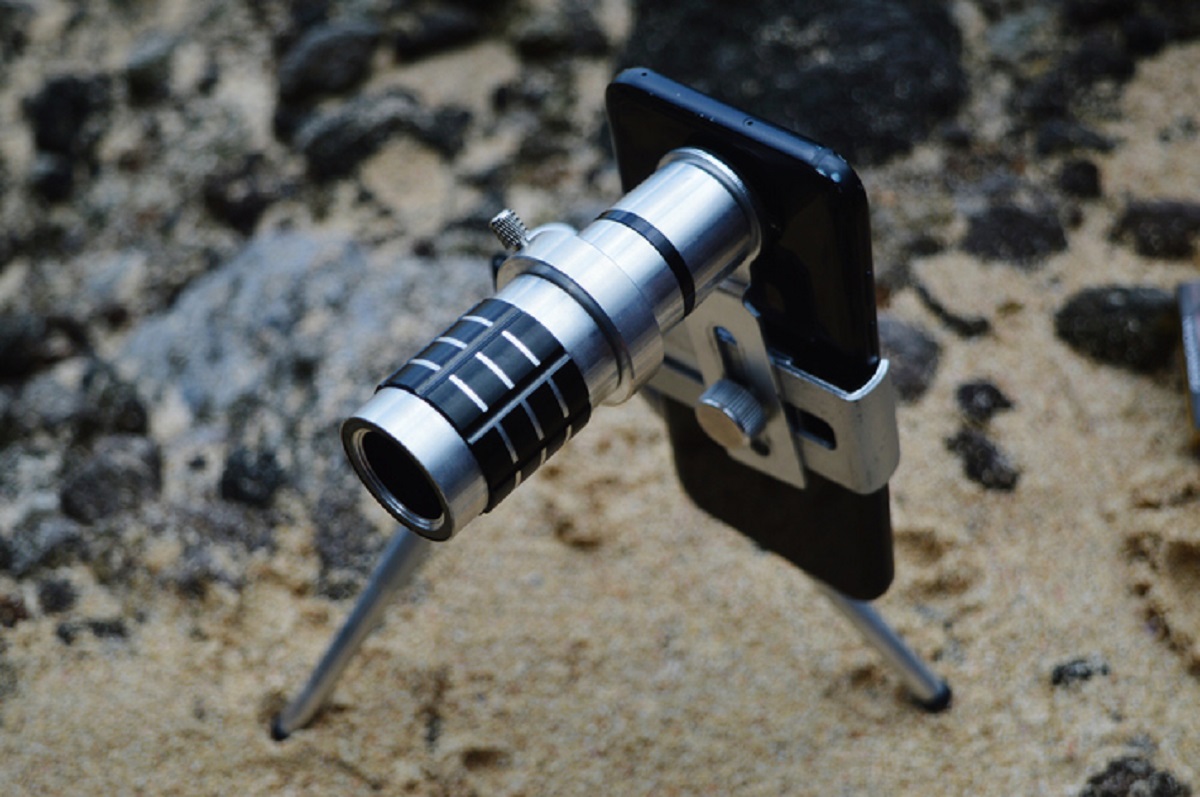
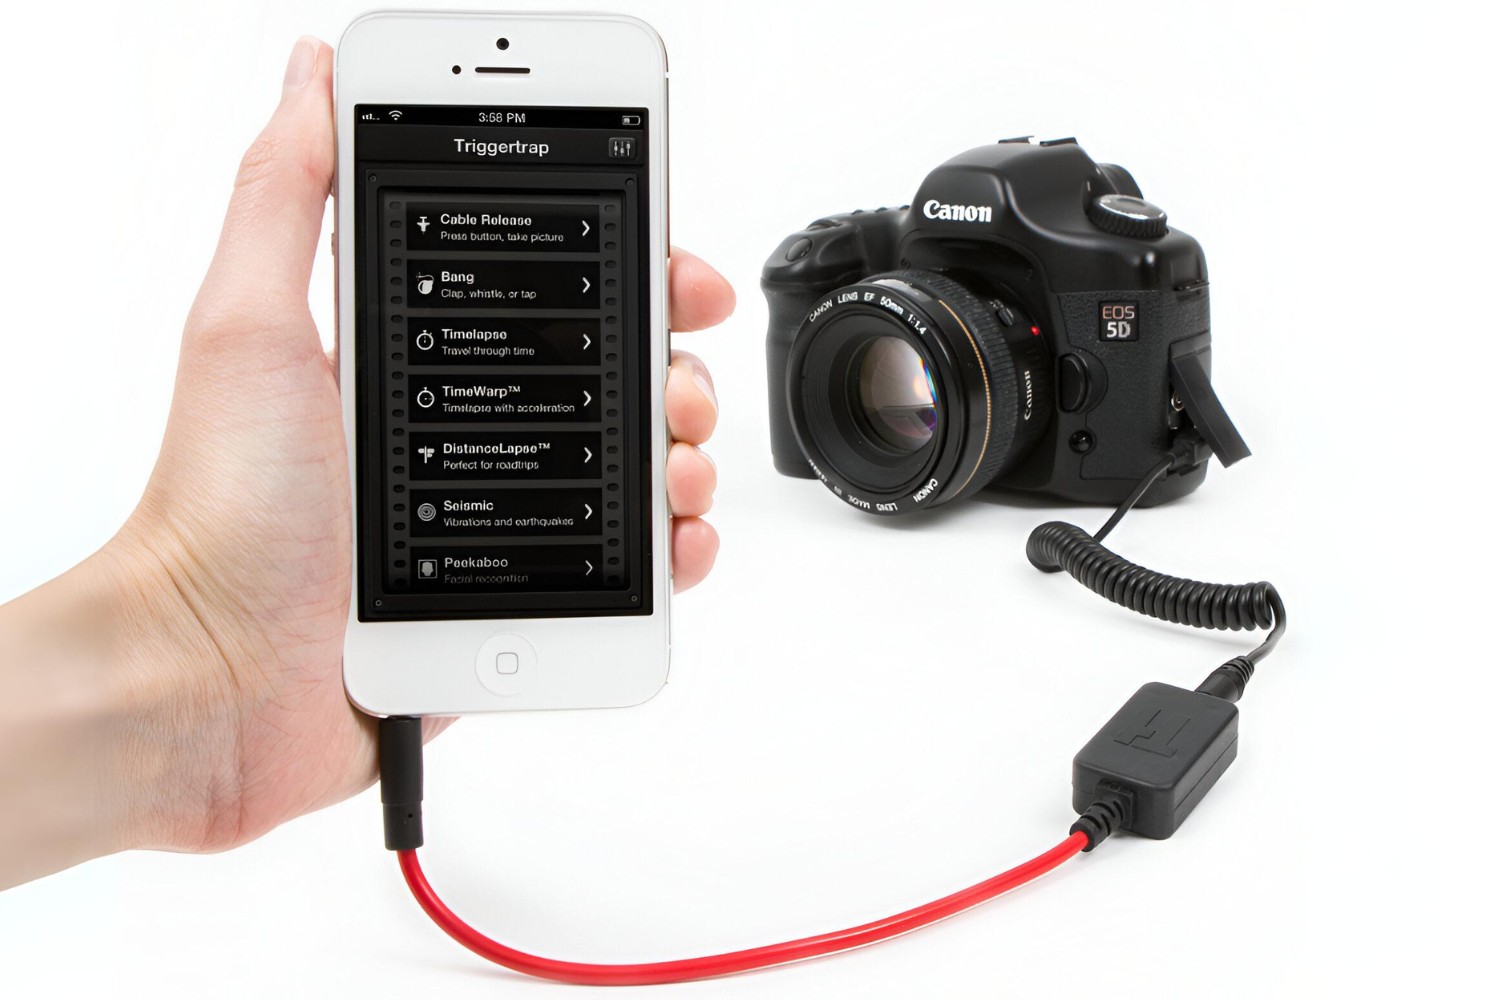
- 1. Stable Shooting: As you zoom in, even the tiniest movements can cause blurriness in your photos. To counteract this, use a tripod or stabilize your iPhone by resting it on a surface or using your body as support. Alternatively, you can also use the volume buttons to trigger the shutter instead of tapping the screen.
- 2. Adequate Lighting: Zooming in can reduce the amount of light reaching the camera sensor, making your photos appear darker or grainier. To compensate for this, ensure you have sufficient lighting, whether it’s natural light or artificial sources. Avoid using the flash, as it can produce harsh and unnatural lighting.
- 3. Find Balance in Composition: When zooming in, pay attention to the overall composition of your shot. Look for elements that can balance the image, such as leading lines, symmetry, or interesting foreground and background elements. Take the time to frame your subject in a visually pleasing way.
- 4. Experiment with Depth of Field: Zooming in can create a shallow depth of field, where the subject is in focus while the background appears blurred. This effect can add depth and separate the subject from its surroundings. Explore different apertures and distances to achieve the desired depth of field.
- 5. Explore Manual Focus: Along with zooming in, you can manually adjust the focus on your iPhone camera. Experiment with tapping on different areas of the screen to select the focus point. This allows you to control which part of the image appears sharpest, enhancing the overall impact of your zoomed-in shots.
- 6. Capture Unique Perspective: Zooming in enables you to capture details and perspectives that may often go unnoticed. Look for interesting textures, patterns, or close-up details that can add a unique touch to your photos. Experiment with different angles and viewpoints to capture a fresh perspective.
- 7. Edit and Enhance: After capturing your zoomed-in shots, take advantage of photo editing apps to enhance your images further. You can adjust brightness and contrast, boost colors, sharpen details, or apply filters to enhance the overall look of your photos.
Remember, practice makes perfect. The more you experiment and familiarize yourself with the zoom feature and these tips, the better you will become at capturing stunning zoomed-in shots on your iPhone camera.
Conclusion
Zooming in on your iPhone camera opens up a whole new world of possibilities in photography. It allows you to capture incredible details, emphasize textures, and create impactful compositions. By mastering the various methods of zooming in, such as the pinch-zoom gesture, using the zoom slider, utilizing the volume buttons, or enabling the grid feature, you have the flexibility to capture stunning and unique images with ease.
Throughout this article, we have explored the importance of zooming in on your iPhone camera and provided step-by-step instructions on how to use different zooming methods effectively. Understanding the benefits of zooming in, such as getting closer to your subject, capturing intricate details, and enhancing composition, can significantly elevate your photography skills and allow you to express your creativity.
Additionally, we have shared some valuable tips for getting the best zoomed-in shots on your iPhone camera. Keeping suggestions like stable shooting, adequate lighting, finding balance in composition, experimenting with depth of field, exploring manual focus, and utilizing post-processing techniques in mind will help you capture breathtaking images that truly stand out.
Remember, the key to mastering zooming in on your iPhone camera is practice. Take every opportunity to explore the different methods, experiment with different subjects and lighting conditions, and learn from your results. With time and experience, you will develop a keen eye for zooming in and capturing captivating photographs on your iPhone.
So, grab your iPhone, unleash your creativity, and get ready to zoom in on the world around you. Whether you’re capturing the fine details of nature, exploring macro photography, or simply looking to enhance your compositions, the zoom feature on your iPhone camera will become your ally in unlocking a world of awe-inspiring photography.