Introduction
Welcome to the world of Android tablets, where you can enjoy a multitude of features and applications to enhance your digital experience. However, with all the files, documents, and apps we accumulate, it’s easy to accidentally delete something important. But fear not, as Android tablets have a useful feature called the Trash, which acts as a safety net for deleted items. In this article, we will explore how to access and manage the Trash folder on your Android tablet.
Whether you have a Samsung Galaxy Tab, Google Pixel Slate, or any other Android tablet, the Trash folder can help you recover accidentally deleted files, restore them to their original location, or permanently delete them if needed. Knowing how to navigate and utilize this feature can be incredibly beneficial, saving you valuable time and effort in retrieving lost data.
In the next sections, we’ll dive into accessing the Trash folder on your Android tablet, understanding its functionality, and learning how to restore deleted files. We’ll also explore the process of emptying the Trash when you no longer need the files, and provide tips for managing storage on your device. By the end of this guide, you will be equipped with the knowledge and skills to efficiently use the Trash folder on your Android tablet.
How to Access the Trash on an Android Tablet
Accessing the Trash folder on your Android tablet may vary slightly depending on the brand and version of your device’s operating system. However, the following steps should give you a general idea of how to find the Trash folder:
1. Start by unlocking your Android tablet and navigating to the “Apps” or “Applications” menu. This is usually represented by an icon that resembles a grid of dots or squares.
2. Look for the “File Manager” app within the Apps menu. If you can’t find it, try searching for it using the search bar at the top of the screen.
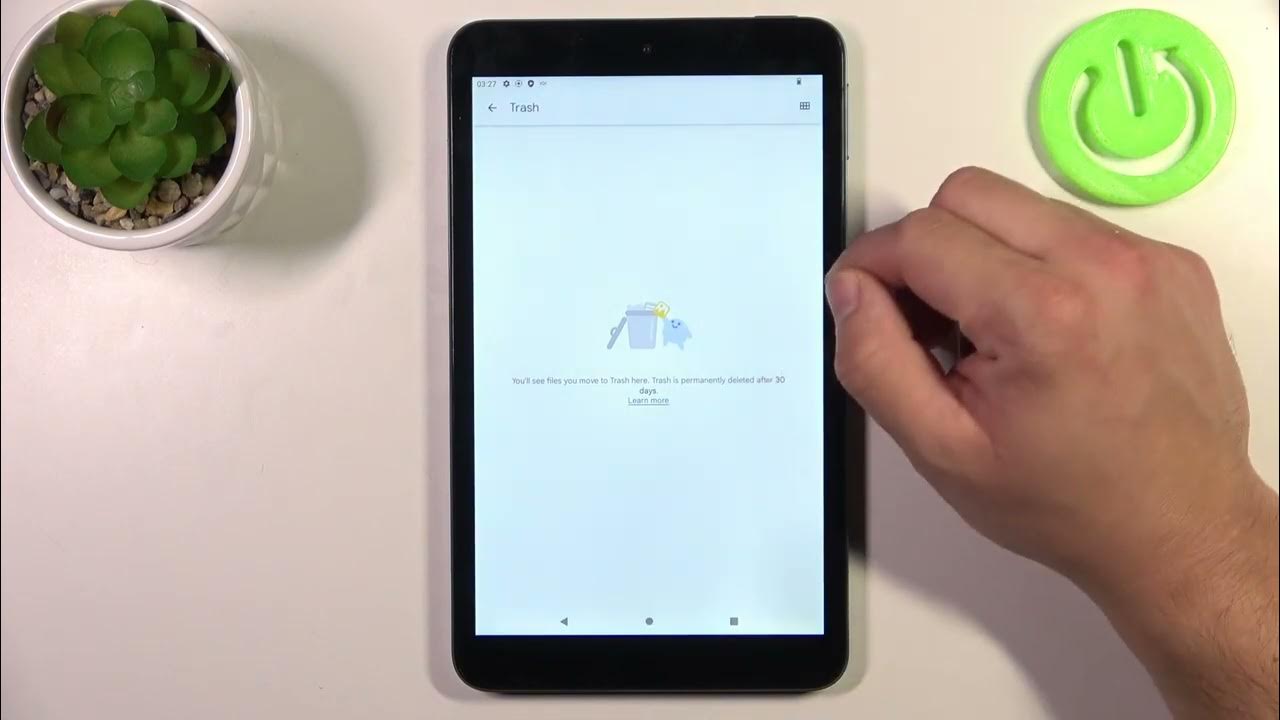
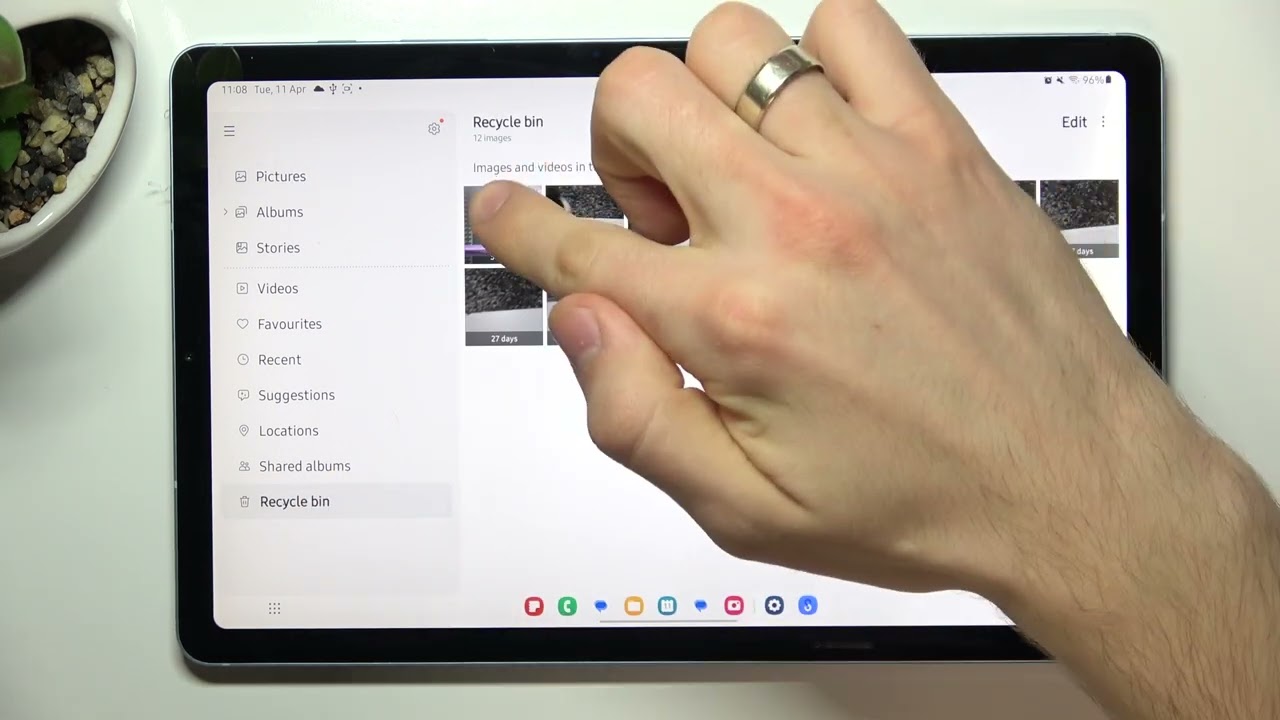
3. Once you open the File Manager app, you may see various folders and files. Look for a folder named “Trash” or “Recycle Bin.” Tap on it to access the folder.
4. Inside the Trash folder, you will find any deleted files, documents, or media items that are awaiting permanent deletion. You can browse through the items and select the ones you want to restore or permanently delete.
5. To restore a file, long-press on it until a menu pops up. From the menu, select the “Restore” option. The file will be restored to its original location on your Android tablet.
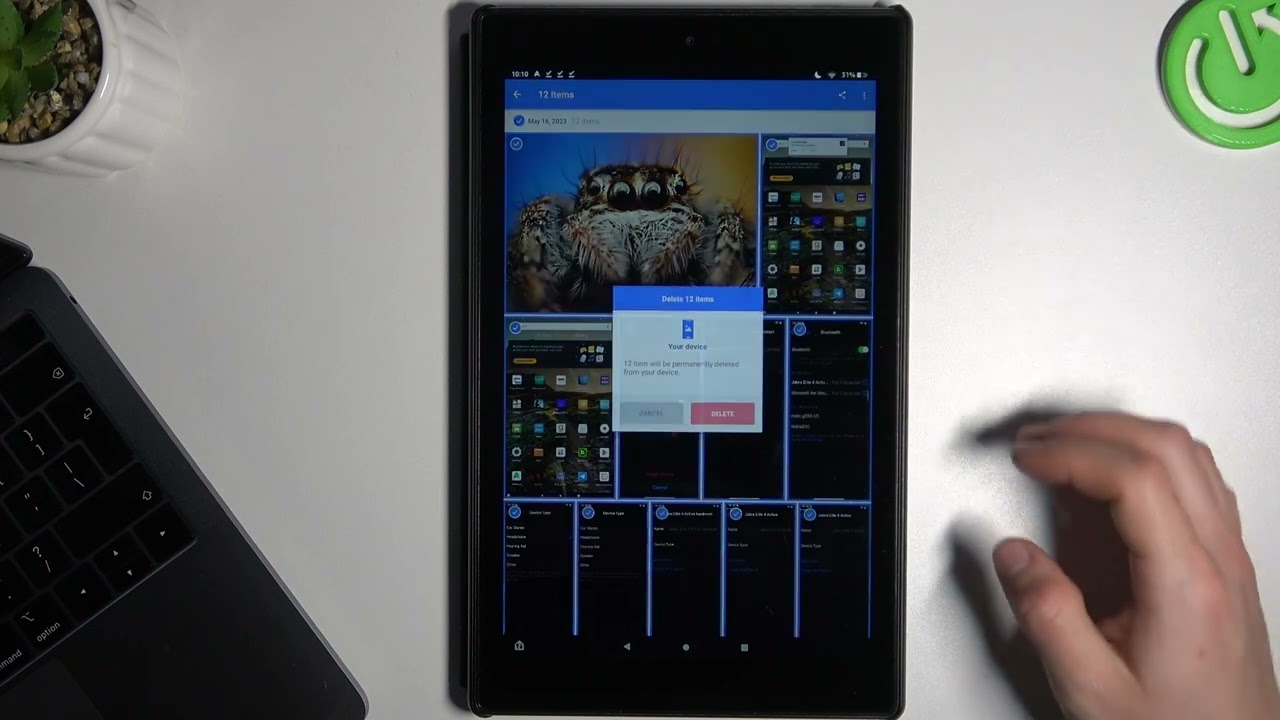
6. If you want to permanently delete a file from the Trash folder, long-press on it and select the “Delete” or “Delete Permanently” option from the menu. Please note that once deleted permanently, the file cannot be recovered.
Keep in mind that the location and naming of the Trash folder might differ based on the file manager app you are using. If you are using a third-party file manager app, the Trash folder may be labeled differently or located in a slightly different location.
Now that you know how to access the Trash folder on your Android tablet, let’s delve deeper into understanding how this folder works and how you can effectively restore deleted files.
Understanding the Trash Folder
The Trash folder on an Android tablet serves as a temporary storage space for deleted files. When you delete a file from your device, whether it’s a photo, document, or any other type of file, it doesn’t get immediately permanently deleted. Instead, it gets moved to the Trash folder, allowing you to retrieve it if needed.
The primary purpose of the Trash folder is to provide a safety net for accidental deletions. It safeguards your files in case you accidentally remove something important or realize that you need a deleted file later on. This feature can be especially helpful when dealing with large files or when you are unsure if you might need a file in the future.
By default, the Trash folder on Android tablets retains deleted files for a specific duration, such as 30 days, before automatically deleting them permanently. During this time, you can access the Trash folder, review the deleted files, and restore them to their original location if necessary.
One important thing to note is that not all file manager apps or devices have a Trash folder. Some devices may opt for a different approach, such as a Recycle Bin or similar functionality. However, the purpose of these features remains the same – to provide a temporary storage space for deleted files.
It’s worth mentioning that the Trash folder is not meant to be a long-term storage solution. It is recommended to regularly review the contents of the Trash folder and permanently delete files that you no longer need. This will help free up storage space on your Android tablet and ensure the efficient management of your files.
Now that you have a better understanding of the Trash folder on your Android tablet, let’s explore how to restore deleted files from the Trash and retrieve them to their original location.
Restoring Deleted Files from the Trash
Accidentally deleting a file on your Android tablet can be a frustrating experience. Thankfully, the Trash folder provides you with the opportunity to recover deleted files and restore them to their original location. Here’s how you can restore deleted files from the Trash:
1. Start by opening the File Manager or the app that allows you to access the Trash folder on your Android tablet.
2. Navigate to the Trash folder within the app. It may be labeled as “Trash,” “Recycle Bin,” or have a similar name.
3. Inside the Trash folder, you will find a list of recently deleted files. Browse through the files and locate the one that you want to restore.
4. Long-press on the file that you wish to restore until a menu pops up. From the menu, select the “Restore” option.
5. The file will then be restored to its original location on your Android tablet. You can navigate to its original folder to verify that it has been successfully restored.
It’s important to note that not all files can be restored from the Trash. Some files, particularly system files or files that were deleted a long time ago, may no longer be recoverable. Additionally, if you have already emptied the Trash, the files will have been permanently deleted and cannot be restored.
If you need to restore multiple files at once, you can select multiple files by tapping on them or using the checkboxes next to each file. Then, choose the “Restore” option from the menu to restore all selected files simultaneously.
Once you have restored the files, it’s recommended to review their contents and ensure they are intact. If you encounter any issues with the restored files, you may need to seek alternative recovery methods or consider professional assistance.
Now that you know how to restore deleted files from the Trash, let’s move on to the process of emptying the Trash and permanently deleting unwanted files from your Android tablet.
Emptying the Trash on an Android Tablet
The Trash folder on your Android tablet serves as a temporary storage space for deleted files, allowing you to retrieve them if needed. However, it’s important to regularly empty the Trash to free up storage space and keep your device running smoothly. Here’s how you can empty the Trash on your Android tablet:
1. Open the File Manager app or the app that provides access to the Trash folder on your Android tablet.
2. Navigate to the Trash folder within the app.
3. Once inside the Trash folder, you will see a list of deleted files that are awaiting permanent deletion.
4. Look for an option or icon that allows you to perform actions on the Trash folder. This may be represented by three vertical dots, a settings gear, or a trash bin icon.
5. Tap on the appropriate option or icon to access additional actions for the Trash folder.
6. From the available options, look for “Empty Trash,” “Delete All,” or a similar command to permanently delete all files in the Trash folder.
7. Confirm your action when prompted to proceed with emptying the Trash. Keep in mind that this action is irreversible, and all files in the Trash will be permanently deleted.
It’s important to note that emptying the Trash will permanently delete all the deleted files, without the possibility of restoring them. Therefore, before emptying the Trash, ensure that you have reviewed the contents and retrieved any important files that you may need.
Regularly emptying the Trash not only helps reclaim valuable storage space on your Android tablet but also ensures that deleted files are completely removed from your device. This can be especially useful when handling sensitive or confidential files that you no longer need.
Now that you know how to empty the Trash on your Android tablet, let’s move on to exploring tips for managing storage on your device effectively.
Managing Storage on Your Android Tablet
Effective storage management is crucial to keep your Android tablet running smoothly and make the most of its capabilities. Here are some tips to help you manage storage on your device:
1. Regularly Review and Delete Unnecessary Files: Go through your apps, photos, videos, and other files regularly and delete anything you no longer need. This will free up space and improve the overall performance of your tablet.
2. Move Files to External Storage: If your Android tablet allows for expandable storage using a microSD card, consider moving less frequently accessed files, such as media files or documents, to the external storage. This will free up space in the internal storage for essential apps and system files.
3. Utilize Cloud Storage: Take advantage of cloud storage services such as Google Drive, Dropbox, or OneDrive to store files that you don’t need immediate access to. This allows you to access your files from any device while freeing up storage space on your tablet.
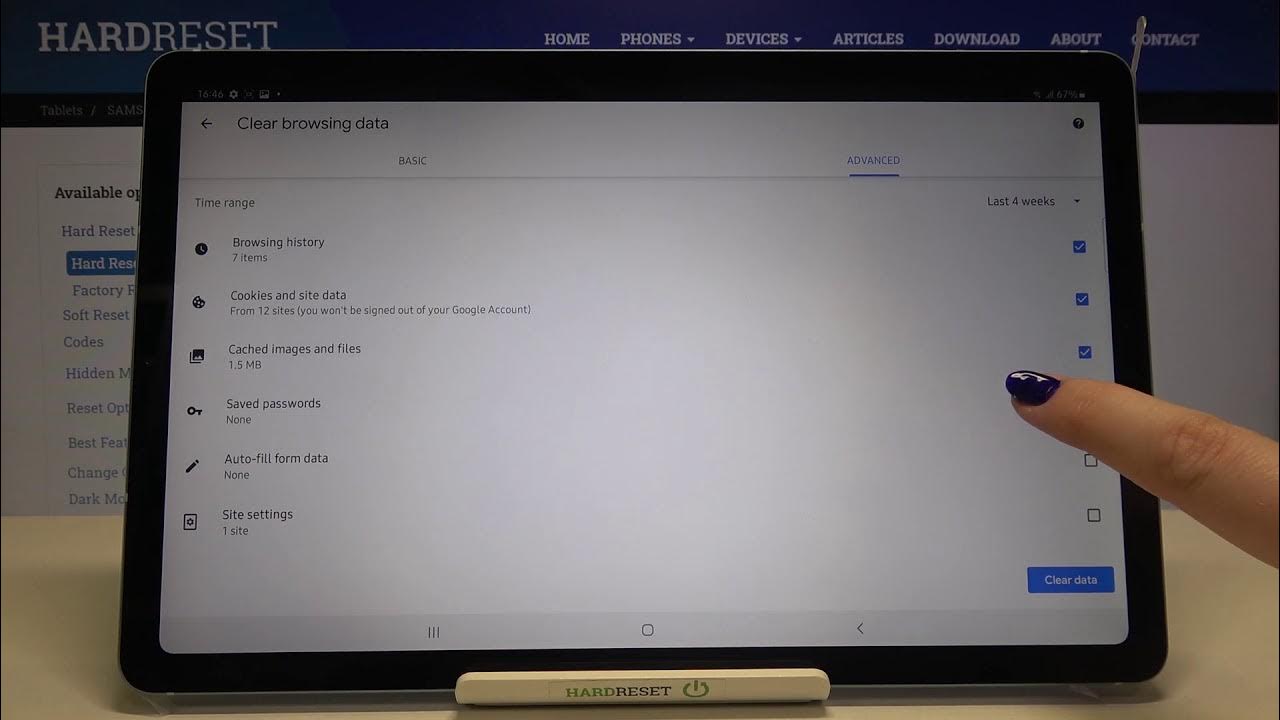
4. Manage App Cache: Clearing the cache of apps can help free up space on your tablet. Go to the Settings, then Apps or Applications, and select the specific app you want to manage. Tap on “Storage” or “Cache” and clear the cache to remove temporary files.
5. Optimize Downloads: Set preferences in your app settings to ensure that files are downloaded and stored in appropriate locations. For example, you can choose to automatically save files to your external storage or limit the download size of certain apps.
6. Uninstall Unused Apps: Remove apps that you no longer use or need. Go to Settings, then Apps or Applications, and select the app you want to uninstall. Tap on “Uninstall” to remove it from your device.
7. Use Storage Management Tools: Some Android tablets offer built-in storage management tools that help analyze and optimize storage usage. These tools can provide insights into which apps or files are taking up the most space and suggest actions to free up storage.
By implementing these storage management practices, you can ensure that your Android tablet operates smoothly, has ample space for new apps and files, and remains optimized for optimal performance.
With these tips in mind, you are now equipped with the knowledge to effectively manage storage on your Android tablet. Incorporate these practices into your routine to keep your tablet functioning at its best.
Conclusion
Congratulations! You have successfully learned how to access, navigate, and manage the Trash folder on your Android tablet. This useful feature acts as a safety net, safeguarding your deleted files and allowing you to restore them if needed. Understanding how to utilize the Trash folder can be a game-changer, saving you from the frustration of permanently losing important files.
We began by exploring how to access the Trash folder on your Android tablet, providing step-by-step instructions to help you find and open this essential feature. We then delved into understanding the purpose of the Trash folder, emphasizing the importance of regularly emptying it to optimize storage space on your device.
You also learned how to restore deleted files from the Trash, ensuring that accidental deletions don’t result in permanent data loss. By following the steps provided, you can easily retrieve and restore deleted files to their original location on your Android tablet.
Lastly, we discussed effective strategies for managing storage on your Android tablet. By reviewing and deleting unnecessary files, utilizing external and cloud storage options, managing app cache, and optimizing downloads, you can maximize available storage space and keep your device running smoothly.
Remember, the key to efficient storage management is to regularly assess and organize your files, ensuring that you only keep what you truly need. By implementing these practices, you can maintain a clutter-free and optimized Android tablet experience.
So, embrace your newfound knowledge and make the most out of the Trash folder and other storage management techniques on your Android tablet. Enjoy the convenience, peace of mind, and improved performance that comes with effectively managing your files and storage space.


