Drawing Tablet Setup
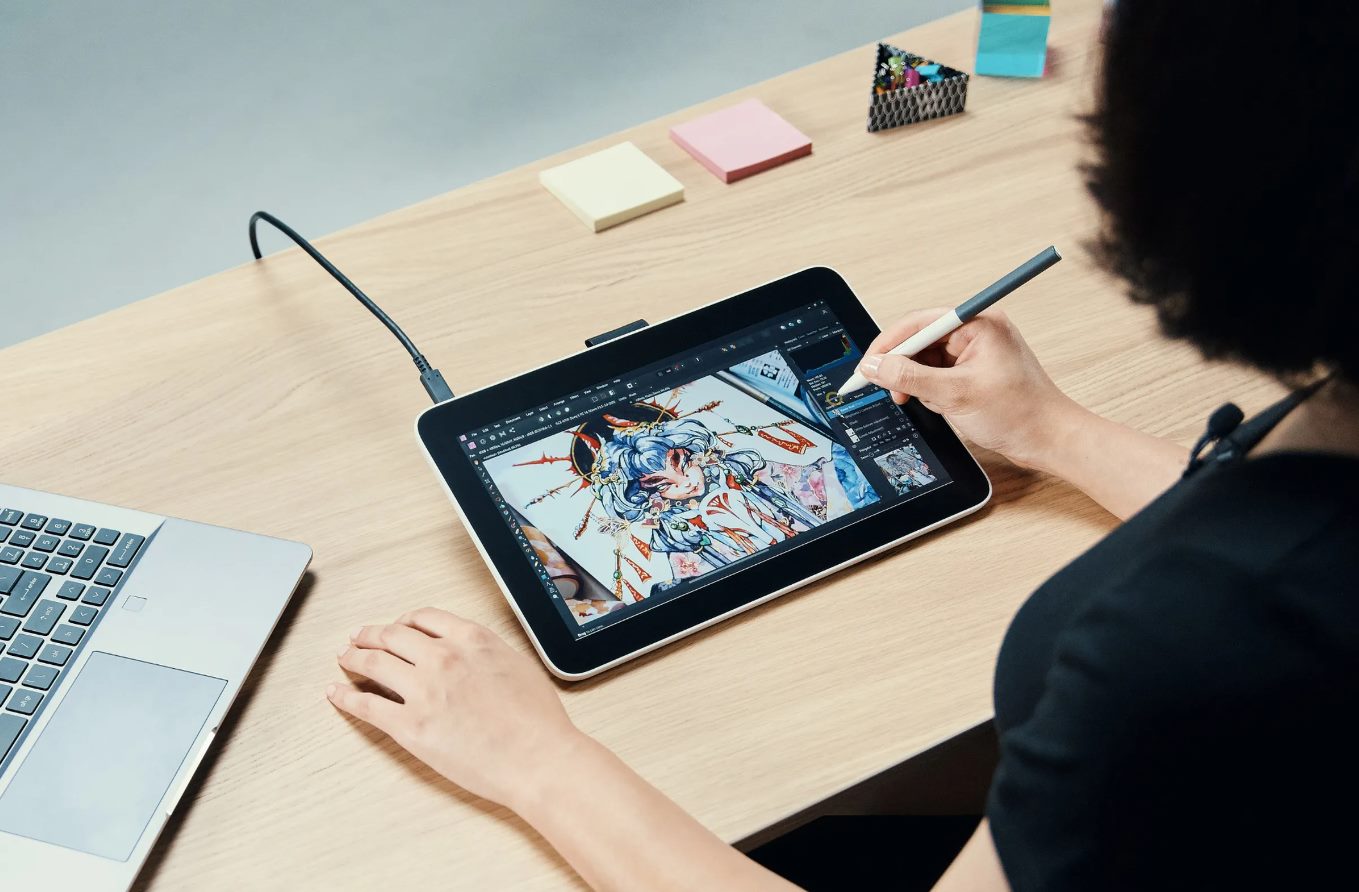
Setting up your drawing tablet properly is crucial to ensure a smooth and efficient digital art experience. Whether you are a beginner or a seasoned artist, follow these steps to get your drawing tablet up and running:
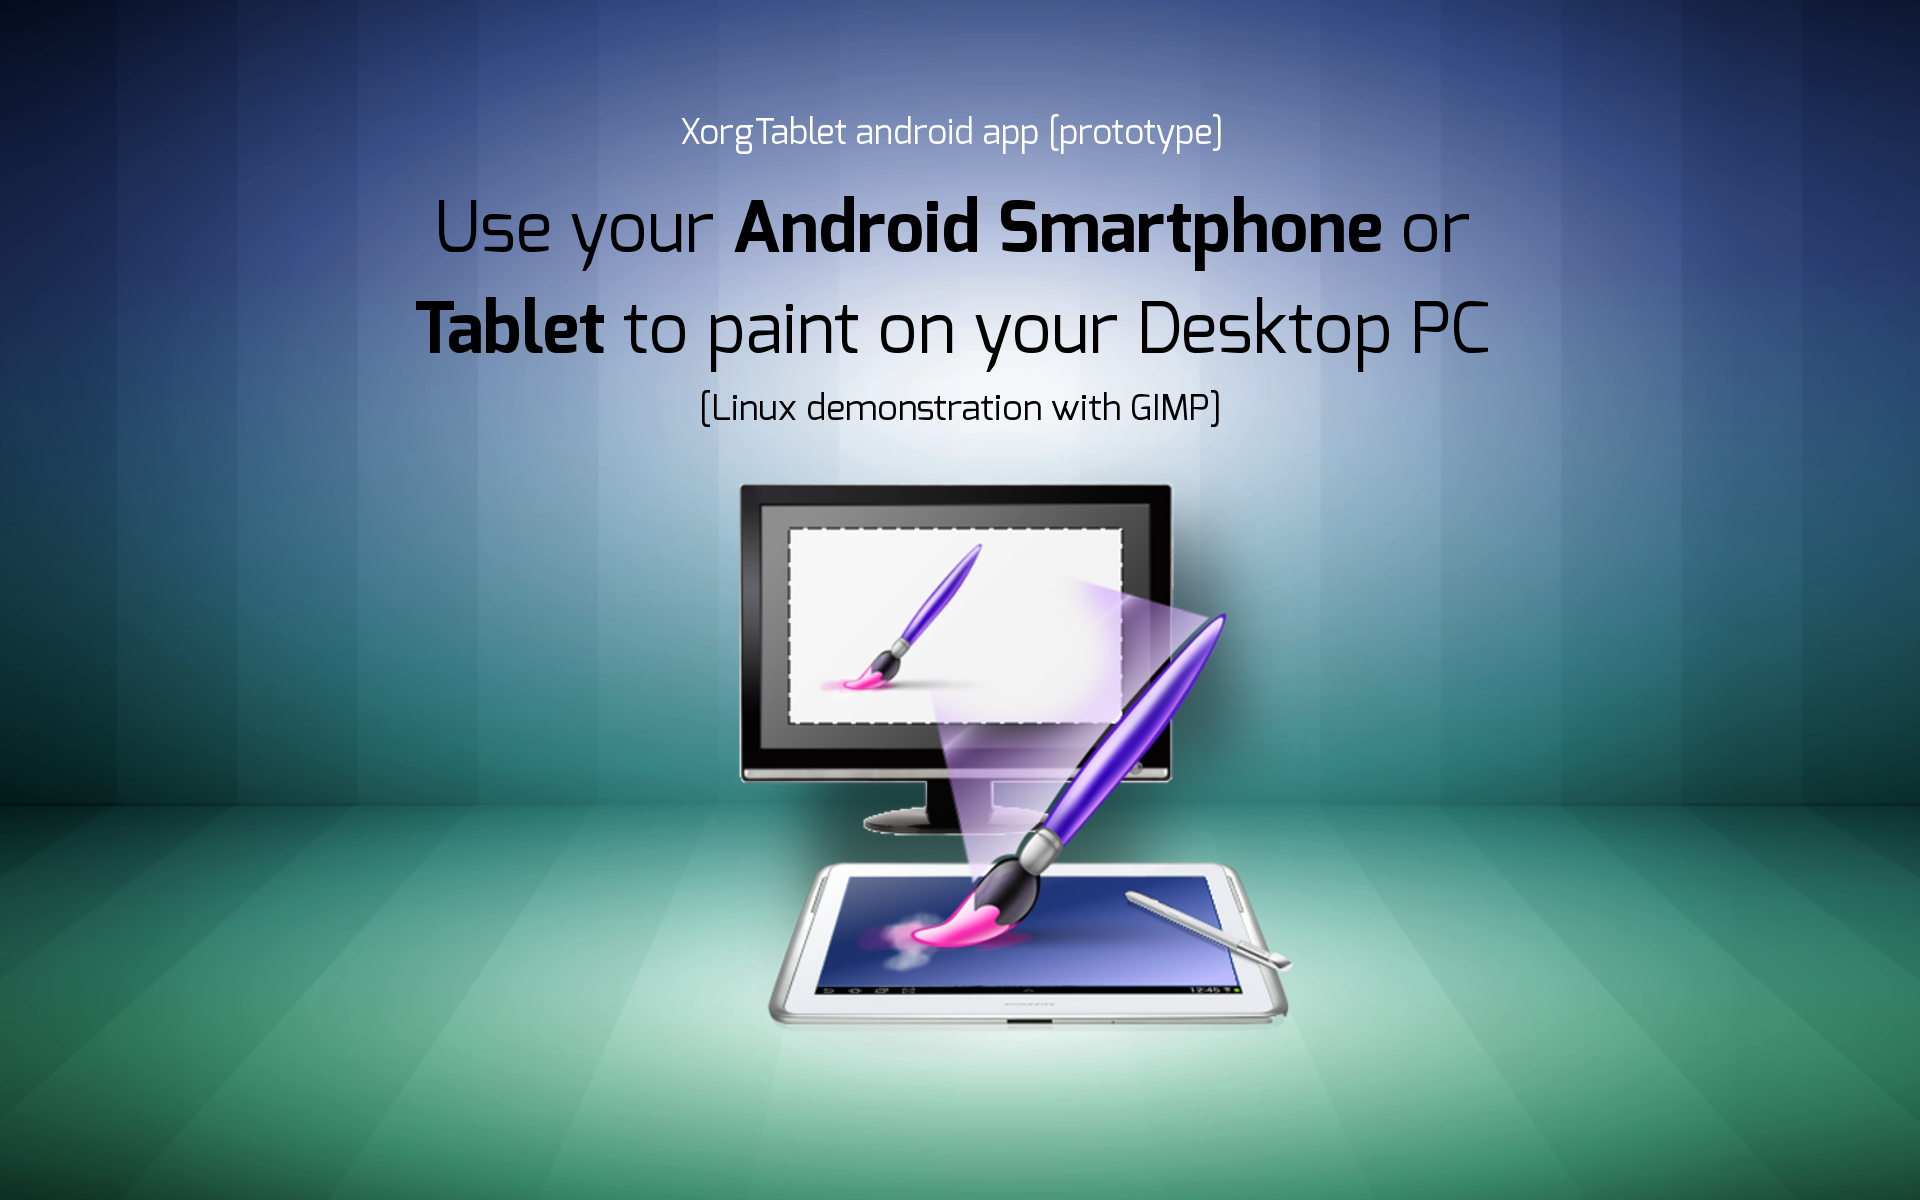
- Check compatibility: Before purchasing a drawing tablet, make sure it is compatible with your computer’s operating system. Most drawing tablets work well with Windows, MacOS, and some even with Linux.
- Install tablet drivers: Once you have the tablet, visit the manufacturer’s website and download the latest drivers for your specific model. These drivers will enable your computer to recognize and communicate with the tablet properly.
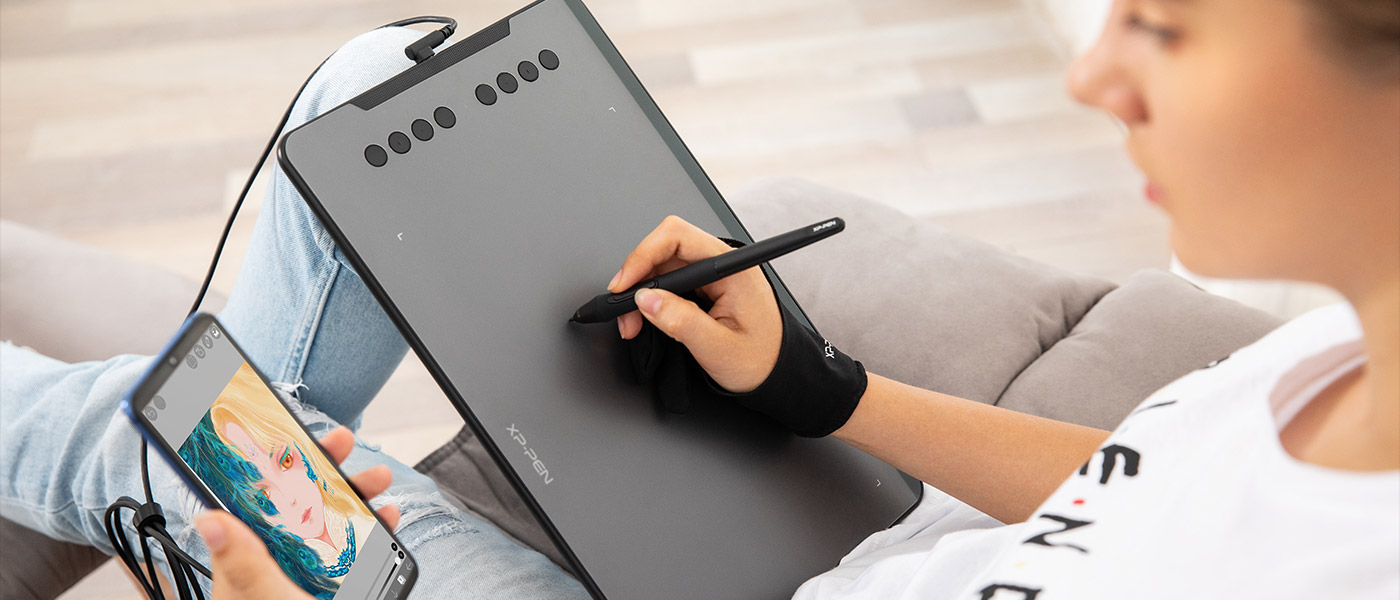
- Connect the tablet: Connect the tablet to your computer using the provided USB cable. Ensure that the connection is secure and that the tablet is powered on.
- Customize tablet settings: Many drawing tablets come with software that allows you to customize the tablet’s settings according to your preference. Install the software and explore the available options. You can adjust the pressure sensitivity, assign hotkeys, and customize other functions to streamline your workflow.
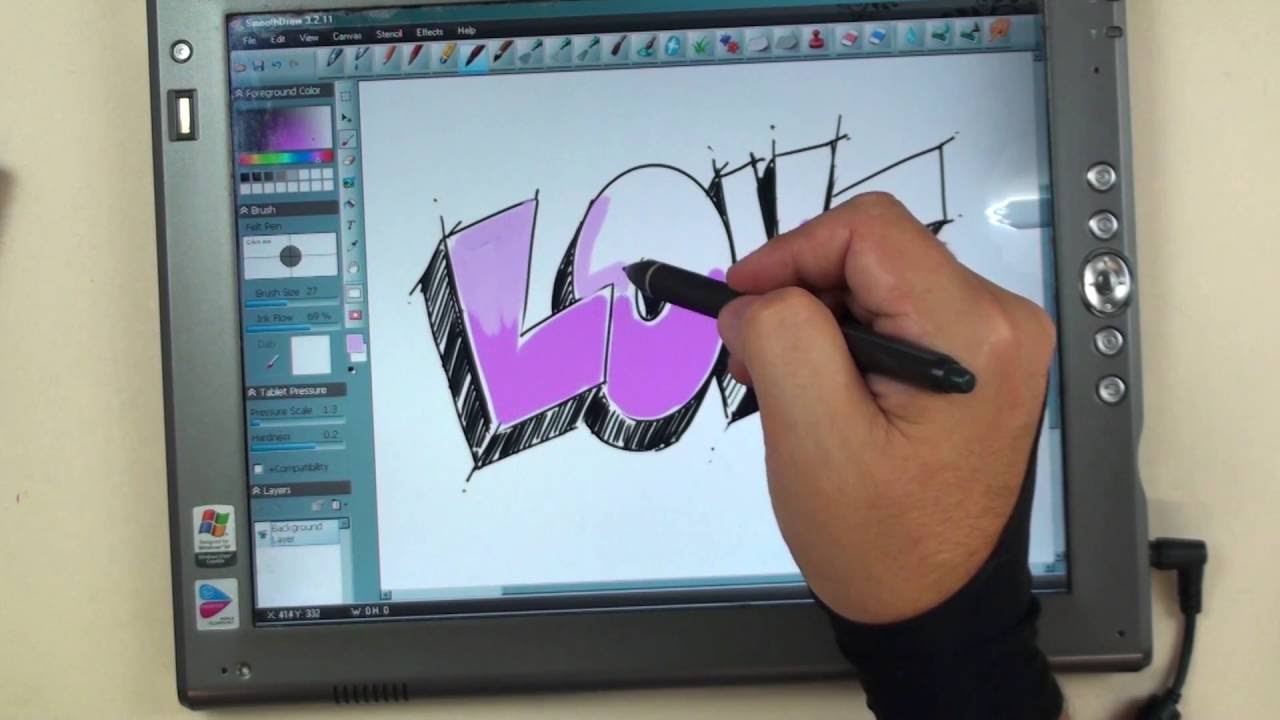
- Test and calibrate: After customizing the settings, test your drawing tablet to make sure it is working correctly. Open your preferred digital art software and make a few strokes on the tablet. Check if the pressure sensitivity and pointer accuracy are functioning as expected. If necessary, calibrate the tablet using the calibration tools provided in the tablet software.
- Adjust hotkeys (optional): Some drawing tablets come with programmable buttons (hotkeys) that you can assign specific functions to. Take some time to configure these hotkeys to optimize your workflow. Assign commonly used shortcuts, such as zoom in/out or undo/redo, to the buttons for quick access.
By following these steps, you’ll have your drawing tablet set up to suit your artistic needs. Remember to periodically update the tablet drivers to ensure compatibility with future software updates.
Installing Tablet Drivers
Installing the proper drivers for your drawing tablet is essential for it to function correctly. The drivers act as a bridge between the tablet hardware and your computer’s operating system, allowing them to communicate effectively. Follow these steps to install the tablet drivers:
- Visit the manufacturer’s website: Go to the website of the drawing tablet manufacturer and look for the “Support” or “Downloads” section. Here, you can usually find the latest drivers for your specific tablet model.
- Download the drivers: Locate the drivers for your tablet’s operating system (Windows, MacOS, or Linux). Download the appropriate driver file to your computer.
- Run the installer: Once the driver file is downloaded, locate it on your computer and double-click to run the installer. Follow the on-screen instructions to proceed with the installation process.
- Complete the installation: The installation process may take a few minutes to complete. Once finished, restart your computer to ensure that the drivers are properly integrated and functioning.
- Check driver status: After restarting, check the device manager or system preferences on your computer to ensure that the tablet driver is installed and recognized. You should see your tablet listed as a connected device without any warning icons.
It is important to keep your tablet drivers updated. Periodically check the manufacturer’s website for newer versions of the drivers and install them accordingly. Updated drivers often provide performance improvements, bug fixes, and compatibility enhancements with new software releases.
If you encounter any issues during the driver installation process, consult the manufacturer’s support resources or community forums for troubleshooting guidance. They can provide specific instructions to address common installation problems.
By properly installing the tablet drivers, you will have a stable and optimized connection between your drawing tablet and computer, ensuring a seamless and enjoyable drawing experience.
Connecting Your Drawing Tablet to Your Computer
Connecting your drawing tablet to your computer is a simple process that allows you to start using it for digital art creation. Follow these steps to establish a reliable connection:
- Prepare the tablet: Ensure that your drawing tablet is powered on and that the USB cable is unplugged from both the tablet and the computer.
- Check the USB port: Locate an available USB port on your computer. USB 2.0 or higher ports are recommended for faster data transfer and better performance.
- Connect the USB cable: Take the USB cable that came with your drawing tablet and plug one end into the USB port on your computer. Then, connect the other end of the cable to the corresponding port on your drawing tablet.
- Secure the connection: Ensure that the USB cable is securely connected to both the computer and the tablet. A loose connection can cause intermittent disconnections or malfunctioning of the tablet.
- Install drivers (if necessary): If you haven’t installed the drivers for your drawing tablet yet, refer to the “Installing Tablet Drivers” section above and follow the steps to download and install the appropriate drivers.
- Wait for the computer to recognize the tablet: Once the tablet is connected and the drivers are installed, your computer should automatically detect the drawing tablet as a connected device. It may take a few moments for the computer to recognize and configure the tablet.
- Adjust tablet settings (if necessary): Depending on your drawing tablet model, you may need to customize the tablet settings. Install any provided software or drivers to access the customization options. You can adjust various settings such as pen pressure sensitivity, express keys, or touch gestures according to your preferences.
Once the drawing tablet is connected and recognized by your computer, you can start using it with your favorite digital art software. Experiment with different brushes, explore the tablet’s features, and unleash your creativity.
Remember, if you encounter any issues with the tablet connection, double-check the cable connections, ensure the latest drivers are installed, and consult the tablet’s user manual or the manufacturer’s support resources for troubleshooting steps.
Setting Up Tablet Customization
To make the most out of your drawing tablet, it’s important to customize its settings according to your preferences. Tablet customization allows you to optimize the functionality, sensitivity, and shortcuts of your tablet. Here’s how you can set up tablet customization:
- Install tablet software: Start by installing the software or drivers provided by the tablet manufacturer. This software is specific to your tablet model and allows you to access various customization options.
- Explore customization options: Open the tablet software and explore the available customization settings. Most drawing tablets offer options such as pen pressure sensitivity, express keys, touch gestures, and calibration settings.
- Adjust pressure sensitivity: Fine-tune the pressure sensitivity of your drawing tablet according to your artistic style. Adjusting the pressure sensitivity allows you to control the thickness and opacity of your brush strokes based on how hard or lightly you press on the tablet surface.
- Assign express keys: Many drawing tablets come with programmable buttons called “express keys” or “hotkeys.” These keys can be customized to perform various functions, such as zooming in or out, changing brush size, or switching between tools. Assign shortcuts that you frequently use to these keys for easy access and improved workflow efficiency.
- Customize touch gestures: If your drawing tablet has touch capability, you can customize touch gestures. Common touch gestures include pinch-to-zoom, rotating the canvas, or panning the workspace. Assign gestures that feel natural and intuitive to streamline your workflow.
- Calibrate the tablet: Calibration ensures that the cursor on the screen aligns accurately with your pen movements. Use the calibration tools provided in the tablet software to calibrate the tablet if you notice any cursor misalignment issues while drawing.
- Save and backup settings: After customizing the tablet settings, save your configurations. Some tablet software allows you to export or back up your settings, ensuring that you can easily restore them if you switch devices or reinstall the software.
Once you have customized the tablet settings to your liking, take some time to get familiar with them. Practice using the express keys, experiment with different touch gestures, and adjust pen pressure sensitivity to find what works best for you.
Remember that every artist has different preferences, so don’t be afraid to experiment and fine-tune the tablet customization to suit your unique style and needs.
Testing and Calibrating Your Drawing Tablet
Once you have set up your drawing tablet, it’s essential to test and calibrate it to ensure optimal performance. Testing and calibrating your tablet will help you achieve accurate and precise pen movements on the screen. Here’s how you can test and calibrate your drawing tablet:
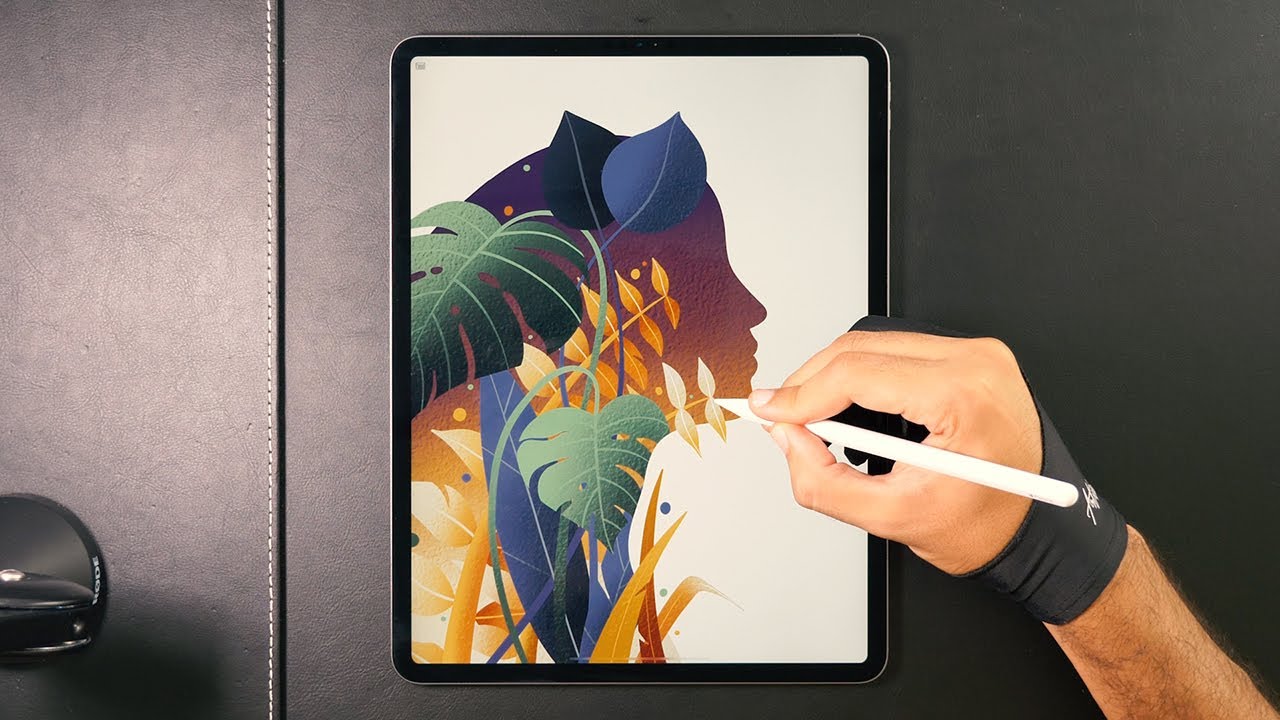
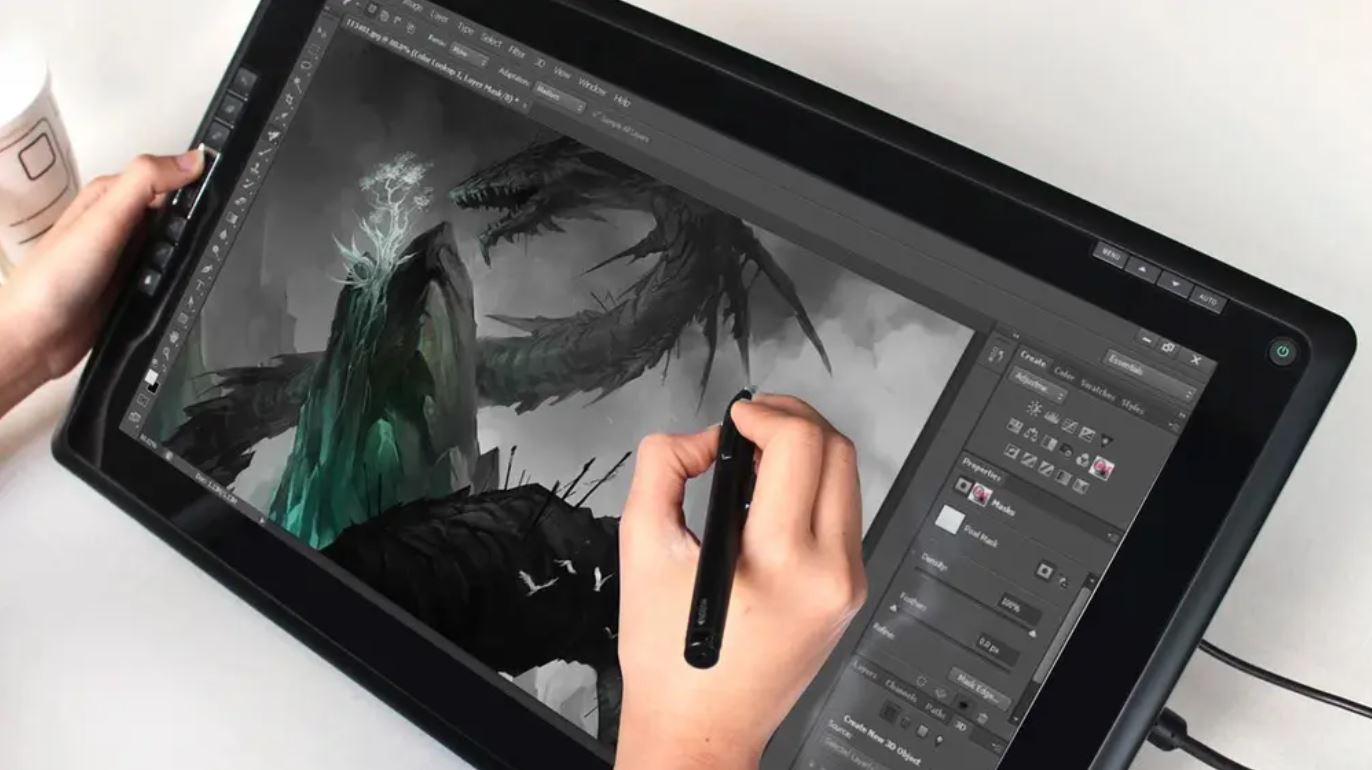
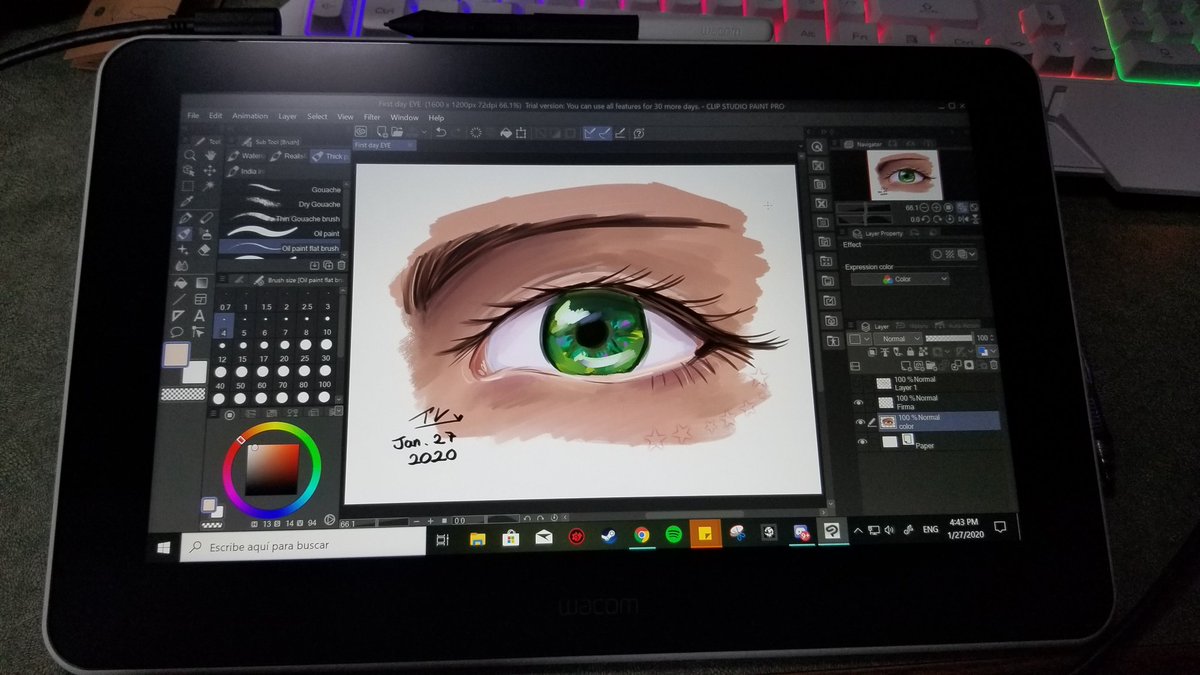
- Open your preferred digital art software: Launch the digital art software that you plan to use with your drawing tablet. This can be Adobe Photoshop, Clip Studio Paint, Procreate, or any other software compatible with your tablet.
- Make test strokes: Use the pen or stylus that came with your tablet to make test strokes on the canvas. Observe if the pressure sensitivity is working as expected. Light strokes should produce thin lines, while applying more pressure should result in thicker lines.
- Check for cursor accuracy: Pay attention to the cursor’s position on the screen as you make pen movements. Ensure that the cursor accurately follows the pen and there’s no noticeable lag or offset between the two.
- Adjust pressure sensitivity: If you find that the pressure sensitivity needs adjustment, refer to the tablet software or drivers. Most tablet software provides sliders or settings to fine-tune the pressure sensitivity levels. Make adjustments as per your preference and test again to see if it’s more responsive.
- Calibrate the tablet: If you notice any misalignment between the pen and cursor movements, it may be necessary to calibrate the tablet. Tablet calibration helps align the pen’s physical movements with the cursor on the screen. Refer to the tablet software or drivers to access the calibration settings and follow the on-screen instructions for proper calibration.
- Test different brush sizes and tools: Experiment with various brush sizes and tools within your digital art software. Verify that the tablet accurately registers the pressure sensitivity for each brush and tool you use. Ensure that the tablet responds consistently to light and heavy pen strokes.
- Save your preferred settings: Once you are satisfied with the test results and have made any necessary adjustments, save your preferred tablet settings. This will ensure that you can quickly restore your customized settings if they are accidentally changed or need to be transferred to another device.
Regularly testing and calibrating your drawing tablet is important to maintain its accuracy and responsiveness. If you encounter any issues during the testing or calibration process, consult the tablet manufacturer’s support resources or community forums for troubleshooting assistance.
Remember, every drawing tablet is unique, so it may take some time to find the optimal settings that suit your drawing style and preferences. Experimentation and practice will help you get the most out of your drawing tablet. Enjoy the creative possibilities that your tablet unlocks!
Troubleshooting Common Issues with Drawing Tablets
While drawing tablets provide a fantastic tool for digital artists, occasionally, you may encounter some issues that can affect your workflow. Here are some common issues and their troubleshooting solutions:
- Driver-related problems: If your tablet is not functioning correctly, updating or reinstalling the drivers is often the first step. Visit the manufacturer’s website to download the latest drivers compatible with your operating system and tablet model. Uninstall the existing drivers before installing the new ones.
- Pen pressure not working: If the pen pressure sensitivity is not functioning, ensure that the software you’re using supports pressure sensitivity. If it does, check the tablet software settings to enable or adjust pressure sensitivity. If the issue persists, try restarting both your computer and the drawing tablet.
- Cursor offset or misalignment: If the cursor does not align accurately with the pen’s movements, recalibrate the tablet using the calibration tools provided in the tablet software. Follow the on-screen instructions carefully to ensure proper alignment. Additionally, make sure there are no physical obstructions or dust particles on the tablet’s surface that may interfere with the pen’s tracking.
- Interference from other devices: Other electronic devices near your drawing tablet, such as wireless routers or smartphones, can sometimes cause interference. Try working in a different location or temporarily disable nearby devices to see if it resolves the issue.
- USB connectivity problems: If your tablet disconnects or stops responding frequently, check the USB cable for any damage or looseness. Try using a different USB port on your computer or a different USB cable if available. Avoid using USB hubs or extension cables, as they can sometimes cause connectivity issues.
- Incompatibility issues: Ensure that your drawing tablet is compatible with your operating system. Some older or less-popular tablet models may not have drivers or software updates available for the latest operating systems. If your tablet is not compatible, consider upgrading to a newer model or using a different operating system.
If you continue to experience issues after troubleshooting, consult the manufacturer’s support resources, such as their website, user manuals, or customer support channels. They can provide specific guidance or offer solutions tailored to your particular tablet model.
Keeping your drawing tablet drivers updated and periodically checking for firmware or software updates from the manufacturer is also essential to resolve any compatibility issues and ensure the best performance.
Remember, every drawing tablet can have its unique quirks, so patience and experimentation may be required to find the best solutions for your specific circumstances. Don’t hesitate to seek assistance from online communities or forums where experienced users may offer additional advice or solutions.
Tips for Optimizing Your Drawing Tablet Experience
To make the most of your drawing tablet and enhance your digital art experience, consider implementing these tips and tricks:
- Practice regularly: Like any skill, practice is essential for improving your digital art abilities. Set aside dedicated time to practice using your drawing tablet. Experiment with different brush types, explore new techniques, and push yourself to try out new styles and subjects.
- Experiment with different software: Don’t limit yourself to a single digital art software. Explore different programs to find the one that suits your artistic needs and preferences. Popular options include Adobe Photoshop, Corel Painter, Clip Studio Paint, and Krita. Each software has its own unique features and tools that can enhance your creative process.
- Use shortcut keys and hotkeys: Take advantage of the shortcut keys or hotkeys on your drawing tablet or pen. Assign frequently used commands, such as undo or zoom, to these keys for quick access and improved workflow efficiency. Learning and utilizing these shortcuts can save valuable time and streamline your creative process.
- Utilize pressure sensitivity: Experiment with the pressure sensitivity of your drawing tablet to create varying line thicknesses and opacities. Understanding how to control the pressure applied to the tablet surface can add depth and realism to your digital artwork. Adjust the sensitivity to match your drawing style and the desired effect you want to achieve.
- Try different brushes and textures: Explore a wide range of digital brushes and textures available in your drawing software. Experiment with different brush types, textures, and stroke settings to add depth and texture to your artwork. This experimentation can lead to unique and visually stunning results.
- Customize your workspace: Take the time to organize your digital art workspace. Arrange your tools, color palettes, and panels in a way that is intuitive and conducive to your workflow. This will help you access the necessary tools quickly and keep you focused on creating art.
- Engage in online communities: Join online communities, forums, and social media groups dedicated to digital art. Engaging with fellow artists can provide inspiration, feedback, and helpful tips that can enhance your skills and knowledge.
- Backup your artwork: Regularly backup your digital artwork to prevent loss in case of hardware failure or accidental deletion. Store your files in multiple locations, such as external hard drives or cloud storage services, for added security and peace of mind.
Remember, the journey of mastering digital art takes time and patience. Continuously explore new techniques, learn from others, and experiment with different styles and tools. With dedication and a well-optimized drawing tablet experience, you can unlock your full artistic potential and create stunning digital artwork.