Introduction
Welcome to our guide on how to delete emails on an Android tablet. If you’re using an Android tablet and find your inbox flooded with emails, it may be time to clean up and delete the unnecessary ones. By deleting unwanted emails, you can improve the organization of your inbox and ensure that important messages are easily accessible.
Deleting emails on an Android tablet is a simple process that can be done using the default email app. Whether you use Gmail, Outlook, Yahoo Mail, or any other email provider, the steps to delete emails are quite similar across different apps. In this guide, we will walk you through the process of deleting emails, step by step.
Before we get started, it’s important to note that once you delete an email, it is moved to the Trash or Deleted Items folder. Depending on your email app’s settings, these deleted emails may be permanently removed after a certain period. To ensure that your deleted emails are completely removed from your device, we will also provide instructions on how to clear the deleted emails from the trash.
It’s also worth mentioning that the instructions mentioned in this guide are based on the default email app on most Android tablets. However, some tablets may use different email apps, or you may have installed a custom email app from the Google Play Store. While the basic steps will remain the same, there might be slight variations in the user interface and options. Let’s dive in and learn how to delete emails on your Android tablet!
Step 1: Open the Email App
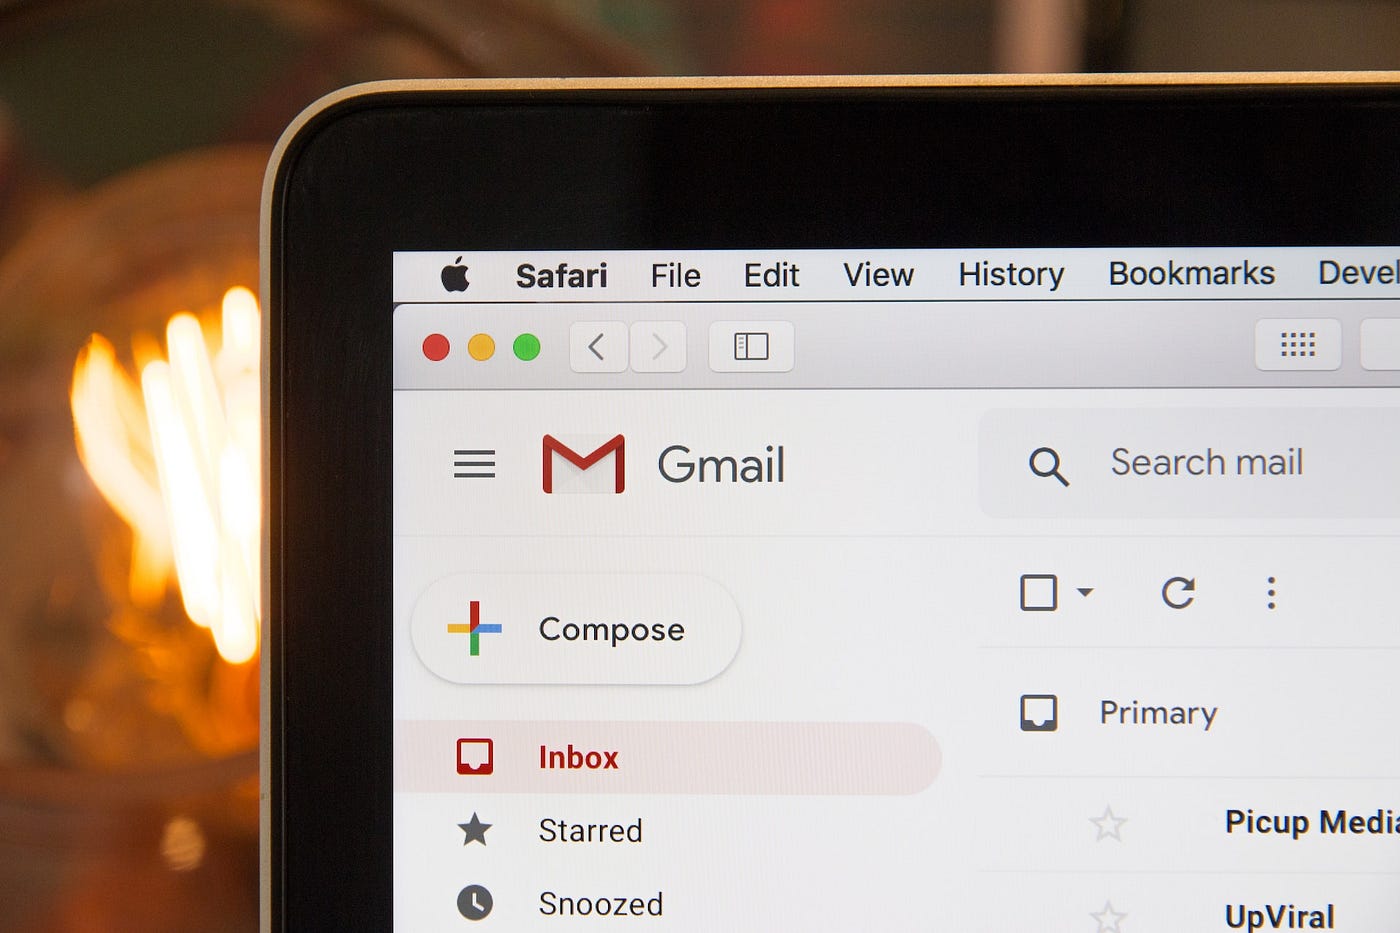
To begin deleting emails on your Android tablet, you’ll need to open the email app. The email app may vary depending on the brand and model of your tablet, but most Android tablets come pre-installed with a default email app such as Gmail or Email.
To open the email app, locate the app icon on your tablet’s home screen or in the app drawer. The app icon usually resembles an envelope or the logo of the specific email provider. Tap on the app icon to launch the email app.
Once the email app is launched, you will be taken to the main screen, which displays your inbox. If you have multiple email accounts set up on your Android tablet, you may need to select the account from which you want to delete emails.
Look for the account name or profile picture at the top of the screen and tap on it. A drop-down menu or a list of accounts associated with the email app will appear. Select the account that contains the emails you want to delete.
After selecting the account, you will be directed to the inbox of that specific email account. Here, you will see a list of emails that are currently in your inbox. The emails are usually displayed in chronological order, with the most recent ones on top.
Congratulations! You have successfully opened the email app on your Android tablet and are now ready to proceed with deleting the emails you no longer need. In the next step, we will guide you on how to select the emails you want to delete.
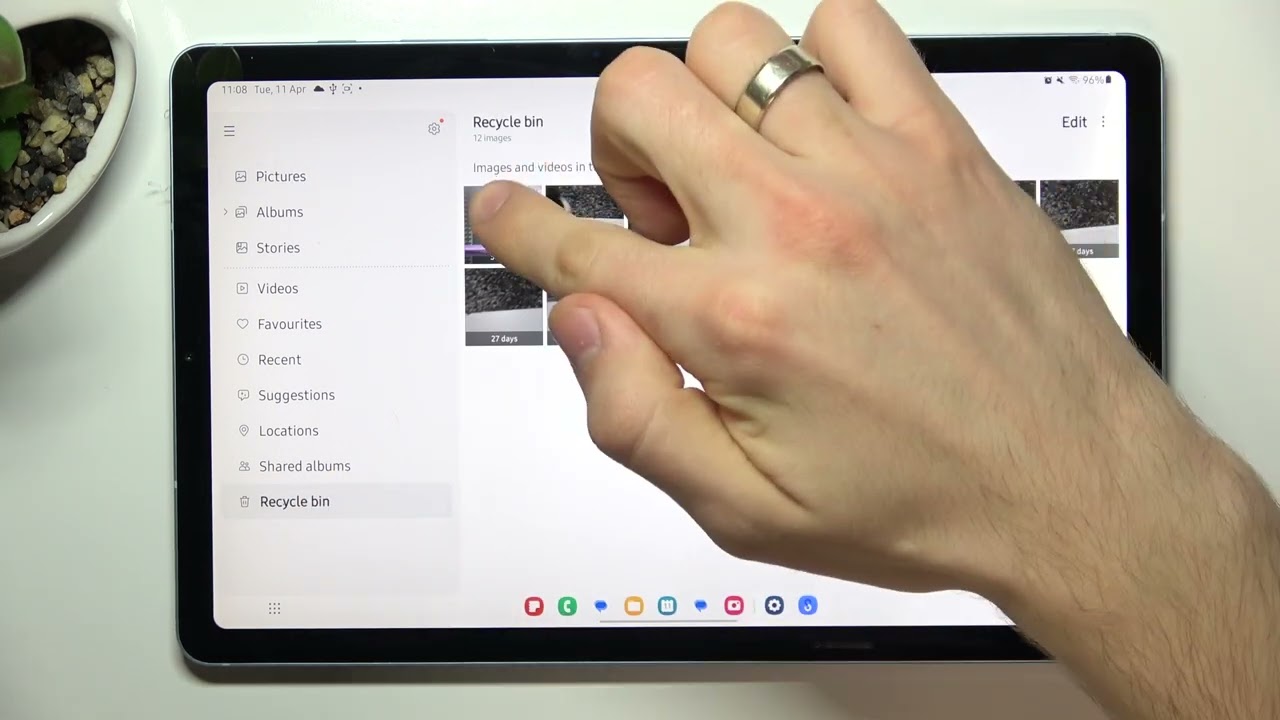
Step 2: Select the Emails to Delete
Now that you have opened the email app on your Android tablet, it’s time to select the emails you want to delete. By selecting multiple emails at once, you can efficiently delete a group of unwanted messages in one go.
To select emails, follow these steps:
- Tap and hold on an email that you want to delete. After a moment, you will see a checkmark appear next to the email indicating that it has been selected. At the same time, you may notice that additional options appear at the top or bottom of the screen.
- While still holding down on the first email, use your other hand or finger to tap on the other emails you want to delete. Each email that you tap on will be selected and highlighted, adding to the list of selected emails. You can select as many emails as you want.
- If you want to select all the emails in your inbox, you may have the option to tap on a “Select All” or similar button at the top or bottom of the screen. This will automatically select all the emails on the page.
- Sometimes, the email app provides additional options to filter and select specific types of emails. For example, you may be able to select emails only from a particular sender or emails within a specific time range.
Make sure to carefully review the selected emails before proceeding to delete them. You don’t want to accidentally delete any important messages. Once you are satisfied with your selection, you can move on to the next step to delete the emails from your Android tablet.
Great job on selecting the emails you want to delete! In the next step, we will guide you through the process of deleting the selected emails from your Android tablet’s email app.
Step 3: Delete the Selected Emails
Now that you have selected the emails you want to delete in the email app on your Android tablet, it’s time to delete them. Deleting the selected emails will remove them from your inbox and move them to the Trash or Deleted Items folder, depending on your email app’s settings.
To delete the selected emails, follow these steps:
- Look for the delete icon, which is usually represented by a trash bin or a similar symbol. This icon is commonly located at the top or bottom of the email app’s interface.
- Tap on the delete icon to initiate the deletion process. The selected emails will be moved to the Trash or Deleted Items folder, and they will no longer appear in your inbox.
- Depending on your email app’s settings, you may be prompted to confirm the deletion of the selected emails. If prompted, review the confirmation message and select “Yes” or “Confirm” to proceed with the deletion.
- Once you confirm the deletion, the email app will remove the selected emails from your inbox. You may notice that the inbox is automatically refreshed, and the deleted emails are no longer visible.
It’s important to note that deleting emails only removes them from your inbox and places them in the Trash or Deleted Items folder. The emails are not permanently deleted until you clear the deleted items from the trash, which we will discuss in the next step.
You’ve successfully deleted the selected emails from your Android tablet’s email app. Now, let’s move on to the final step to clear the deleted emails from the trash and ensure they are completely removed from your device.
Step 4: Clear the Deleted Emails from Trash
After deleting emails from your Android tablet’s email app, they are typically moved to the Trash or Deleted Items folder. To ensure that the deleted emails are completely removed from your device and free up storage space, you need to clear them from the trash.
Follow these steps to clear the deleted emails from the trash:
- Open the email app on your Android tablet.
- Look for the menu icon, which is usually represented by three horizontal lines or dots, and tap on it. This icon is typically located at the top-left or top-right corner of the email app’s interface.
- In the menu that appears, find and select the “Trash” or “Deleted Items” option. This will take you to the folder that contains your deleted emails.
- Once you’re in the Trash or Deleted Items folder, you should see a list of emails that you have deleted. Some email apps may show a checkbox or select option next to each email.
- To permanently delete the emails from the trash, tap on the delete icon again. This icon is usually represented by a trash bin or a similar symbol.
- Confirm the deletion if prompted. Again, carefully review the confirmation message and select “Yes” or “Confirm” to permanently remove the deleted emails from your Android tablet.
- After confirming the deletion, the email app will permanently remove the deleted emails from the Trash or Deleted Items folder. You may notice that the storage space on your device is freed up accordingly.
By following these steps, you have successfully cleared the deleted emails from the trash and ensured that they are completely removed from your Android tablet’s email app.
Congratulations! You have now learned how to delete emails on your Android tablet, select multiple emails at once, and clear the deleted emails from the trash. By regularly deleting unnecessary emails, you can keep your inbox organized, improve email app performance, and manage storage space on your device more efficiently.
Conclusion
Deleting emails on your Android tablet is a straightforward process that can help you declutter your inbox and keep it organized. Whether you use the default email app or a third-party email client, the steps to delete emails are quite similar. By following the steps outlined in this guide, you can easily delete unwanted emails and maintain a clean email environment.
Remember to open the email app on your Android tablet and select the emails you want to delete. Take advantage of the options to select multiple emails at once, making the deletion process more efficient. Once you’ve selected the emails, use the delete icon to initiate the deletion process. The emails will be moved to the Trash or Deleted Items folder.
To ensure that the deleted emails are completely removed from your device, take the extra step of clearing them from the trash. This will free up storage space and prevent any accidental restoration of deleted emails.
Regularly deleting unnecessary emails not only keeps your inbox organized but also improves the performance of your email app. It prevents your tablet from being overwhelmed with a large number of emails and enhances the overall user experience.
We hope this guide has been helpful in guiding you through the process of deleting emails on your Android tablet. Remember that specific email apps may have minor variations in their interface and options, but the core steps should remain consistent.
Take control of your email inbox and keep it clutter-free with regular email deletions. By practicing good email management habits, you can stay on top of your messages and ensure that important emails are always easily accessible.
Thank you for reading, and we wish you seamless email management on your Android tablet!