Introduction
Chrome extensions are a great way to enhance your browsing experience on Google Chrome, and Mac users will be pleased to know that these extensions can be easily accessed and managed on their devices. With a wide range of extensions available, you can customize your Chrome browser to suit your needs, from productivity tools to ad blockers and everything in between.
In this article, we will explore different methods that Mac users can utilize to find their Chrome extensions. Whether you want to disable, remove, or update your extensions, understanding how to locate them is essential. We will guide you through various steps, so you can easily manage your extensions without hassle.
So, if you’re a Mac user looking for a straightforward way to find your Chrome extensions, keep reading to discover the different methods at your disposal.
Note: Before we dive into the specifics, make sure you have the latest version of Google Chrome installed on your Mac. This will ensure that you have access to all the latest features and improvements, including better extension management.
How to Find Chrome Extensions on Mac
There are several ways to find and manage your Chrome extensions on a Mac. In this section, we will explore three different methods that you can use. Let’s get started:
- Using the Chrome Menu: The first method is to use the Chrome menu. Simply follow these steps:
- Open Google Chrome on your Mac.
- Click on the three vertical dots in the top-right corner of the browser window. This will open the Chrome menu.
- Hover over the “More Tools” option in the drop-down menu, and then select “Extensions.”
- A new tab will open, displaying all your installed extensions.
- Using the Chrome Extensions Page: The second method involves accessing the Chrome extensions page directly. Here’s how to do it:
- Open Google Chrome on your Mac.
- Type “chrome://extensions” in the address bar and hit Enter.
- You will be redirected to the Chrome extensions page, where you can view and manage all your installed extensions.
- Using the Finder Application: The third method is useful if you prefer navigating through your system files. Follow these steps:
- Open a Finder window on your Mac.
- In the menu bar at the top of the screen, click on “Go.”
- In the drop-down menu, select “Go to Folder.”
- Type “~/Library/Application Support/Google/Chrome/Default/Extensions” in the text box and click “Go.”
- The Finder will now open the folder containing all your Chrome extensions.
By following any of these methods, you will be able to locate your Chrome extensions on your Mac easily. Now that you know how to find them, you can proceed with managing your extensions according to your preferences.
Method 1: Using the Chrome Menu
One of the easiest ways to find and manage your Chrome extensions on a Mac is by using the Chrome menu. Follow these simple steps:
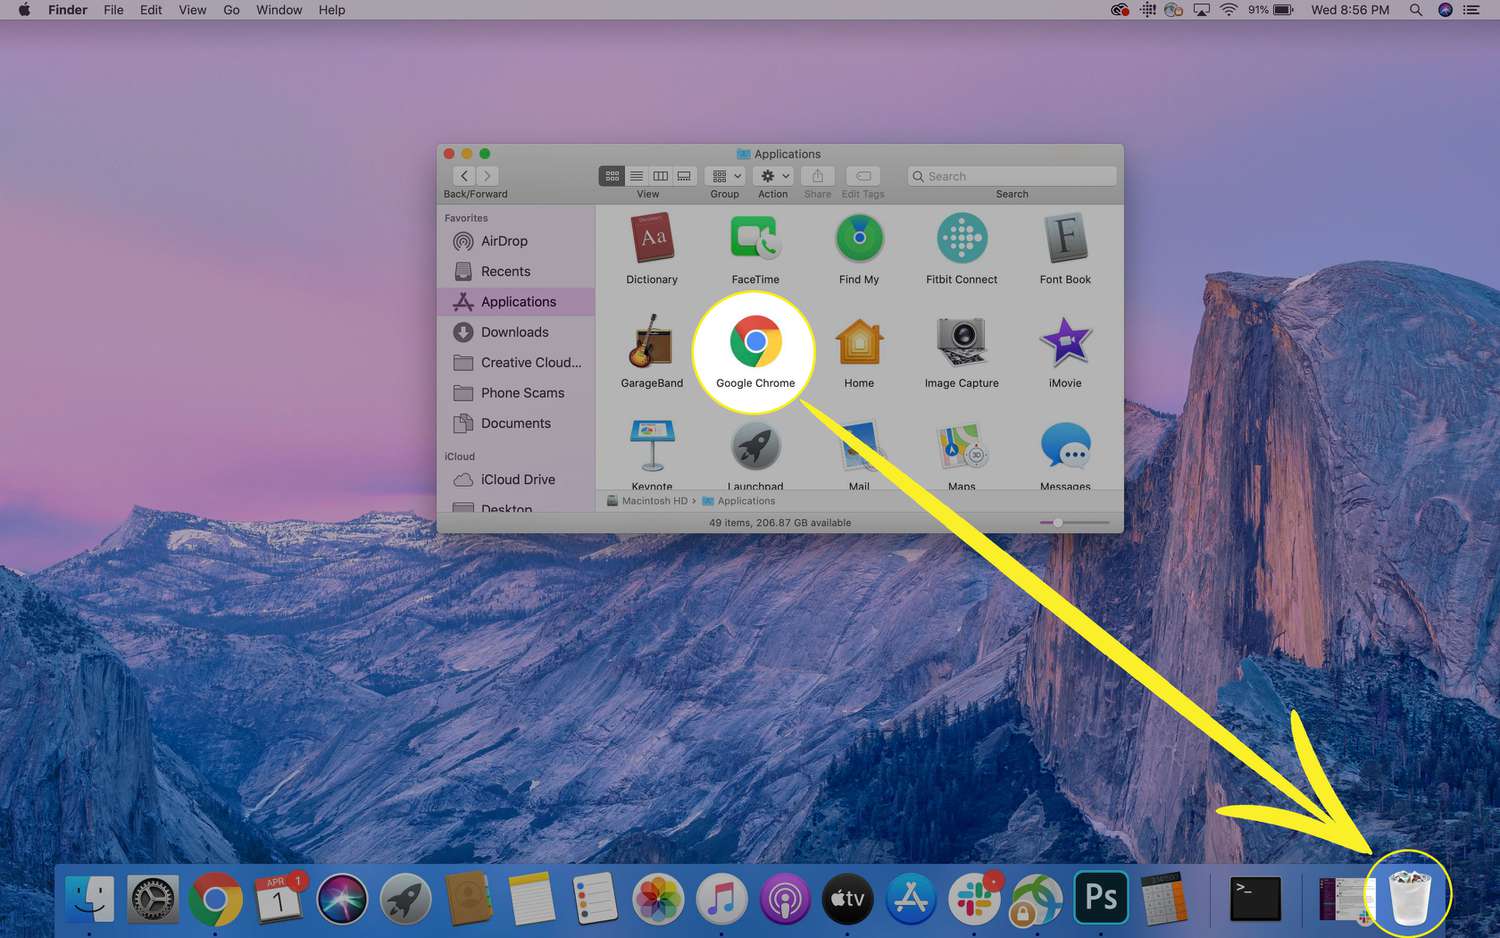
- Open Google Chrome: Launch the Google Chrome browser on your Mac by clicking on the application icon in the Dock or by searching for it in the Applications folder.
- Access the Chrome menu: In the top-right corner of the browser window, you will see three vertical dots. Click on these dots to open the Chrome menu.
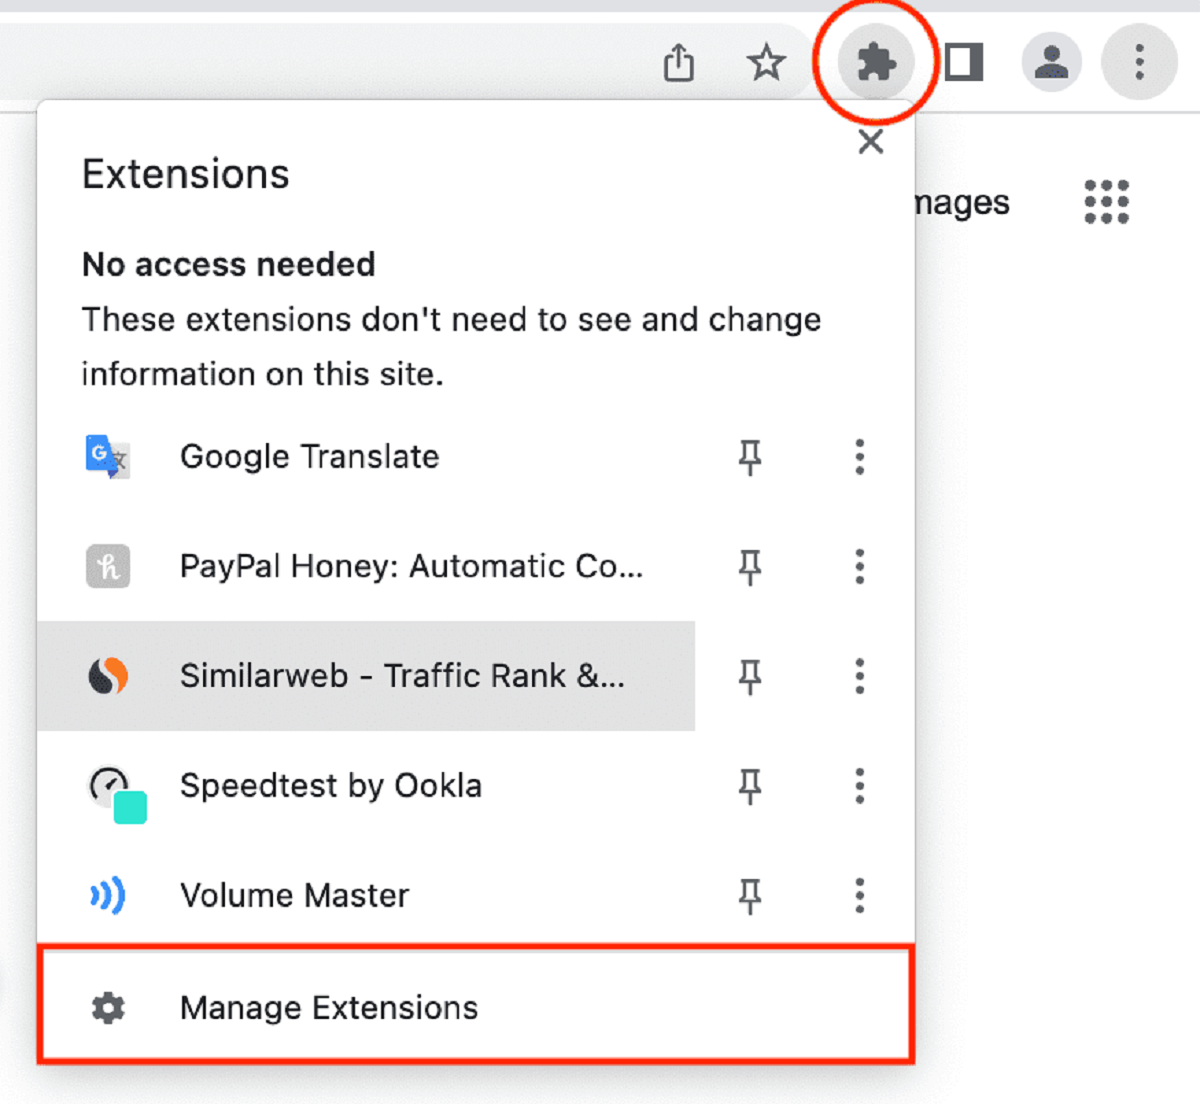
- Select “Extensions”: Hover over the “More Tools” option in the drop-down menu that appears when you click on the dots. From the sub-menu that appears, select “Extensions.”
- View your installed extensions: Once you click on “Extensions,” a new tab will open in your browser. This tab will display all the extensions that are currently installed on your Chrome browser.
By following these steps, you can easily locate and view your Chrome extensions using the Chrome menu. From there, you can manage your extensions by enabling, disabling, or removing them according to your preferences.
Keep in mind that you may also see additional information about each extension, such as its permissions and options for customization. This can be accessed by clicking on the details for the specific extension that you are interested in.
Using the Chrome menu is a convenient and straightforward way to find and manage your Chrome extensions on a Mac. It saves you time and allows you to customize your browsing experience according to your needs.
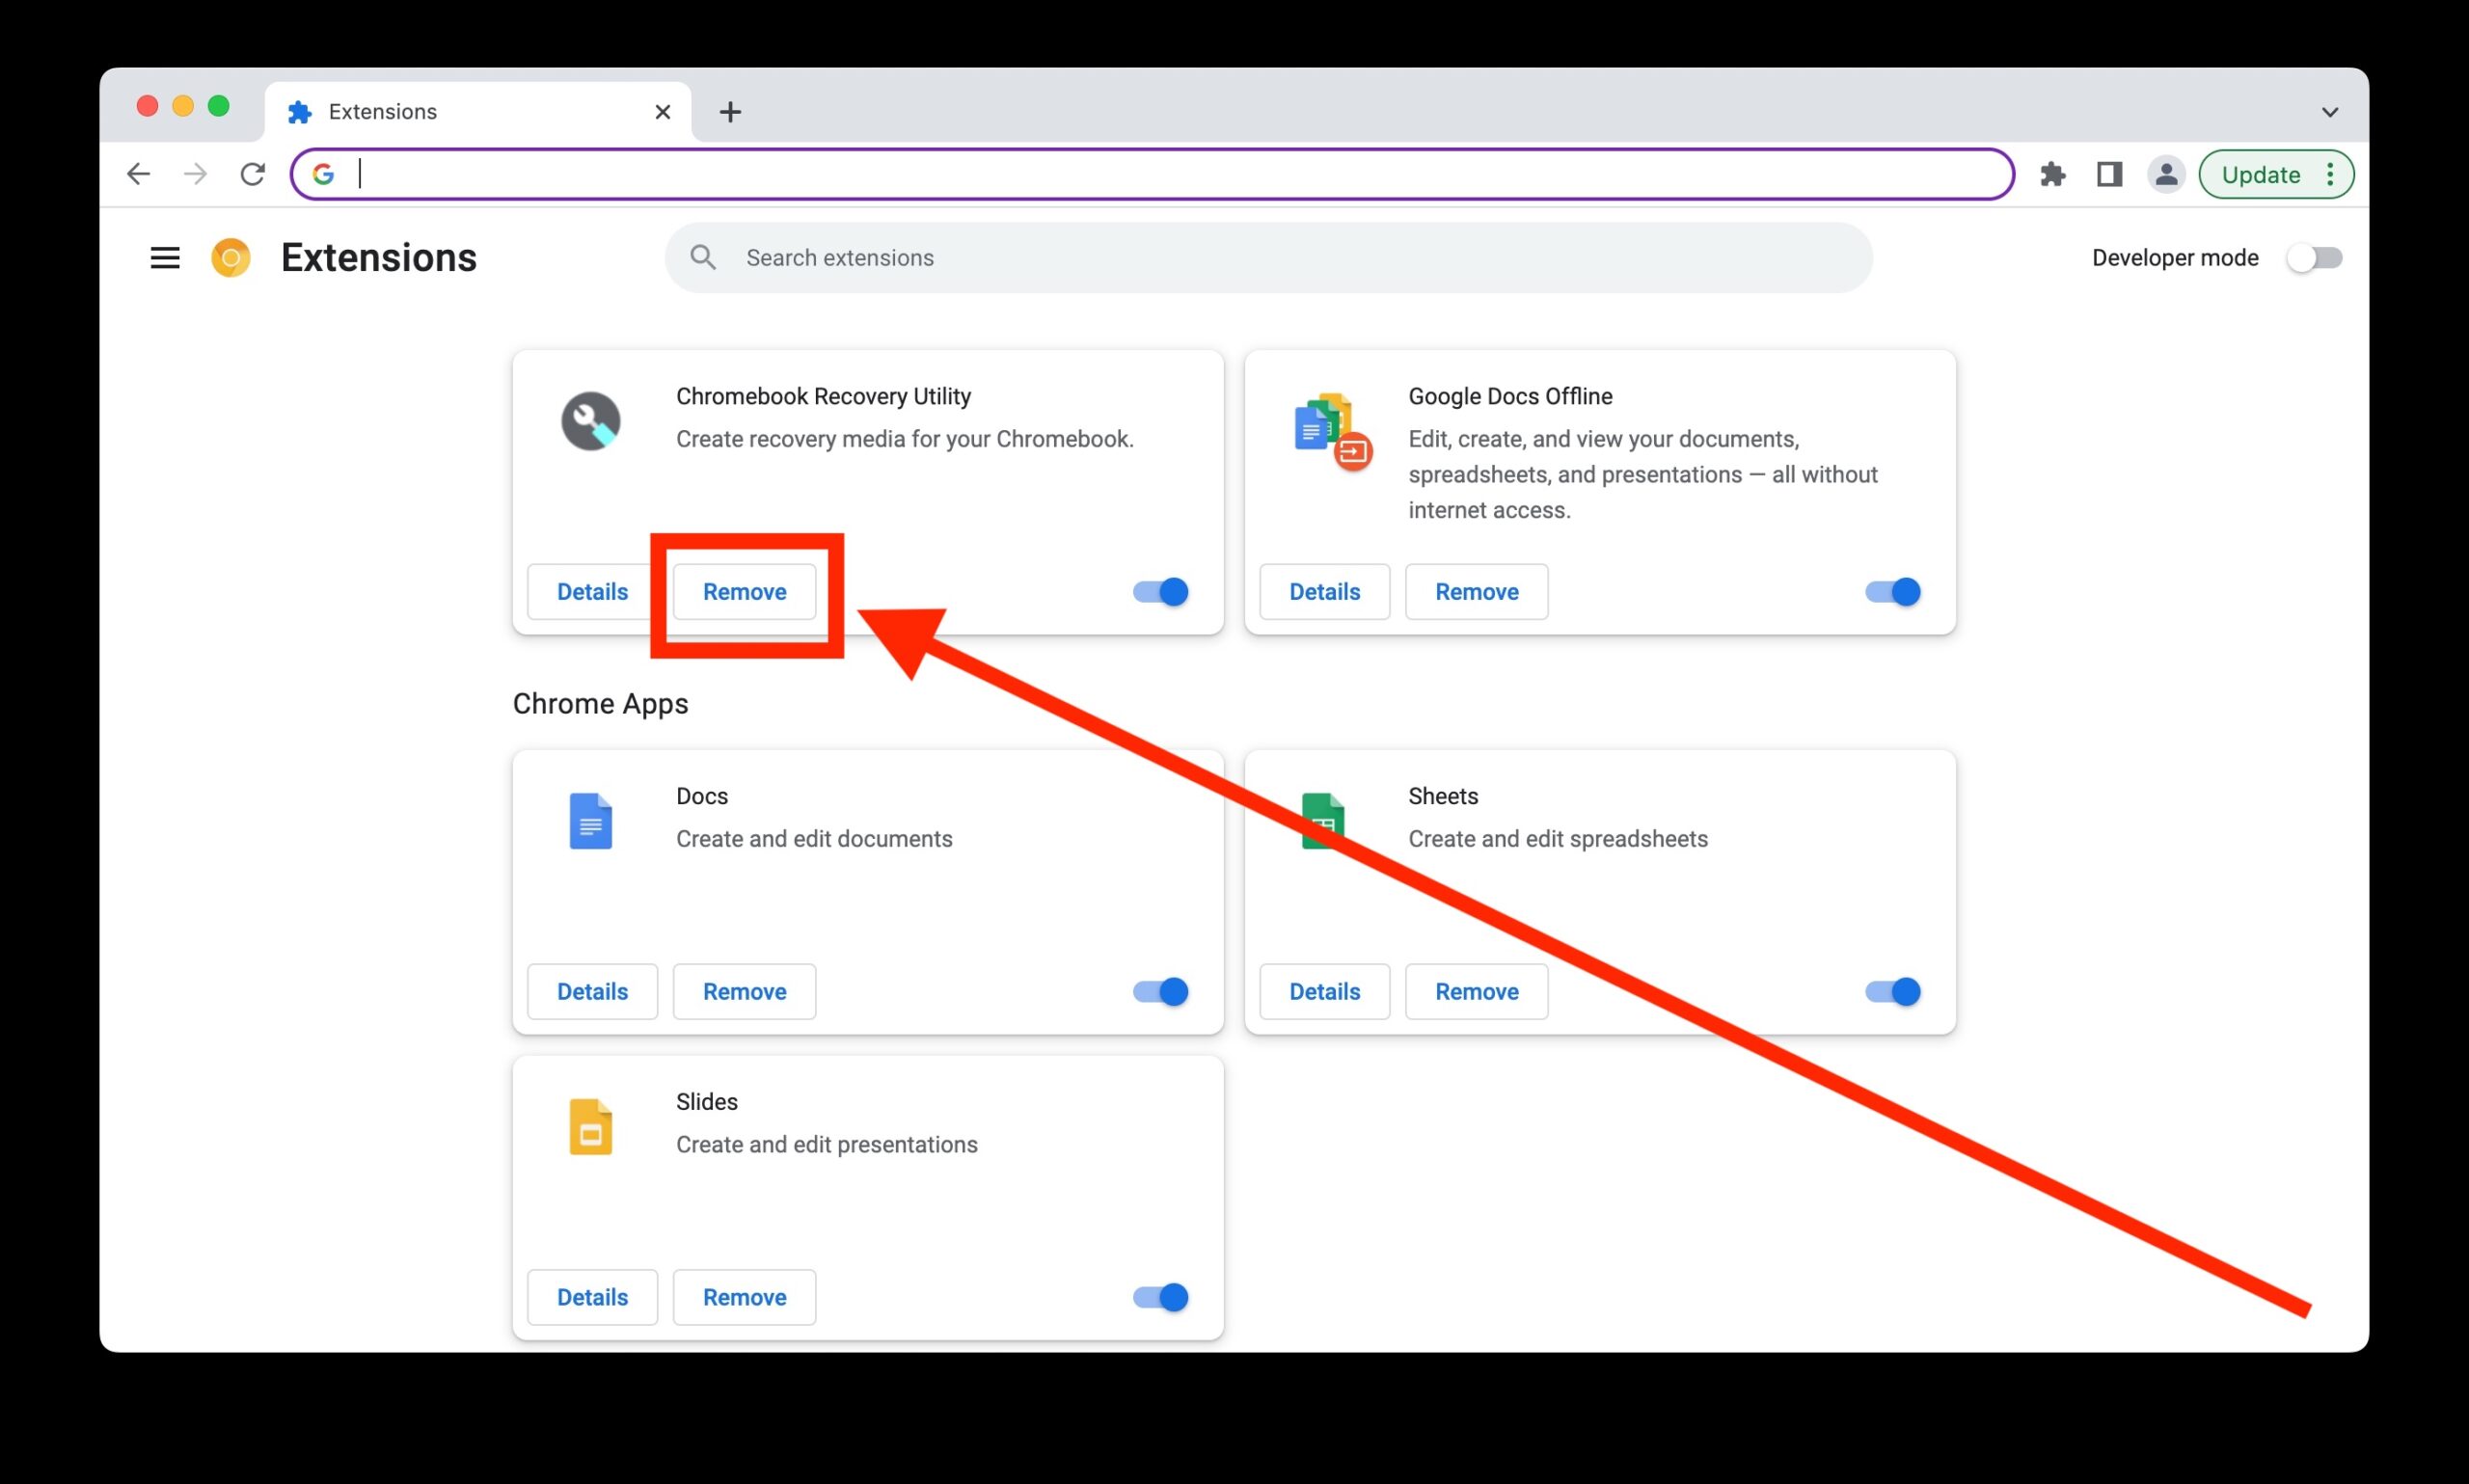
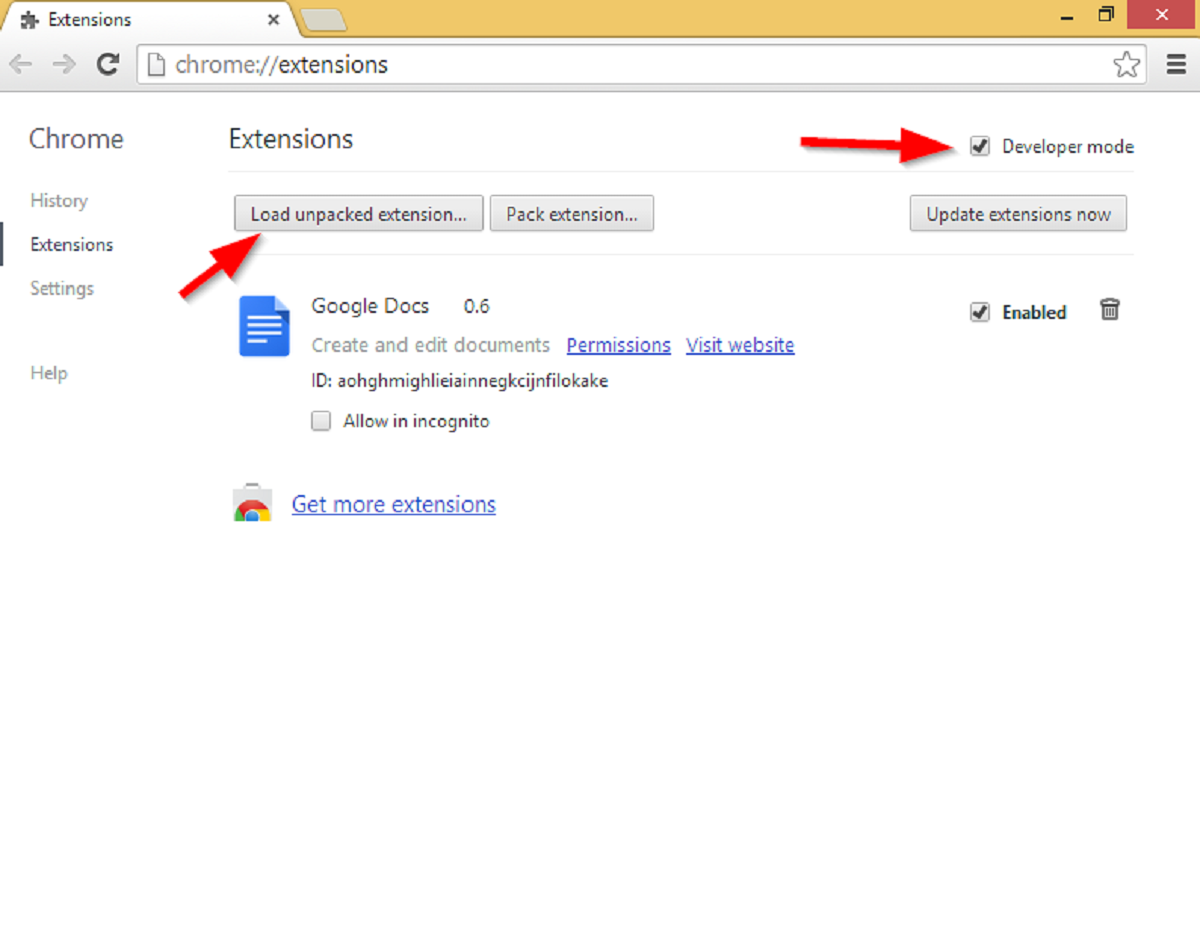
Method 2: Using the Chrome Extensions Page
Another method to find and manage your Chrome extensions on a Mac is by accessing the Chrome extensions page directly. The following steps will guide you:
- Open Google Chrome: Launch the Google Chrome browser on your Mac by clicking on the application icon in the Dock or by searching for it in the Applications folder.
- Type the extension page URL: In the address bar at the top of the browser window, type “chrome://extensions” and hit Enter.
- Access the Chrome extensions page: Once you press Enter, you will be redirected to the Chrome extensions page, where you can view and manage all your installed extensions.
- Explore your installed extensions: On the extensions page, you will see a list of extensions along with certain information about each one, such as the name, version, and description.
From this page, you can easily enable or disable individual extensions by using the toggle switch located beside each one. Additionally, you can remove unwanted extensions by clicking on the “Remove” button next to the particular extension you wish to uninstall.
The Chrome extensions page also allows you to access more details about each extension, including its permissions and options for customization. By clicking on the “Details” button for a specific extension, you can explore and modify its settings according to your preferences.
Using the Chrome Extensions page provides you with a convenient way to manage your extensions on a Mac. You can quickly enable, disable, or remove extensions based on your specific needs, ensuring that your browsing experience is tailored to your preferences.
Method 3: Using the Finder Application
If you prefer navigating through your system files, you can use the Finder application on your Mac to locate and manage your Chrome extensions. Follow the steps below:
- Open a Finder window: Launch the Finder application on your Mac by clicking on the smiley face icon located in the Dock or by searching for it in the Applications folder.
- Access the “Go” menu: In the menu bar at the top of the screen, click on the “Go” option.
- Select “Go to Folder”: From the drop-down menu that appears, select “Go to Folder.” Alternatively, you can use the keyboard shortcut “Command + Shift + G” to open the “Go to Folder” window.
- Enter the extension folder path: In the “Go to Folder” window, type “~/Library/Application Support/Google/Chrome/Default/Extensions” and click “Go.”
- Explore your extensions: The Finder will now open the folder containing all your Chrome extensions. You can browse through the list of folders named with random letter and number combinations.
Each folder corresponds to an installed extension in Chrome, and inside each folder, you will find the files associated with that specific extension. You can delete a folder to remove the corresponding extension from your Chrome browser.
It is important to note that manually deleting extension folders from the Finder can have permanent effects. Only remove folders if you are certain you want to uninstall the corresponding extension.
Using the Finder application may be useful for users who prefer a more hands-on approach to managing their Chrome extensions. However, exercise caution when deleting folders, as removing the wrong files can impact the functionality of your browser.
By following these steps, you can easily locate and manage your Chrome extensions on a Mac using the Finder application.
Conclusion
Managing your Chrome extensions on a Mac is essential for customizing your browsing experience and optimizing productivity. In this article, we have explored three methods that can help you find and manage your Chrome extensions effortlessly.
Using the Chrome menu provides a quick and straightforward way to access your extensions. By simply hovering over the “More Tools” option and selecting “Extensions,” you can view all your installed extensions in a new tab.
The Chrome extensions page is another convenient method for managing your extensions. By typing “chrome://extensions” in the address bar, you can directly access the extensions page, where you can enable, disable, and remove extensions according to your preferences.
For those who prefer navigating through system files, the Finder application offers a hands-on approach. By opening a Finder window, accessing the “Go to Folder” option, and entering the extension folder path, you can locate the folders corresponding to your Chrome extensions and delete them if needed.
Remember to exercise caution when managing your extensions, especially when deleting them manually. Make sure to only remove extensions or folders that you are certain you no longer need or want.
By utilizing these methods, you can easily find, enable, disable, and remove Chrome extensions on your Mac, tailoring your browsing experience to suit your specific needs and preferences.
So, whether you want to optimize productivity, improve security, or enhance your browsing experience, take advantage of Chrome extensions on your Mac and explore the vast selection available to you.