Introduction
An SSD, or Solid State Drive, is a popular choice for storage due to its speed, durability, and efficiency. However, it can be frustrating when your computer fails to detect the SSD and you’re unable to access your data. There are various reasons why this might happen, ranging from physical connection issues to faulty settings in your BIOS. In this article, we will explore the possible reasons for your SSD not being detected and provide practical solutions to help you resolve the issue.
When your SSD is not detected, it’s important to remain calm and troubleshoot the problem systematically. There’s no need to panic or assume that your data is lost forever. By following the steps outlined in this guide, you’ll have a good chance of getting your SSD up and running again.
Before we dive into the solutions, let’s first understand some common reasons why your SSD might not be detected. It could be due to a loose connection, outdated firmware, incorrect BIOS settings, or even a faulty SSD. Identifying the cause will help you narrow down the troubleshooting steps and find the appropriate solution.
Remember, every computer setup is unique, so the solutions we provide may not work in every case. However, they serve as a good starting point for troubleshooting your SSD detection issues. So, let’s get started and find out what steps you can take to resolve the problem!
Possible Reasons for SSD Not Being Detected
When your SSD is not being detected by your computer, there can be several potential reasons behind this issue. Understanding these reasons will help you troubleshoot the problem more effectively. Let’s explore some common causes:
- Faulty Physical Connection: One of the most common reasons for an SSD not being detected is a loose or faulty physical connection. Ensure that the cables connecting the SSD to your motherboard or power supply are properly connected and secure.
- Outdated Firmware: Manufacturers often release firmware updates for SSDs to fix bugs and improve performance. If your SSD has outdated firmware, it may not be recognized by your computer. Check the manufacturer’s website for any available updates.
- Incorrect BIOS Settings: Your computer’s BIOS (Basic Input/Output System) settings can affect the detection of your SSD. Make sure that the SATA controller mode is set to AHCI (Advanced Host Controller Interface) or RAID (if you’re using multiple drives in a RAID configuration).
- Drive Letter Conflict: Sometimes, a conflict with the assigned drive letter can prevent your SSD from being detected. You can resolve this by manually assigning a new drive letter to your SSD using the Disk Management tool in Windows.
- Driver Issues: In some cases, missing or outdated SSD drivers can result in detection problems. Visit the manufacturer’s website and download the latest drivers for your SSD to ensure optimal compatibility.
- Faulty SSD: Unfortunately, it’s possible that your SSD is faulty and needs to be replaced. If you have tried all the troubleshooting steps and your SSD is still not detected, consider contacting the manufacturer for further assistance or a potential replacement.
Remember, these are just a few potential reasons for your SSD not being detected. It’s important to systematically troubleshoot the issue and try different solutions to find the one that works for your specific situation. In the following sections, we will provide detailed steps and solutions to help you resolve the problem and get your SSD back up and running.
Check Physical Connections
One of the first steps to take when your SSD is not being detected is to verify the physical connections. A loose or faulty connection can prevent the SSD from being recognized by your computer. Follow these steps to check the physical connections:
- Power Off and Disconnect: Before checking the physical connections, make sure to power off your computer and disconnect the power cord.
- Open the Computer Case: Carefully open your computer case to access the internal components. Make sure to ground yourself to prevent any static discharge that could damage your computer. Refer to your computer’s manual if you are unsure about how to open the case.
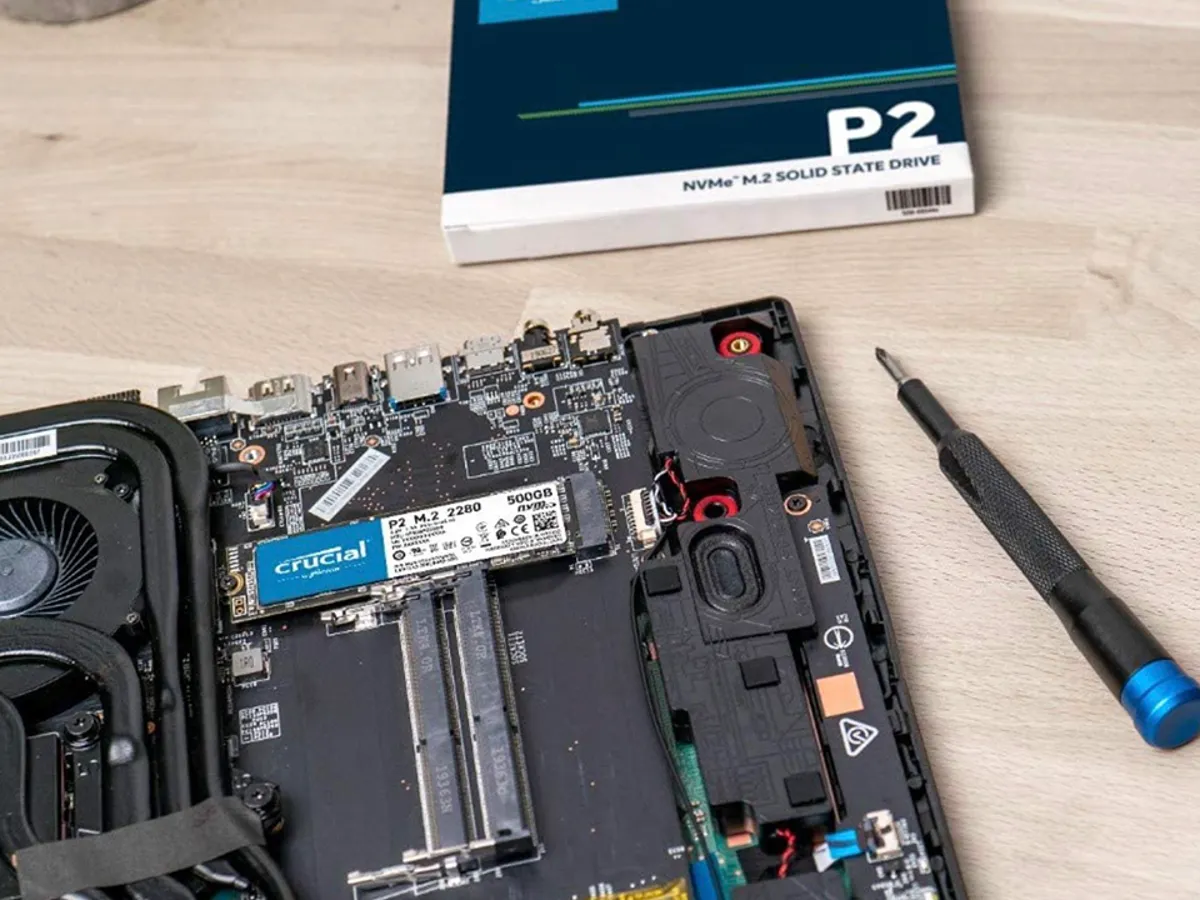
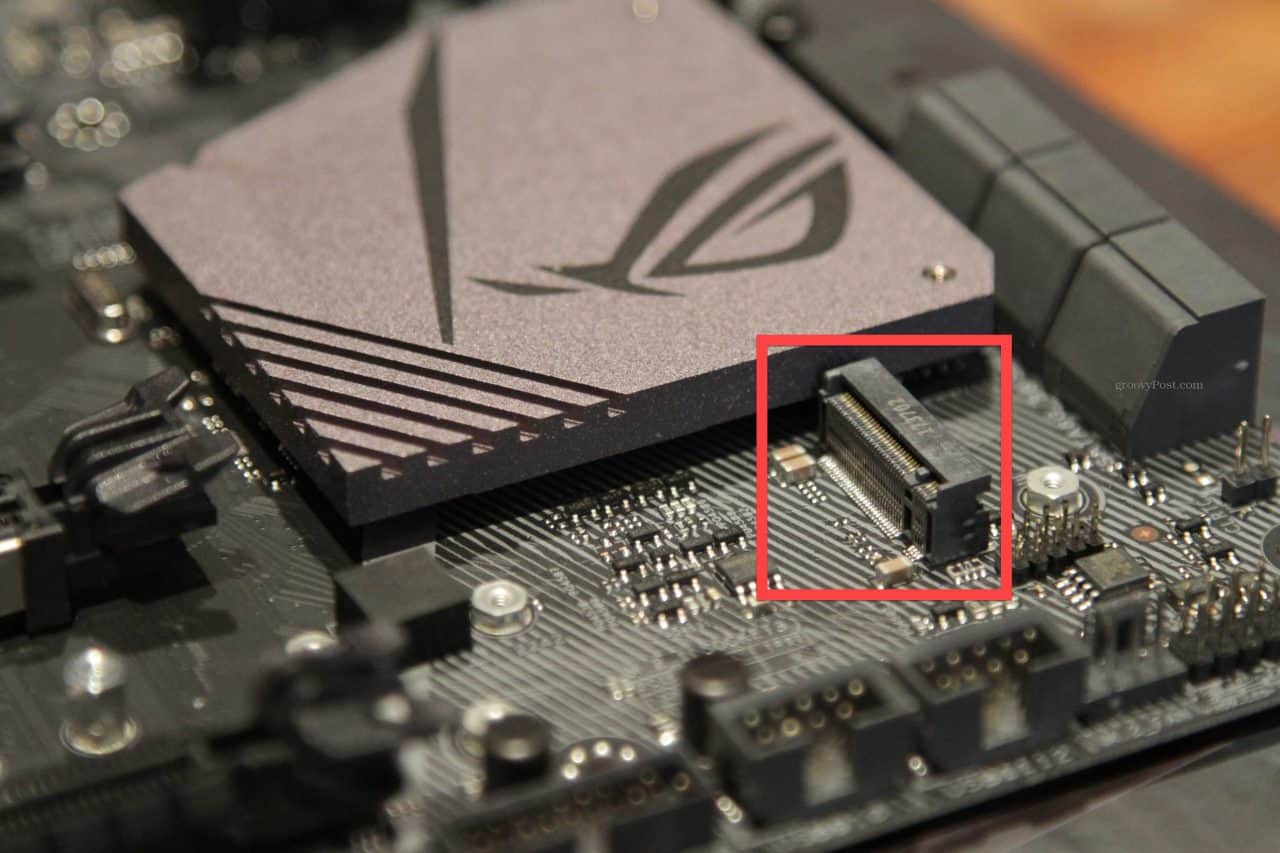
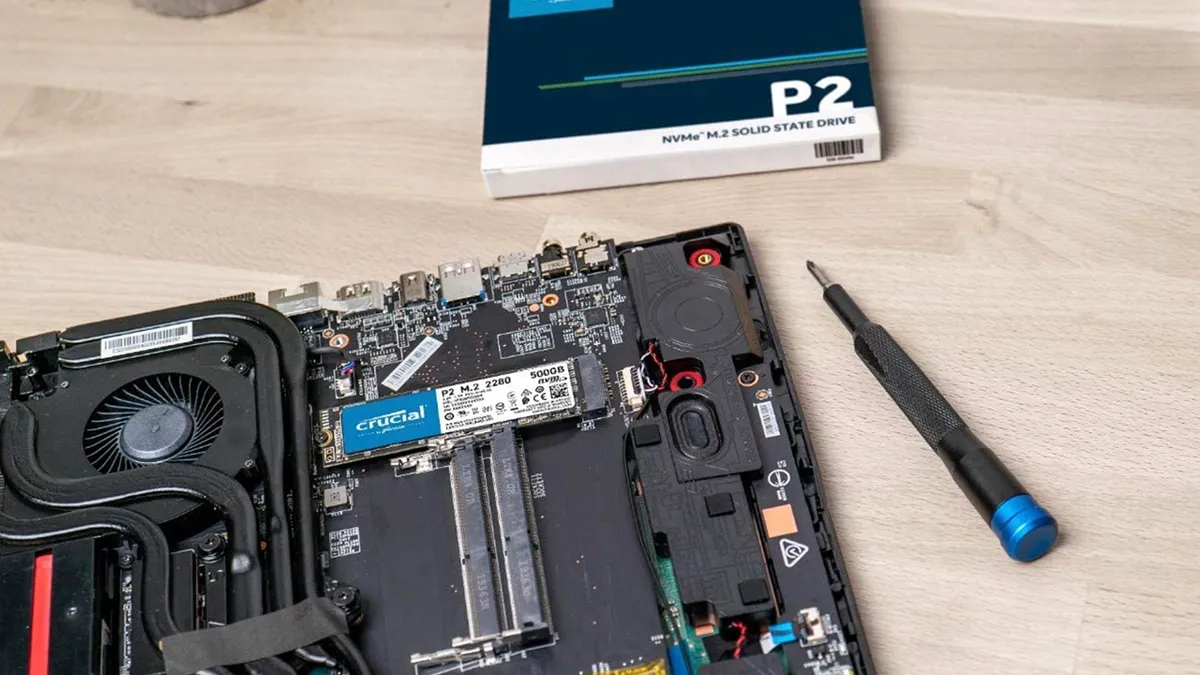
- Locate the SSD: Identify the SSD in your computer. It’s usually a small rectangular device connected to the motherboard with a SATA cable.
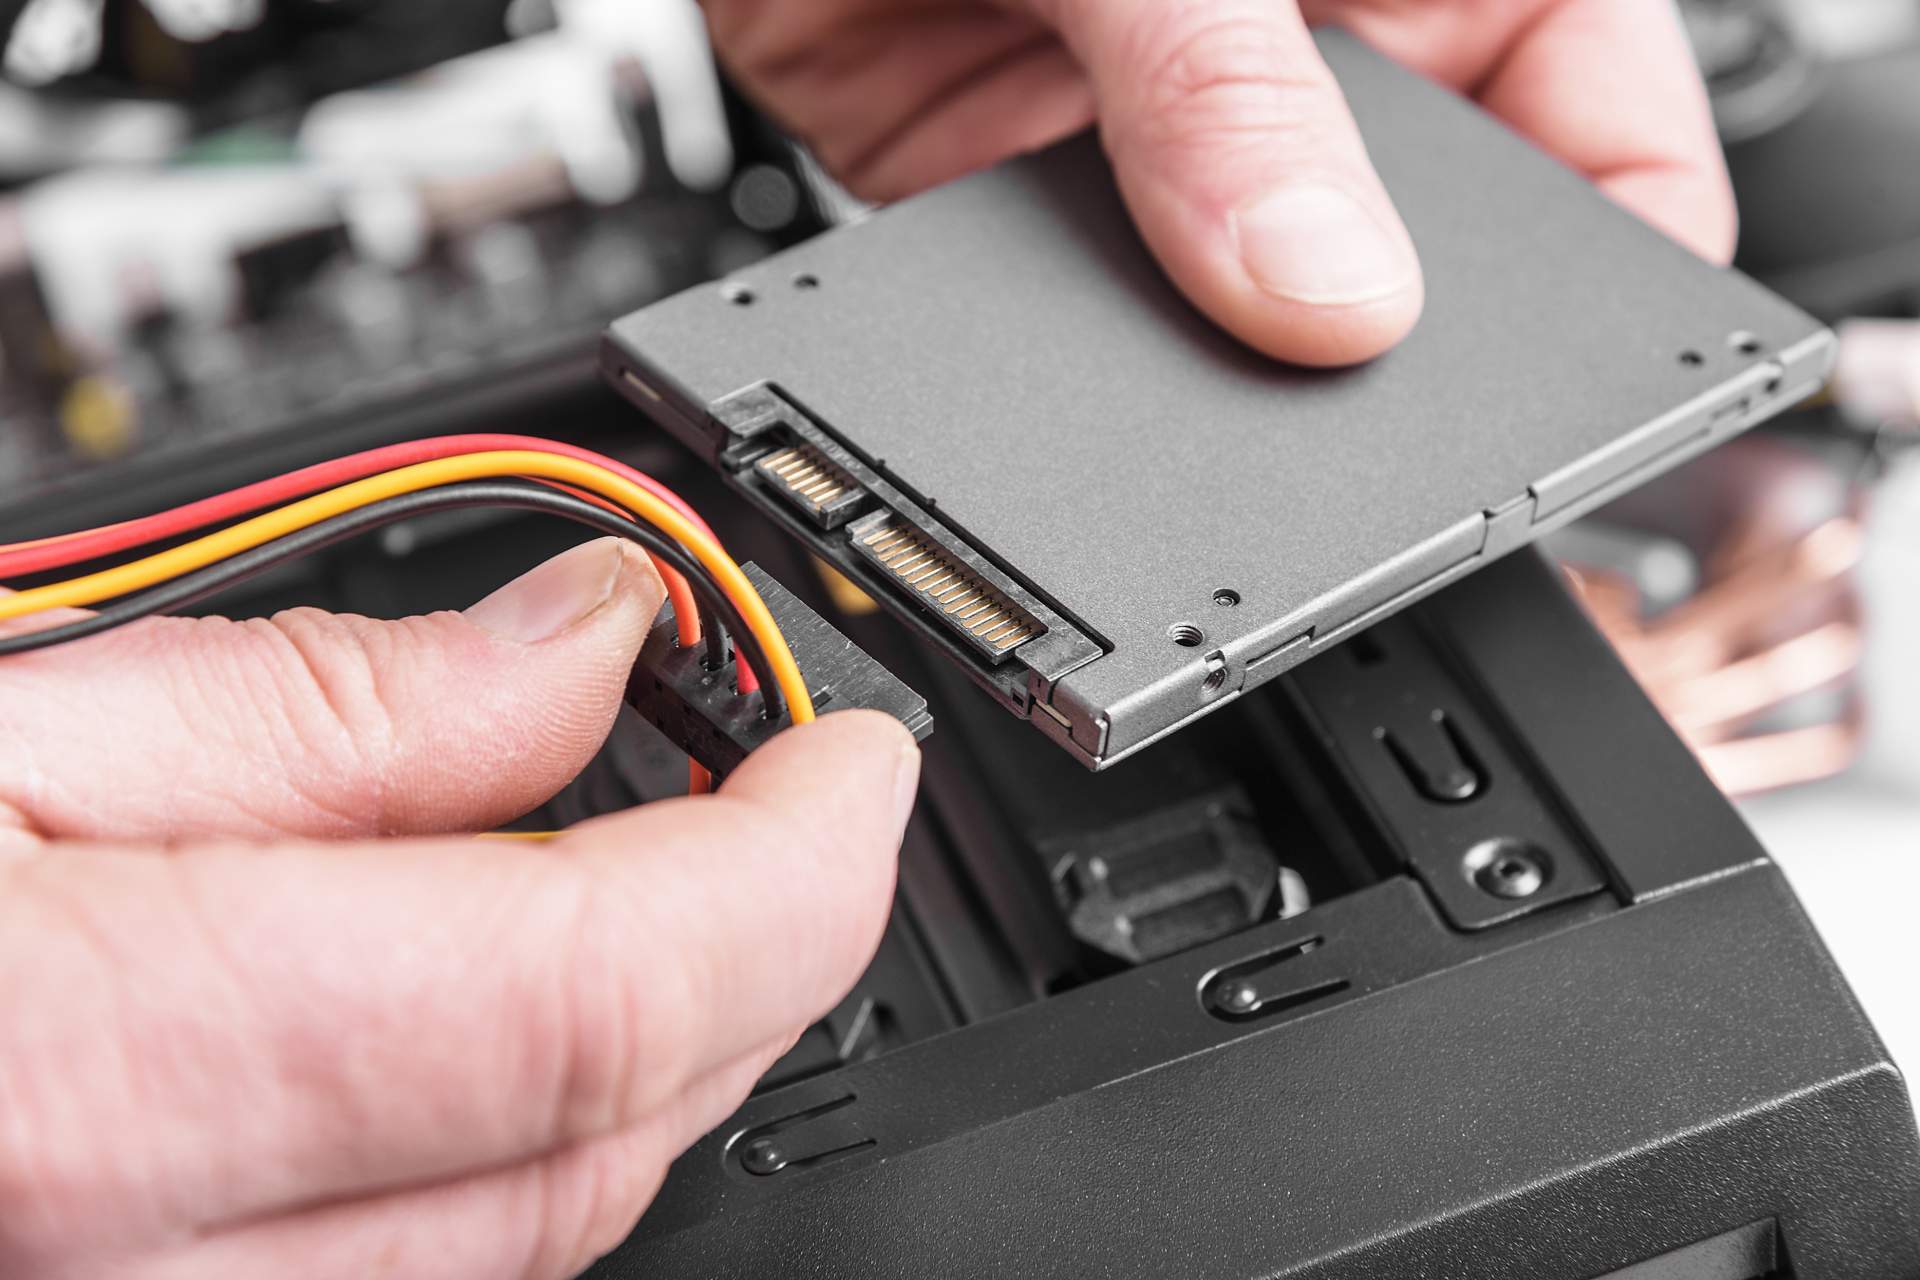
- Check the SATA Connection: Ensure that the SATA data cable connecting the SSD to the motherboard is securely attached at both ends. Gently remove and reattach the cable if necessary.
- Verify Power Connection: Confirm that the power cable connecting the SSD to the power supply is properly connected. Check both ends of the cable to ensure a secure fit.
- Inspect Other Connections: While you’re checking the connections, also take a look at the power and data connections for any other drives in your computer. Sometimes, a loose connection with another drive can affect the detection of your SSD.
- Reassemble and Power On: After verifying and reestablishing the connections, carefully close the computer case and reconnect the power cord. Power on your computer and check if the SSD is now detected.
If the SSD is still not detected after checking the physical connections, proceed to the next troubleshooting steps. It’s possible that the issue lies elsewhere, such as in the BIOS settings or a firmware-related problem. Remember to take your time and follow the steps carefully to ensure optimal results.
Check BIOS Settings
If your SSD is not being detected, incorrect settings in your computer’s BIOS (Basic Input/Output System) might be the culprit. The BIOS controls the fundamental operations of your computer and can affect the detection and compatibility of hardware devices like the SSD. Follow these steps to check and adjust the BIOS settings:
- Power Off and Restart: Start by powering off your computer and then restarting it. As it boots up, press the designated key (usually Del, F2, or Esc) to enter the BIOS setup utility. The key varies depending on your computer’s manufacturer, so consult your computer’s manual or conduct a quick online search to find the correct key.
- Navigate to the BIOS Setup: Once inside the BIOS setup utility, use the arrow keys on your keyboard to navigate through the menus. Look for a section related to storage devices, SATA configuration, or similar terms.
- Set SATA Controller Mode: Locate the SATA controller mode setting and ensure it is set to AHCI (Advanced Host Controller Interface) or RAID, depending on your system configuration. This setting enables optimal compatibility for your SSD.
- Check Boot Order: Examine the boot order or boot priority settings in the BIOS. Ensure that your SSD is listed as one of the boot options. If it is not, adjust the boot order to make the SSD a higher priority.
- Save and Exit: Once you have made any necessary changes to the BIOS settings, save the changes and exit the BIOS setup utility. The key combination to save and exit is usually F10, but it can vary depending on your motherboard manufacturer.
- Restart Your Computer: After saving the changes and exiting the BIOS, allow your computer to restart. Check if the SSD is now detected by your operating system.
If the SSD is still not detected after adjusting the BIOS settings, continue troubleshooting with the next steps. It’s worth noting that BIOS configurations can vary greatly depending on the manufacturer and model of your computer. Therefore, the specific steps to access and modify the settings may differ slightly. Consult your computer’s manual or the manufacturer’s website for detailed instructions specific to your system.
Update SSD Firmware
Outdated firmware can sometimes cause issues with SSD detection. Manufacturers often release firmware updates to address bugs, compatibility issues, and improve performance. Updating the firmware of your SSD can potentially resolve the problem. Follow these steps to update the firmware:
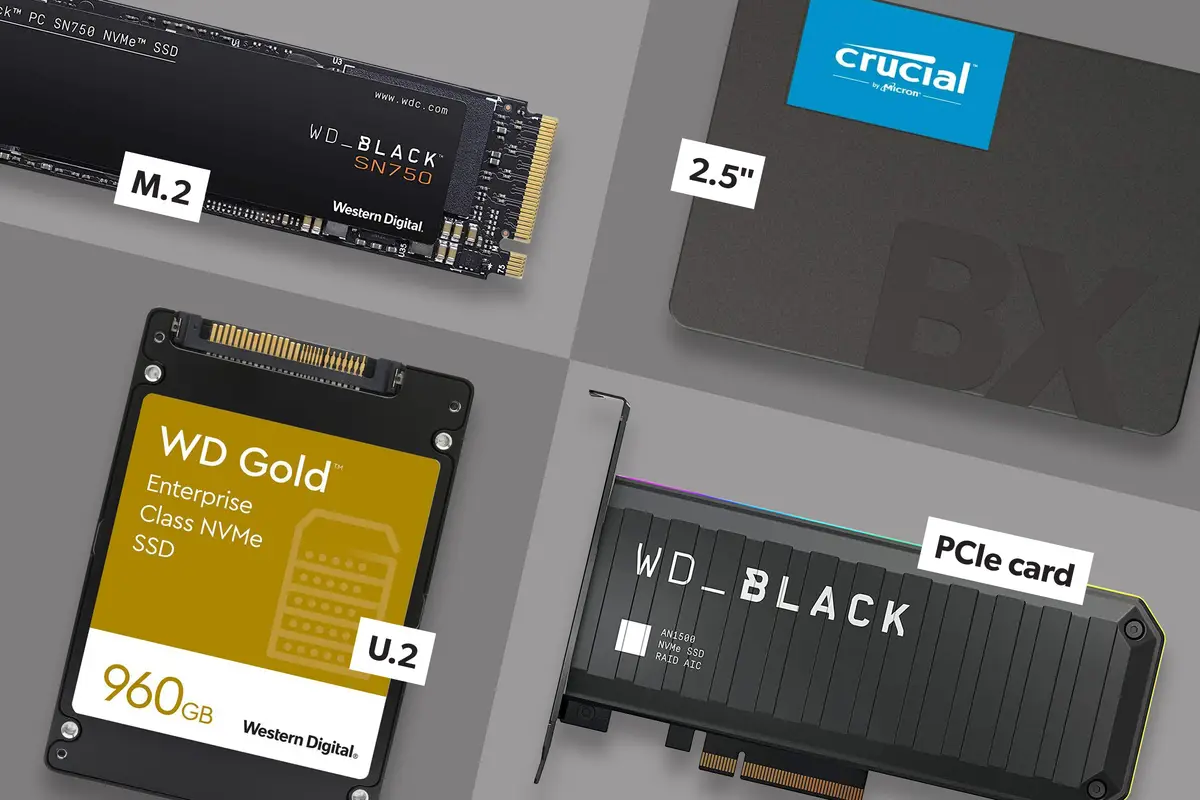
- Identify Your SSD Model: Find out the exact model of your SSD. You can usually locate this information on the SSD label or by checking the manufacturer’s documentation or website.
- Visit the Manufacturer’s Website: Go to the manufacturer’s official website and navigate to the support or downloads section. Look for firmware updates specifically designed for your SSD model.
- Download the Firmware Update: Locate and download the appropriate firmware update for your SSD. Make sure to choose the correct version and operating system compatibility.
- Create a Backup: Before proceeding with the firmware update, it’s crucial to create a backup of any important data stored on your SSD. Updating the firmware involves making changes to the drive’s firmware, and there is a slight risk of data loss. Backing up your data ensures you have a copy in case of any unforeseen issues.
- Run the Firmware Update Utility: Open the downloaded firmware update file and follow the instructions provided by the manufacturer. Usually, this involves running an executable file and following the prompts on the screen.
- Allow the Firmware Update to Complete: During the firmware update process, it’s important not to interrupt or power off your computer until the update is complete. Allow the update utility to finish its job and verify that it succeeded.
- Restart Your Computer: After the firmware update is complete, restart your computer. Your operating system should now recognize and detect the SSD.
If the firmware update doesn’t resolve the issue, move on to the next troubleshooting steps. It’s possible that there may be another underlying cause that needs to be addressed.
Check Device Manager
When your SSD is not being detected, checking the Device Manager in your operating system can provide valuable insights and potential solutions. The Device Manager provides an overview of all the hardware devices connected to your computer and allows you to manage their drivers and settings. Follow these steps to check the Device Manager:
- Open Device Manager: In Windows, you can access the Device Manager by right-clicking on the Start button and selecting “Device Manager” from the menu that appears.
- Expand the “Disk Drives” Category: In the Device Manager window, locate and expand the “Disk Drives” category. This will display a list of all the disk drives connected to your computer, including your SSD.
- Check for Detection Issues: Look for any entries with a yellow exclamation mark or a red “X” icon. These indicate detection or driver issues. If you see your SSD listed with an error symbol, right-click on it and select “Properties.”
- Update the SSD Driver: In the SSD properties window, go to the “Driver” tab. If an update is available for the SSD driver, click on the “Update Driver” button and follow the on-screen instructions to update the driver. Restart your computer after the update is complete.
- Uninstall and Reinstall the SSD Driver: If updating the driver does not resolve the issue, you can try uninstalling and reinstalling the SSD driver. Right-click on the SSD in Device Manager, select “Uninstall Device,” and confirm. Then, restart your computer. Windows will automatically reinstall the driver upon startup.
- Scan for Hardware Changes: Right-click on any empty space in the Device Manager window and select “Scan for hardware changes.” This will trigger a scan for any newly connected devices, including your SSD. Check if the SSD is now detected.
If the SSD is still not detected after checking and troubleshooting in the Device Manager, proceed to the next set of troubleshooting steps. There may be other factors contributing to the detection issue that need to be addressed.
Perform a Clean Installation of the Operating System
If your SSD is still not being detected after trying the previous troubleshooting steps, performing a clean installation of the operating system can help resolve the issue. This process will reinstall the operating system from scratch, potentially correcting any software-related problems that might be preventing the SSD from being detected. Follow these steps to perform a clean installation:
- Backup Your Data: Before proceeding with a clean installation, make sure to back up all your important data from the computer’s hard drive. This process will erase all data on the drive, including the operating system.
- Create Installation Media: Obtain the installation media for your operating system. This can be a USB drive or a DVD containing the installation files. If you don’t have the installation media, you may need to download it from the official website of your operating system’s manufacturer.
- Boot from the Installation Media: Insert the installation media into your computer and restart it. During the startup process, enter the BIOS settings by pressing the designated key (usually Del, F2, or Esc). Configure the BIOS to boot from the installation media.
- Begin the Installation: Follow the prompts displayed on the screen to start the installation process. Select the option for a clean installation when prompted and choose the SSD as the destination drive for the operating system.
- Complete the Installation: Depending on your operating system, the installation process may vary. Follow the on-screen instructions, including choosing the desired settings and entering the license key when prompted.
- Restart and Configure the Operating System: After the installation is complete, restart your computer and go through the initial setup and configuration process. Ensure that you apply any necessary updates and install the latest drivers for your hardware devices, including the SSD.
- Check SSD Detection: Verify if your SSD is now being detected by the operating system. Open the File Explorer or Disk Management utility and check if the SSD is listed as a recognized drive.
A clean installation of the operating system can sometimes resolve issues related to SSD detection. However, keep in mind that this process will erase all data on the drive, so ensure you have adequate backups before proceeding. If the SSD is still not detected after a clean installation, it may indicate a more complex hardware or compatibility issue, and seeking professional assistance might be necessary.
Test on Another Computer
If your SSD is still not being detected after trying all the previous troubleshooting steps, it’s worth testing the SSD on another computer. This step will help determine whether the issue lies with the SSD itself or with your computer’s hardware or software. Follow these steps to test your SSD on another computer:
- Find Another Computer: Identify another computer to test your SSD on. It could be a friend’s computer, a family member’s computer, or any other computer that meets the requirements for connecting an SSD.
- Disconnect the SSD: Power off your computer and disconnect the SSD from the motherboard and power supply. Refer to your computer’s manual if you’re unsure about how to disconnect the SSD properly.
- Connect the SSD to the Other Computer: Connect the SSD to a compatible slot on the other computer’s motherboard using a SATA data cable and power cable.
- Power On the Other Computer: Turn on the other computer and wait for it to boot up. Check if the SSD is detected by the operating system of that computer.
- Check SSD Detection: Open the File Explorer or Disk Management utility on the other computer and verify if the SSD is listed as a recognized drive. If it is detected without any issues, it suggests that the problem lies with your original computer.
- Consider Other Factors: If the SSD is still not detected on the other computer, it indicates that there may be a hardware or compatibility issue with the SSD itself. In this case, you might need to contact the manufacturer’s support for further assistance or consider replacing the SSD.
Testing your SSD on another computer allows you to isolate the issue and determine whether the problem lies with your original computer or the SSD. If the SSD is detected on the other computer, it indicates that the problem is related to your original computer’s hardware or software configuration. If the SSD is still not detected on a different computer, it suggests that there may be a problem with the SSD itself.
Remember, while testing the SSD on another computer can provide valuable insights, it’s essential to ensure compatibility between the SSD and the other computer’s hardware. Make sure to use appropriate cable connections and confirm that the other computer meets the necessary requirements for SSD connection.
Seek Professional Help
If you’ve attempted all the previous troubleshooting steps and your SSD is still not being detected, it may be time to seek professional help. In certain cases, the issue might be beyond what can be resolved through DIY methods. Here are some suggestions on how to seek professional assistance:
- Contact the SSD Manufacturer: Reach out to the manufacturer of your SSD. They often have dedicated support teams that can provide guidance and assistance. Explain the issue you’re facing, the steps you’ve taken to troubleshoot, and any error messages you’ve encountered. They may be able to offer specific solutions or recommend further steps.
- Visit a Computer Repair Shop: If you’re not comfortable troubleshooting the issue yourself or if the SSD is under warranty, consider taking it to a professional computer repair shop. They have the expertise and specialized diagnostic tools to identify and fix hardware-related problems. They can also assist with data recovery, SSD replacement, or any other necessary repairs.
- Consult a Technology Expert: If the SSD issue is part of a larger computer problem, seeking help from a technology expert or IT professional can be valuable. They can assess the entire system and identify any underlying hardware or software issues that might be causing the SSD detection problem.
- Consider Data Recovery Services: If your SSD is not detected and you have important data stored on it, consider reaching out to professional data recovery services. These experts specialize in recovering data from malfunctioning storage devices. They can examine the SSD and attempt to retrieve your valuable files even if the SSD is no longer functional.
- Keep Documentation and Receipts: Throughout the process, keep records of your attempts to troubleshoot, any communications with support teams, and any repair work that has been done. This documentation can be helpful if you need to claim warranty coverage or seek further assistance from the manufacturer.
Remember that seeking professional help may come with associated costs, especially if your SSD is no longer under warranty. However, it may be the best option to resolve the issue if all other attempts have been unsuccessful. Professional assistance will offer expertise, specialized tools, and the necessary experience to diagnose and repair complex SSD detection problems.
It’s important to note that seeking professional help should be considered once you have exhausted all potential solutions and are confident that the issue requires expert attention.
Conclusion
When faced with the frustration of an SSD not being detected, it’s important to approach the issue systematically and not give in to panic. By following the troubleshooting steps mentioned in this article, you can increase your chances of resolving the problem and having your SSD detected again.
We explored the possible reasons for an SSD not being detected, including loose connections, outdated firmware, incorrect BIOS settings, driver issues, and faulty hardware. By checking physical connections, reviewing BIOS settings, updating SSD firmware, checking the Device Manager, testing the SSD on another computer, and seeking professional help if needed, you can narrow down the cause of the problem and work towards a resolution.
Remember to keep your data backed up regularly, especially before attempting any troubleshooting steps that may involve data loss. Patience, careful attention to details, and thoroughness in following the steps are essential to effectively troubleshoot the issue.
If you’re unable to resolve the problem on your own, don’t hesitate to seek professional assistance. The SSD manufacturer’s support team, computer repair shops, technology experts, and data recovery services are available to provide expert guidance and support.
Whether it’s a simple fix or a more complex issue, remember that with persistence, you can overcome the challenge of an SSD not being detected. By leveraging the information and steps provided in this guide, you can increase your chances of successfully diagnosing and resolving the issue, restoring your SSD’s functionality, and regaining access to your valuable data.