Introduction
Welcome to the digital age, where capturing and storing photos has become easier than ever before. With the advent of smartphones, we have the luxury of taking unlimited pictures and documenting our lives through visual imagery. But with vast quantities of photos, it can be a challenge to keep track of how many we have and where they are stored.
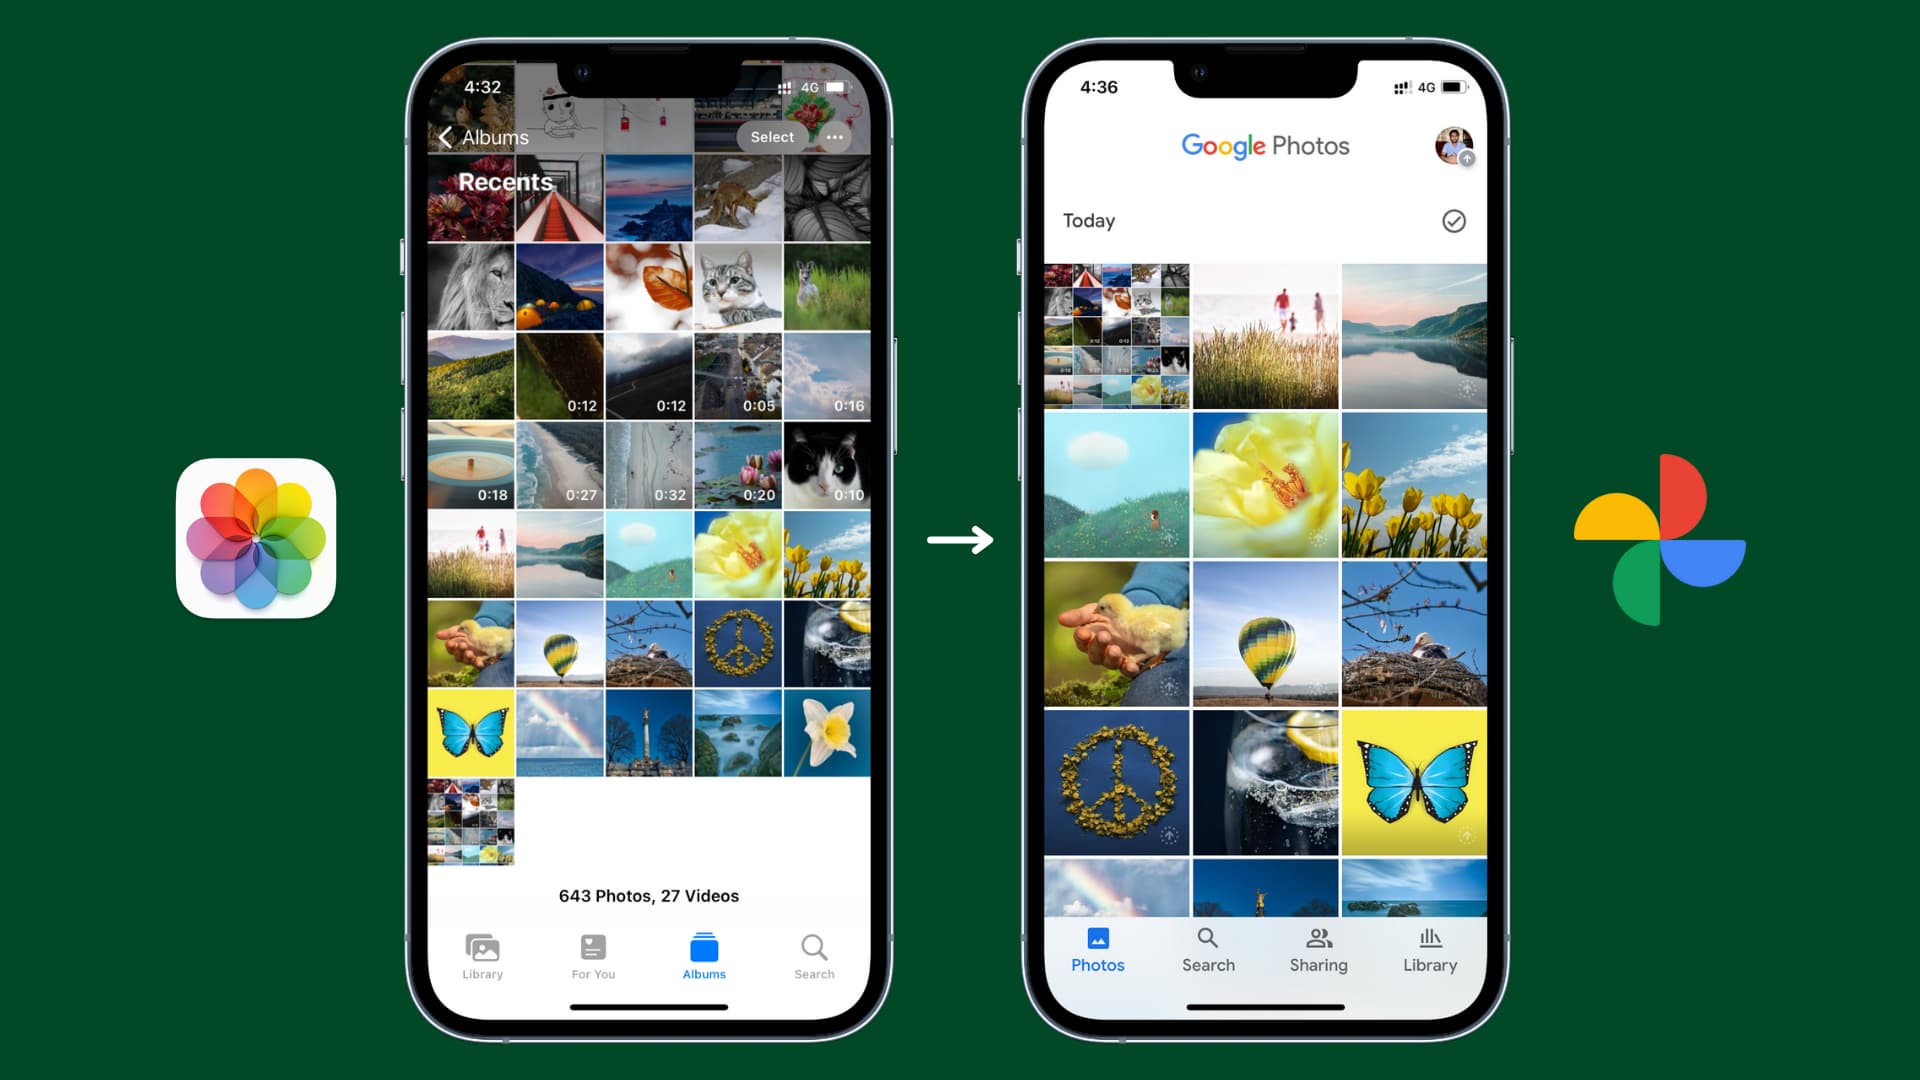
That’s where Google Photos comes to the rescue. Google Photos is a cloud-based photo storage and sharing platform offered by Google. It provides users with a convenient way to store, organize, and access their photos from various devices, including smartphones, tablets, and computers.
In this article, we will explore how to access Google Photos and navigate its interface to find out exactly how many photos you have. Whether you’re a photography enthusiast, a memory keeper, or simply a person curious about your photo collection, this guide will help you uncover the total number of photos stored in your Google Photos account.
So, let’s dive in and discover the fascinating world of Google Photos and the secrets it holds about your precious memories.
How to Access Google Photos
Accessing Google Photos is simple and straightforward. Here are a few ways you can access your Google Photos account:
- Website: You can visit the Google Photos website by typing photos.google.com into your web browser’s address bar. Sign in with your Google account credentials and you’ll be taken to your Google Photos dashboard.
- Mobile App: Download the Google Photos app from the App Store (for iOS users) or Google Play Store (for Android users). Once installed, open the app and sign in with your Google account. You’ll then have access to your Google Photos library on your mobile device.
- Google Drive: If you have Google Drive installed on your computer, you can access your Google Photos by clicking on the Google Photos tab in the left sidebar. This will open the Google Photos web interface within Google Drive.
Whichever method you choose, you will be able to access your Google Photos account and start exploring your collection of photos.
Note that you need a Google account to access Google Photos. If you don’t have one, you can easily create an account for free.
Navigating the Google Photos Interface
Once you have accessed your Google Photos account, you’ll be greeted with a user-friendly interface that makes it easy to browse and manage your photo collection. Let’s take a closer look at how to navigate the Google Photos interface:
1. Home Screen: The home screen is the main dashboard of Google Photos. Here, you’ll find your recently uploaded photos and videos prominently displayed in a tiled layout. You can scroll through the feed to view more items, and click on any photo or video to see it in a larger view.
2. Side Menu: On the left side of the screen, you’ll find a side menu with various options. These options include “Photos,” “Albums,” “For You,” “Sharing,” and more. You can click on each option to navigate to different sections of Google Photos.
3. Search Bar: At the top of the screen, you’ll find a search bar. The search bar allows you to search for specific photos or videos based on keywords, locations, dates, or even people in the photos if you have enabled Google Photos’ facial recognition feature.
4. Toolbar: The toolbar is located at the bottom of the screen and provides quick access to different functions. It includes options such as “Photos,” “Albums,” “Assistant,” and “Sharing.” By clicking on each option, you can easily switch between different sections of Google Photos.
5. Sorting and Filtering Options: Google Photos provides several options to sort and filter your photos. You can sort them by date, album, or by categories such as people, places, and things. Additionally, you can filter your photos to show only videos, animations, or collages.
By familiarizing yourself with these key elements of the Google Photos interface, you’ll be able to effortlessly navigate through your photo collection and make the most of the features offered by the platform.
Viewing Albums
In Google Photos, albums are a great way to organize and group your photos based on specific themes, events, or categories. Viewing your albums is simple and can help you easily find and browse through related photos. Here’s how to view albums in Google Photos:
1. From the Home Screen: On the home screen of Google Photos, you will find a section labeled “Albums.” Clicking on this section will take you to a page where all your albums are displayed. You can scroll through the albums or use the search bar at the top to search for a specific album.
2. Side Menu: Another way to access your albums is through the side menu. Click on the three horizontal bars at the top-left corner of the screen to open the side menu, then select “Albums.” This will take you directly to the albums page.
3. Sorting and Filtering: Once you’re on the albums page, you can further organize and sort your albums. Click on the “Sort” button at the top-right corner and choose your preferred sorting option, such as sorting by name, date, or the number of photos in each album. You can also use the filter option to show only specific types of albums, such as shared albums or albums created by you.
4. Viewing an Album: To view the contents of an album, simply click on the album thumbnail. This will open the album in a new screen where you can see all the photos or videos contained in it. You can navigate through the album by scrolling or using the arrow buttons on the sides.
5. Playing Slideshows: If you want to enjoy a slideshow of the photos in an album, click on the three-dot menu icon in the top-right corner of the album screen and select “Slideshow.” Google Photos will automatically transition between the photos, allowing you to sit back and enjoy the memories.
By utilizing the album feature in Google Photos, you can keep your photos organized and easily accessible. Whether you want to create albums for specific events, trips, or even for specific people, albums provide a convenient way to manage and view your photo collections.
Sorting and Filtering Photos
With Google Photos, you have the ability to sort and filter your photos, making it easier to find specific images or organize them in a desired way. Here are some methods you can use to sort and filter your photos:
Sorting Options:
- Date: By default, Google Photos organizes your photos chronologically based on the date they were taken. This allows you to scroll through your collection in a timeline format. However, you can also choose to sort your photos in reverse chronological order.
- Album: Sorting by album groups your photos together based on the albums they belong to. This can be useful if you want to view all the photos from a particular album at once.
- Relevance: Google Photos uses artificial intelligence to analyze your photos and determine their relevance. This sorting option showcases photos that the system deems important or significant to you based on various factors, such as the people or objects in the photos.
Filtering Options:
- Type of Media: Google Photos allows you to filter your collection by the type of media, such as photos, videos, animations, or collages. This is helpful when you want to focus on a specific type of content.
- People: If you have enabled the facial recognition feature in Google Photos, you can filter your photos based on the people who appear in them. By selecting a person’s name, you can quickly view all the photos that include that individual.
- Location: If your photos have geotags (location data), you can filter them by specific places. This is particularly useful for finding photos taken during a specific trip or event.
To access the sorting and filtering options, click on the “Sort” button at the top right of the Google Photos interface. From there, you can choose your preferred sorting method and apply different filters to refine your photo selection.
By leveraging the sorting and filtering capabilities of Google Photos, you can easily locate specific photos, browse through memories based on different criteria, and create personalized photo collections tailored to your preferences.
Identifying the Total Number of Photos
Curious to know how many photos you have in your Google Photos collection? Fortunately, Google Photos provides a simple method for identifying the total number of photos stored in your account. Follow these steps:
1. Photos Tab: From the Google Photos home screen, click on the “Photos” tab in the side menu. This will display all your photos in a grid view.
2. Scroll to the End: Start scrolling through your photos towards the bottom of the page. As you scroll, Google Photos will automatically load more images. Continue scrolling until you reach the end of your photo collection.
3. Observe the Counter: While scrolling, keep an eye on the photo counter located at the top of the page. The counter will update dynamically as you scroll, showing the total number of photos loaded at any given point.
Note: It’s important to note that due to the dynamic loading of photos, the counter may not display the exact total number of photos immediately. It may take a few seconds or minutes to accurately reflect the total count.
By scrolling through your entire photo collection and observing the photo counter, you can easily identify the total number of photos you have stored in Google Photos.
Keep in mind that the count includes all types of media, such as photos, videos, animations, and collages. Additionally, if you have organized your photos into albums, the count only represents the photos in the main photo tab and does not include the photos within specific albums.
This method allows you to get a quick estimate of the total number of photos in your Google Photos collection, giving you an overview of the extent of your digital memories.
Using Google Photos’ Search Function
Google Photos’ search function is a powerful tool that allows you to find specific photos or videos within your collection quickly. With advanced search capabilities, you can locate images based on various criteria, making it easier to navigate through your library. Here’s how to utilize the search function in Google Photos:
1. Search Bar: Located at the top of the Google Photos interface, the search bar is where you can enter your search queries. Simply click on the search bar and start typing keywords, such as people’s names, locations, dates, or objects. Google Photos will begin displaying relevant suggestions as you type.
2. Suggestions: As you type in the search bar, Google Photos will provide autocompleted suggestions based on your previous searches, recognized faces, popular locations, and other factors. These suggestions can help narrow down your search and save you time.
3. Predefined Filters: Google Photos offers predefined filters that you can use to refine your search. Click on the filter options that appear below the search bar to narrow down your results based on specific categories, such as people, places, things, or types of media (e.g., videos or animations).
4. Advanced Searches: Google Photos also supports advanced search operators to further customize your search. For example, you can use the “AND” operator to combine multiple search terms, or the minus sign (“-“) to exclude certain keywords from your search. You can find a list of available advanced search operators in the Google Photos Help Center.
5. Facial Recognition: If you’ve enabled facial recognition in Google Photos, you can search for specific people by their names. Google Photos will automatically detect and tag faces in your photos, allowing you to easily find photos featuring specific individuals.
Using the search function in Google Photos empowers you to locate specific photos or videos within your collection effortlessly. Whether you’re searching for photos of a particular person, a specific location, or even a specific object, Google Photos’ search capabilities make it a breeze to find what you’re looking for.
Checking Storage Usage
Google Photos offers users free storage space to store their photos and videos. However, it’s essential to keep track of your storage usage to ensure you don’t exceed your allotted limit. Here’s how you can check your storage usage in Google Photos:
1. Settings Menu: Click on the three horizontal lines at the top-left corner of the Google Photos interface to open the side menu. Scroll down and select “Settings” from the list of options.
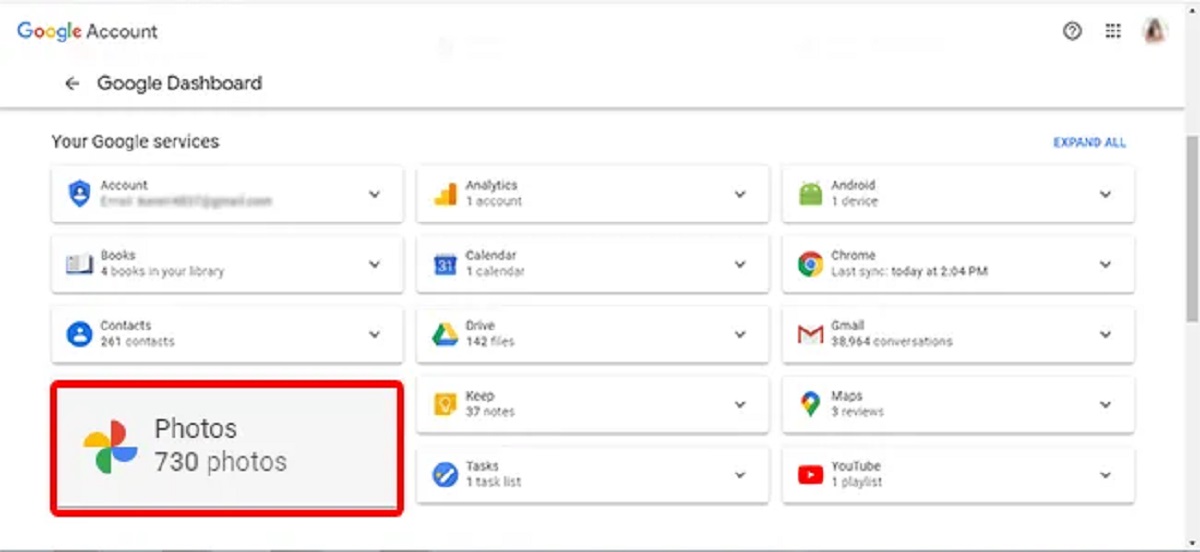
2. Account Storage: Within the Settings menu, select “Account storage” to access your storage information. Here, you’ll find details about how much storage you’ve used and how much is still available.
3. Storage Breakdown: Google Photos provides a breakdown of your storage usage, categorizing it into photos and videos, as well as other items such as shared albums and trash. This breakdown gives you a clear understanding of how much space each category is occupying.
4. Manage Storage: To manage your storage effectively, click on the “Manage storage” button. This will take you to a page where you can review and delete media to free up storage space.
On the “Manage storage” page, you’ll see a list of suggestions, including blurry photos, screenshots, and large videos that you can consider deleting if you no longer need them. Additionally, you can free up space by permanently deleting photos or videos from the trash or clearing out items from your shared albums.
Note: If you want to store more photos and videos without worrying about storage limits, you can consider upgrading to a paid Google One subscription, which provides additional storage space.
By regularly checking your storage usage in Google Photos, you can stay informed about how much space your media is occupying and take necessary actions to manage your storage effectively.
Backup and Sync Settings
Google Photos offers a convenient backup and sync feature that automatically backs up your photos and videos to the cloud, ensuring they are safe and accessible across your devices. Understanding and configuring the backup and sync settings can help you customize how your media is stored and synchronized. Here’s how to manage the backup and sync settings in Google Photos:
1. Settings Menu: Click on the three horizontal lines at the top-left corner of the Google Photos interface to open the side menu. Scroll down and select “Settings” from the list of options.
2. Back up & sync: Within the Settings menu, choose “Back up & sync” to access the backup and synchronization settings.
3. Backup Options: In the “Back up & sync” settings, you can toggle the backup feature on or off. When enabled, Google Photos will automatically back up new photos and videos captured on your device to the cloud. You can also choose to include or exclude specific folders from the backup process.
4. Quality & Size: Google Photos allows you to choose the quality and size of the photos and videos you back up. You can select “High quality” to back up unlimited photos and videos with slight compression, or “Original quality” to maintain the original file size and quality, which may count against your Google account storage limit.
5. Wi-Fi Only: To save mobile data, you can enable the “Back up photos over Wi-Fi only” option. This ensures that your media is only backed up when connected to a Wi-Fi network, helping you avoid excessive data charges.
6. Battery Saver: If you want to conserve battery life, you can enable the “Back up while charging only” option. This setting allows Google Photos to back up your media only when your device is connected to a charger.
7. Sync Across Devices: By turning on the “Sync photos & videos” option, you can ensure that your photos and videos are synced and available across all your devices logged in with the same Google account.
Customizing the backup and sync settings in Google Photos allows you to manage how your media is stored and synchronized. By enabling the appropriate options, you can ensure your photos and videos are backed up, accessible, and synchronized to provide a seamless user experience across your devices.
Conclusion
Google Photos is a powerful and user-friendly platform that provides an efficient way to store, organize, and access your photos and videos. With the ability to access Google Photos through the website or mobile app, navigating through your photo collection has never been easier.
By utilizing the search function, you can quickly find specific photos based on keywords, locations, dates, or even the people in them. Additionally, sorting and filtering options allow you to organize your photos based on various criteria, making it easier to browse through your collection.
Google Photos also offers features like albums, which help you group and view related photos together. With the ability to view your storage usage and manage your backup and sync settings, you can keep track of your media and ensure it is safely stored in the cloud.
Whether you’re a photography enthusiast, a memory keeper, or simply someone who wants to manage and enjoy their digital photo collection, Google Photos provides the tools and features to make it happen. So start exploring and unleash the full potential of your memories with Google Photos!