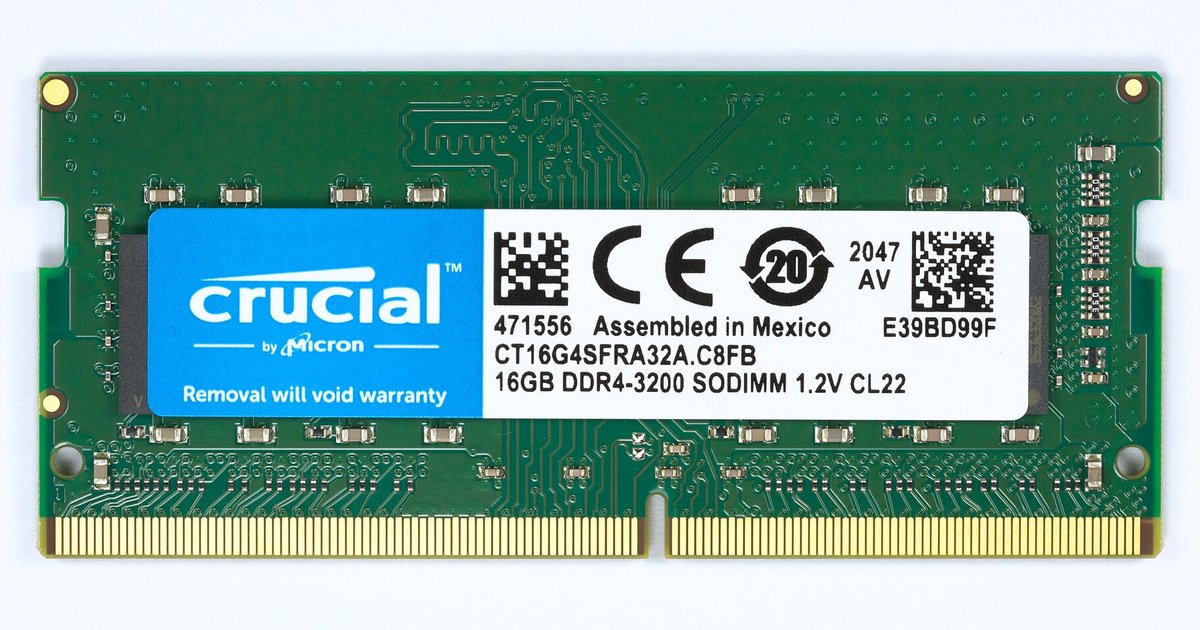
Planning your ram compatibility upgrade
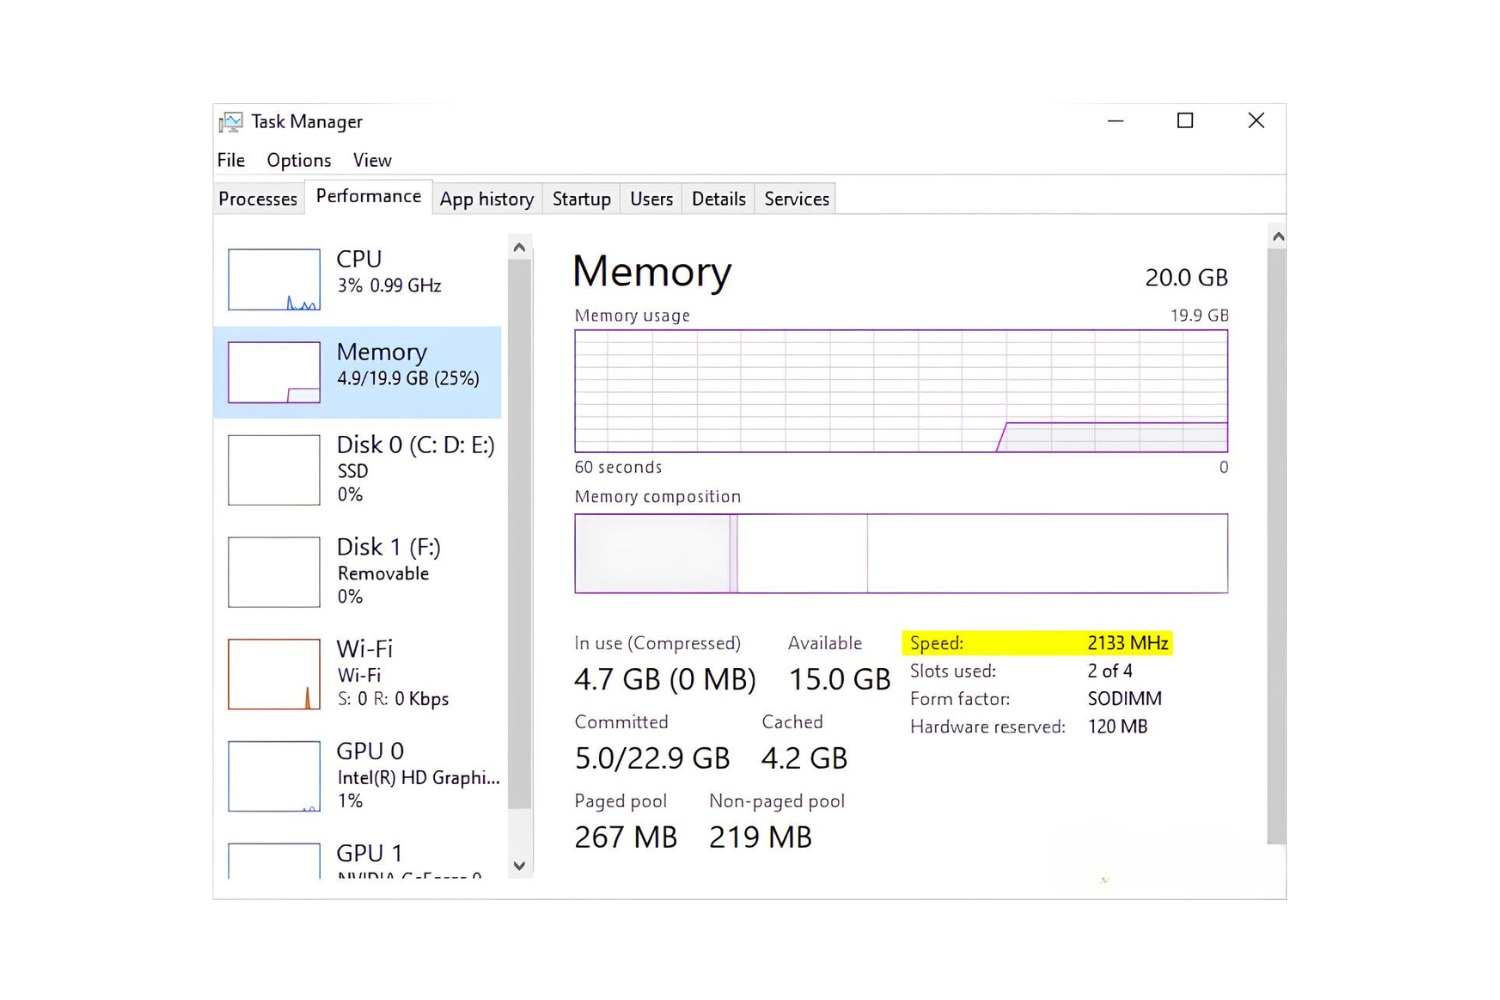
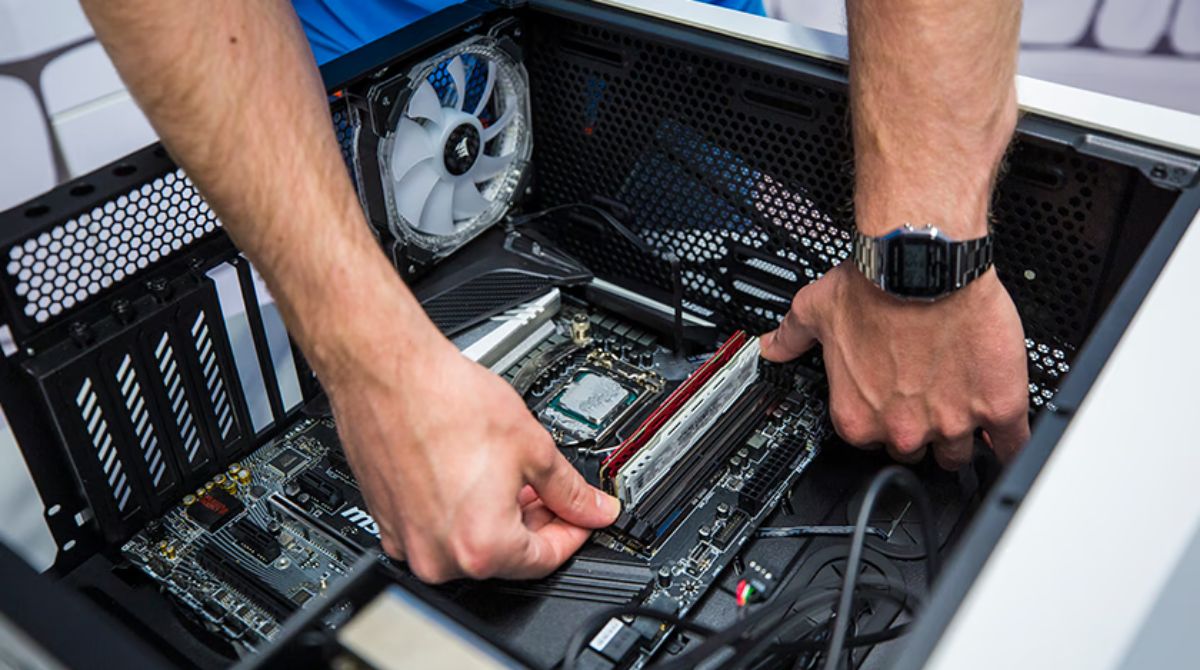
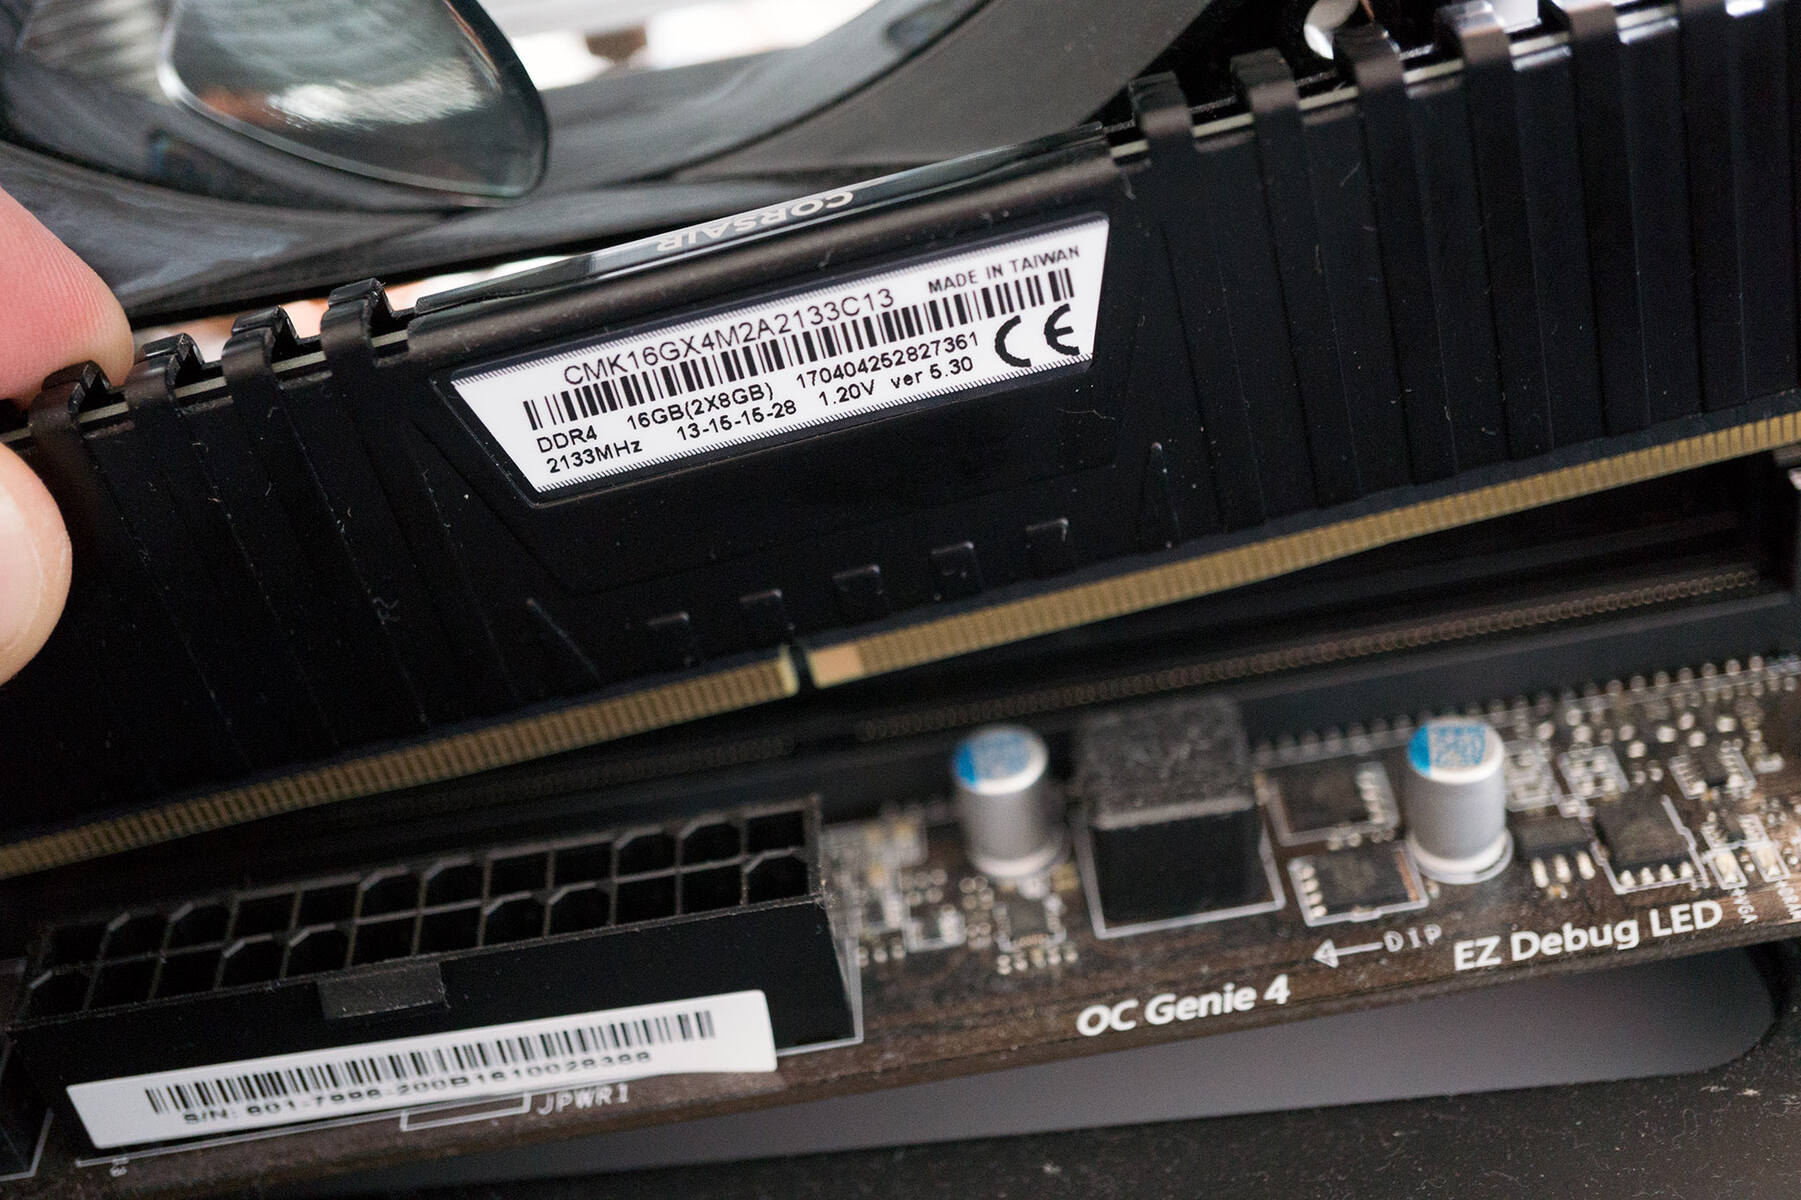
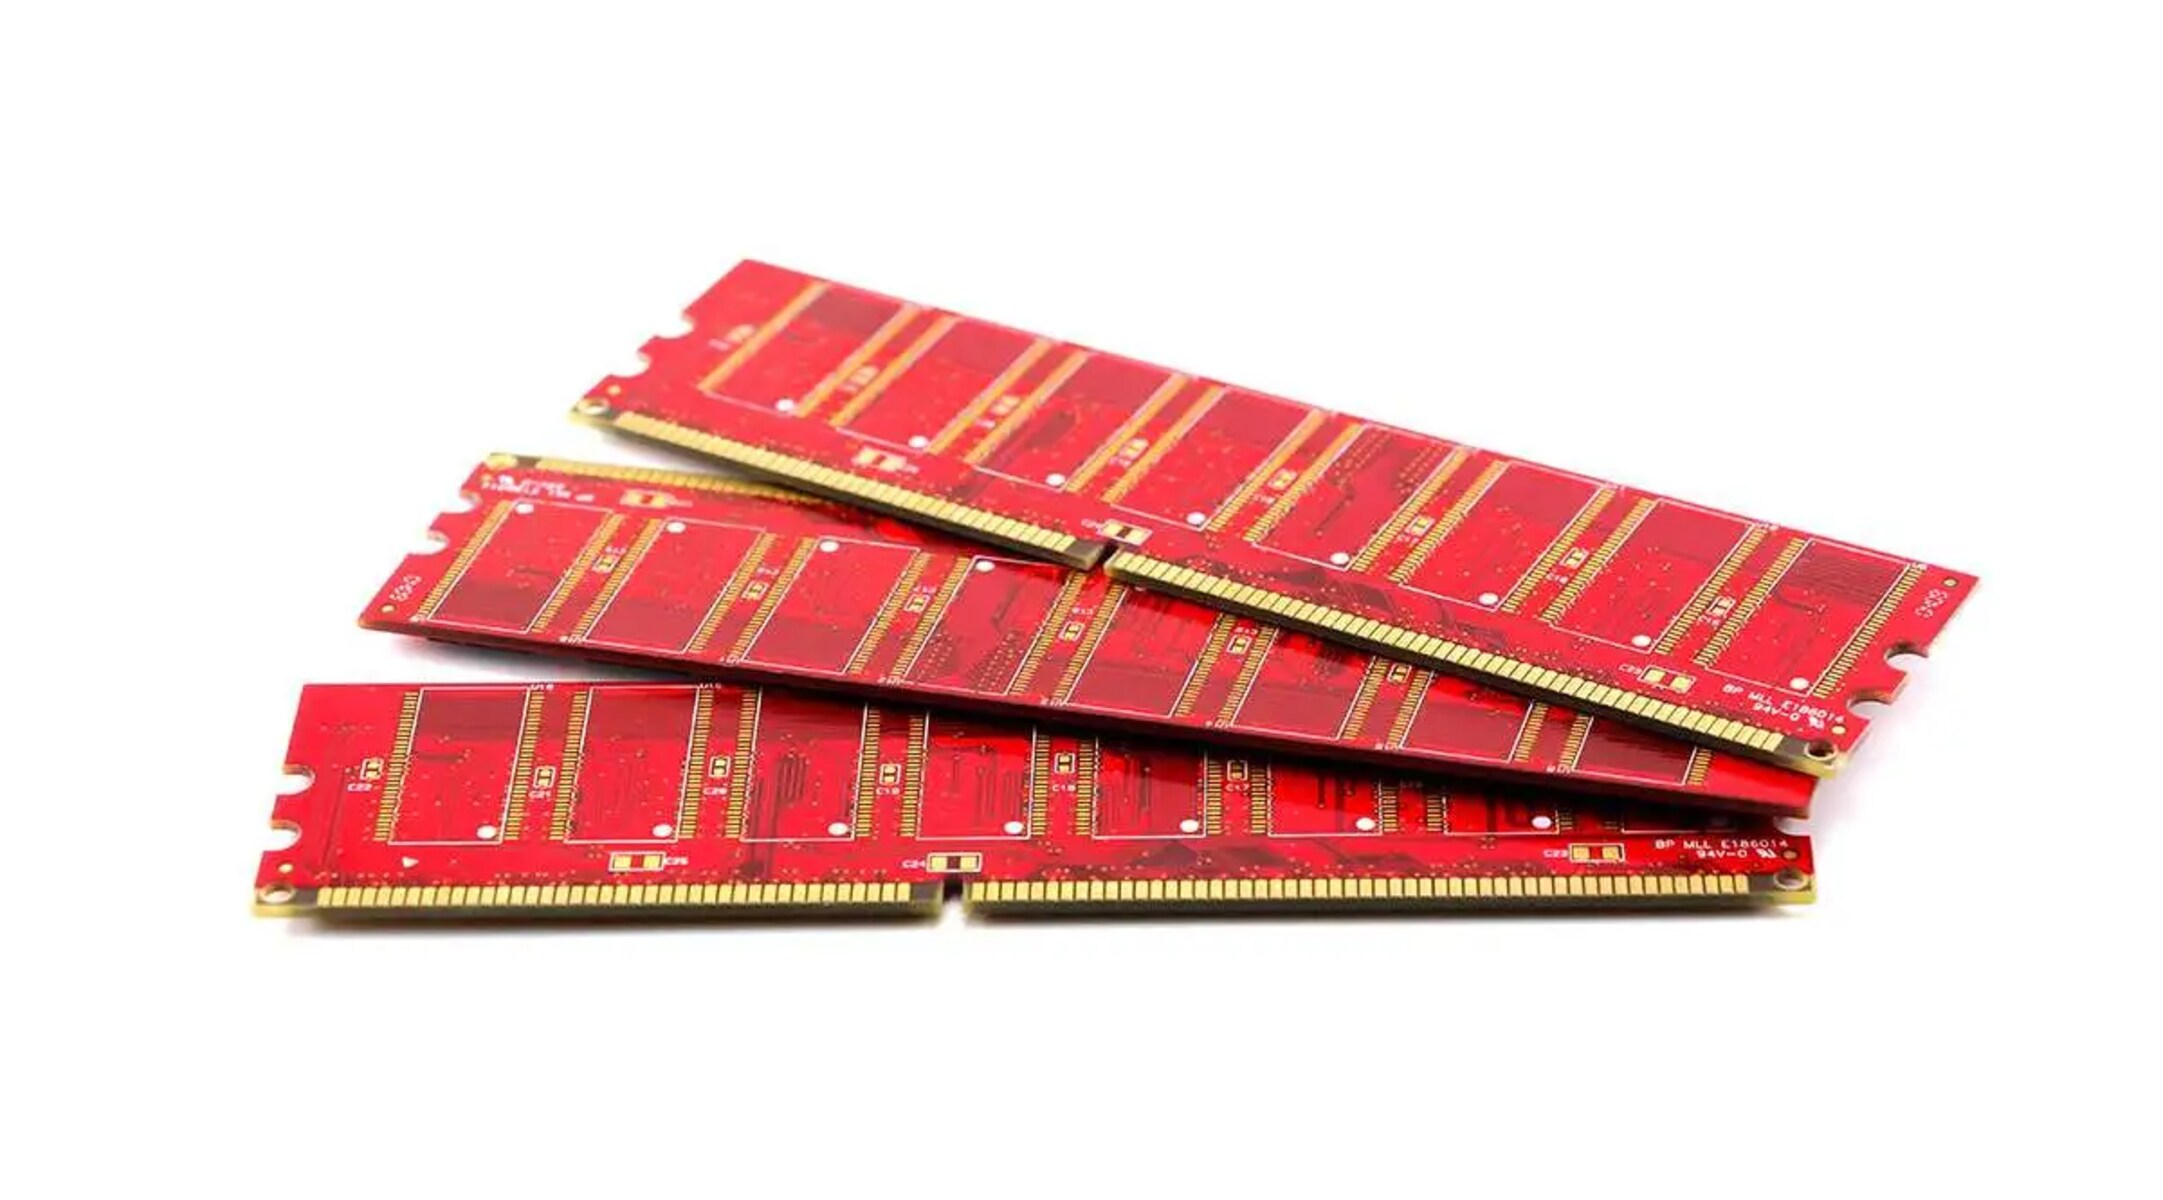
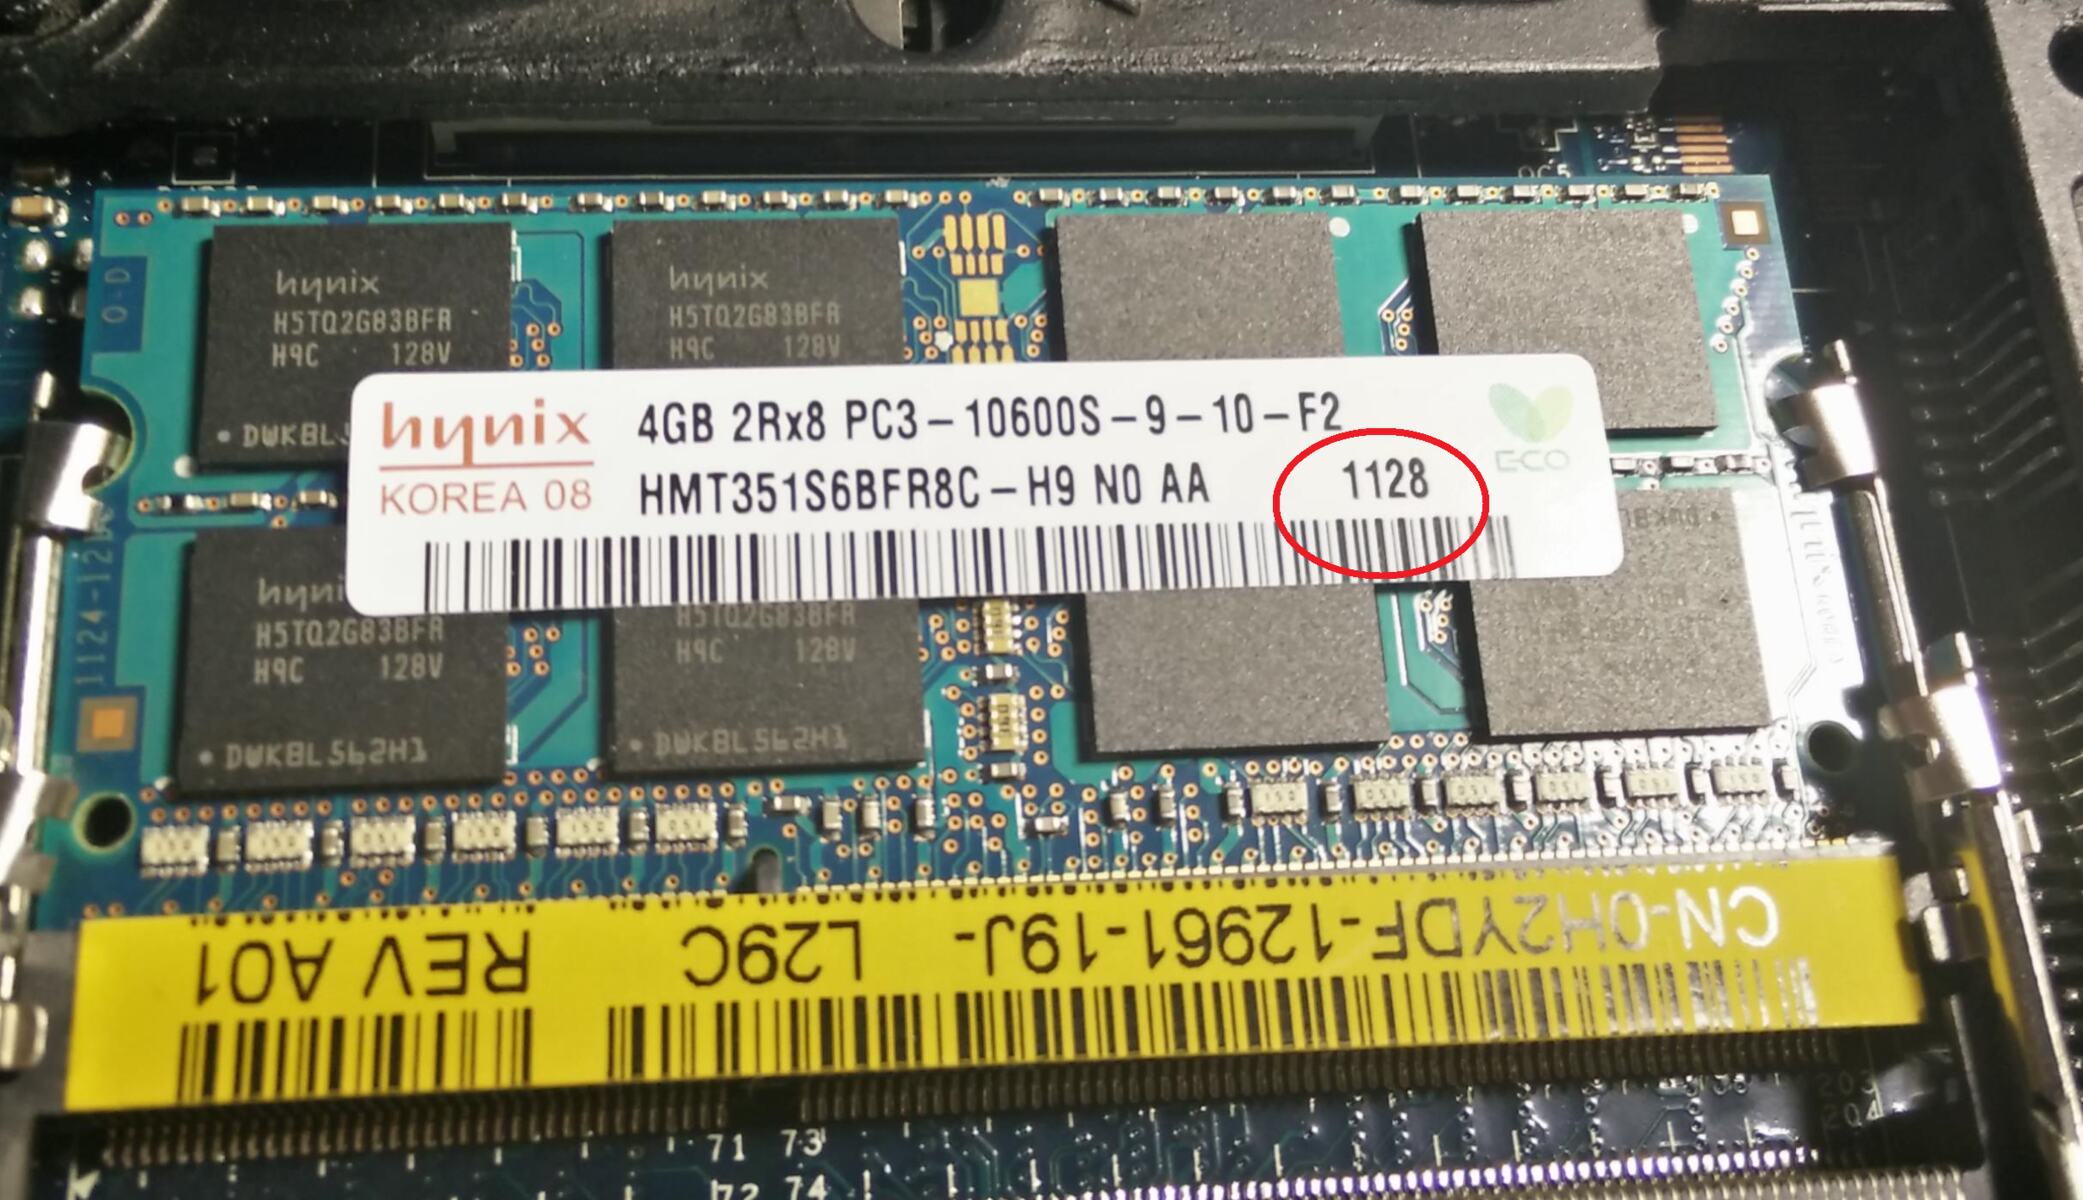
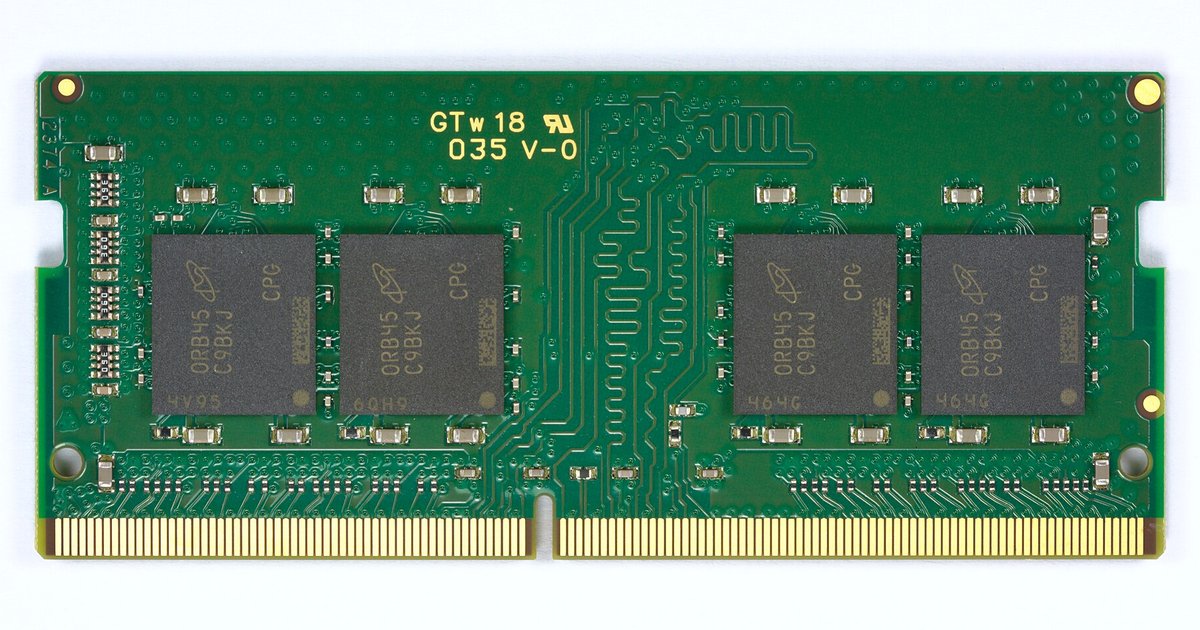
Before you spend money on an upgrade, always verify ram compatibility by physically comparing your current module against the motherboard’s DIMM slots. DDR4 and DDR5 sticks look similar but have a different notch position, and forcing the wrong generation into a slot can crack the connector. If you are working on a compact system and need to find what RAM is compatible with my laptop, measure the module’s height as well. Some laptops use low-profile SO-DIMMs that desktop sticks cannot replace. For single-board computers, the process is different: you cannot install more RAM on a Raspberry Pi because the memory is soldered directly to the board. Your upgrade path is limited to swapping the entire Pi model or using faster SD cards for swap space. Before you handle any hardware, power down completely, unplug the PSU, and ground yourself. Static discharge is invisible but can kill a slot. When you need to take out RAM, release the clips on both ends of the DIMM. The stick should pop up at an angle, and you pull it straight out without rocking it. Check your motherboard’s QVL list for the exact part number of the kit you intend to buy. Even if the speed and capacity match, a slight revision difference can cause boot failures or force the module to run at a safe default speed like 2133 MHz. Finally, confirm your BIOS revision supports the kit’s XMP or EXPO profile. Older BIOS updates often lack the memory training tables for newer die revisions, which is the same reason some budget boards cannot write lighting control data and leave you stuck on default rainbow mode regardless of the software you install.
Controlling ram lighting
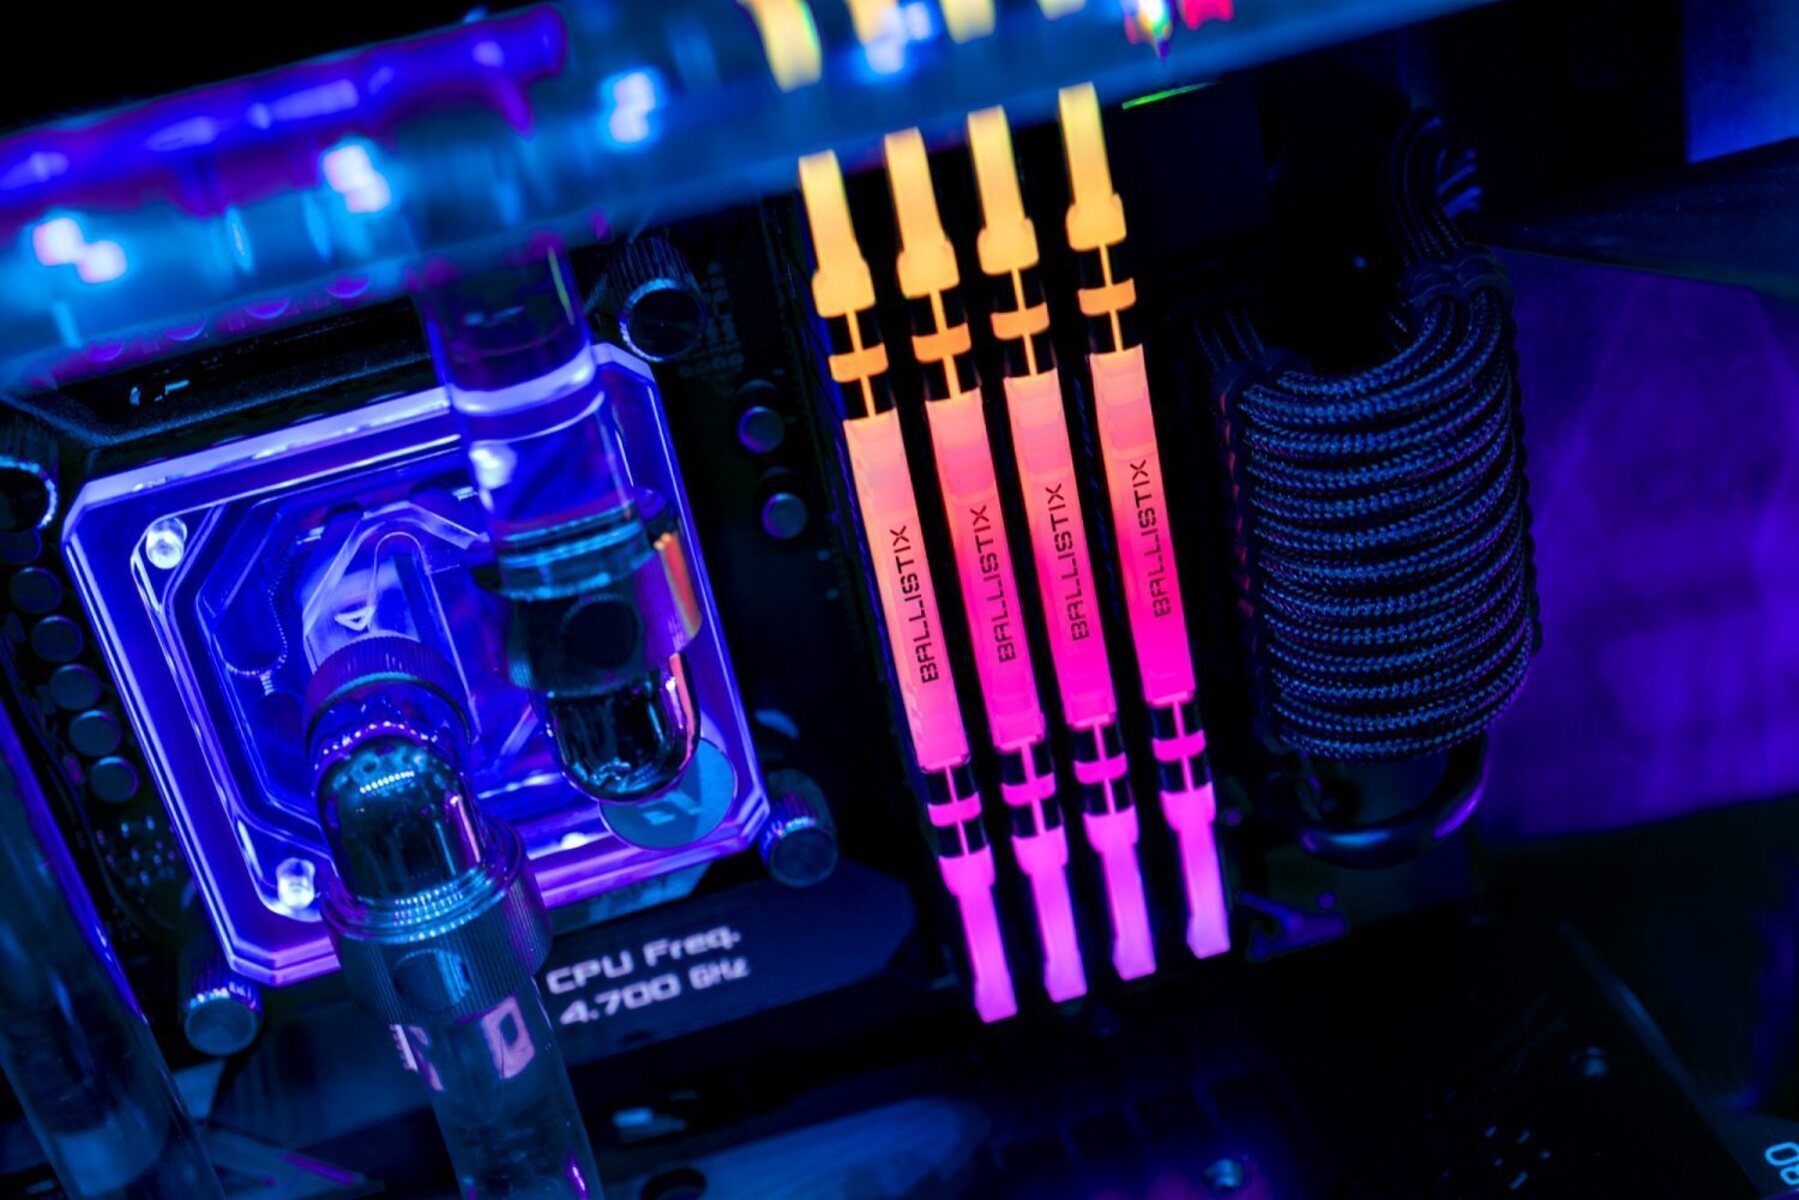
If your RAM is stuck pulsing through a factory rainbow cycle you never wanted, the first step is to confirm that your motherboard’s lighting controller can actually write to the memory modules. Many budget boards read the SPD data for basic detection but cannot send commands back. No amount of software will let you change RAM RGB color. Once compatibility is confirmed, open your motherboard vendor’s lighting utility. It is typically found in the same app that controls case fans and GPU LEDs. Look for a per-slot or per-DIMM entry. You can usually pick a static color, a breathing effect, or a pattern that syncs with other components. If you prefer a completely dark build, the same utility almost always includes an option to turn off RGB RAM entirely. Select the “off” or “disable” state and apply it to the memory zone. Some kits also store lighting profiles on the module itself, so the setting persists even when the software isn’t running. A rare few motherboards lack a dedicated RAM lighting channel in their software. In that case you might need to use a third-party tool like OpenRGB, but only if the board’s chipset and BIOS version actually expose the necessary write registers. If none of those tools work, the hardware simply does not support customization, and you are stuck with whatever default lighting the manufacturer programmed.
Tuning and recovering ram speed
If your system refuses to boot after you adjust memory frequency or timings in the firmware, the first step is to force a safe fallback. The exact method to reset CMOS after a failed RAM overclock is printed on your motherboard manual’s troubleshooting page. This involves shorting the CMOS jumper or removing the battery for a minute. For Gigabyte boards specifically, the memory settings live under the "Tweaker" or "M.I.T." (Motherboard Intelligent Tweaker) submenu, depending on the BIOS version. Here you can change RAM speed in Gigabyte BIOS by selecting the appropriate overclocking profile preset (such as XMP for Intel or EXPO for AMD) or manually typing a new frequency and voltage. Never exceed the kit’s rated XMP voltage unless you have active cooling on the DIMMs. When a setting causes several consecutive failed boots, the firmware should automatically revert to stock JEDEC speeds. If it does not, you can try holding the case’s power button during power-on to trigger a safe-mode fallback, but the most reliable method is to reset the CMOS. After you successfully boot into the BIOS, reduce the memory multiplier by one step. Increase the primary timings (TCL, tRCD, tRP, tRAS) by one cycle each before saving and retesting. Keep a screenshot of your working XMP values on your phone so you can rebuild from a known stable baseline. We are the only guide that maps the exact M.I.T. submenu path and the ten-second power-button fallback to a single, sequential rescue routine. Always run a memory stress test for at least one pass before declaring the overclock stable.