Introduction
Welcome to the world of Raspberry Pi! If you’re looking to unleash the true potential of your Raspberry Pi, then one effective way to do so is by upgrading its RAM. More RAM means smoother multitasking, faster processing, and improved overall performance.
In this guide, we will walk you through the step-by-step process of installing more RAM on a Raspberry Pi. So, whether you’re a hobbyist, a developer, or just someone looking to optimize their Pi’s capabilities, this article is for you.
By the end of this guide, you’ll have the knowledge and confidence to upgrade your Raspberry Pi’s RAM and unlock a whole new level of computing power.
Before we dive into the installation process, there are a few prerequisites you should be aware of:
- A Raspberry Pi unit (any model will do)
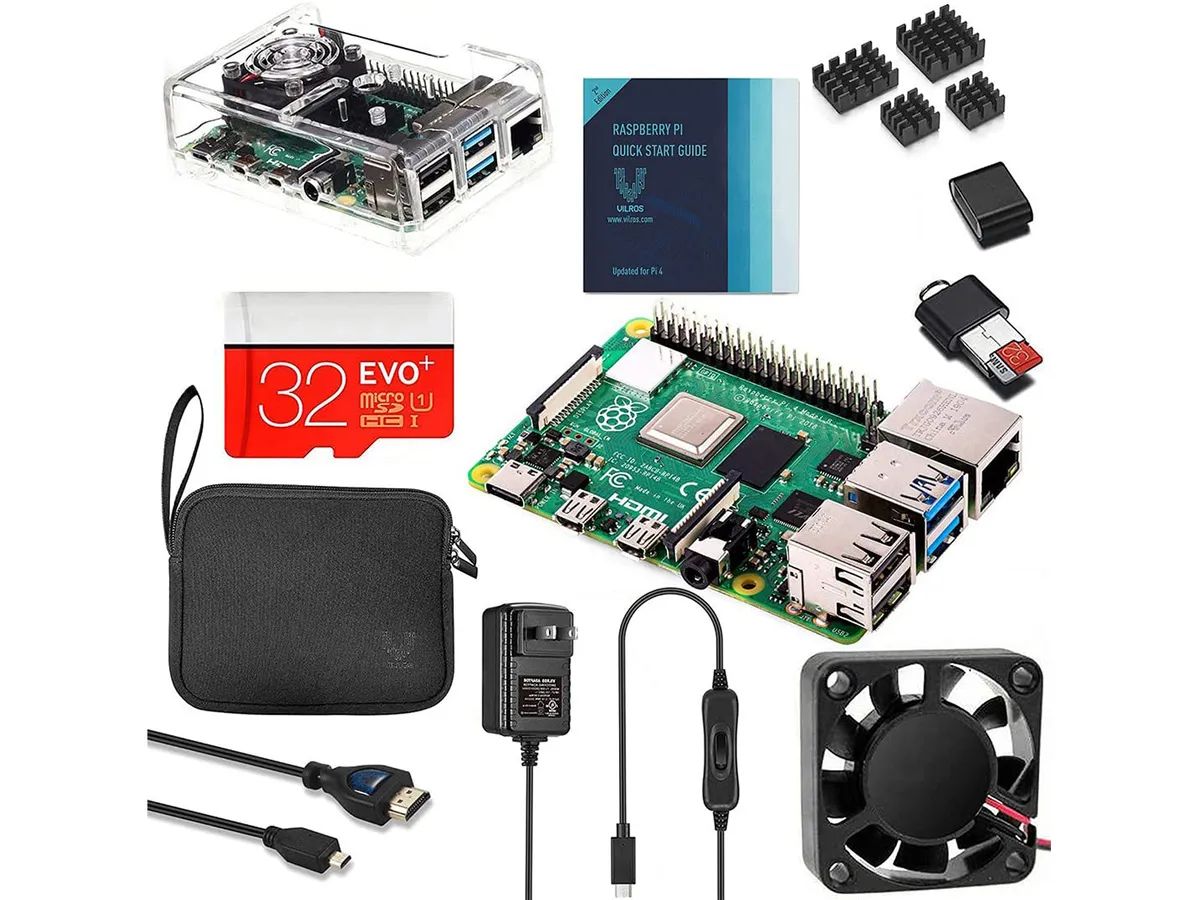
- A compatible RAM module
- A small screwdriver
With these essentials on hand, you’re all set to proceed with the RAM upgrade. Remember, taking the necessary precautions and following the steps carefully will ensure a successful installation.
So let’s get started and take your Raspberry Pi to the next level!
Prerequisites
Before you embark on the journey of upgrading your Raspberry Pi’s RAM, there are a few prerequisites you need to fulfill. These prerequisites will ensure that you have all the necessary tools and components to successfully complete the upgrade process. So, let’s take a look at what you’ll need:
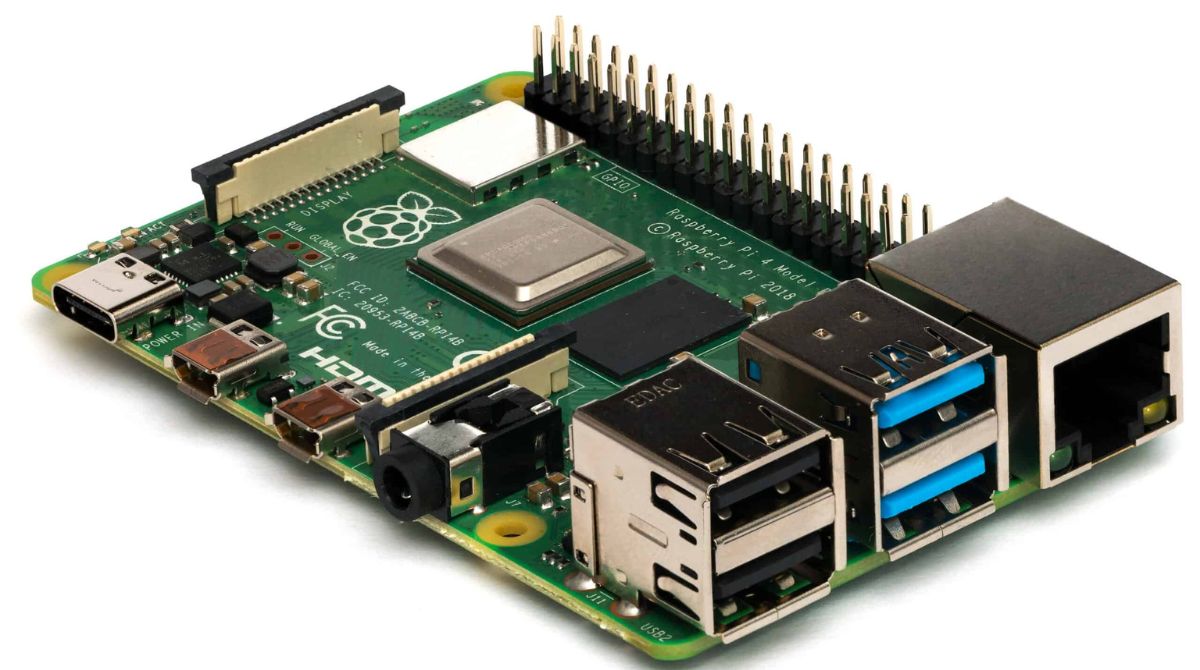
- Raspberry Pi Unit: Firstly, you’ll need a Raspberry Pi unit. This guide is applicable to all models of Raspberry Pi, so whether you have a Raspberry Pi 3, Raspberry Pi 4, or any other model, you’re good to go.
- Compatible RAM Module: Next, you’ll need a compatible RAM module for your Raspberry Pi. Ensure that the RAM module is compatible with your specific Raspberry Pi model. Refer to the manufacturer’s documentation or consult online resources to determine the compatible RAM options for your Pi. The additional RAM will significantly enhance the performance of your Raspberry Pi.
- Small Screwdriver: You’ll also need a small screwdriver to open your Raspberry Pi case. This will enable you to access the RAM slot and insert the new RAM module properly. Make sure you have the appropriate size and type of screwdriver to avoid any damage or mishaps during the process.
Once you have these prerequisites in place, you’re ready to move on to the next steps and upgrade your Raspberry Pi’s RAM. It’s important to follow the guidelines carefully and exercise caution to prevent any accidental damage to your Pi.
Now that you know what you’ll need, let’s proceed to the next section and start the RAM upgrade process step by step.
Step 1: Checking the Compatibility
Before diving into the RAM upgrade process, it’s crucial to double-check the compatibility of the RAM module with your Raspberry Pi. Ensuring compatibility will prevent any headaches or issues during the installation. Here’s how you can check the compatibility:
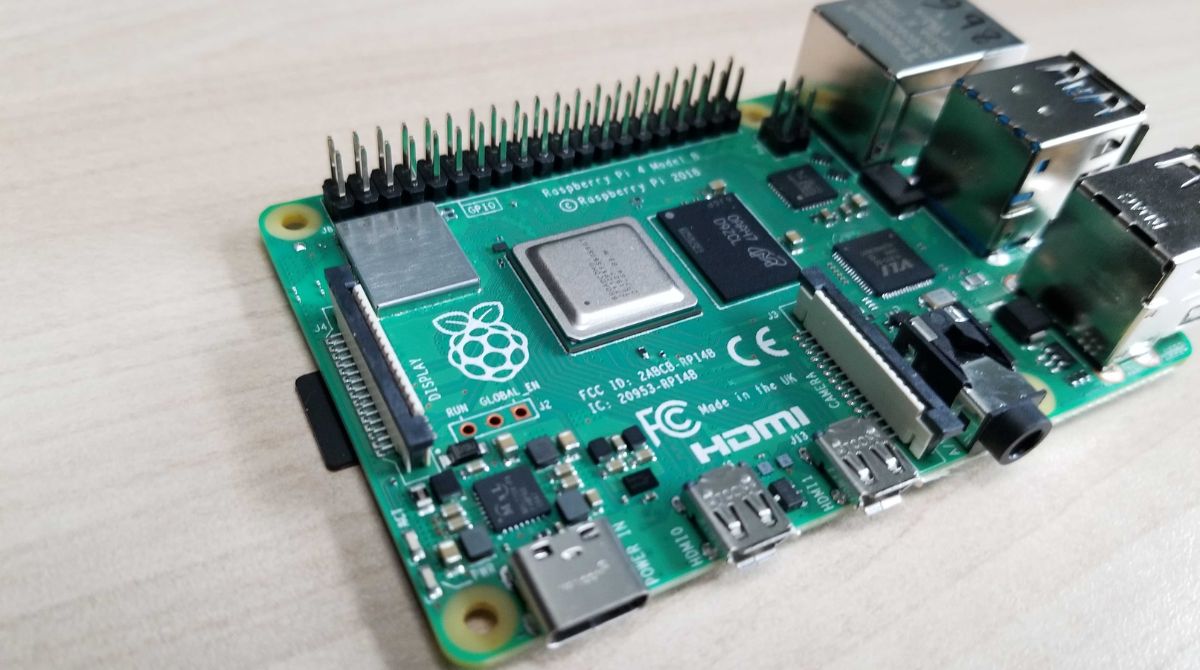
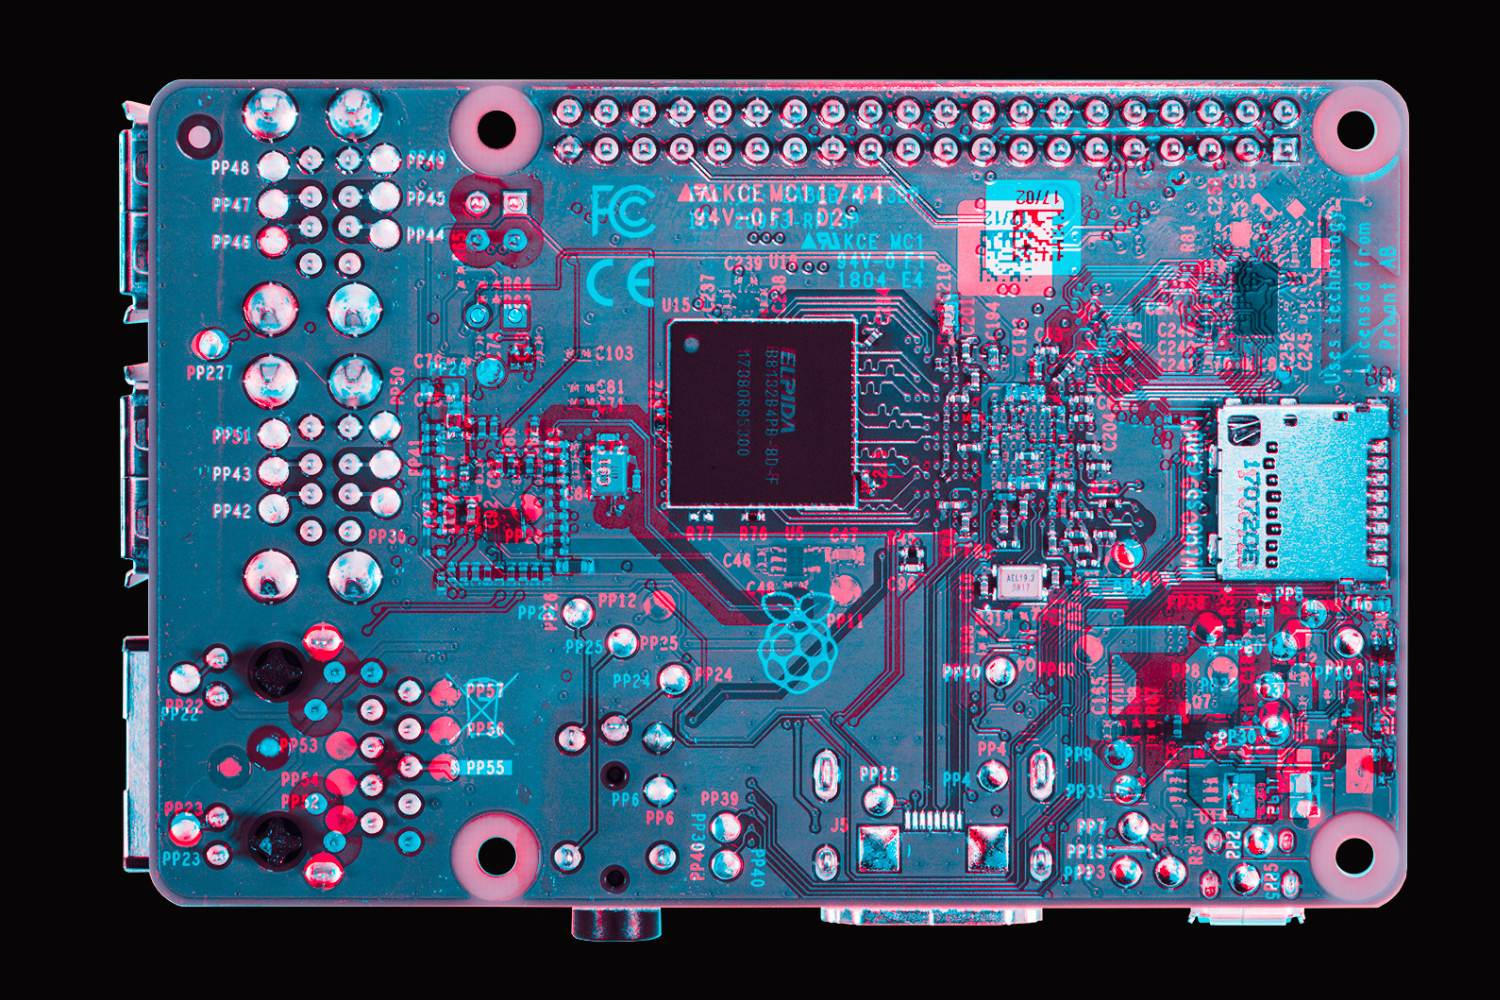
- Identify your Raspberry Pi model: Start by identifying the specific model of your Raspberry Pi. Check the PCB (printed circuit board) or refer to the documentation that came with your Pi. This information will be essential when selecting a compatible RAM module.
- Research compatible RAM options: Once you know your Raspberry Pi model, conduct some research to find RAM modules that are compatible with it. Visit official Raspberry Pi forums, websites of reputable tech hardware manufacturers, or online retailers that specialize in Raspberry Pi accessories. Look for RAM modules explicitly designed and tested for your Pi model.
- Check RAM module specifications: Pay close attention to the RAM module’s specifications, such as capacity and speed. Ensure that the selected module meets or exceeds your desired upgrade specifications. Remember, the higher the RAM capacity, the better the performance boost.
- Note any potential compatibility issues: While researching, look for any potential compatibility issues or limitations that may arise when using certain RAM modules with your Raspberry Pi model. Check compatibility guides and user experiences to gain insights into which RAM modules work best with your Pi model.
By taking the time to check for compatibility, you can avoid disappointments and ensure a smooth and successful RAM upgrade. Once you have confirmed the compatibility, you can proceed confidently with the installation process.
Now that you’ve checked the compatibility of the RAM module, it’s time to power off your Raspberry Pi. In the next step, we’ll guide you through the process of safely shutting down your Pi before proceeding with the hardware modifications.
Step 2: Powering Off the Raspberry Pi
Before you start working on the internal components of your Raspberry Pi, it’s important to power it off properly. This ensures that you can safely perform the necessary hardware modifications without the risk of damaging any components. Follow these steps to power off your Raspberry Pi:
- Save any open work: If you have any open applications or unsaved work on your Raspberry Pi, save and close them to prevent data loss.
- Shut down the operating system: Depending on your Raspberry Pi model and the operating system you’re using, the steps to shut down the Pi may vary. In most cases, you can access the shutdown option through the desktop interface or by using the terminal. Follow the appropriate steps to initiate the shutdown process.
- Wait for the shutdown to complete: After initiating the shutdown process, give your Raspberry Pi some time to power down completely. This ensures that all processes are properly terminated before proceeding with the next steps.
- Unplug the power supply: Once your Raspberry Pi has completely shut down, unplug the power supply from the Pi and also disconnect any other peripherals that may be attached to it, such as USB devices or HDMI cables.
By following these steps, you ensure that your Raspberry Pi is safely powered off and ready for the RAM upgrade process. Remember to handle the Raspberry Pi with care throughout the process and avoid any static electricity or physical damage that could harm the components.
Now that your Raspberry Pi is safely powered off, it’s time to proceed to the next step: Opening the Raspberry Pi case. We’ll guide you through this process in the upcoming section.
Step 3: Opening the Raspberry Pi Case
With your Raspberry Pi powered off, it’s time to open the case and gain access to the internal components. Opening the case will allow you to locate the RAM slot and prepare for the RAM module installation. Here’s how you can open the Raspberry Pi case:
- Gather the necessary tools: Before opening the case, ensure that you have a small screwdriver that is compatible with the screws used to secure the Raspberry Pi case. This will enable you to remove the screws without causing any damage to the case or the Pi itself.
- Locate the screws: Examine the Raspberry Pi case and identify the screws holding it together. Most cases have two to four screws strategically placed on the outer edges of the case. These screws may be located on the top, bottom, or both sides of the case.
- Remove the screws: Carefully use the appropriate screwdriver to remove the screws securing the case. Be gentle yet firm to avoid stripping the screws. Place the screws in a safe location to prevent them from getting lost during the process.
- Separate the case: After removing the screws, gently separate the two halves of the Raspberry Pi case. Apply slight pressure and ensure all the tabs and connectors are disengaged before fully separating the case.
Once you have successfully opened the Raspberry Pi case, you’ll have a clear view of the internal components, including the RAM slot. Take a moment to familiarize yourself with the layout of the Raspberry Pi board. This will help you identify the RAM slot and proceed with confidence in the next steps.
Now that the case is open, you’re ready to locate the RAM module slot. In the next step, we’ll guide you through the process of identifying the RAM slot on your Raspberry Pi.
Step 4: Identifying the RAM Slot
Now that you have successfully opened the case of your Raspberry Pi, it’s time to identify the RAM slot. The RAM slot is where you will insert the new RAM module to upgrade the memory of your Pi. Follow these steps to locate the RAM slot:
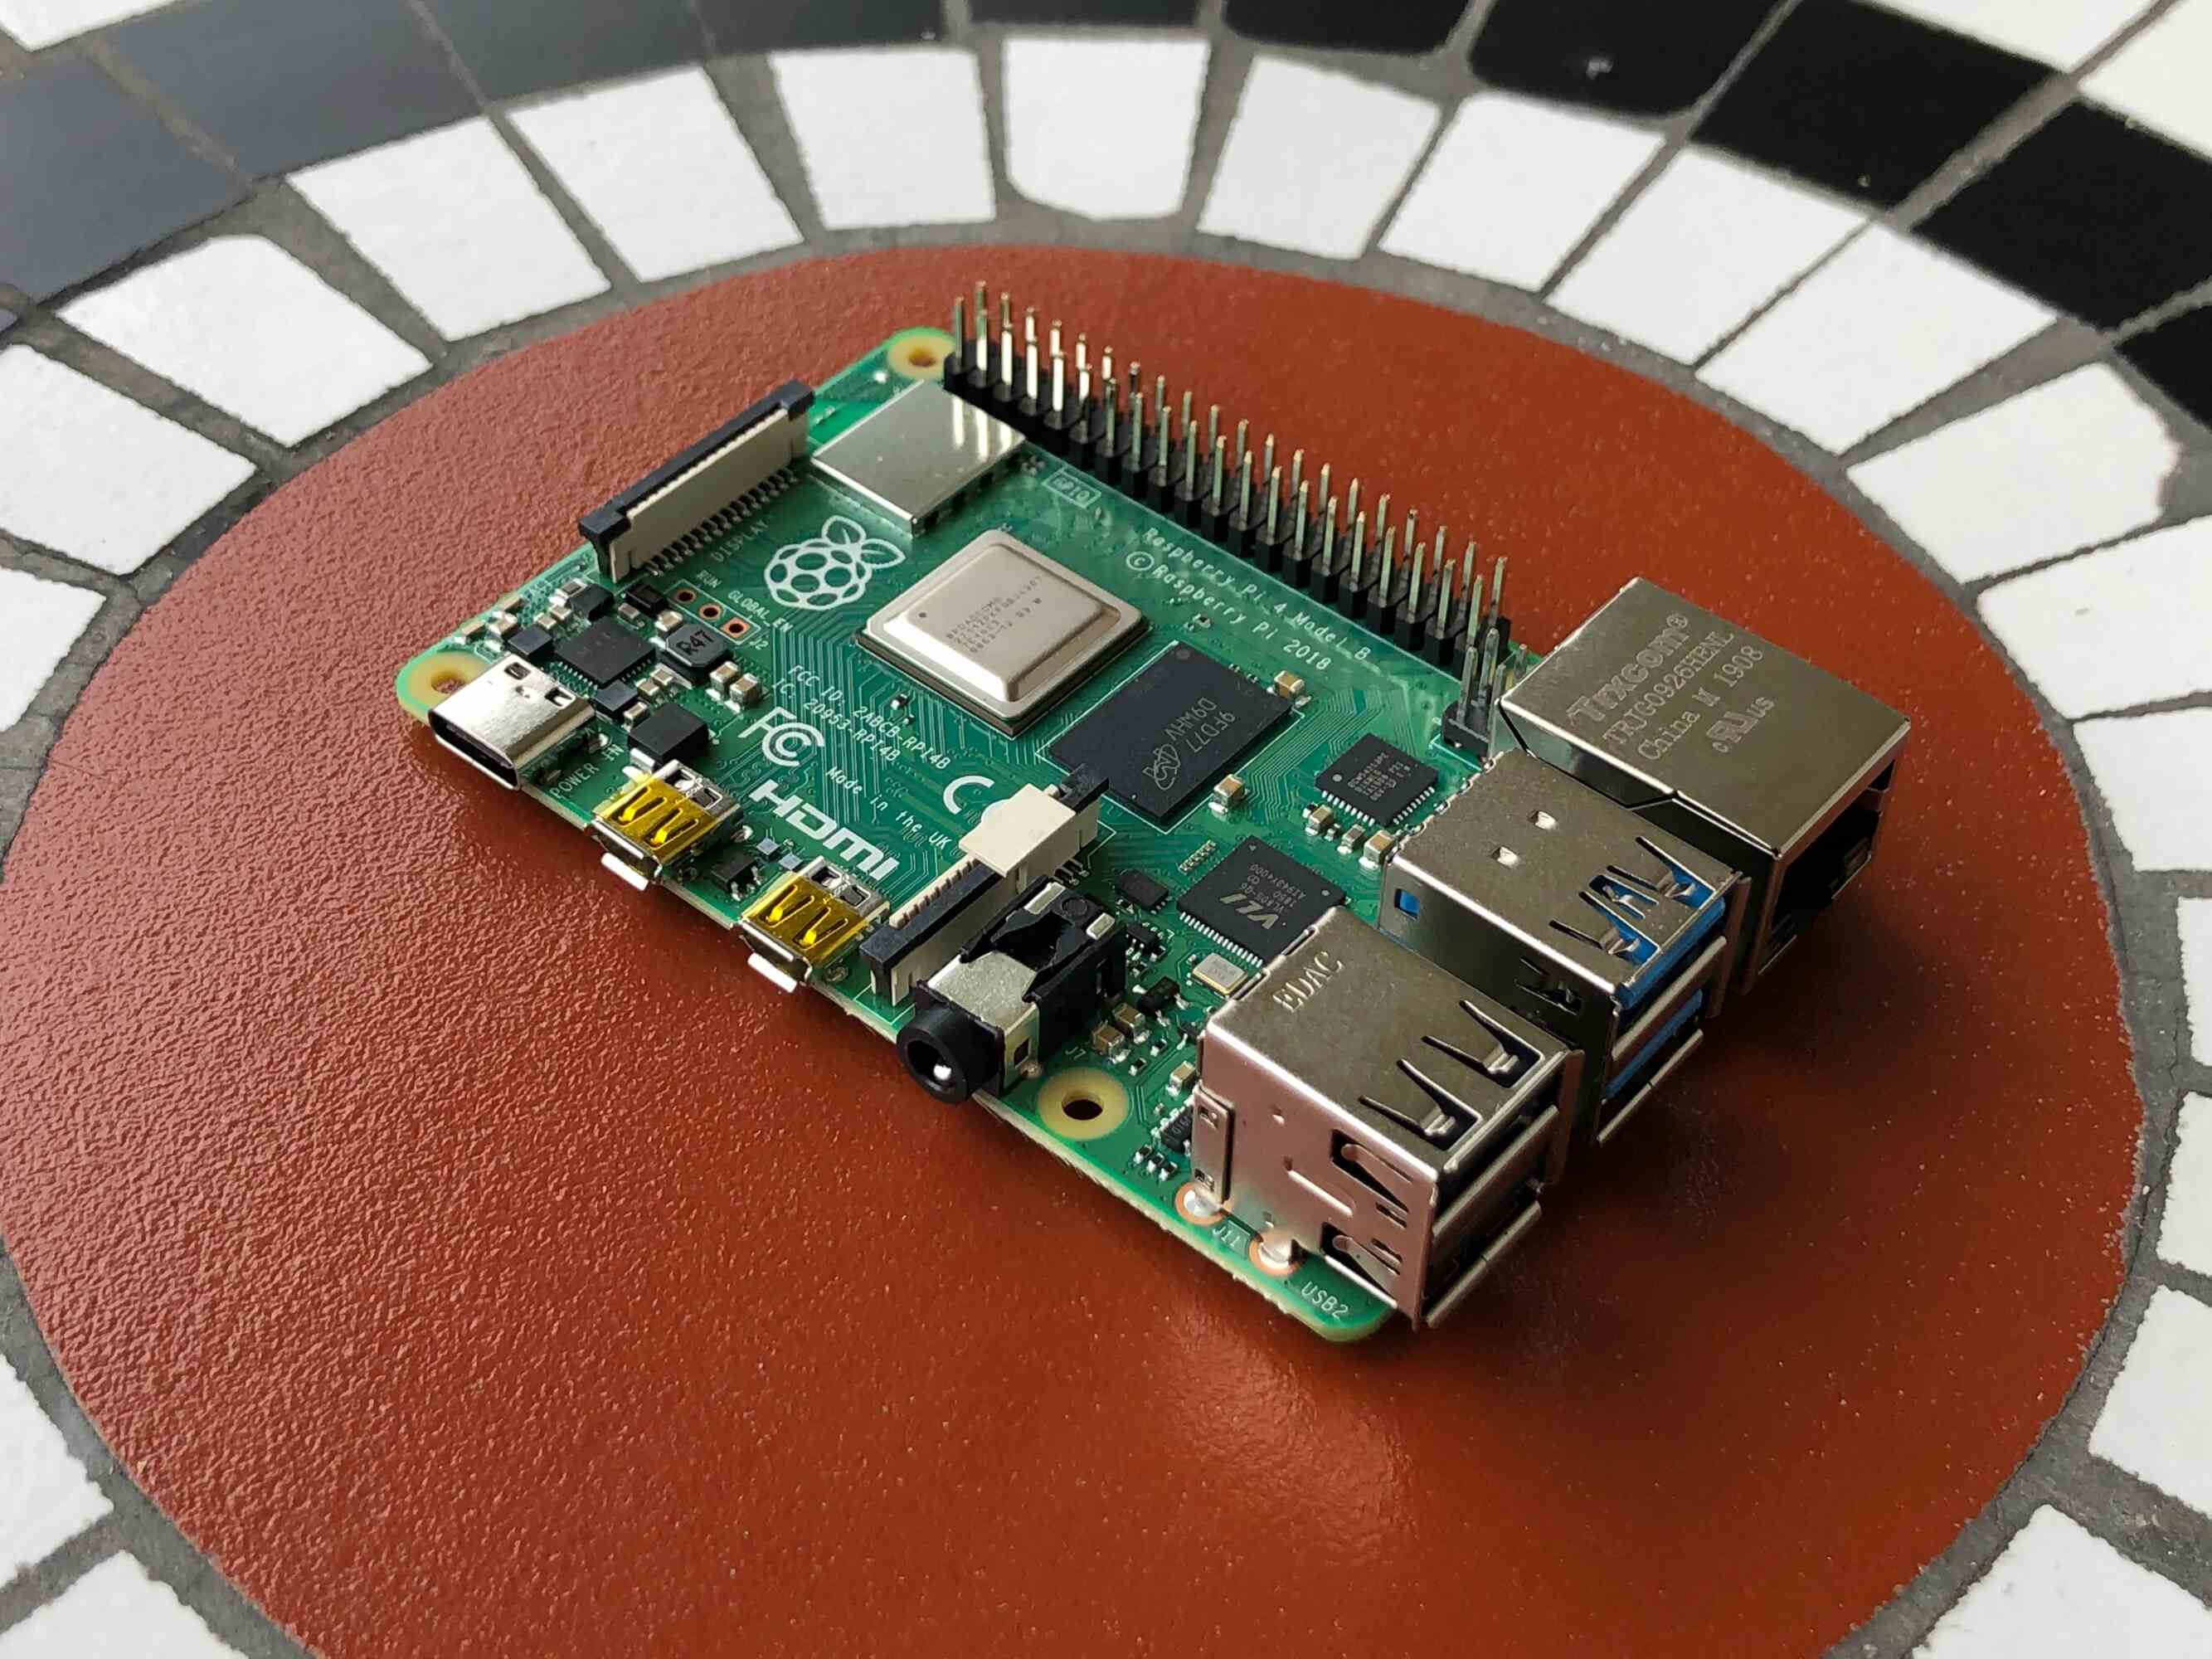
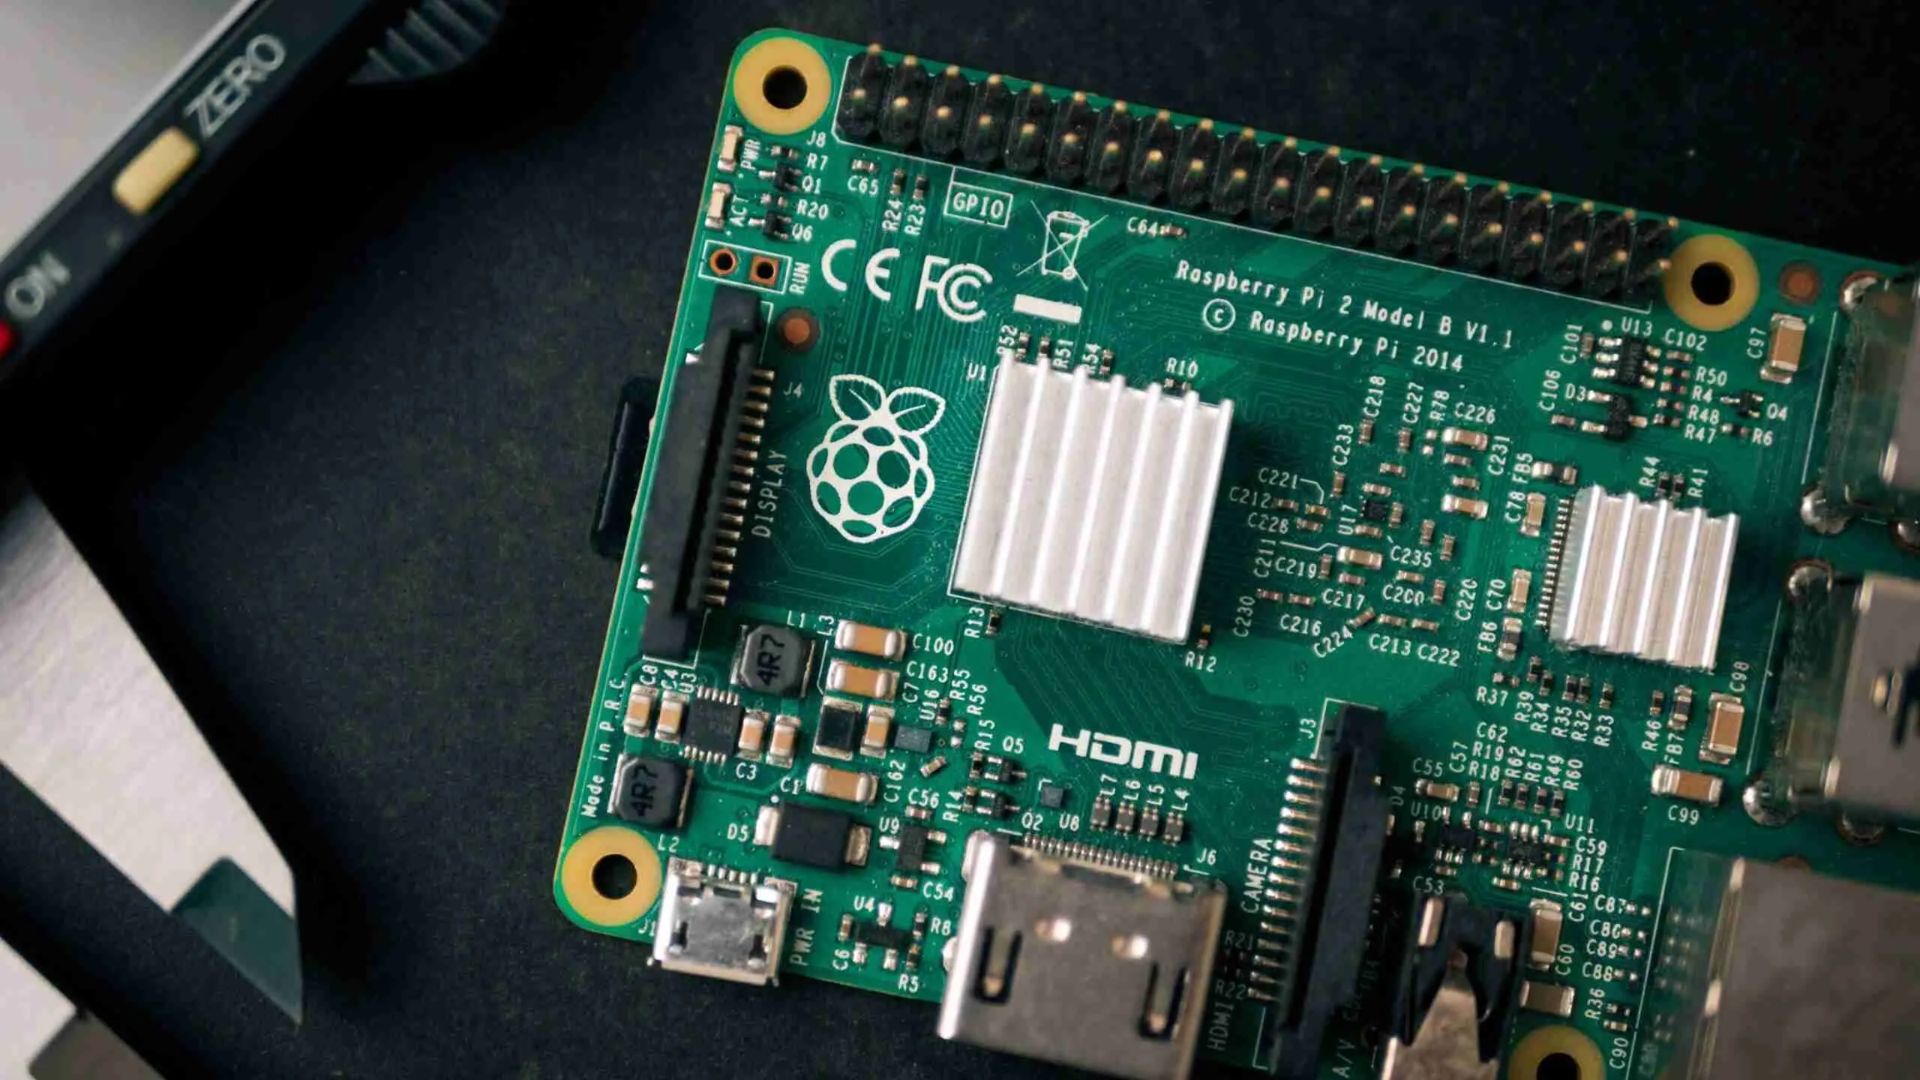
- Examine the Raspberry Pi board: Take a close look at the Raspberry Pi board and locate the various components. Look for a rectangular slot that is slightly longer than the RAM module you will be installing. This is where the RAM module will be inserted.
- Refer to the Raspberry Pi documentation: If you’re having trouble identifying the RAM slot, refer to the official Raspberry Pi documentation for your specific model. The documentation typically includes detailed diagrams and labeled illustrations that can help you pinpoint the RAM slot.
- Compare with online resources: You can also compare the physical layout of your Raspberry Pi board with online resources, such as tutorials or forum threads, that discuss RAM upgrades for your specific model. Visual references from these sources can greatly assist in locating the RAM slot.
It’s important to exercise caution while handling the Raspberry Pi board during this step. Avoid touching any exposed circuitry or sensitive components. Use proper grounding techniques to prevent any electrostatic discharge that could damage the board or the RAM module.
Once you have successfully identified the RAM slot, you’re ready to insert the new RAM module. In the next step, we’ll guide you through the process of inserting the RAM module into the Raspberry Pi.
Step 5: Inserting the New RAM Module
Now that you have located the RAM slot on your Raspberry Pi, it’s time to insert the new RAM module. This step is crucial to upgrading the memory of your Pi and improving its performance. Follow these steps to insert the new RAM module:
- Handle the RAM module with care: Before inserting the RAM module, make sure to handle it with care. Avoid touching the gold contacts or any other sensitive parts of the module. Handle it by the edges to minimize the risk of damage from static electricity or accidental bending.
- Align the RAM module: Take a close look at the RAM slot and the RAM module itself. Locate the notch or notch key on the RAM module and ensure it aligns with the corresponding notch on the RAM slot. This ensures that the module is inserted in the correct orientation.
- Insert the RAM module: Once aligned, gently insert the RAM module into the RAM slot at a slight angle. Apply even pressure to ensure the module is inserted all the way into the slot. Do not force it; it should slide in smoothly.
- Secure the RAM module: Once the RAM module is fully inserted into the slot, it should be held securely in place by the tension of the slot. Give it a gentle wiggle to ensure it’s properly seated. Avoid excessive force or movement that could dislodge the module.
It’s important to note that some Raspberry Pi models may have different mechanisms for securing the RAM module, such as retention clips or screw fasteners. Refer to the official documentation or online resources specific to your Raspberry Pi model for any additional steps or precautions related to securing the RAM module.
Once the RAM module is securely inserted, you have completed a major step in the RAM upgrade process. In the next step, we’ll guide you through closing the Raspberry Pi case and preparing for the power-on process.
Step 6: Closing the Raspberry Pi Case
With the new RAM module successfully inserted into the Raspberry Pi, it’s time to close the case and secure all the components in place. Closing the case ensures the Raspberry Pi is protected and ready for the next step of the RAM upgrade process. Follow these steps to close the Raspberry Pi case:
- Align the case halves: Take the top half of the Raspberry Pi case and align it with the bottom half. Make sure all the tabs and connectors are properly lined up for seamless closure.
- Engage the tabs and connectors: Apply slight pressure and gently push the two halves together. Ensure that all the tabs and connectors engage properly, securing the case in place. Be careful not to force or apply excessive pressure that could damage the components or the case itself.
- Check for proper alignment: After closing the case, visually inspect it to ensure that the edges align properly and there are no gaps or misalignments. This ensures that the Raspberry Pi is securely housed within the case and protected from external elements.
- Secure the case with screws: If your Raspberry Pi case requires screws to hold it together, use the small screwdriver to reinsert the screws into their respective holes. Tighten the screws gently, ensuring they are secure but not overly tight.
Properly closing the Raspberry Pi case is essential for maintaining the integrity of the components and ensuring the safety of the device. It protects the Raspberry Pi from dust, moisture, and accidental damage, keeping it operating optimally in the long run.
Now that you have closed the Raspberry Pi case, you’re almost ready to power on your Pi and verify the RAM upgrade. However, before doing so, it’s important to follow the proper steps for powering on the Raspberry Pi, which we’ll explore in the next step.
Step 7: Powering On the Raspberry Pi
With the Raspberry Pi case closed, it’s time to power on your Pi and bring it back to life. This step will allow you to verify whether the RAM upgrade was successful and ensure that your Raspberry Pi is functioning as expected. Follow these steps to power on the Raspberry Pi:
- Connect the power supply: Plug in the power supply into the appropriate socket on your Raspberry Pi. Ensure that it is securely connected.
- Reconnect any peripherals: If you disconnected any peripherals, such as USB devices or HDMI cables, during the RAM upgrade process, now is the time to reconnect them to your Raspberry Pi.
- Switch on the power: Once everything is properly connected, switch on the power supply. You may see the power indicator or LED on your Raspberry Pi light up, indicating that it’s receiving power.
- Wait for the boot process: Give your Raspberry Pi a moment to boot up. It may take a few seconds or minutes depending on your Pi model and the operating system you’re using.
- Monitor the boot process: Keep an eye on the display connected to your Raspberry Pi. You should see the operating system’s splash screen or login prompt. This indicates that the Raspberry Pi is successfully booting up.
If you encounter any issues during the power-on process, double-check all connections and ensure that the RAM module is inserted correctly. If the Raspberry Pi fails to boot or shows any errors, refer to the troubleshooting section of the Raspberry Pi documentation or seek assistance from the Raspberry Pi community.
Once your Raspberry Pi is powered on and running smoothly, it’s time to move on to the next step: verifying the RAM upgrade. We’ll guide you through this process in the following section.
Step 8: Verifying the RAM Upgrade
Now that your Raspberry Pi is powered on, it’s important to verify that the RAM upgrade was successful. Verifying the upgrade ensures that the new RAM module is recognized by the system and that your Raspberry Pi is utilizing the additional memory. Follow these steps to verify the RAM upgrade:
- Access the operating system: Use your preferred method to access the operating system on your Raspberry Pi. This can be through a desktop interface or a command-line interface, depending on your configuration.
- Check system information: Use the appropriate system monitoring tool or command to check the available memory on your Raspberry Pi. This information may be displayed as “total memory” or “system memory.”
- Compare with the original memory: Compare the total memory displayed with the original memory capacity of your Raspberry Pi before the RAM upgrade. If the total memory has increased, congratulations! Your RAM upgrade was successful.
- Run memory-intensive tasks: To further test the performance of your Raspberry Pi with the new RAM module, consider running memory-intensive tasks. This can include opening multiple applications simultaneously or executing complex commands that require substantial memory resources.
- Observe improved performance: If your Raspberry Pi handles memory-intensive tasks more efficiently and experiences improved performance compared to before the RAM upgrade, it’s a clear indication that the upgrade was successful and is benefiting your Pi’s overall performance.
If you encounter any unexpected issues or if the system does not reflect the upgraded RAM, double-check the installation of the RAM module. Ensure it is securely inserted into the RAM slot and that there are no physical damages or compatibility issues.
By verifying the RAM upgrade, you can confirm that your Raspberry Pi is now equipped with the additional memory and is ready to tackle more demanding tasks and applications.
Congratulations! You have successfully completed the RAM upgrade on your Raspberry Pi. Enjoy the enhanced performance and capabilities of your Pi!
Conclusion
Congratulations on successfully upgrading the RAM on your Raspberry Pi! By following the step-by-step instructions provided in this guide, you have unlocked the potential for improved performance and multitasking capabilities on your Pi.
Upgrading the RAM allows your Raspberry Pi to handle more demanding tasks, run applications more smoothly, and enhance overall system responsiveness. Whether you’re a hobbyist, a developer, or simply looking to optimize your Raspberry Pi’s capabilities, this RAM upgrade will undoubtedly elevate your computing experience.
Remember to always check the compatibility of the RAM module with your specific Raspberry Pi model. Research and select a module that meets your desired specifications and is supported by your Pi. Take precautionary measures when handling the internal components, ensuring that static electricity is discharged and components are properly secured.
After successfully installing the RAM module, remember to verify the upgrade by checking system information and running memory-intensive tasks. The increased memory capacity should be reflected in the available memory, and you should notice improved performance when executing resource-intensive applications or tasks.
Now that your Raspberry Pi is equipped with more RAM, you can explore new projects, experiment with advanced software, or simply enjoy a smoother and more responsive computing experience.
Thank you for following this guide on how to install more RAM on a Raspberry Pi. We hope this information has been helpful and that you are now able to take full advantage of the enhanced capabilities of your Raspberry Pi!