Introduction
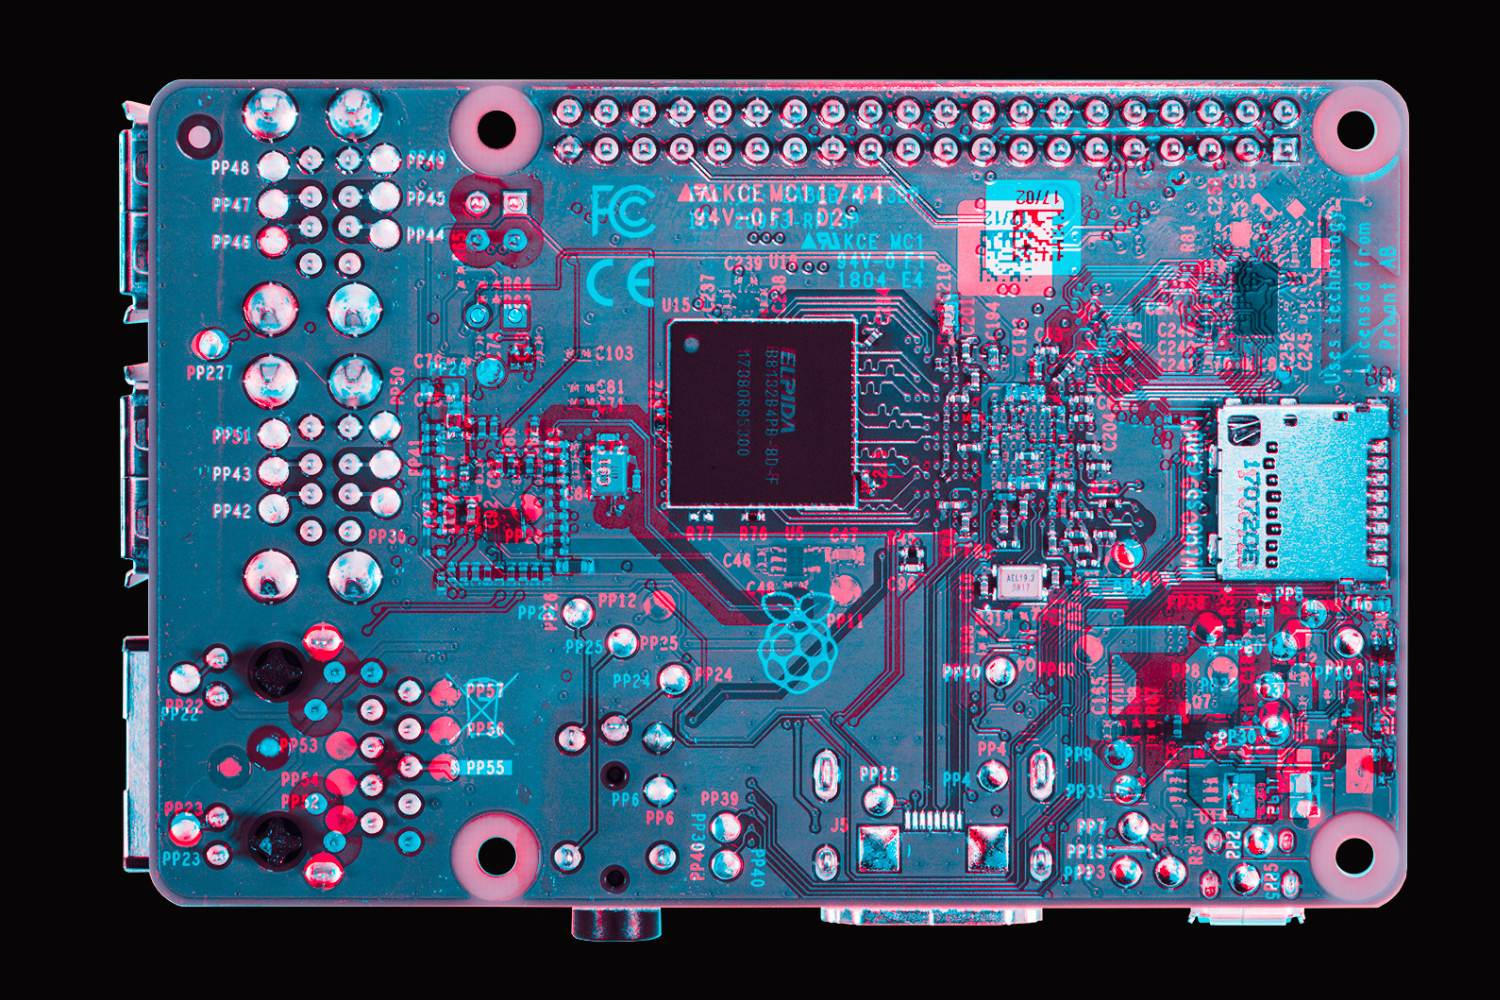
Welcome to this guide on how to check the RAM on your Raspberry Pi 4. The Raspberry Pi is a popular single-board computer that offers a wide range of possibilities for hobbyists, enthusiasts, and even professionals. Whether you’re running complex projects or simply using it for basic tasks, it’s essential to have a clear understanding of your Raspberry Pi’s RAM capacity.
RAM, short for Random Access Memory, is a type of computer memory that plays a crucial role in the overall performance of your device. It acts as a temporary storage space for data that your Raspberry Pi needs to access quickly. By checking your Raspberry Pi’s RAM, you can determine how much memory is available for running applications, handling multitasking, and managing system resources effectively.
In this guide, we will explore three different methods to check the RAM on your Raspberry Pi 4. Each method offers a unique approach, allowing you to choose the one that works best for your preferences and requirements. Whether you prefer using the command line, a system monitor application, or the Raspberry Pi configuration tool, we’ve got you covered.
Before we dive into the methods, it’s important to note that these instructions specifically apply to the Raspberry Pi 4. While some methods may also work on other Raspberry Pi models, there might be minor differences in the steps or the tools available.
So, without further ado, let’s explore the different methods and find out how much RAM your Raspberry Pi 4 has!
Method 1: Checking RAM through the Command Line
If you’re comfortable with the command line interface, this method will allow you to check the RAM on your Raspberry Pi 4 quickly. Here’s how to do it:
- Open the terminal on your Raspberry Pi 4. You can do this by clicking on the Terminal icon in the taskbar or by pressing
CTRL + ALT + Ton your keyboard. - In the terminal window, type the following command:
$ free -hThis command provides a human-readable output of the system’s memory usage, including the total, used, and available RAM. The -h flag ensures that the sizes are displayed in a more understandable format (e.g., 1 GB instead of 1073741824 bytes).
              total        used        free      shared  buff/cache   available
Mem:           3.8G        245M        3.4G        132K        161M        3.5G
Swap:          100M          0B        100M
In the output, you can see the total memory available under the “Mem” section. In this example, the Raspberry Pi 4 has approximately 3.8GB of total RAM.
This method is simple and provides a quick overview of your Raspberry Pi’s RAM. However, if you prefer a graphical interface or more detailed information, you might find the next methods more useful.
Method 2: Checking RAM using the System Monitor Application
If you prefer a graphical interface to check the RAM on your Raspberry Pi 4, the System Monitor application is a great option. This application provides detailed information about system resources, including RAM usage. Follow the steps below to use the System Monitor application:
- Click on the Menu icon on the taskbar, then navigate to “Accessories” and select “System Monitor”.
- The System Monitor window will open, displaying real-time information about your Raspberry Pi’s CPU, RAM, and other resources. By default, you should see the CPU usage graph and basic system information.
- To view the RAM usage, click on the “Resources” tab at the top of the window.
- Under the “Resources” tab, you will see various charts, including the memory usage graph that represents your Raspberry Pi’s RAM usage.
The memory usage graph displays the total available RAM and the portion that is currently in use. You can hover your mouse over the graph to see more specific details, such as the total amount of RAM and the used amount in gigabytes.
This method provides not only the current RAM usage but also historical data and trends, allowing you to monitor the memory consumption over time. It is especially useful when you need to identify trends or troubleshoot issues related to memory usage on your Raspberry Pi 4.
Now that you know how to check the RAM using the System Monitor application, let’s explore another method that utilizes the Raspberry Pi configuration tool.
Method 3: Checking RAM through the Raspberry Pi Configuration Tool
The Raspberry Pi Configuration Tool is a powerful graphical tool that allows you to configure various settings of your Raspberry Pi, including checking the RAM. To check the RAM using this tool, follow the steps below:
- Click on the Menu icon on the taskbar, then navigate to “Preferences” and select “Raspberry Pi Configuration”.
- The Raspberry Pi Configuration window will open, displaying several tabs for different configuration options.
- Click on the “System” tab.
- Under the “System” tab, you will find information about your Raspberry Pi, including the total amount of RAM.
The total amount of RAM will be displayed next to the “Memory” option. For example, if it says “Memory: 4.0G”, it means your Raspberry Pi has 4GB of RAM.
In addition to checking the RAM, you can also use the Raspberry Pi Configuration Tool to customize other system settings, such as overclocking, enabling or disabling interfaces, managing updates, and more.
This method is user-friendly and provides a straightforward way to check the RAM on your Raspberry Pi 4. It is especially useful if you prefer using a graphical interface for system configuration and monitoring.
Now that you’ve learned all three methods to check the RAM on your Raspberry Pi 4, you have the knowledge to monitor your system resources effectively and ensure smooth operation for your projects and applications.
Conclusion
Knowing how to check the RAM on your Raspberry Pi 4 is essential for understanding your device’s memory capacity and managing system resources effectively. In this guide, we explored three different methods to check the RAM: using the command line, the System Monitor application, and the Raspberry Pi Configuration Tool.
The command line method offers a quick and straightforward way to see the total RAM available on your Raspberry Pi. It is suited for users who are comfortable with the command line interface.
If you prefer a graphical interface, the System Monitor application provides detailed information about system resources, including RAM usage. It allows you to monitor real-time memory usage and historical trends.
The Raspberry Pi Configuration Tool is a powerful graphical tool that not only lets you check the RAM but also offers various configuration options for your Raspberry Pi.
By utilizing these methods, you can stay informed about your Raspberry Pi’s RAM usage, ensuring that you have enough memory to support your projects and applications. Whether you’re running complex programs or multitasking, understanding your Raspberry Pi’s RAM capacity is crucial.
Now that you have the knowledge to check the RAM on your Raspberry Pi 4, you can confidently monitor your system resources and optimize your device’s performance. So, go ahead and check the RAM on your Raspberry Pi and make the most out of this versatile and powerful single-board computer!


