Introduction
Welcome to our guide on how to clean a RAM slot. If you’re experiencing issues with your computer’s performance or it’s been running slower than usual, a dirty or dusty RAM slot could be the culprit. The RAM (Random Access Memory) slot is where the memory modules of your computer are inserted, and over time, dust and debris can accumulate, leading to poor contact and reduced performance.
By properly cleaning your RAM slot, you can ensure optimal performance and prevent potential problems such as system crashes and freezing. In this guide, we’ll take you through the step-by-step process of cleaning a RAM slot, ensuring that your computer runs smoothly and efficiently.
Before we dive into the cleaning process, please note that cleaning the RAM slot requires some technical knowledge and caution. If you’re not comfortable working with computer hardware or are uncertain about any of the steps, it’s best to consult a professional technician.
Now, let’s get started with the process of cleaning your RAM slot and improving your computer’s performance!
Why Clean a RAM Slot?
A RAM slot is a crucial component of your computer’s internal hardware, and keeping it clean can have several benefits. Here are some reasons why cleaning a RAM slot is important:
- Improved Performance: When dust and debris accumulate in the RAM slot, it can impede the proper contact between the RAM module and the slot. This can lead to poor performance, slower data transfer speeds, and increased lag. By cleaning the RAM slot, you can ensure a secure and efficient connection, resulting in improved system performance.
- Preventing System Crashes: If a RAM slot becomes excessively dirty, it can cause frequent system crashes and freezes. This can be extremely frustrating and disrupt your work or activities. Regularly cleaning the RAM slot removes any potential obstructions and decreases the chances of encountering system crashes.
- Longevity of RAM Modules: Dust and debris can also cause damage to the delicate circuitry of the RAM module itself. By cleaning the RAM slot, you reduce the risk of debris damaging the module and extend the lifespan of your RAM, saving you the cost of premature replacements.
- Thermal Efficiency: Dust and dirt can accumulate around the RAM slot, creating an insulating layer that hampers heat dissipation. This can lead to overheating issues, affecting the stability of your computer. By cleaning the RAM slot, you ensure proper heat dissipation, keeping your system cool and running smoothly.
By understanding the importance of keeping your RAM slot clean, you can proactively take steps to maintain your computer’s performance and prevent potential issues. Now that you know why cleaning a RAM slot is essential, let’s move on to the tools you’ll need to get started.
What You’ll Need
Before you begin the process of cleaning your RAM slot, it’s important to gather all the necessary tools and materials. Here’s a list of what you’ll need:
- Compressed Air Canister: A can of compressed air is essential for removing dust and debris from the RAM slot. Make sure to choose a canister specifically designed for cleaning electronic components.
- Isopropyl Alcohol: Isopropyl alcohol is used to clean the gold pins on the RAM module. It helps in removing any residue or oxidation from the contacts, ensuring a good connection.
- Cotton Swabs: Cotton swabs are useful for applying isopropyl alcohol to the gold pins and gently cleaning them.
- Small Brush: A small brush, such as a soft-bristled paintbrush or a clean makeup brush, can be used to remove loose dust and debris from the RAM slot.
- Anti-static Wrist Strap (optional): While not necessary, an anti-static wrist strap is highly recommended to prevent any static electricity discharge that could potentially damage sensitive components. It’s particularly useful if you’re working on a carpeted surface or during dry weather.
- Grounded Work Surface: Find a suitable work area that is grounded to minimize static electricity buildup and discharge.
Make sure you gather all these items before you begin the cleaning process to ensure a smooth and efficient experience. Additionally, it’s a good idea to read through the entire cleaning guide once before starting, so you have a clear understanding of the steps involved.
Now that you have all the necessary tools at hand, let’s proceed to the first step: powering down and unplugging your computer.
Step 1: Power Down and Unplug Your Computer
Before you start cleaning the RAM slot, it’s crucial to ensure the safety of your computer and yourself. Follow these steps to power down and unplug your computer:
- Save your work: Close any open programs and save your work to prevent data loss.
- Shut down your computer: Click on the “Start” menu, then select “Shut Down.” Allow your computer to completely shut down before proceeding.
- Unplug all connections: Once your computer is turned off, unplug the power cord from the back of the computer case. Also, disconnect any other cables that are connected to the computer, such as the monitor, keyboard, and mouse.
- Ground yourself: To discharge any static electricity in your body, touch a grounded metal object such as a doorknob or use an anti-static wrist strap. This helps to prevent the accidental discharge of static electricity that could damage sensitive electronic components.
By following these precautions, you ensure the safety of your computer and minimize the risk of any damage during the cleaning process. Once you have successfully powered down and unplugged your computer, you’re ready to proceed to the next step: getting your tools ready.
Step 2: Get Your Tools Ready
Now that your computer is safely powered down and unplugged, it’s time to gather the necessary tools before proceeding with the cleaning process. Here’s what you need to do:
- Retrieve your cleaning tools: Gather the compressed air canister, isopropyl alcohol, cotton swabs, small brush, and any other tools you’ll be using for this process. Ensure that they are easily accessible and within reach.
- Prepare your work area: Find a clean and well-lit workspace to perform the cleaning. It’s essential to work on a stable surface with ample room to maneuver your tools.
- Put on an anti-static wrist strap (optional): If you have an anti-static wrist strap, now is the time to put it on. Attach the strap to a grounded object or use the included grounding wire to connect it to a metal part of your computer case.
- Double-check your grounded work surface: Ensure that your work surface is properly grounded to prevent any static electricity buildup and discharge during the cleaning process. A grounded work surface helps protect sensitive electronic components from damage.
- Inspect your tools: Before proceeding, inspect your cleaning tools for any damage or contamination. Make sure that your compressed air canister is not expired or damaged and that your cotton swabs are clean and free from debris.
By taking these steps, you ensure that you have everything ready for the cleaning process. It’s important to have all your tools prepared and easily accessible to avoid any interruptions during the cleaning process. With your tools in hand and your work area ready, you’re now set to move on to the next step: removing the RAM module(s).
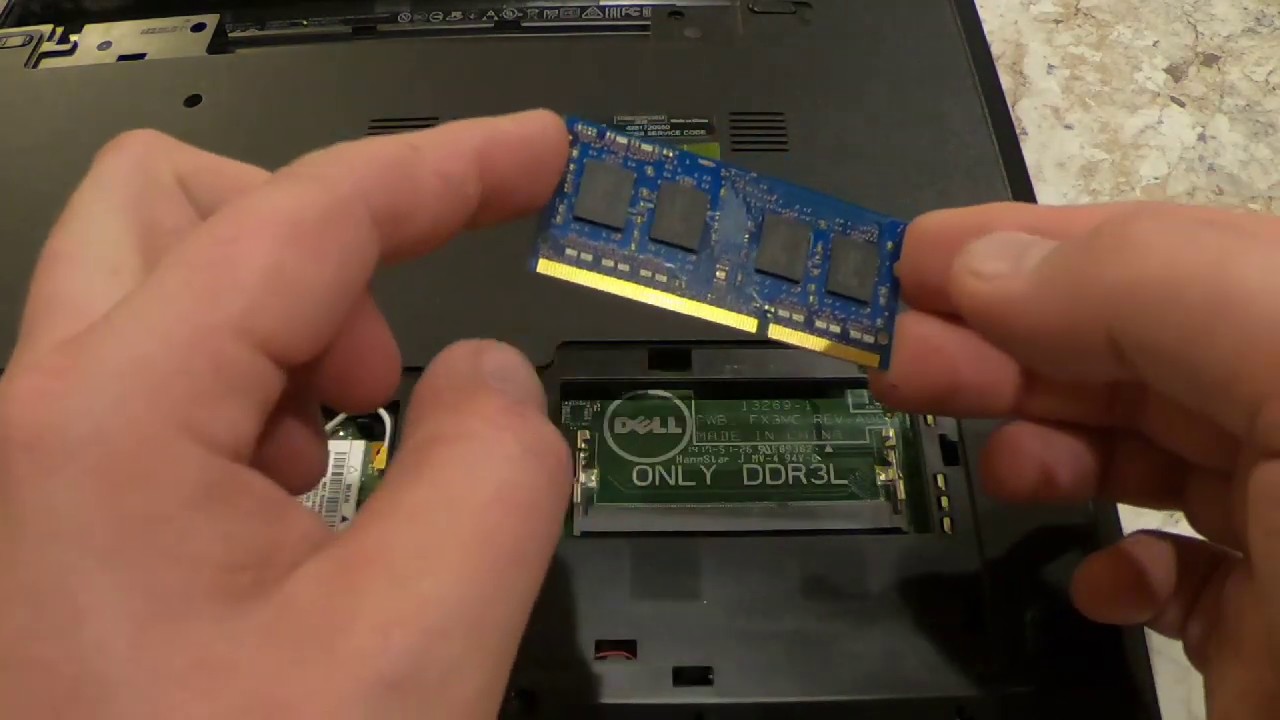
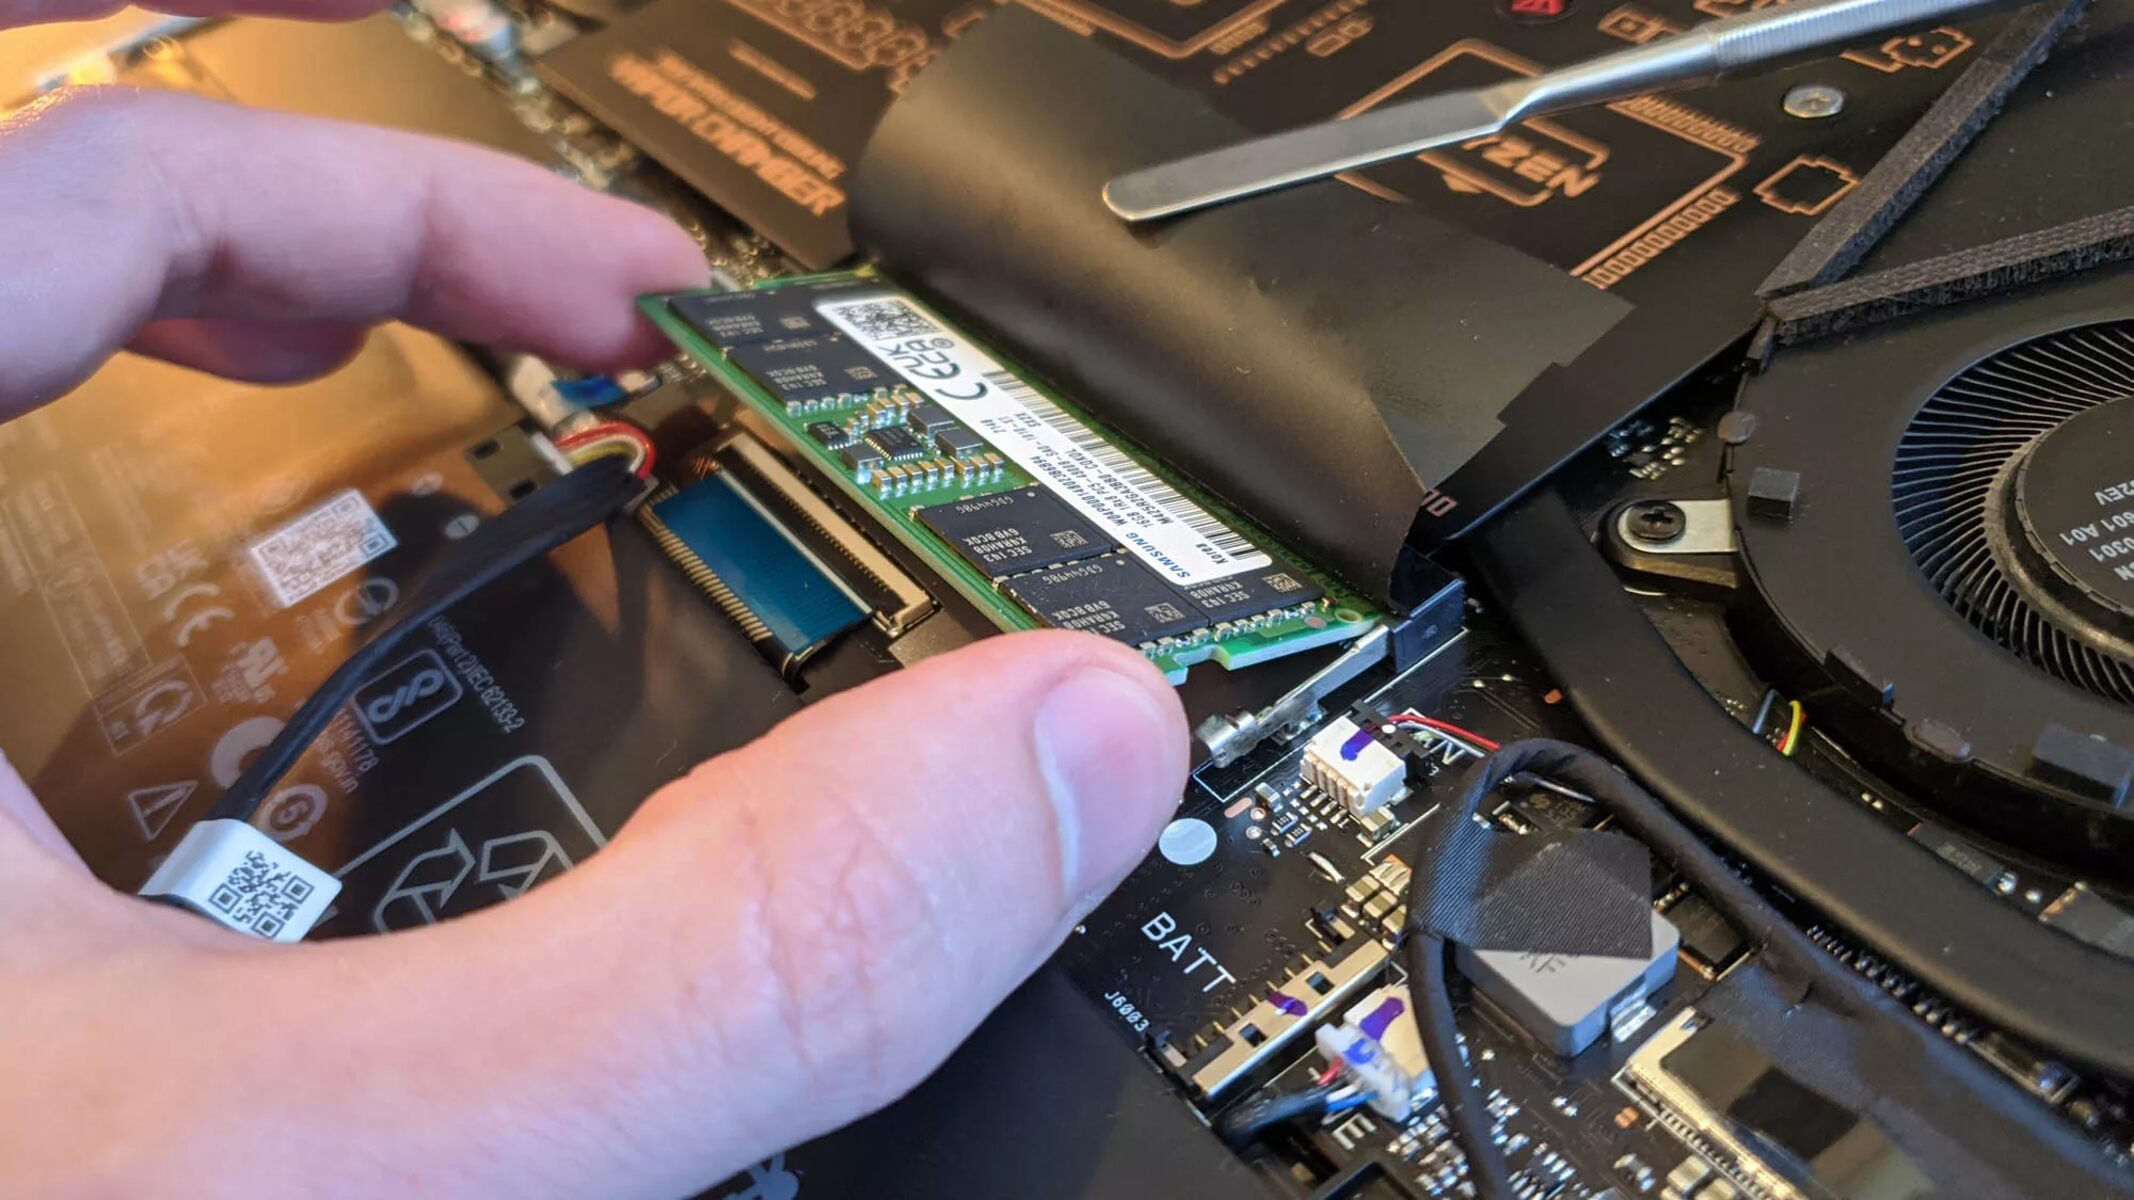
Step 3: Remove the RAM Module(s)
With your tools prepared and your work area set up, it’s time to remove the RAM module(s) from the slot. Follow these steps carefully:
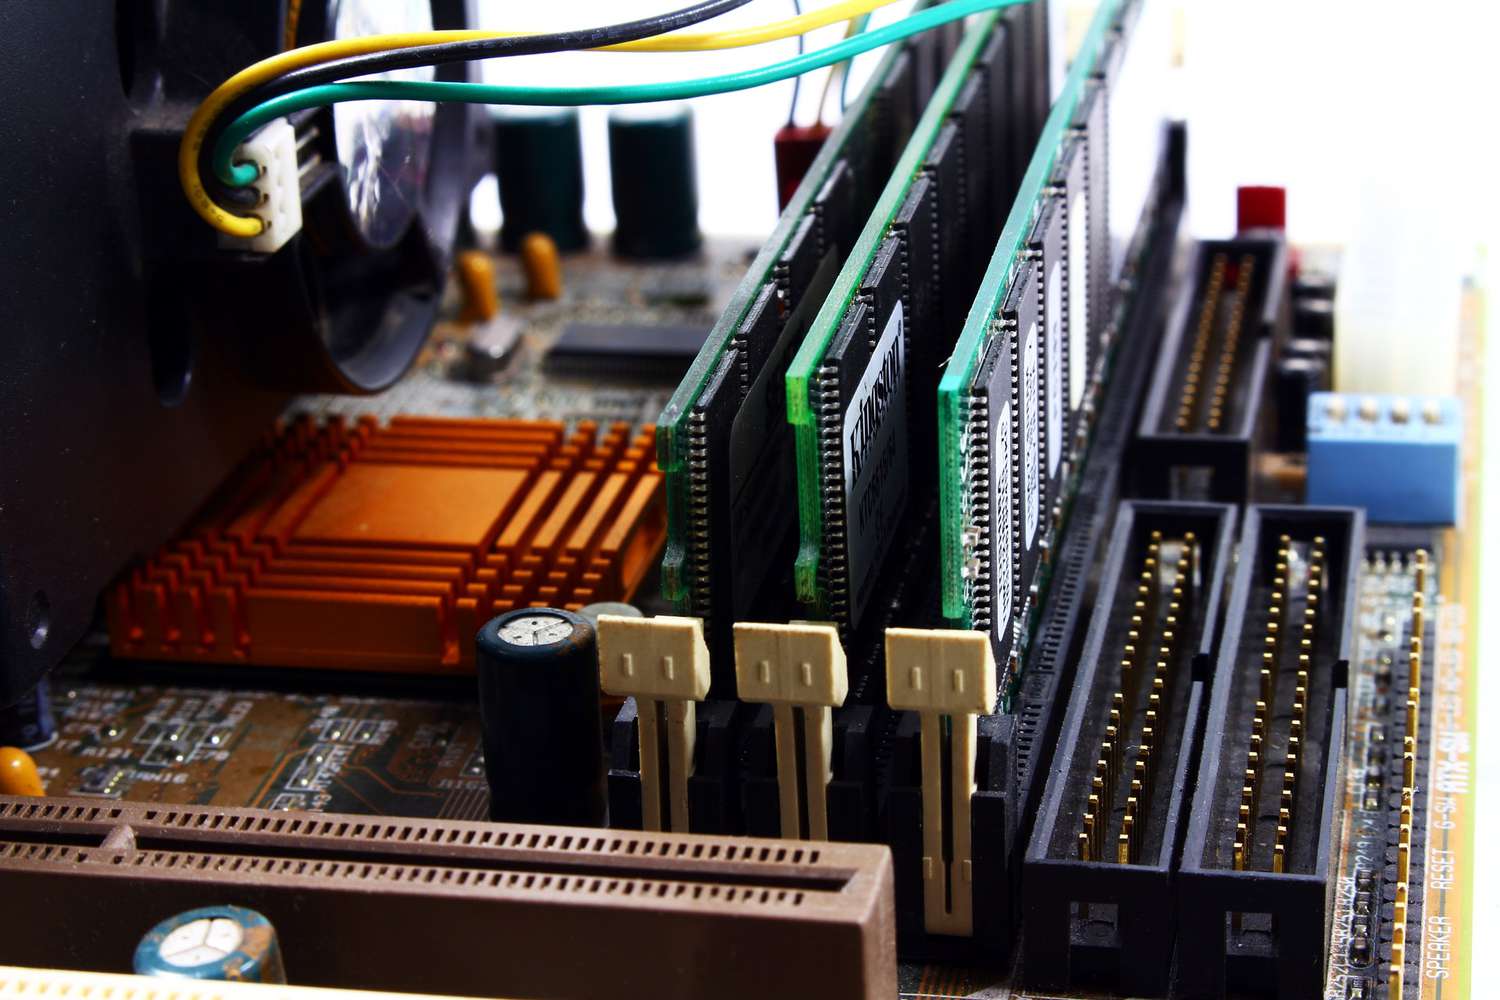
- Locate the RAM slots: Identify the RAM slots on your motherboard. They are usually long, rectangular slots, often located near the CPU.
- Gently release the retaining clips: On either side of the RAM module, you’ll find small retaining clips. Gently push them outward to release the module.
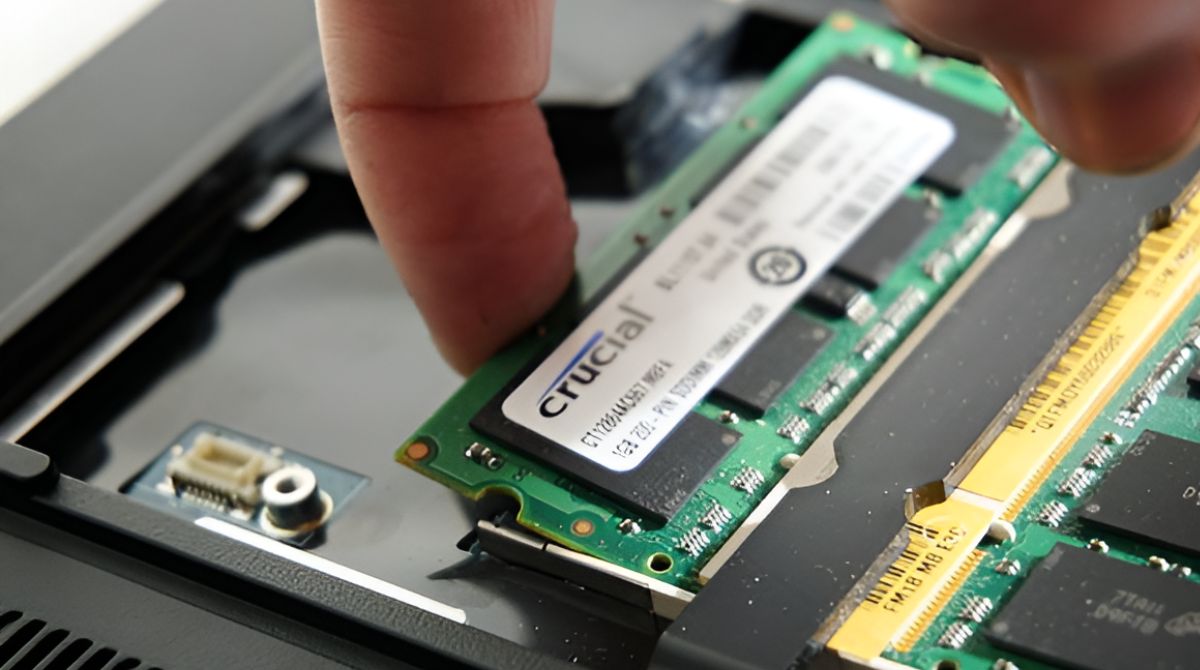
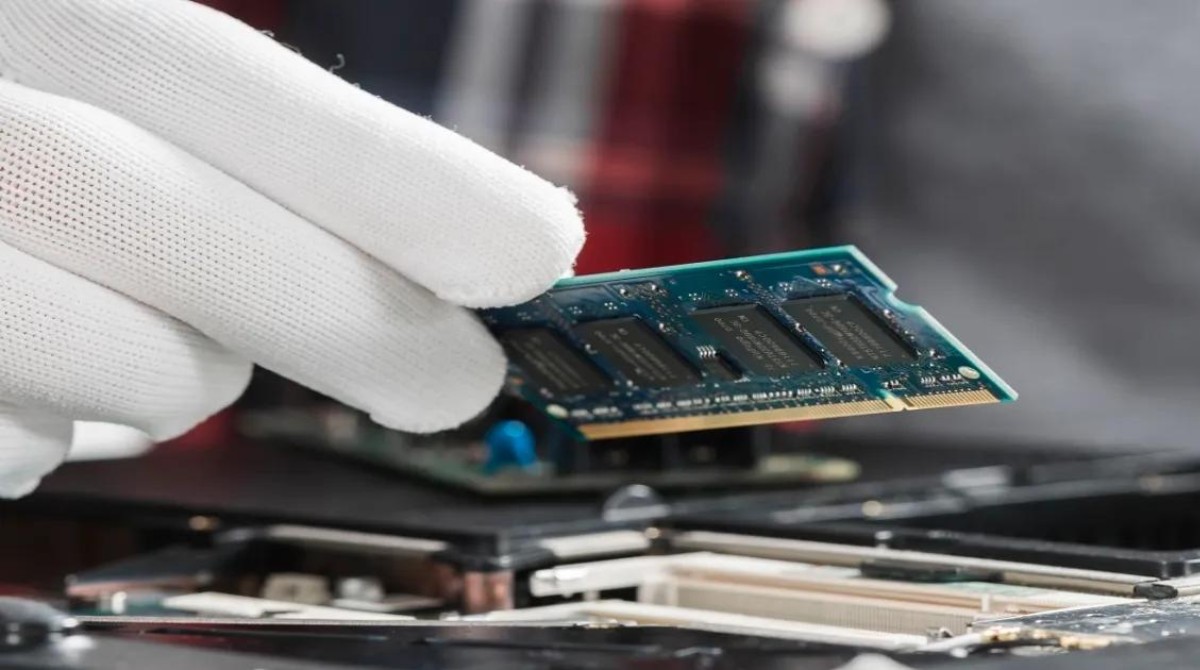
- Remove the RAM module: Once the retaining clips are released, carefully pull the RAM module out of the slot. Hold it by the edges to avoid touching the gold contacts.
- Set aside the removed module: Place the removed RAM module on an anti-static surface or a clean, non-static cloth to prevent any damage or static buildup.
- Repeat for additional RAM modules (if applicable): If your computer has multiple RAM modules, repeat the above steps for each module you want to clean or inspect.
It’s important to handle the RAM module(s) with care and avoid touching the gold contacts, as any dirt or oil from your fingers can interfere with the connection. By following these steps, you have successfully removed the RAM module(s) from the slot. Now, in the next step, we will inspect the RAM slot for any dust or debris.
Step 4: Inspect the RAM Slot
After removing the RAM module(s) from the slot, it’s time to inspect the slot itself for any signs of dust, debris, or other contaminants. Follow these steps to properly inspect the RAM slot:
- Use a flashlight: Shine a flashlight into the RAM slot to get a clear view of the inside. This will help you identify any visible dirt or debris.
- Look for dust or debris: Check for any signs of dust, lint, or other foreign particles in the slot. Pay close attention to the gold contacts and the edges of the slot.
- Check for corrosion or oxidation: Examine the gold contacts of the RAM slot for any signs of corrosion or oxidation. These can appear as discolored or tarnished areas.
- Inspect for loose connections: While inspecting, also check for any loose or bent pins or connectors within the slot. Ensure that everything appears secure and in good condition.
It’s important to be thorough during the inspection process to identify any issues that may be affecting the performance of your RAM slot. If you notice any dust, debris, corrosion, or loose connections, it’s time to move on to the next step: cleaning the RAM slot.
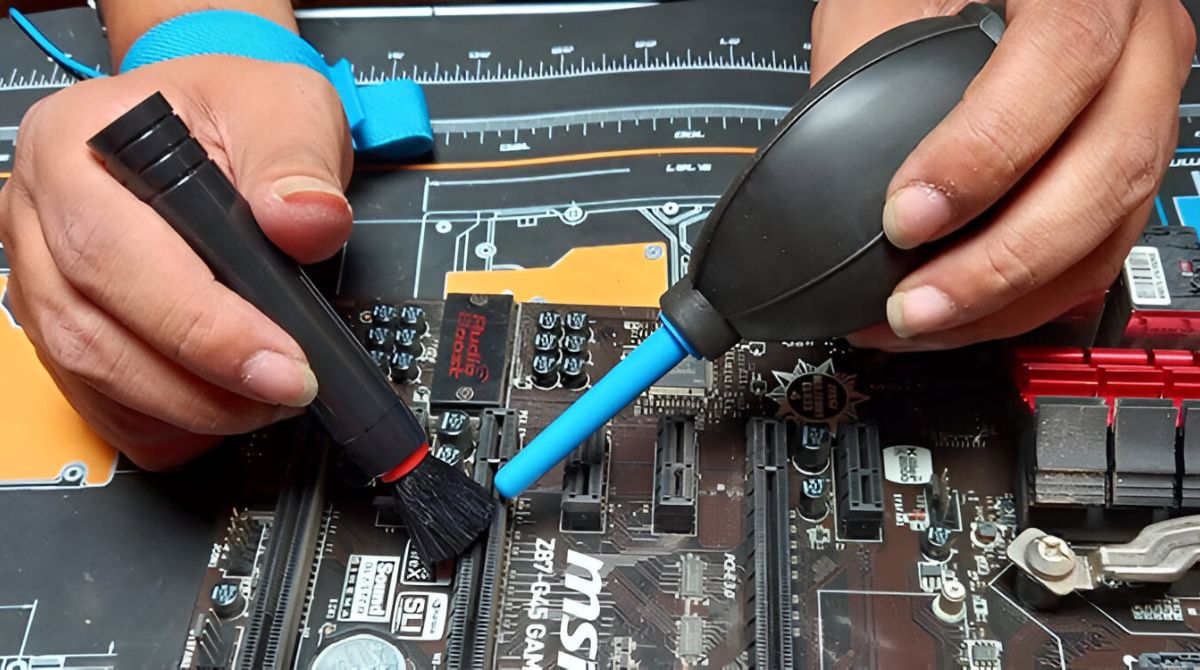
Step 5: Cleaning the RAM Slot
Now that you have inspected the RAM slot and identified any dust, debris, or other contaminants, it’s time to clean the slot thoroughly. Follow these steps to clean the RAM slot:
- Start with compressed air: Hold the compressed air canister upright, ensuring that the nozzle is pointing away from you and any sensitive components. Use short bursts of air to blow out any loose dust or debris from the RAM slot. Pay extra attention to the gold contacts and the edges of the slot.
- Use a small brush: Take a small brush, such as a soft-bristled paintbrush or a clean makeup brush, and gently brush the slot to remove any remaining dust or debris. Be careful not to apply too much pressure or damage the delicate components.
- Apply isopropyl alcohol: Moisten a cotton swab with a small amount of isopropyl alcohol. Gently rub the gold contacts of the RAM slot to clean any residue or oxidation. Avoid excessive moisture and ensure that the slot is dry before moving on to the next step.
- Blow out any remaining debris: Use the compressed air canister once again to blow out any remaining debris or moisture from the slot. Ensure that the slot is completely dry before proceeding.
By following these steps, you have effectively cleaned the RAM slot and removed any dust, debris, or contamination that may have been affecting its performance. The next step will involve reinserting the RAM module(s) back into the slot, so make sure the slot is clean and dry before proceeding.
Step 6: Reinsert the RAM Module(s)
With the RAM slot now clean and dry, it’s time to reinsert the RAM module(s) back into the slot. Follow these steps to ensure a proper reinstallation:
- Orient the RAM module correctly: Ensure that the notch on the RAM module aligns with the corresponding notch on the RAM slot. This ensures that the module is inserted in the correct orientation.
- Insert the RAM module at an angle: Hold the RAM module at a slight angle and gently slide it into the slot. Be careful not to force it, as it should slide in smoothly without any resistance.
- Apply even pressure: Once the RAM module is fully inserted into the slot, apply even pressure on both ends to ensure that it is properly seated. You should hear a click sound when the retaining clips engage.
- Double-check the installation: Give the RAM module a gentle tug to ensure that it is securely locked in place. It should not move or come loose.
- Repeat for additional RAM modules (if applicable): If you removed multiple RAM modules, repeat the above steps for each one, ensuring that they are all properly reinserted into their respective slots.
By following these steps, you have successfully reinserted the RAM module(s) back into the cleaned RAM slot. Now, you’re almost ready to power up your computer and enjoy the benefits of a clean RAM slot. However, before you do so, let’s go over the final step: powering up your computer.
Step 7: Power Up Your Computer
Now that you have completed the cleaning process and reinserted the RAM module(s) into the slot, it’s time to power up your computer. Follow these steps to safely turn on your system:
- Double-check all connections: Before powering on your computer, make sure that all cables and connections are securely attached.
- Reconnect peripherals: Plug in your keyboard, mouse, monitor, and any other peripherals that were disconnected during the cleaning process.
- Plug in the power cord: Reconnect the power cord to the back of your computer’s case.
- Power on your computer: Press the power button to turn on your computer. Wait for it to boot up.
- Check for proper RAM recognition: Once your computer has started up, navigate to your system settings or BIOS to verify that the RAM module(s) are being recognized and running at their proper speeds.
- Test for improved performance: Use your computer as you normally would and observe if there are any noticeable improvements in speed, responsiveness, or system stability. If everything is running smoothly, congratulations! You have successfully cleaned your RAM slot.
By following these steps, you have completed the process of cleaning your RAM slot and powering up your computer. Regular maintenance of your RAM slot will help ensure optimal performance and prevent potential issues. Remember to perform this cleaning process periodically to keep your system running smoothly.
Conclusion
Cleaning a RAM slot is a crucial step in maintaining the optimal performance of your computer. By removing dust, debris, and other contaminants from the RAM slot, you can ensure a secure and efficient connection between the RAM module(s) and the motherboard. This, in turn, leads to improved system performance, reduced chances of system crashes, and extended longevity of your RAM modules.
In this guide, we have walked you through the step-by-step process of cleaning a RAM slot. From powering down and unplugging your computer to reinserting the RAM module(s) and powering it back up, each step was carefully explained to help you achieve the best results.
Remember, when undertaking any hardware maintenance, it’s vital to exercise caution and follow proper procedures. If you are unsure or uncomfortable working with computer hardware, it is always advisable to seek the assistance of a professional technician.
By performing regular cleaning of your RAM slot, you can maintain the smooth operation of your computer and avoid potential issues caused by dust, debris, or oxidation. Enjoy the improved performance and stability of your system!