Introduction
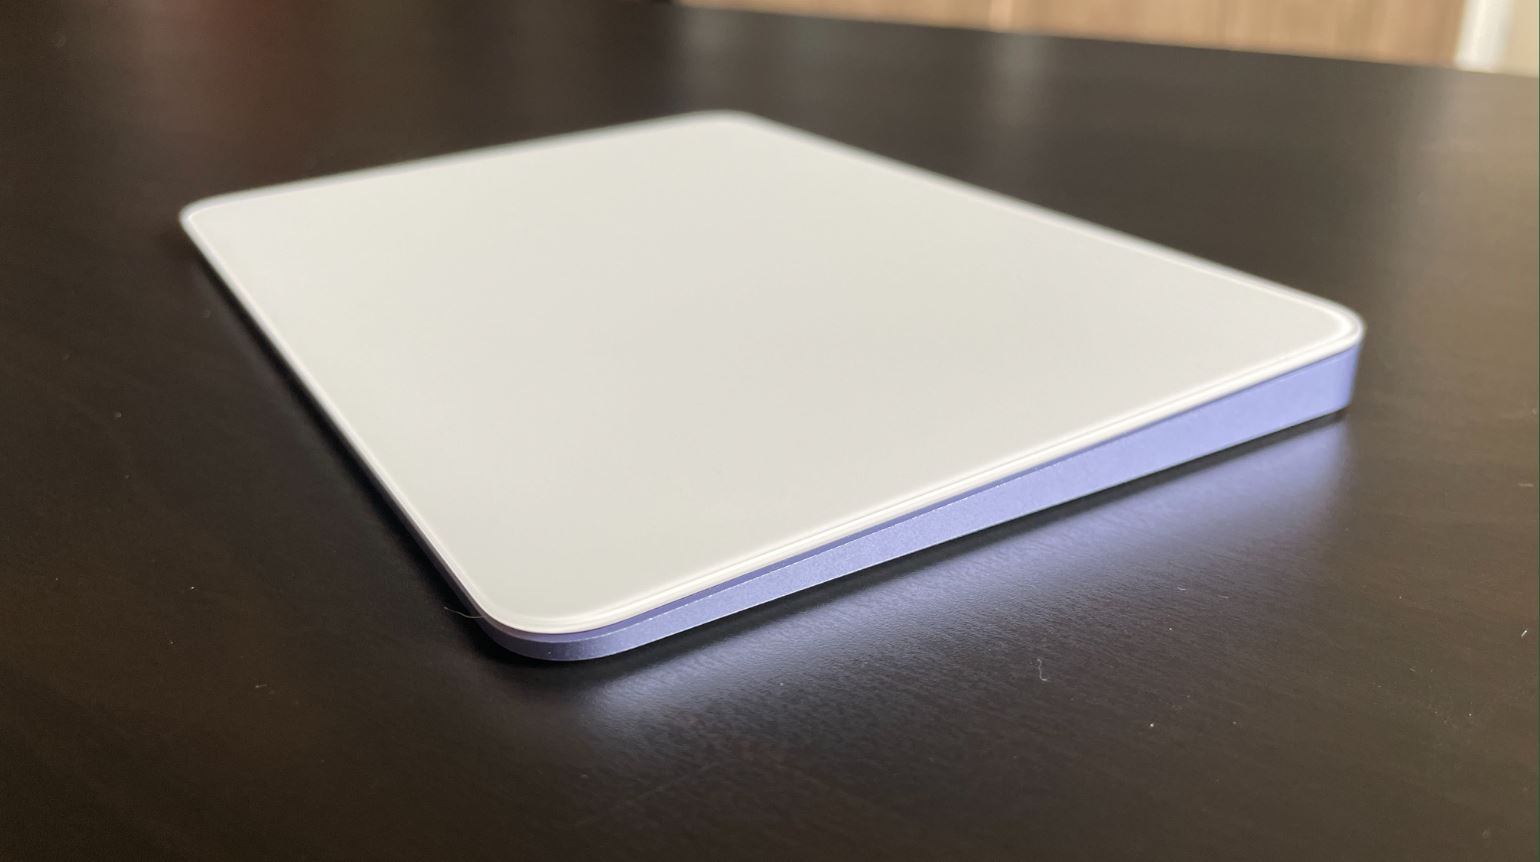
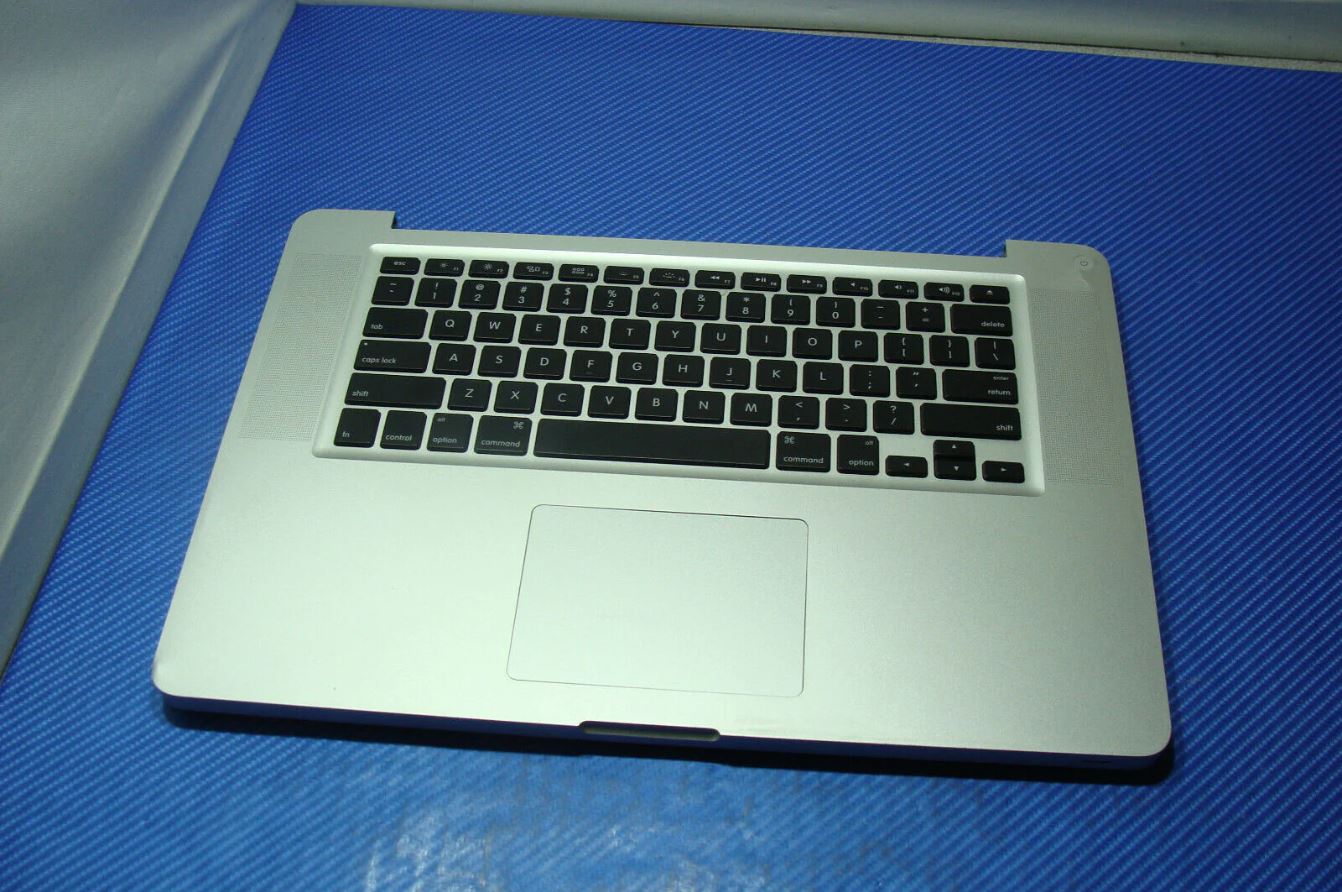
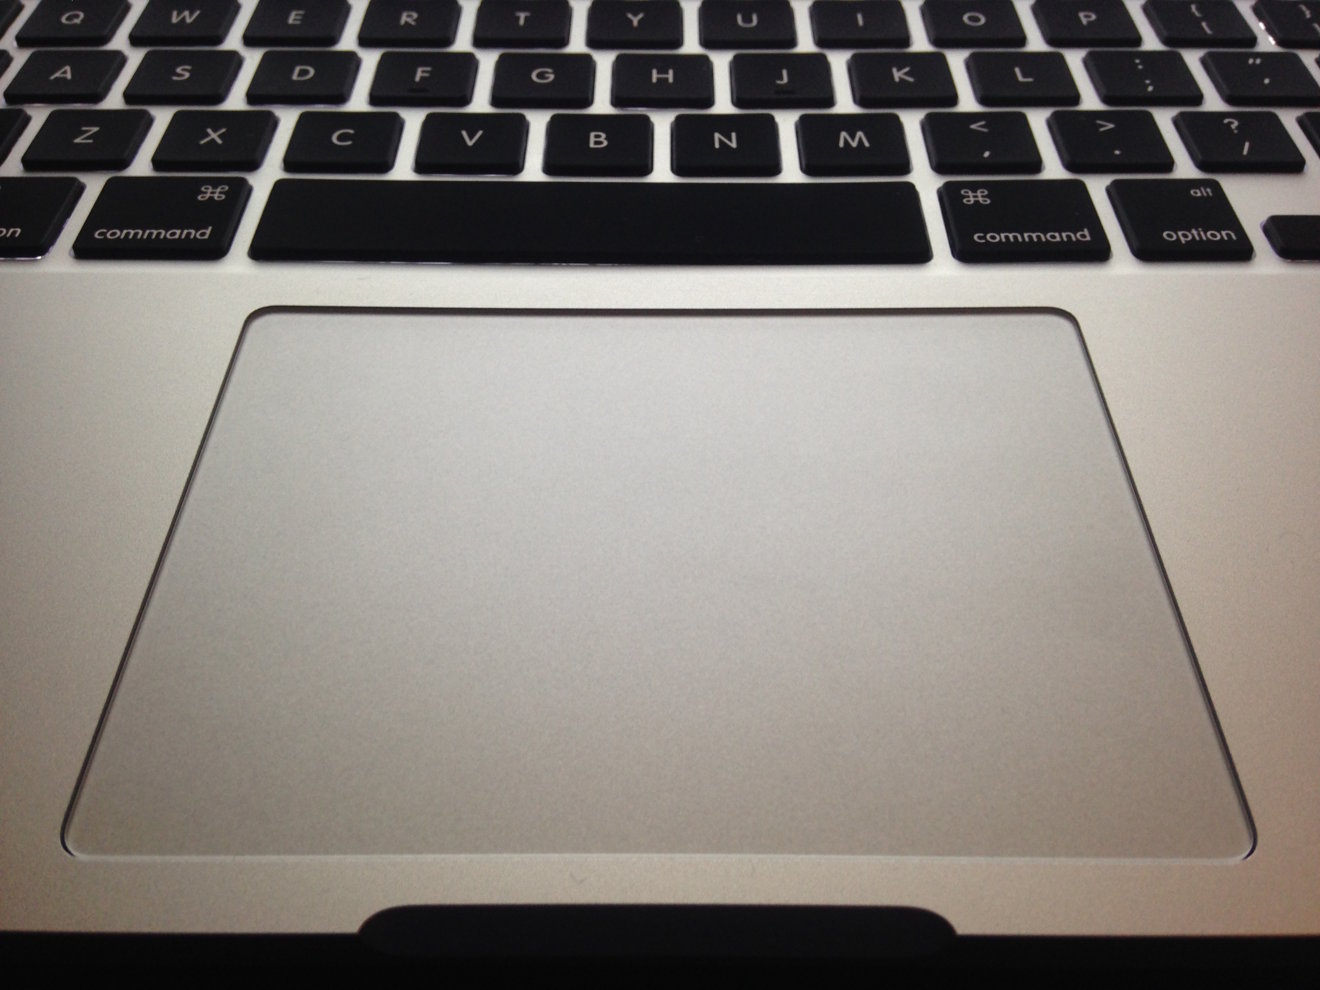
As technology continues to advance, so do the capabilities of our devices. The Macbook trackpad has evolved from a simple point-and-click tool to a versatile input method that offers a wide range of features. One such feature is trackpad handwriting, which allows users to write and edit text directly on their Macbook trackpad.
Whether you’re a student taking notes in class, a professional jotting down ideas during a meeting, or simply prefer the feel of pen and paper, trackpad handwriting provides a convenient and intuitive way to interact with your Macbook. With a few simple steps, you can enable trackpad handwriting and start writing directly on your trackpad.
In this guide, we will walk you through the process of enabling trackpad handwriting on your Macbook, adjusting the settings to suit your preferences, and exploring the various gestures and techniques for writing and editing with trackpad handwriting. Additionally, we will share some tips and tricks to help you make the most out of this feature.
So, whether you’re new to the world of trackpad handwriting or looking to enhance your skills, this guide is here to help you unleash the full potential of your Macbook trackpad. Get ready to take your writing experience to a whole new level!
Getting Started
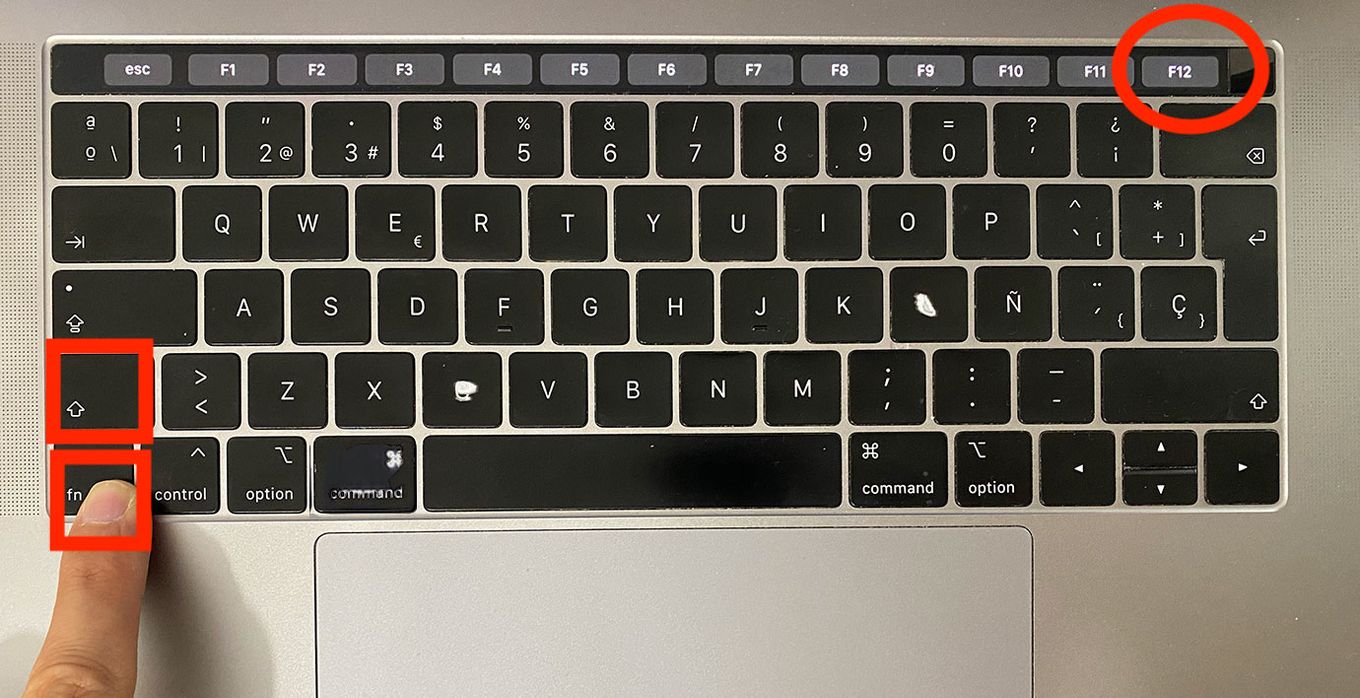
Before you can start using trackpad handwriting on your Macbook, you need to ensure that your device meets the necessary requirements. Trackpad handwriting is available on Macbooks running macOS Mojave or later versions. If you’re not sure which operating system your Macbook is running, you can easily check by clicking on the Apple logo in the top-left corner of your screen and selecting “About This Mac.”
If your Macbook meets the requirements, you’re ready to dive into the world of trackpad handwriting. The first step is to enable this feature on your device.
It’s worth noting that while trackpad handwriting is a built-in feature on Macbooks, it may not be enabled by default. Here’s how to enable trackpad handwriting:
- Navigate to the Apple menu in the top-left corner of your screen and select “System Preferences.”
- In the System Preferences window, click on “Trackpad.”
- Click on the “Point & Click” tab at the top.
- Under the “Trackpad Handwriting” section, tick the box next to “Enable Trackpad Handwriting.”
Once you’ve enabled trackpad handwriting, you’re on your way to a whole new writing experience. However, before you start exploring the various gestures and techniques, it’s essential to familiarize yourself with the trackpad handwriting settings.
Next, we will take a closer look at how you can adjust the trackpad handwriting settings to personalize your writing experience and make it more comfortable for you.
Enabling Trackpad Handwriting
Once you’ve confirmed that your Macbook meets the necessary requirements, you can proceed to enable trackpad handwriting. Here’s how:
- Click on the Apple menu in the top-left corner of your screen and select “System Preferences.”
- In the System Preferences window, click on “Trackpad.”
- Click on the “Point & Click” tab at the top.
- Under the “Trackpad Handwriting” section, check the box next to “Enable Trackpad Handwriting.”
Once you’ve enabled trackpad handwriting, your trackpad will transform into a canvas for your creative expressions and notes. It’s important to note that trackpad handwriting can work with both a finger and a compatible stylus, providing you with flexibility in how you write.
By default, trackpad handwriting uses the cursive script as the writing style. However, if you prefer a different writing style or want to experiment with various fonts, you can easily customize this setting in the trackpad handwriting settings.
Now that you’ve successfully enabled trackpad handwriting on your Macbook, it’s time to explore the different ways you can make the most out of this feature. In the next section, we will discuss how you can adjust the trackpad handwriting settings to suit your preferences.
Adjusting Trackpad Handwriting Settings
Customizing the trackpad handwriting settings allows you to tailor your writing experience to your liking. Whether it’s adjusting the writing style, changing the size of your strokes, or fine-tuning the sensitivity, the options are there to make trackpad handwriting feel just right for you.
To access the trackpad handwriting settings, follow these steps:
- Click on the Apple menu in the top-left corner of your screen and select “System Preferences.”
- In the System Preferences window, click on “Trackpad.”
- Click on the “Writing & Handwriting” tab at the top.
Here, you will find a range of options to customize the trackpad handwriting settings:
- Writing Style: Choose from a variety of writing styles, including cursive, print, and more. Select the style that best suits your preference or matches your handwriting.
- Size: Adjust the size of your strokes to make them appear larger or smaller depending on your needs.
- Smart Annotations: Enable this option to allow your Macbook to automatically annotate your handwritten notes with helpful information, such as dates or contact details.
- Sensitivity: Fine-tune the sensitivity of your trackpad to ensure that your writing is accurate and responsive.
Take some time to explore the various settings and make adjustments according to your preferences. Don’t hesitate to experiment and find the perfect combination that enhances your trackpad handwriting experience.
With the trackpad handwriting settings customized to your liking, you’re now ready to dive into the world of writing and editing with trackpad handwriting. In the following section, we will delve into the gestures and techniques you can use to create and refine your handwritten notes.
Understanding Trackpad Handwriting Gestures
When it comes to trackpad handwriting, familiarizing yourself with the various gestures can greatly enhance your writing and editing experience. These gestures allow you to navigate through your notes, select and delete text, and perform other functions seamlessly.
Here are some essential trackpad handwriting gestures to be aware of:
- Two-Finger Scroll: Use a two-finger scroll gesture to scroll through your handwritten notes, similar to scrolling through a document.
- Pinch-to-Zoom: Place two fingers on the trackpad and pinch them together or apart to zoom in or out on your handwritten notes and get a closer look at the details.
- Single Tap: Tap once on the trackpad with one finger to select a word or object. This gesture is handy for highlighting specific portions of your handwritten notes.
- Triple Tap: Tap three times on the trackpad with one finger to select an entire line of text. This gesture can be useful when you want to copy or delete a complete sentence or paragraph.
- Drag: Place a finger on the trackpad and drag it to select multiple words or a larger portion of your handwritten notes. This gesture allows you to perform actions like copying or deleting selected text.
- Pinch-to-Close: Use a pinch-to-close gesture with two fingers to close a note or exit the trackpad handwriting mode.
These gestures provide a fluid and intuitive way to interact with your handwritten notes on the trackpad. Practice using them regularly to become comfortable and proficient in navigating and editing your content.
Now that you have a good understanding of the trackpad handwriting gestures, let’s move on to the next section, where we will explore how to write and edit with trackpad handwriting.
Writing and Editing with Trackpad Handwriting
With trackpad handwriting enabled and the gestures at your disposal, it’s time to start writing and editing your notes directly on your Macbook trackpad. Whether you’re jotting down quick thoughts or creating detailed sketches, trackpad handwriting offers a seamless and natural writing experience.
When you’re ready to start writing, follow these steps:
- Place your finger or stylus on the trackpad.
- Begin writing in a cursive or print style, depending on your selected writing style.
- As you write, the trackpad will accurately capture your strokes and display them on the screen in real-time.
If you make a mistake or want to edit your text, don’t worry—trackpad handwriting makes it easy to make corrections. Here’s how you can edit your notes:
- Select and Delete: Use the single tap or drag gesture to select the text you want to delete. Press the backspace or delete key on your keyboard to remove the selected content.
- Insertion Point: Double-tap with one finger to create an insertion point and place the cursor at a specific location within your handwritten notes. This gesture is helpful when you want to add or modify text without affecting the surrounding content.
- Copy and Paste: Select the text you want to copy by using the drag gesture. Once selected, press the Command + C keys on your keyboard to copy the text. To paste the copied text, position the cursor where you want to insert it and press the Command + V keys.
Remember to experiment with different writing styles, sizes, and gestures to find what works best for you. With practice, you’ll become more comfortable and efficient in writing and editing with trackpad handwriting.
Now that you’re familiar with writing and editing, let’s move on to the next section, where we’ll explore how to save and share your trackpad handwritten notes.
Saving and Sharing Trackpad Handwritten Notes
Once you’ve created your trackpad handwritten notes, it’s important to know how to save and share them for future reference or collaboration. Fortunately, saving and sharing your notes is a simple and straightforward process on your Macbook.
To save your trackpad handwritten notes, follow these steps:
- Click on the “File” menu in your application’s menu bar.
- Select “Save” or “Save As” to save your notes.
- Choose a location on your Macbook where you want to save the file.
- Specify a name for the file and select the desired format (e.g., PDF, JPEG, PNG).
- Click the “Save” button to save your trackpad handwritten notes.
By saving your notes, you can easily access them at any time or share them with others. Depending on the format you choose, you can also open the saved file on other devices or platforms.
If you want to share your trackpad handwritten notes with others, you have a few options:
- Email: Attach the saved file to an email and send it to the intended recipients.
- Cloud Storage: Upload the saved file to a cloud storage service, such as Google Drive or Dropbox, and share the file link with others.
- Message or AirDrop: If you and the recipient both use Apple devices, you can use the Messages app or AirDrop feature to directly share the file.
Choose the sharing method that is most convenient for you and the recipient, ensuring that they have the necessary software or compatibility to view the trackpad handwritten notes.
With your trackpad handwritten notes saved and shared, you have the freedom to revisit them whenever needed or collaborate with others seamlessly. Take advantage of these features to maximize the value of your trackpad handwriting.
Now that you know how to save and share your notes, let’s explore some tips and tricks to enhance your trackpad handwriting experience in the next section.
Tips and Tricks for Macbook Trackpad Handwriting
While trackpad handwriting on your Macbook is a powerful tool on its own, there are several tips and tricks that can help you make the most out of this feature. Here are some valuable tips to enhance your trackpad handwriting experience:
- Practice Regularly: Like any skill, regular practice is key to improving your trackpad handwriting. Take time to practice writing and experimenting with different gestures to become more comfortable and proficient.
- Use a Stylus: If you want a more precise and controlled writing experience, consider using a compatible stylus with your Macbook trackpad. A stylus can offer more accuracy and mimic the feeling of writing with a pen on paper.
- Experiment with Writing Styles: Explore different writing styles available through the trackpad handwriting settings. Experiment with cursive, print, or even calligraphy styles to find the one that suits your handwriting and preferences.
- Take Advantage of Smart Annotations: If you enable the Smart Annotations feature, your Macbook can automatically add useful information to your handwritten notes. This can include recognizing dates, locations, or contact details, making it easier to organize and search for specific information.
- Utilize Keyboard Shortcuts: Familiarize yourself with keyboard shortcuts for common actions like saving, copying, and pasting. These shortcuts can help speed up your workflow and make editing your trackpad handwritten notes more efficient.
- Zoom In for Detail: If you need to add finer details or work on intricate designs, use the pinch-to-zoom gesture to zoom in on the portion of your trackpad where you want to focus. This allows for precise and detailed writing.
- Take Breaks: Long periods of continuous writing on a trackpad may lead to fatigue. Remember to take breaks and give your hand a rest to prevent strain or discomfort.
By implementing these tips and tricks, you can enhance your trackpad handwriting experience and make it even more enjoyable and productive. Take the time to explore these suggestions and find the ones that work best for you.
Now that you’re equipped with these valuable tips, you’re ready to take your trackpad handwriting skills to new heights. Before we conclude, let’s summarize the key points we’ve covered in this guide.
Conclusion
Trackpad handwriting on your Macbook opens up a world of possibilities for writing, note-taking, and creativity. With just a few simple steps, you can enable trackpad handwriting and start writing directly on your Macbook trackpad.
In this guide, we’ve explored how to get started with trackpad handwriting, enable the feature, adjust the settings, and understand the various gestures. We’ve also delved into writing and editing with trackpad handwriting, saving and sharing your handwritten notes, and provided useful tips and tricks to enhance your experience.
Remember to practice regularly, experiment with different writing styles, and utilize features like Smart Annotations to make the most out of trackpad handwriting. Take advantage of the variety of gestures available to navigate, select, and edit your notes effortlessly.
Whether you’re a student, professional, or simply someone who enjoys the feel of pen and paper, trackpad handwriting offers a convenient and intuitive way to interact with your Macbook. Capture your thoughts, create beautiful sketches, and keep your ideas organized in a digital format.
Now that you’re equipped with the knowledge and skills to use trackpad handwriting effectively, embrace the power of your Macbook trackpad and unleash your creativity. Happy trackpad handwriting!