Introduction
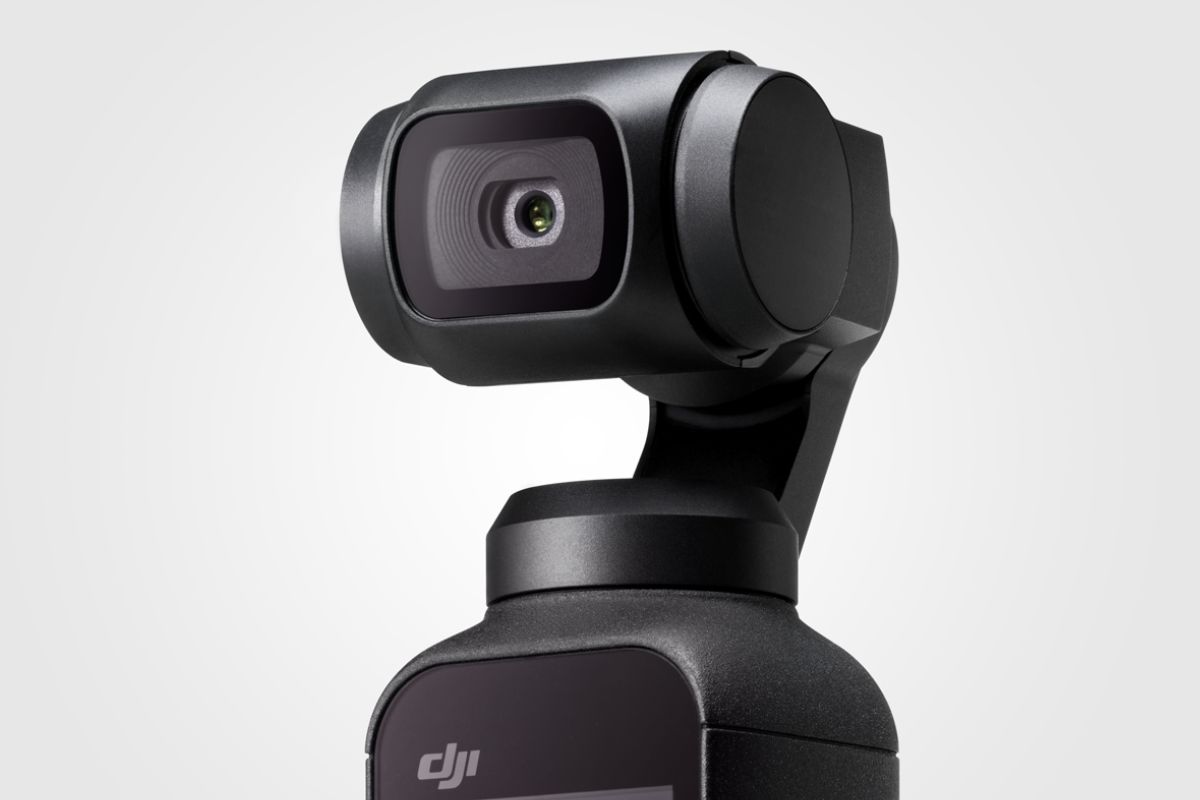
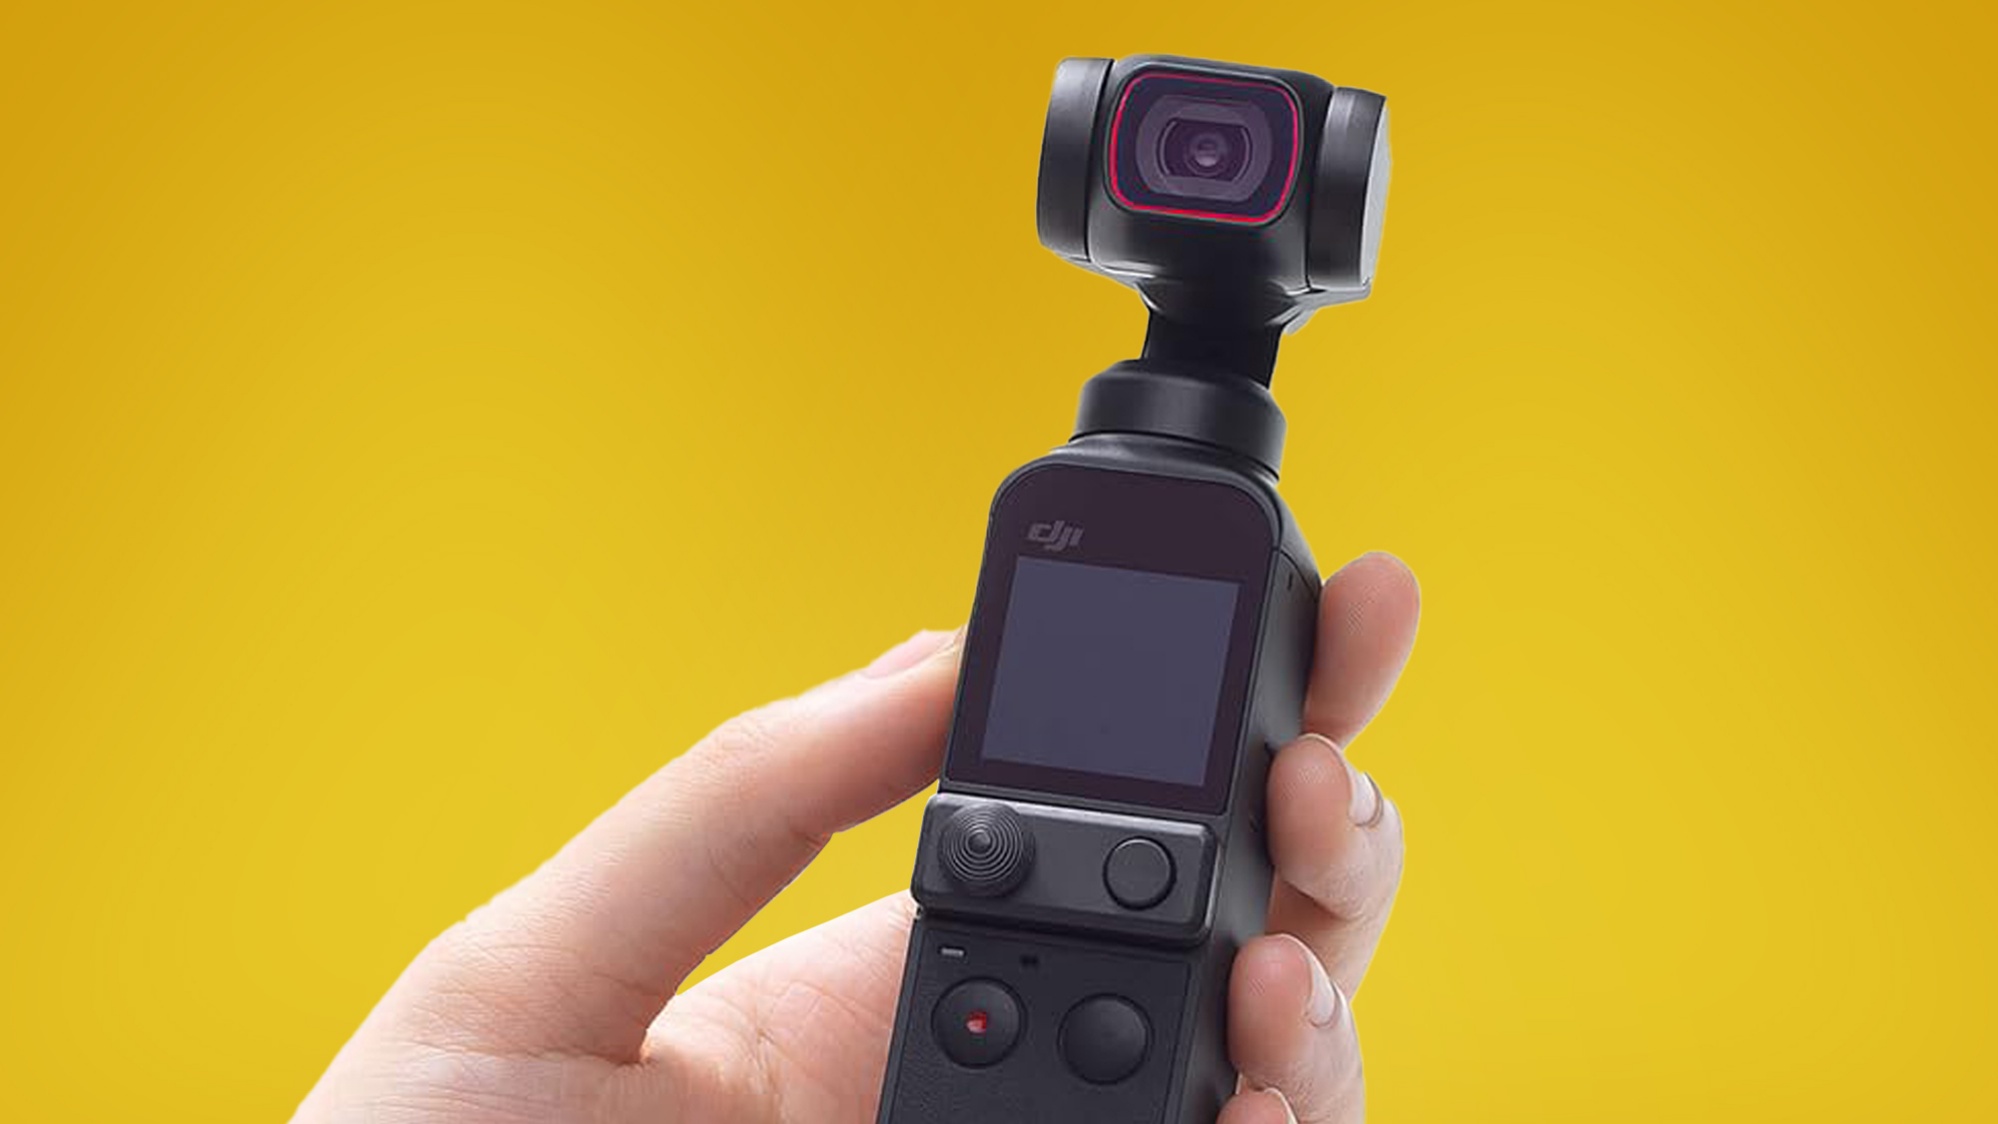
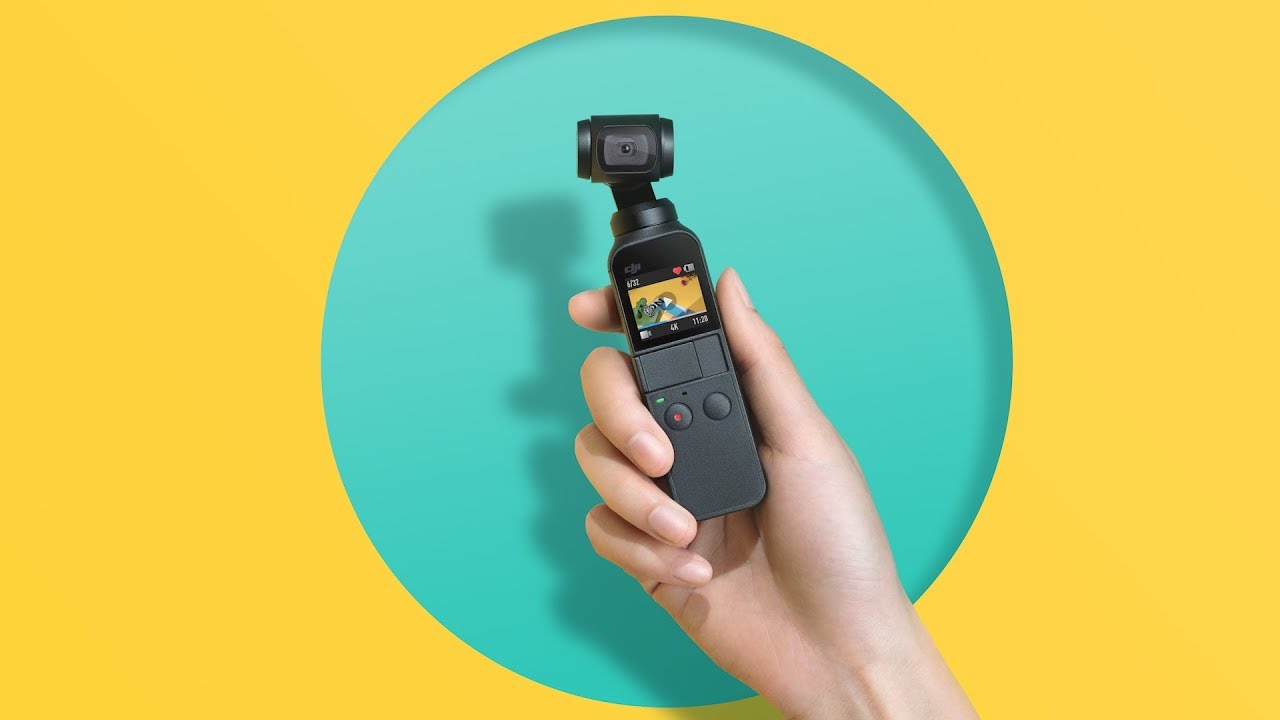
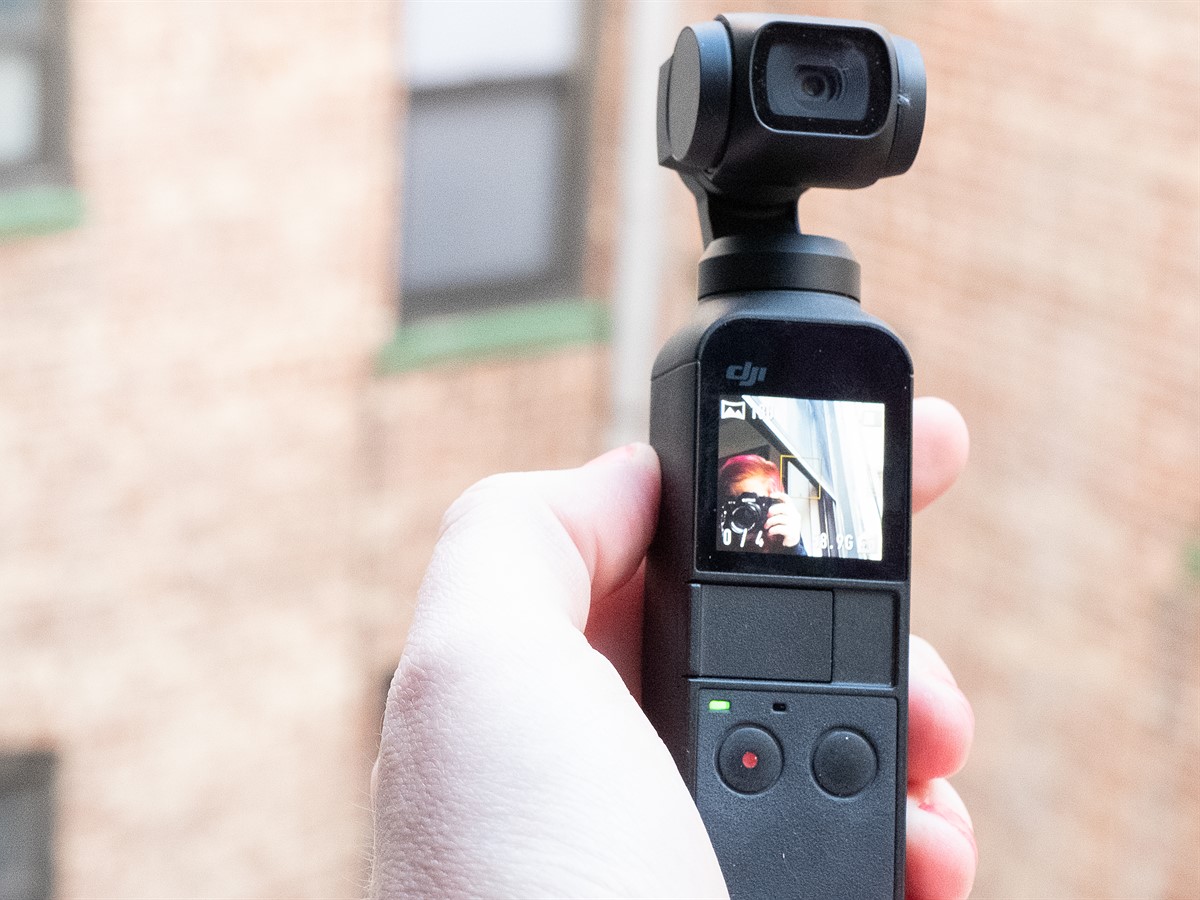
Welcome to the world of live streaming and video conferencing! With the rise of remote work and virtual communication, the demand for high-quality webcams has skyrocketed. If you own a DJI Osmo Pocket, you’re in luck. This compact and powerful camera can do more than just capture stunning footage. It can also serve as a webcam, allowing you to elevate your video chats and live streams.
Gone are the days of grainy and pixelated video. The DJI Osmo Pocket offers superior image quality and stability, making it the perfect choice for professional-looking virtual meetings, online interviews, gaming streams, and more. Whether you’re a content creator, an entrepreneur, or a remote worker, leveraging the Osmo Pocket as a webcam can take your online presence to new heights.
In this guide, we’ll walk you through the process of setting up your DJI Osmo Pocket as a webcam and optimizing its performance. You’ll learn how to connect the camera to your computer, configure the necessary settings, and make adjustments for the best video quality. We’ll also provide you with some valuable tips and tricks to enhance your webcam experience.
Before we dive into the technical details, please ensure that you have the necessary equipment: your DJI Osmo Pocket, a computer (Windows or Mac) with a USB port, and the DJI Mimo app installed on your smartphone or tablet. Once you have everything ready, let’s get started!
Getting Started
Before you begin using your DJI Osmo Pocket as a webcam, there are a few initial steps you need to take.
First, make sure you have the latest firmware installed on your Osmo Pocket. You can check for updates by connecting your device to the DJI Mimo app and following the on-screen prompts.
Next, ensure that your computer meets the minimum system requirements for using the Osmo Pocket as a webcam. Typically, you’ll need a computer with a dual-core processor, at least 4GB of RAM, and a USB 3.0 or higher port. Additionally, check if your computer’s operating system is compatible with the DJI Mimo app. Windows 7 or later and macOS 10.12 or later are usually supported.
Once you’ve confirmed that your Osmo Pocket is up to date and your computer meets the requirements, it’s time to gather the necessary cables. You’ll need a USB-C to USB-A or USB-C to USB-C cable to connect the camera to your computer.
It’s worth noting that while the Osmo Pocket supports video streaming via USB, not all video conferencing platforms natively recognize it as a webcam. In this case, you may need additional software such as OBS Studio or Cam Link to bridge the gap.
Finally, make sure you have a stable internet connection to ensure smooth transmission of your video feed. A wired connection is preferable, but if you must use Wi-Fi, try to be close to the router to minimize latency and signal disruptions.
By properly preparing your equipment and understanding the requirements, you’re setting yourself up for a successful webcam setup. Let’s move on to the next steps, where we’ll guide you through the process of setting up your DJI Osmo Pocket as a webcam.
Setting up the DJI Osmo Pocket
Now that you’ve gathered all the necessary equipment, it’s time to set up your DJI Osmo Pocket. Follow these steps to prepare the camera for use as a webcam:
- Ensure that your Osmo Pocket is fully charged. Connect it to a power source using the included USB-C cable and allow it to charge until the battery is full.
- Power on the Osmo Pocket by pressing the power button on the right-hand side of the device.
- If you haven’t already done so, download and install the DJI Mimo app on your smartphone or tablet from the App Store or Google Play Store.
- Open the DJI Mimo app and connect your Osmo Pocket to your mobile device using the USB-C cable.
- Once connected, launch the DJI Mimo app and ensure that the camera is functioning correctly. You should be able to see the live view from the Osmo Pocket on your smartphone or tablet’s screen.
- Now, it’s time to adjust the camera’s settings. In the DJI Mimo app, tap on the camera icon at the bottom of the screen to access the camera settings.
- Within the camera settings, go to the “Video” tab and set the video resolution to the desired output resolution for your webcam. It’s recommended to choose a resolution that is compatible with your video conferencing platform and offers a good balance between video quality and bandwidth usage.
- Additionally, you can adjust other settings like white balance, exposure, and color profiles to further enhance the video quality. Experiment with these settings to find the optimal configuration for your needs.
Once you’ve completed these steps, the DJI Osmo Pocket is now ready to be connected to your computer and used as a webcam. In the next section, we’ll guide you through the process of connecting the Osmo Pocket to your computer and configuring it as a webcam.
Connecting the Osmo Pocket to your computer
Now that you have set up your DJI Osmo Pocket, it’s time to connect it to your computer and use it as a webcam. Follow these steps to establish a connection:
- Using the appropriate cable (USB-C to USB-A or USB-C to USB-C), connect one end to the USB port on your Osmo Pocket and the other end to an available USB port on your computer.
- Your computer should detect the Osmo Pocket as a new device and automatically install any necessary drivers. Wait for the installation to complete.
- Once the connection is established, launch your preferred video conferencing platform or streaming software on your computer.
- Within the video settings of your chosen software, select “DJI Osmo Pocket” or “DJI Camera” as the video source. If you don’t see the Osmo Pocket listed, try restarting the software or reconnecting the camera.
- Make sure the video feed from your Osmo Pocket is being displayed on your computer screen. You should now have the live view from the camera as your webcam feed.
It’s important to note that some video conferencing platforms might require additional settings to be adjusted within their software. For example, you may need to select the camera resolution or frame rate, enable or disable autofocus, or adjust other video settings depending on the platform’s specifications. Refer to the platform’s documentation or settings menu for more information.
With the Osmo Pocket successfully connected to your computer as a webcam, you’re ready to enjoy high-quality video calls, live streams, and virtual meetings. In the next section, we’ll delve into the process of configuring the Osmo Pocket as a webcam to optimize its performance.
Configuring the Osmo Pocket as a webcam
Now that your DJI Osmo Pocket is connected to your computer as a webcam, it’s time to configure it for optimal performance. Follow these steps to fine-tune the camera settings:
- Access the camera settings within your chosen video conferencing software by clicking on the settings or gear icon.
- Explore the different options available to you. Depending on the software you are using, you may be able to adjust video resolution, frame rate, autofocus, exposure, and other settings. Experiment with these settings to find the combination that works best for your needs.
- If you’re experiencing any issues with the video quality or stability, try adjusting the camera’s stabilization settings. The Osmo Pocket has excellent built-in stabilization, but you may need to find the right setting for your specific use case.
- Consider utilizing the Osmo Pocket’s audio capabilities as well. It features dual microphones for capturing clear sound. If your software allows it, you can select the Osmo Pocket as the audio input device.
- Make sure you are using adequate lighting in your environment. Good lighting can significantly enhance the quality of your webcam feed. Position yourself in a well-lit area and avoid strong backlighting or harsh shadows.
- Take advantage of any additional features or modes the Osmo Pocket offers, such as the ability to switch between different camera profiles or apply creative filters. These can add a unique touch to your webcam feed.
Remember to regularly check for firmware updates for your DJI Osmo Pocket. These updates may bring improved features, bug fixes, and overall performance enhancements. Keeping your camera up to date ensures you’re getting the best possible experience when using it as a webcam.
By configuring the Osmo Pocket to suit your preferences and optimizing the settings for your specific use case, you can ensure that you’re getting the most out of this powerful camera as a webcam.
Next, we’ll share some tips and tricks to help you further optimize your webcam experience with the DJI Osmo Pocket.
Adjusting camera settings for best performance
To achieve the best performance and video quality when using your DJI Osmo Pocket as a webcam, it’s important to make the right adjustments to its camera settings. Here are some recommendations:
- Resolution: Select a video resolution that is compatible with your video conferencing platform and provides a good balance between video quality and bandwidth usage. Higher resolutions offer more detail, but they may require a stronger internet connection.
- Frame Rate: Adjust the frame rate based on your needs. For most video conferencing situations, a frame rate of 30 frames per second (fps) should suffice to deliver smooth and natural-looking video.
- Exposure: Pay attention to the exposure settings, especially in different lighting conditions. The Osmo Pocket’s auto-exposure feature does a great job, but you may want to experiment with manual exposure adjustments to ensure optimal brightness and clarity.
- Focus: Depending on your preferences and the distance between you and the camera, you can experiment with autofocus or manual focus. Autofocus is convenient for most scenarios, but manual focus can be useful when you want to maintain a consistent focus point.
- White Balance: The Osmo Pocket offers different white balance options to adapt to various lighting conditions. It’s essential to select the appropriate white balance setting to ensure accurate color reproduction. Adjust the white balance manually if necessary.
- Audio: Although the Osmo Pocket is primarily a camera, it features dual microphones that capture clear audio. Ensure the audio input for your video conferencing software is set to the Osmo Pocket if you want to take advantage of its audio capabilities.
- Stabilization: The Osmo Pocket is well-known for its exceptional built-in stabilization. Experiment with the stabilization settings to find the level that works best for you. Some platforms may offer digital stabilization options to further enhance the stability of your video feed.
These adjustments may require a bit of trial and error to find the optimal settings that suit your specific needs and environment. Take some time to test different configurations and evaluate the results on your video conferencing software. By fine-tuning the camera settings, you can ensure that you’re getting the best performance and video quality from your DJI Osmo Pocket as a webcam.
Now that you have optimized your camera settings, let’s move on to some additional tips and tricks to enhance your webcam experience with the Osmo Pocket.
Tips and tricks for optimizing the webcam experience
Here are some tips and tricks to help you get the most out of your DJI Osmo Pocket webcam:
- Choose a suitable camera angle: Experiment with different camera angles to find the most flattering and professional-looking view. Position the camera at eye level or slightly above for a more natural perspective.
- Use a stable tripod or mount: To prevent shaky footage, use a tripod or mount to keep the Osmo Pocket steady during your video calls. This will help maintain a professional appearance and avoid distractions.
- Optimize your lighting: Good lighting is crucial for a high-quality webcam feed. Utilize natural or soft light sources, position yourself facing the light, and avoid strong backlighting or harsh shadows. Consider investing in a ring light or diffuser for enhanced lighting conditions.
- Minimize background distractions: Ensure that your background is clean, clutter-free, and visually pleasing. Remove any distractions that may take away from your presence on the screen.
- Consider using a dedicated microphone: While the Osmo Pocket’s built-in microphones are sufficient for most situations, using a dedicated external microphone can significantly improve audio quality, especially in noisy environments.
- Test your internet connection: A stable and reliable internet connection is vital for seamless video streaming. Before important calls or meetings, run a speed test to ensure you have sufficient bandwidth for smooth video transmission.
- Enable facial tracking: If your video conferencing software supports it, enable facial tracking on the Osmo Pocket. This feature keeps you in focus even if you move around, allowing for a more engaging and dynamic webcam experience.
- Use the DJI Mimo app for advanced features: The DJI Mimo app offers additional features and shooting modes that you can utilize to enhance your webcam experience. Explore features like timelapse, motion lapse, or hyperlapse to add some creative elements to your video calls or recorded content.
- Practice and get feedback: Take the time to practice using your DJI Osmo Pocket as a webcam and seek feedback from colleagues or friends. This will help you identify any areas for improvement and fine-tune your setup for optimal results.
By implementing these tips and tricks, you can elevate your webcam experience and make the most of the DJI Osmo Pocket’s capabilities. Remember that consistency and attention to detail are key in creating a professional and engaging virtual presence.
In the next section, we’ll address common issues that you may encounter while using the Osmo Pocket as a webcam and provide troubleshooting solutions to help you resolve them.
Troubleshooting common issues
While using the DJI Osmo Pocket as a webcam, you may encounter some common issues. Here are troubleshooting solutions for a few of them:
- No video feed: If you’re not getting a video feed on your computer, ensure that the Osmo Pocket is properly connected to your computer via the appropriate cable. Try reconnecting the cable or using a different USB port. Also, ensure that you have selected the correct video source within your video conferencing software.
- Poor video quality: If your video quality is not up to par, check your internet connection to ensure it’s stable. Lower the video resolution in the camera settings to reduce bandwidth usage. Make sure there is adequate lighting and adjust the camera settings for better exposure and focus.
- Audio issues: If you’re experiencing audio problems, ensure that the Osmo Pocket’s microphones are not obstructed by any accessories or your hands. Adjust the audio input settings within your video conferencing software to ensure the Osmo Pocket is selected as the audio source. Consider using an external microphone for improved audio quality.
- Software compatibility: Some video conferencing platforms may not recognize the Osmo Pocket as a webcam by default. In such cases, you can use additional software like OBS Studio or Cam Link to bridge the connection between the Osmo Pocket and the platform. These software solutions allow you to use the Osmo Pocket as a virtual webcam.
- Compatibility with operating systems: Ensure that your computer’s operating system is compatible with the DJI Mimo app and the Osmo Pocket. Check for any necessary updates or patches for both the operating system and the camera firmware to ensure compatibility.
- Driver issues: If your computer is not recognizing the Osmo Pocket, make sure you have the latest drivers installed. You can usually download the drivers from the DJI website or through the DJI Mimo app. Restart your computer after installing the drivers and reconnect the Osmo Pocket.
If you encounter any other issues while using the DJI Osmo Pocket as a webcam, consult the official DJI support website, user forums, or reach out to DJI customer support for further assistance. They will be able to provide specific solutions and troubleshoot any unique problems you may encounter.
By troubleshooting and addressing these common issues, you can ensure a smooth and reliable webcam experience with the DJI Osmo Pocket.
In the next section, we’ll wrap up this guide, summarizing the key steps and tips discussed throughout.
Conclusion
Congratulations! You have successfully learned how to use your DJI Osmo Pocket as a webcam. By following the steps outlined in this guide, you have transformed your compact camera into a powerful tool for high-quality video conferencing, live streaming, and virtual meetings.
We started by introducing the concept of using the Osmo Pocket as a webcam and discussed its benefits. We then walked you through the process of getting started, setting up the camera, connecting it to your computer, and configuring it for optimal performance. We provided tips and tricks to enhance your webcam experience and troubleshooting solutions for common issues you may encounter.
Remember to regularly check for firmware updates and stay up to date with the latest software to ensure compatibility and access any additional features or improvements released by DJI.
With your DJI Osmo Pocket as a webcam, you can now enjoy crisp video quality, stable footage, and impressive audio capabilities for your video calls, live streams, gaming sessions, or any other virtual interactions you engage in. Impress your colleagues, clients, and audience with professional-looking video content.
Keep in mind that practice makes perfect, so take the time to experiment with different settings and setups to find what works best for you. With dedication and creativity, you can maximize the potential of your Osmo Pocket as a webcam and take your online presence to the next level.
Thank you for joining us on this journey. We hope this guide has been informative and valuable to you. Happy webcamming with your DJI Osmo Pocket!


