Introduction
Welcome to the world of homemade ice cream! There’s nothing quite like the taste and satisfaction of creating your own frozen dessert from scratch. And what better way to embark on this delicious adventure than with the help of an Aroma Ice Cream Maker? Whether you’re a seasoned ice cream connoisseur or a newbie in the kitchen, this handy appliance will make the process a breeze.
Making ice cream at home has many advantages. You have full control over the ingredients, allowing you to use the finest quality milk, cream, and flavorings. You can also experiment with unique flavors and add a personal touch to your frozen creations. Plus, it’s a fun activity that you can enjoy with your family and friends!
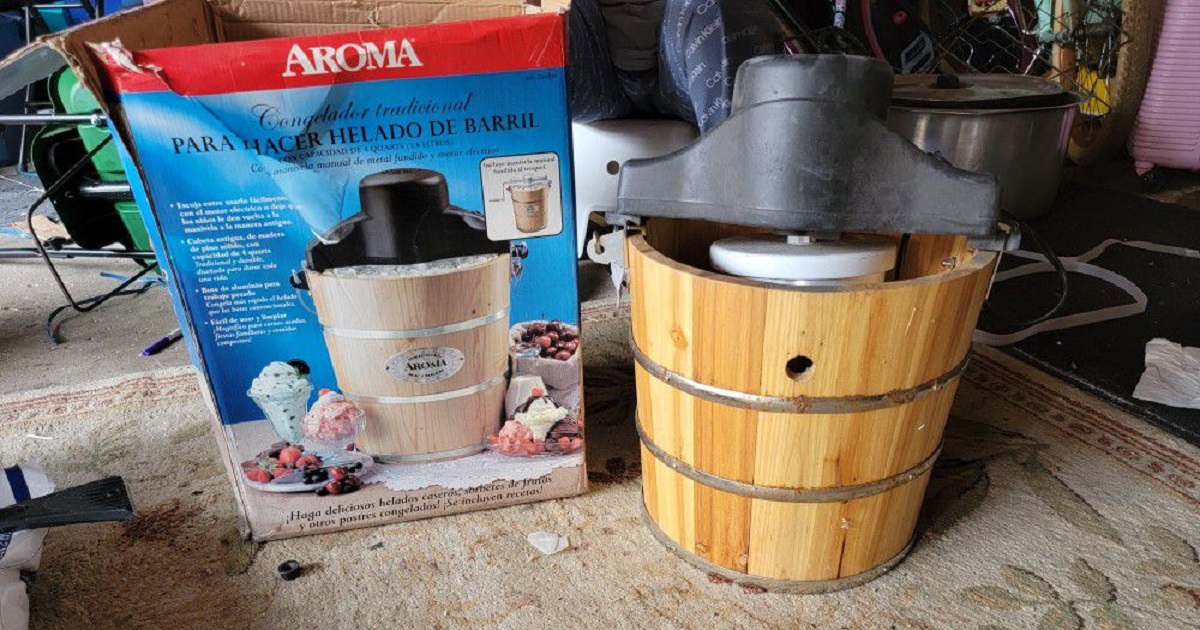
But before we dive into the nitty-gritty of using the Aroma Ice Cream Maker, let’s take a moment to understand the basics. This user-friendly appliance consists of a freezing unit, a mixing paddle, and a lid. It uses a powerful motor to churn and freeze the ice cream mixture simultaneously, resulting in a smooth and creamy texture.
Ready to embark on your homemade ice cream journey? Great! In the following sections, we’ll guide you through the process step by step, from choosing the right ingredients to cleaning and storing your Aroma Ice Cream Maker. So grab your apron, put on your chef’s hat, and let’s get started on this sweet adventure!
Choosing the Right Ingredients
When it comes to making the perfect batch of homemade ice cream, the quality of ingredients plays a crucial role. By selecting the finest and freshest components, you’ll ensure a superior taste and texture in your frozen creation.
Here are some tips for choosing the right ingredients:
- Dairy: Start with a high-fat base for a rich and creamy ice cream. Whole milk and heavy cream are commonly used, but you can also experiment with alternatives like coconut milk or almond milk for a unique flavor profile.
- Sugar: Sweetness is essential in ice cream, and sugar serves both as a sweetener and aids in creating a smooth texture. Granulated sugar is the most common choice, but you can also use alternative sweeteners like honey or maple syrup for a different taste.
- Eggs: Most traditional ice cream recipes call for egg yolks. This ingredient adds richness and helps emulsify the mixture, resulting in a smooth and creamy texture. However, if you prefer an eggless version, you can skip this step and still achieve delicious results.
- Flavorings: This is where the fun begins! Choose your favorite extracts, such as vanilla, almond, or mint, to add a burst of flavor. You can also get creative and experiment with ingredients like cocoa powder, fruit purees, crushed cookies, or even coffee for unique and exciting combinations.
- Mix-ins: From chocolate chips to chopped nuts or fresh fruit chunks, mix-ins add texture and extra bursts of flavor to your ice cream. Get adventurous and try different combinations to create your own signature creations.
Keep in mind that using high-quality ingredients will elevate the taste of your homemade ice cream. Opt for organic and locally sourced products whenever possible to enhance the overall quality of your creation.
Now that you have a good understanding of the ingredients needed, it’s time to move on to the next step: preparing your ice cream mixture. So, gather your ingredients and let’s continue our journey towards homemade ice cream perfection!
Preparing Your Ice Cream Mixture
Now that you’ve gathered the perfect ingredients, it’s time to prepare your ice cream mixture. This step is essential for achieving a smooth and creamy texture in your homemade ice cream.
Follow these steps to prepare your ice cream mixture:
- Measure and combine: Start by measuring out the desired quantities of your dairy, sugar, and any other additional flavorings you’ve chosen. Pour them into a mixing bowl and whisk until well combined.
- Tempering eggs (if using): If your ice cream recipe includes eggs, you’ll need to temper them before adding them to the mixture. To do this, heat a small portion of the dairy base in a saucepan until warm. Slowly pour the warm liquid into the beaten eggs while whisking continuously. This process ensures the eggs are brought up to temperature gradually without scrambling.
- Mix and chill: Add the tempered eggs (if using) to the rest of the mixture and whisk until everything is evenly incorporated. Cover the bowl with plastic wrap and refrigerate the mixture for at least 2 hours, or overnight if possible. Chilling the mixture will enhance the flavor and allow for a smoother freezing process in the ice cream maker.
While your ice cream mixture is chilling, this is the perfect time to set up your Aroma Ice Cream Maker. Refer to the instruction manual for specific guidelines on how to assemble and prepare the machine for use.
Once your ice cream mixture has chilled sufficiently and your Aroma Ice Cream Maker is ready to go, it’s time to turn your raw ingredients into a frozen delight! The next section will guide you through the process of using the Aroma Ice Cream Maker to churn out your delicious creation.
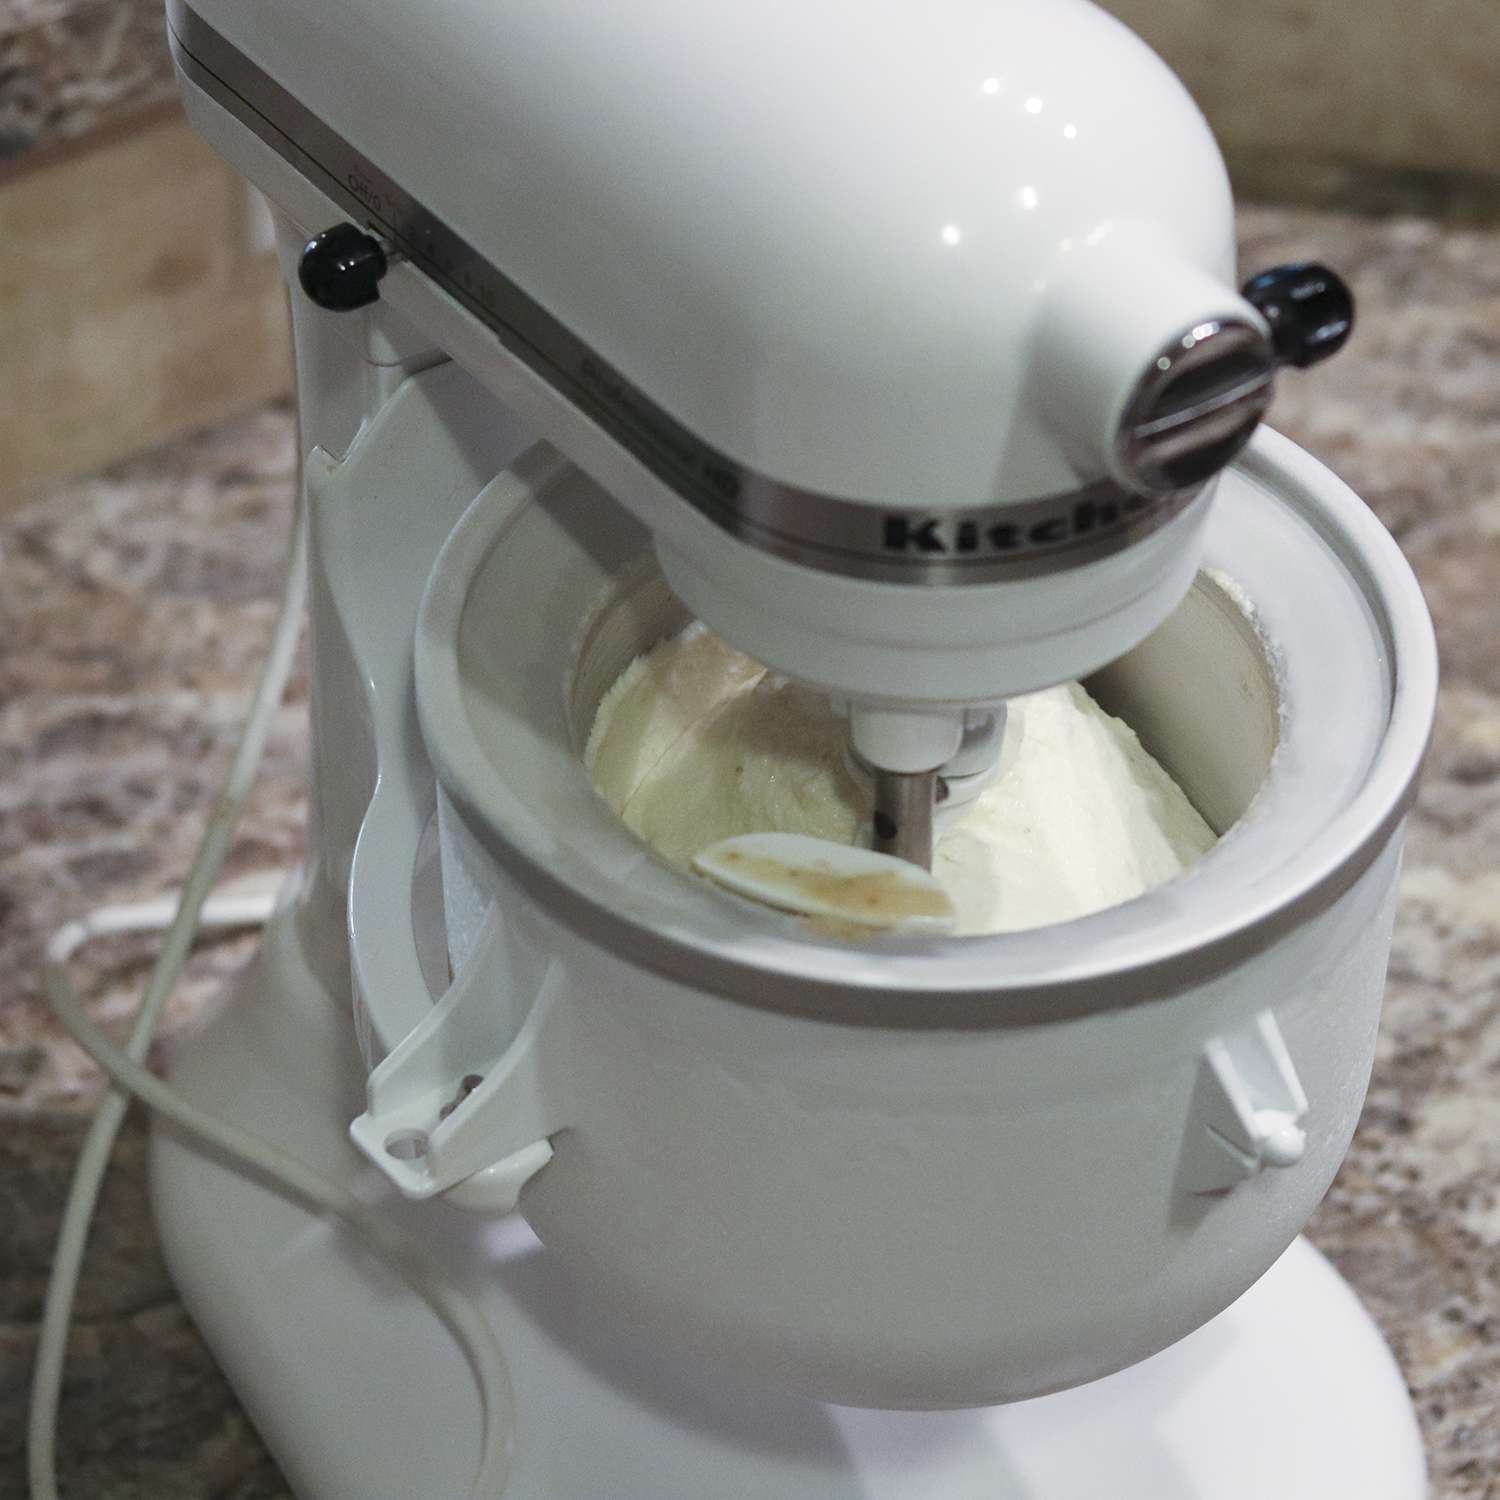
Using the Aroma Ice Cream Maker
Now comes the exciting part – using the Aroma Ice Cream Maker to transform your chilled ice cream mixture into a luscious frozen treat. Follow these steps for a smooth and successful ice cream-making experience:
- Assemble the machine: Begin by assembling the Aroma Ice Cream Maker according to the instructions provided. Ensure that the freezing unit is pre-frozen for the recommended amount of time, typically around 24 hours, to achieve optimal results.
- Add the mixture: Pour your chilled ice cream mixture into the freezing unit, taking care not to overfill it. Leave some space for expansion as the mixture churns and freezes.
- Turn on the machine: Switch on the Aroma Ice Cream Maker and set the timer as per the recommended time in your recipe. Most ice cream recipes will guide you on the appropriate time, but generally, it takes around 20-30 minutes for the ice cream to reach the desired consistency.
- Monitor and adjust (if needed): Keep an eye on the ice cream as it churns. You’ll notice the mixture gradually thickening and freezing. If you’d like a softer consistency, you can stop the machine earlier. For a firmer texture, let the machine run for a few extra minutes. It’s all about personal preference!
While the Aroma Ice Cream Maker does the hard work of churning and freezing, you can use this time to prepare any mix-ins or toppings you’d like to add to your ice cream. Chopped nuts, chocolate chips, or cookie crumbs are popular choices to stir in towards the end of the process.
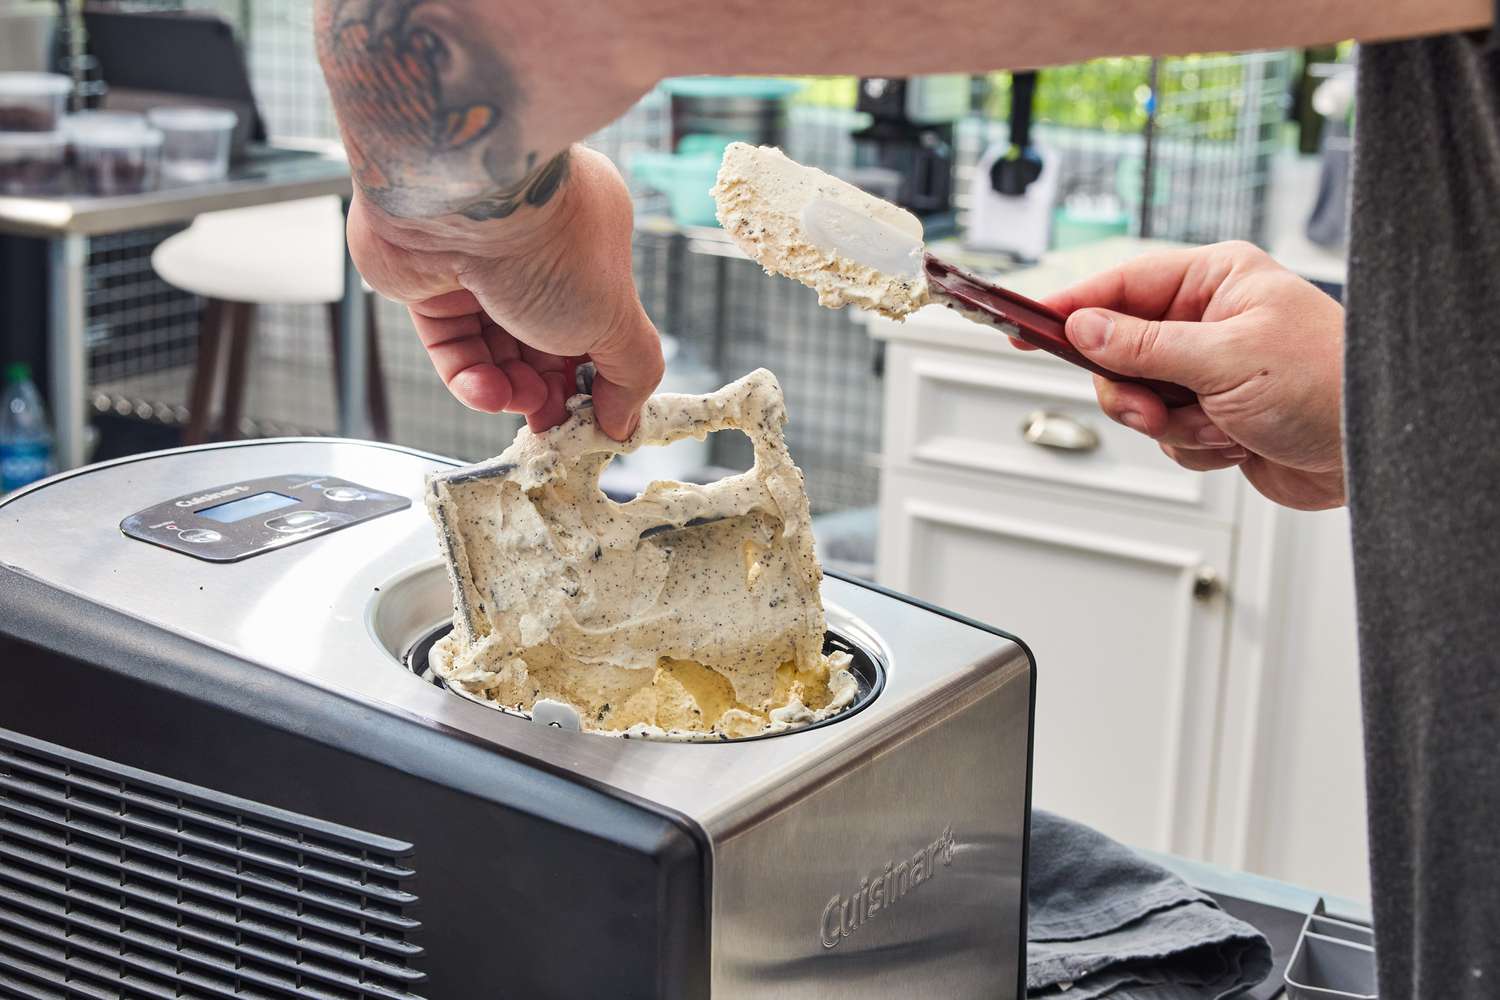
Once your ice cream has reached the desired consistency, the machine will automatically shut off, or you can manually turn it off. Scoop out your freshly made ice cream into a container, and if desired, stir in your mix-ins.
It’s important to note that freshly churned ice cream will have a soft texture. If you prefer a firmer consistency, transfer the ice cream to a lidded container and place it in the freezer for a few hours to further harden.
Now that you know how to use the Aroma Ice Cream Maker to make delicious homemade ice cream, let’s move on to the next section to discover how you can add extra flavor and excitement to your frozen creations with mix-ins.
Adding Mix-ins for Extra Flavor
One of the best parts of making homemade ice cream is the ability to customize it with delicious mix-ins. Whether you prefer chunks of chocolate, swirls of caramel, or pieces of fresh fruit, adding mix-ins can take your ice cream to a whole new level of flavor and texture. Here are some tips for adding mix-ins to your homemade ice cream:
- Timing is key: Depending on the type of mix-in you’re using, it’s important to add it at the right time during the ice cream-making process. For solid ingredients like chocolate chips or nuts, add them towards the end of the churning process to ensure even distribution. For swirls or sauces, layer them in between scoops of ice cream when transferring it to a container.
- Prep your mix-ins: Chop larger mix-ins like chocolate or nuts into smaller pieces to ensure they’re evenly dispersed throughout the ice cream. If using fruits, make sure they’re ripe and cut them into bite-sized chunks.
- Partial churn method: If you want your mix-ins to be more evenly distributed, you can try the partial churn method. Add a portion of your mix-ins when the ice cream is partially churned, and then continue churning for a few more minutes to incorporate them. This method works well for evenly distributing small mix-ins like sprinkles or crushed cookies.
- Experiment with flavors: Get creative with your mix-ins and try combining different flavors to create unique ice cream varieties. Add crushed cookies to a chocolate ice cream base, swirl in a caramel sauce with a vanilla base, or mix in fresh berries with a fruit-flavored ice cream. The possibilities are endless!
- Consider texture: Mix-ins don’t just add flavor; they also add texture. Think about the contrast you want in your ice cream – crunchy, chewy, or smooth. Consider adding a combination of mix-ins to create a well-rounded and exciting eating experience.
Remember, moderation is key when it comes to mix-ins. Adding too many can overpower the base flavors or interfere with the ice cream’s ability to freeze properly. Start with a moderate amount and adjust according to your preferences.
With your mix-ins added, you now have a uniquely flavored ice cream that’s ready to be enjoyed. But before you dig in, let’s explore some additional tips and tricks to ensure that every batch of homemade ice cream you make turns out perfectly.
Tips and Tricks for the Perfect Batch
Creating homemade ice cream is a delightful experience, and with a few additional tips and tricks, you can ensure that every batch comes out perfectly. Here are some insider tips to take your homemade ice cream to the next level:
- Chill ingredients thoroughly: Before mixing your ice cream ingredients, make sure they are properly chilled. This allows for a faster and smoother freezing process in the ice cream maker.
- Freeze your ice cream maker: Place the freezing unit of your Aroma Ice Cream Maker in the freezer for the recommended amount of time before use. This ensures that it is adequately chilled, allowing for efficient freezing of the ice cream mixture.
- Pre-cool your mix-ins: If you’re using mix-ins like chocolate chips or nuts, it’s a good idea to pre-chill them before adding them to the ice cream. This prevents them from melting too quickly during the churning process.
- Keep it small and manageable: It’s best to make smaller batches of ice cream rather than overfilling the freezing unit. This allows for quicker freezing and better incorporation of air, resulting in a smoother texture.
- Experiment with stabilizers: Adding a small amount of stabilizer like cornstarch or gelatin can help improve the texture and prevent ice crystals from forming in your ice cream. Experiment with small quantities to find the right balance for your recipe.
- Allow for a proper ripening period: After churning, transfer your ice cream to a lidded container and place it in the freezer. Let it ripen for at least a few hours, or preferably overnight, to allow the flavors to meld together and the texture to further develop.
- Label and date your ice cream: To keep track of your homemade creations, label and date your containers of ice cream. This way, you can easily identify the flavors and ensure that you enjoy them at their freshest.
Remember, practice makes perfect. Don’t be afraid to experiment and adapt these tips based on your personal preferences and taste. Enjoy the process of creating homemade ice cream and have fun exploring new flavors and combinations.
Now that you’re armed with these helpful tips and tricks, it’s time to learn about the proper cleaning and storage of your Aroma Ice Cream Maker to ensure its longevity and continued performance.
Cleaning and Storing Your Aroma Ice Cream Maker
Properly cleaning and storing your Aroma Ice Cream Maker is essential for maintaining its performance and longevity. By following these guidelines, you can ensure that it stays in optimal condition for many batches of delicious homemade ice cream to come:
- Unplug and disassemble: Before cleaning your ice cream maker, make sure it is unplugged and disassembled according to the instructions provided. This will prevent any accidental activation of the machine during the cleaning process.
- Hand wash the removable parts: The removable parts of the Aroma Ice Cream Maker, such as the freezing unit, mixing paddle, and lid, should be washed by hand in warm, soapy water. Gently scrub each component, ensuring that all ice cream residue is removed.
- Do not immerse the base: The base of the ice cream maker, which contains the motor, should not be submerged in water. Instead, wipe it clean with a damp cloth, being careful not to let any water seep into the motor or electrical components.
- Dry thoroughly: After washing, ensure that all the components are thoroughly dried before reassembling the ice cream maker. This helps prevent the growth of mold or mildew and ensures that the machine is ready for the next use.
- Store in a cool, dry place: When not in use, store your Aroma Ice Cream Maker in a cool and dry location. Avoid exposing it to extreme temperatures or moisture, as this can damage the machine and affect its performance.
- Cover or wrap the freezing unit: If possible, cover or wrap the freezing unit with a clean cloth or plastic wrap to protect it from dust and scratches while in storage. This helps maintain the quality of the freezing unit and ensures efficient freezing in future uses.
By following these cleaning and storage practices, you can prolong the life of your Aroma Ice Cream Maker and continue to enjoy homemade ice cream for years to come.
Congratulations! You have now learned how to use the Aroma Ice Cream Maker, create delicious homemade ice cream, and properly maintain the appliance. It’s time to unleash your creativity and experiment with different flavors, mix-ins, and techniques to enjoy the endless wonders of homemade ice cream. Get ready to savor every spoonful of creamy, frozen bliss!
Conclusion
Congratulations on completing this guide to using the Aroma Ice Cream Maker to create delectable homemade ice cream! With the tips and techniques outlined in this article, you are well-equipped to embark on your very own icy culinary adventures.
From choosing the right ingredients to preparing your ice cream mixture, using the Aroma Ice Cream Maker, adding delightful mix-ins, and implementing tips for the perfect batch, you now have a solid foundation for making delicious frozen treats in the comfort of your own home.
Remember, the key to success lies in experimentation and personalization. Feel free to explore new flavors, adjust the recipes to suit your taste preferences, and have fun with mix-ins that excite your palate.
With patience and practice, you will master the art of creating velvety-smooth, mouthwatering ice cream that will impress your family and friends. So, put your newfound knowledge to the test and let your taste buds be your guide as you whip up one delightful batch after another.
Don’t forget to take good care of your Aroma Ice Cream Maker by cleaning it thoroughly and storing it properly. With regular maintenance, it will continue to be your trusted companion on countless ice cream-making adventures to come.
Now it’s time to unleash your creativity, indulge your sweet tooth, and enjoy the fruits of your labor. Whether you’re hosting a summertime gathering, celebrating a special occasion, or simply treating yourself, homemade ice cream made with the Aroma Ice Cream Maker is sure to bring smiles and create lasting memories.
So gather your ingredients, get your Aroma Ice Cream Maker ready, and let the journey to frozen dessert bliss begin. Happy churning!