Introduction
Google Photos is a popular cloud-based service that allows users to store and organize their photos and videos. With Google Photos, you can easily upload your pictures from various devices and access them anytime, anywhere. Whether you want to preserve precious memories or create backup copies of your images, Google Photos offers a user-friendly platform to store and share your visual content.
In this article, we will guide you through the process of uploading pictures to Google Photos. Whether you are a beginner or an experienced user, you will find these step-by-step instructions helpful in seamlessly uploading your photos to the cloud.
By utilizing Google Photos, you can free up space on your devices and never worry about losing your photos due to device malfunction or accidental deletion. The service offers unlimited storage for high-quality photos and videos, providing a convenient solution to preserve your visual memories.
Additionally, once your photos are uploaded to Google Photos, you can easily access and manage them using any device connected to the internet. Whether you are using a smartphone, tablet, or computer, your photos are just a few clicks away.
Furthermore, Google Photos offers powerful features like image recognition, facial recognition, and automatic categorization. These features enable you to easily search for specific photos based on their content or the people in them. It enhances the overall experience of managing and organizing your photo library.
In the following steps, we will walk you through the process of uploading pictures to Google Photos, from signing in to the app to choosing your storage options. Let’s get started!
Step 1: Sign in to Google Photos
The first step in uploading your pictures to Google Photos is to sign in to your Google account. If you already have a Google account, such as a Gmail or Google Drive account, you can use the same login credentials to sign in to Google Photos. If you don’t have a Google account, you can create one for free.
To sign in, follow these simple steps:
- Open a web browser on your computer or launch the Google Photos app on your mobile device.
- Go to the Google Photos website or open the app.
- Click on the “Sign in” button or tap on the “Sign in” option.
- Enter your Google account email address or phone number.
- Click on the “Next” button or tap on the “Next” option.
- Enter your password.
- Click on the “Next” button or tap on the “Next” option.
Once you have successfully signed in to your Google account, you will have access to all the features and functionalities of Google Photos. This includes the ability to upload and manage your pictures, create albums, and share your images with others.
It’s important to ensure that you sign in to the correct Google account that you want to use for Google Photos. If you have multiple Google accounts, make sure you select the one that you want to use for uploading your pictures. This will ensure that your photos are saved to the correct account and can be easily accessed later.
Now that you have successfully signed in to Google Photos, let’s move on to the next step and start uploading your pictures!
Step 2: Install and Open the Google Photos App
If you prefer to upload your pictures to Google Photos using your mobile device, you will need to install and open the Google Photos app. The app is available for both Android and iOS devices and can be downloaded for free from the respective app stores.
To install and open the Google Photos app on your mobile device, follow these steps:
- On your Android or iOS device, go to the Google Play Store (Android) or the App Store (iOS).
- In the search bar, type “Google Photos” and tap on the search icon.
- Tap on the Google Photos app in the search results.
- Tap on the “Install” button (Android) or the “Get” button (iOS) to download and install the app.
- Once the installation is complete, tap on the “Open” button to launch the Google Photos app.
After opening the Google Photos app, you will be prompted to sign in to your Google account. Use the same Google account credentials that you signed in with earlier in Step 1. If you are already signed in to your Google account on your device, the app may automatically sign you in.
The Google Photos app provides a user-friendly interface that allows you to easily navigate through your photos and access various features. It provides a seamless experience for uploading, organizing, and sharing your pictures.
By utilizing the app, you can also enable automatic backup, which automatically uploads your pictures to the cloud whenever you have an internet connection. This ensures that your photos are safely stored and can be accessed from any device with the Google Photos app installed.
With the Google Photos app installed and opened on your mobile device, you are now ready to proceed to the next step and learn how to access the upload feature.
Step 3: Access the Upload Feature
Once you have signed in to Google Photos and opened the app on your mobile device, it’s time to access the upload feature. This will allow you to select and upload the pictures you want to store in your Google Photos library.
To access the upload feature in the Google Photos app, follow these simple steps:
- Launch the Google Photos app on your mobile device.
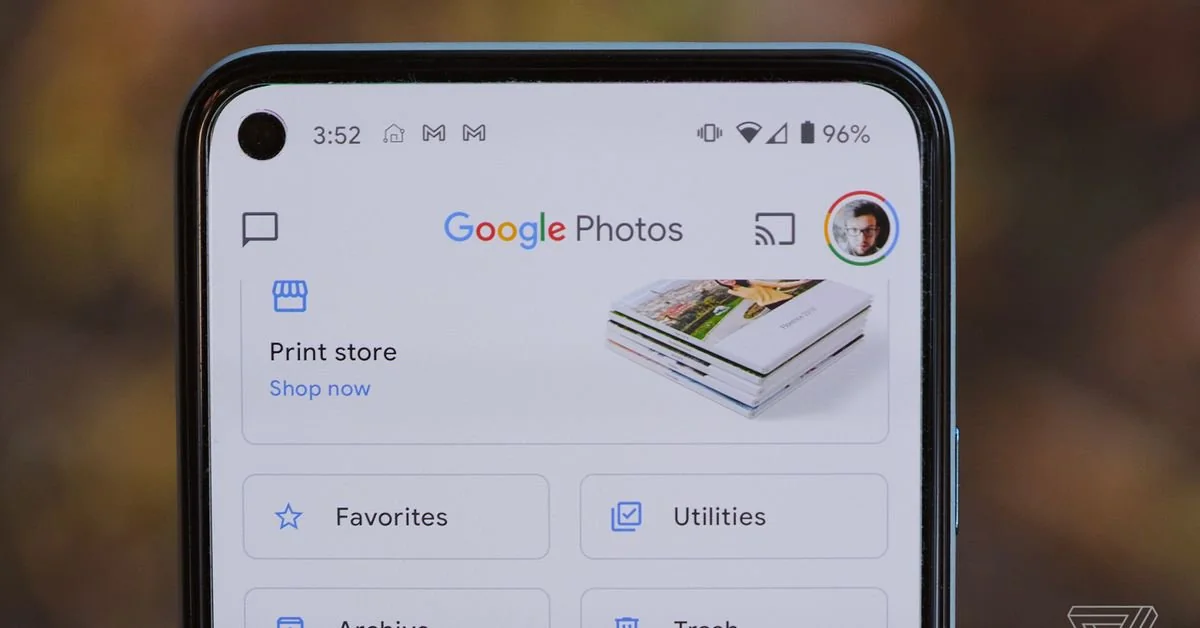
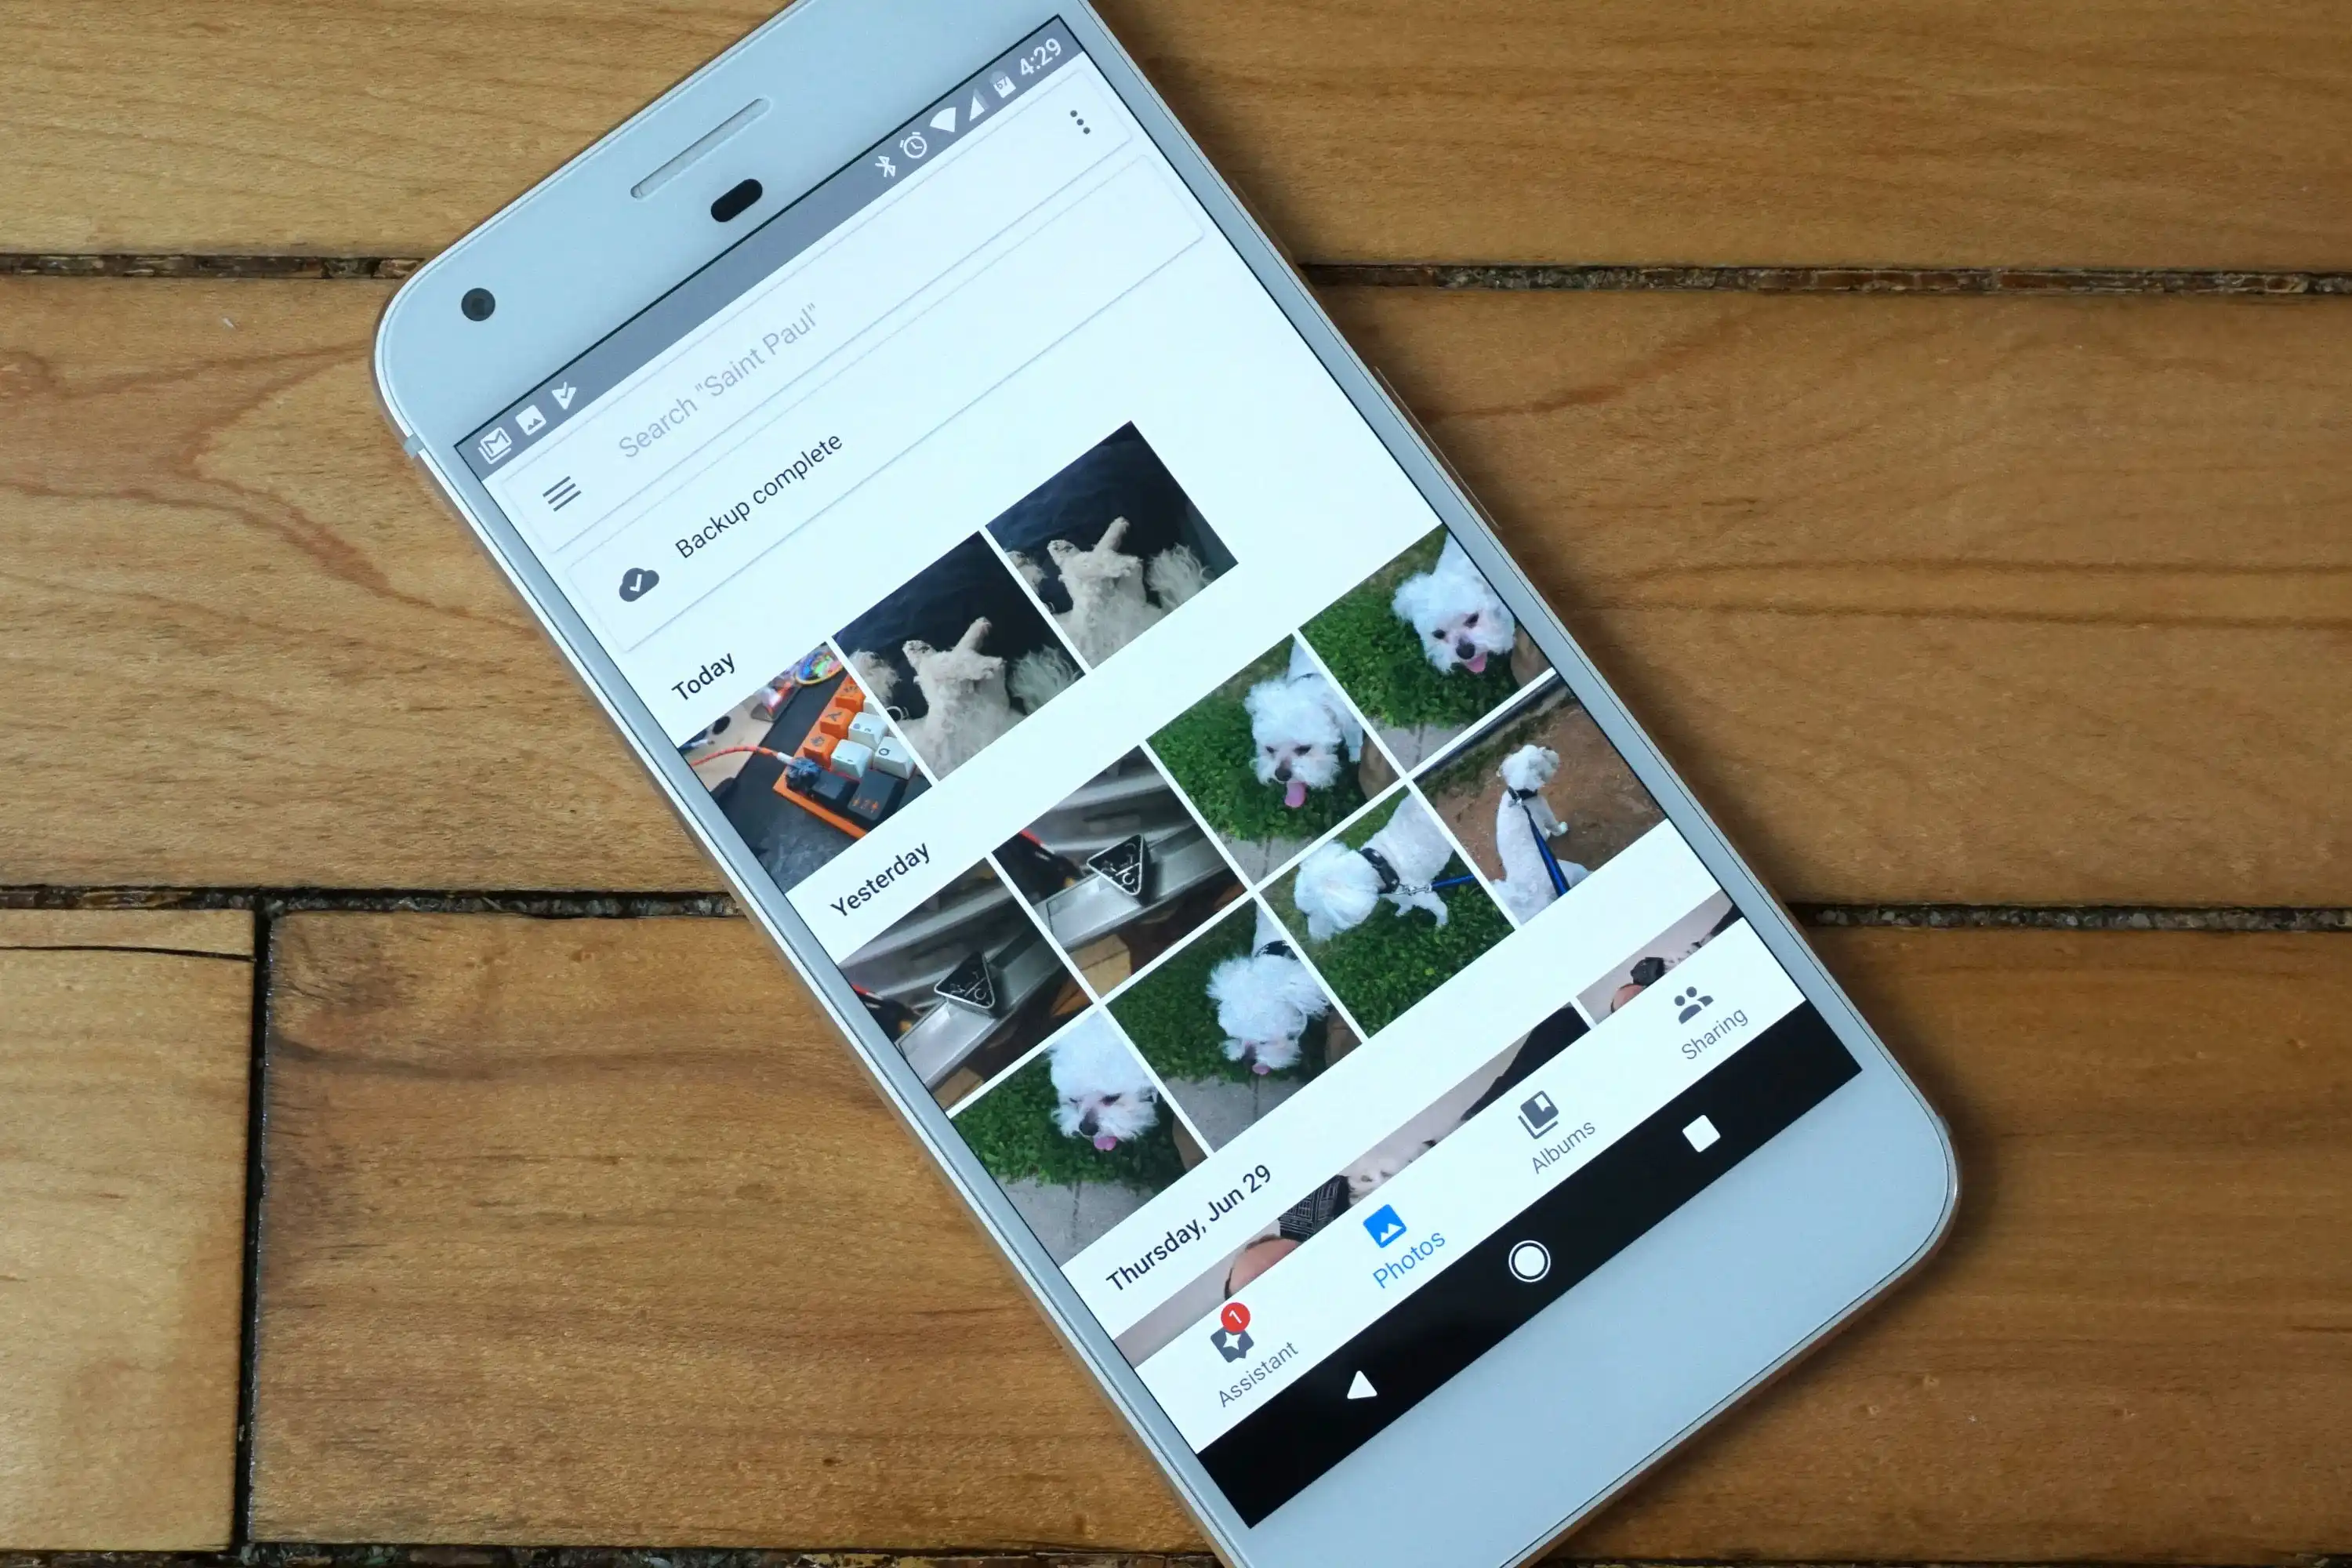
- At the bottom of the screen, you will see several icons. Tap on the “Library” icon, which is represented by three horizontal lines.
- In the Library tab, you will see various options such as “Photos,” “Albums,” “Assistant,” and more. Tap on the “Photos” option to access your photo gallery.
- Once you are in the Photos tab, tap on the “Upload” button, which is usually depicted as a cloud with an arrow pointing upward.
By tapping on the “Upload” button, you will be taken to the upload screen where you can select the pictures you want to upload.
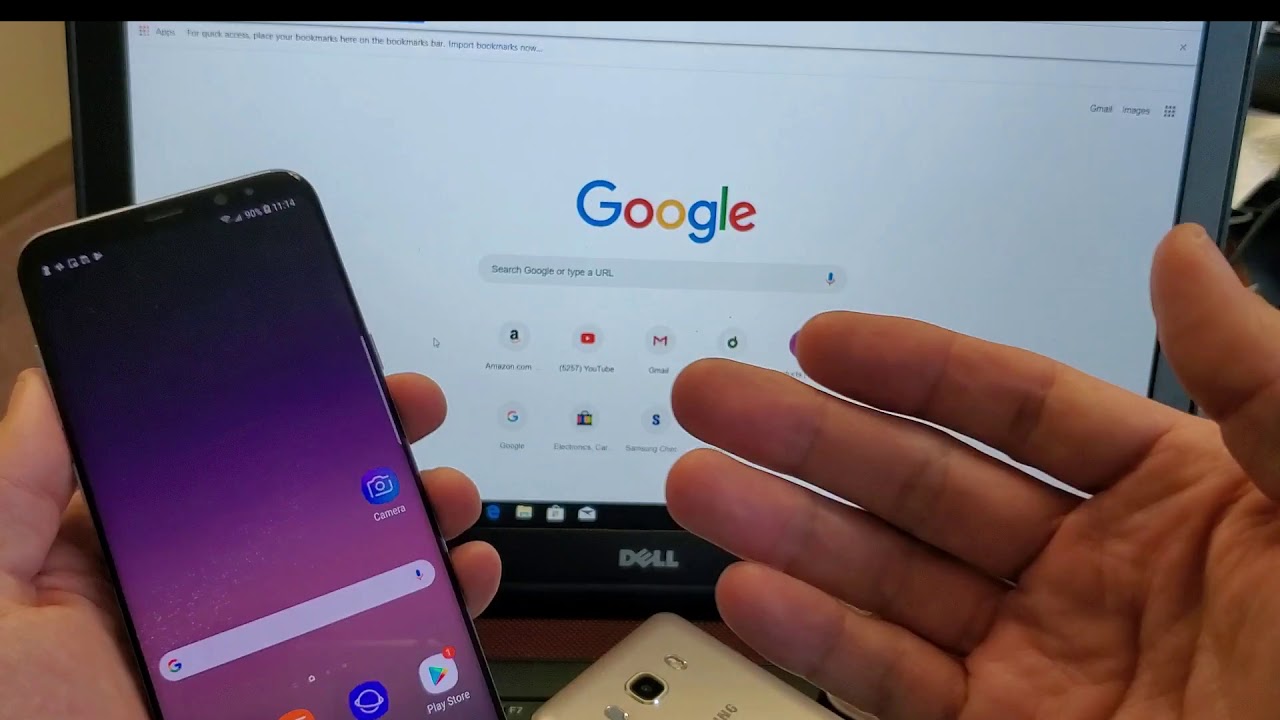
If you prefer to upload pictures from a computer, you need to access Google Photos through a web browser. Simply visit the Google Photos website and sign in to your Google account. Once signed in, you can access the upload feature by clicking on the “Upload” button or by dragging and dropping the pictures from your computer onto the Google Photos website.
Now that you have accessed the upload feature, let’s move on to the next step to learn how to select the pictures you want to upload.
Step 4: Select the Pictures You Want to Upload
After accessing the upload feature in Google Photos, it’s time to select the pictures you want to upload to your Google Photos library. Whether you are using the Google Photos app on your mobile device or accessing Google Photos through a web browser on your computer, the process of selecting pictures remains the same.
To select the pictures you want to upload, follow these steps:
- In the upload screen, you will see different options for selecting pictures. In the Google Photos app, you can choose to upload pictures from your camera roll, screenshots, downloads, or other folders on your device. On the Google Photos website, you can select pictures from your computer’s file explorer or file manager.
- Browse through your device’s folders or computer’s files to find the pictures you want to upload.
- Tap on the pictures to select them. You can select multiple pictures by tapping on each one or use the select all option if you want to upload your entire camera roll or a folder from your computer.
- Once you have selected the pictures, tap on the “Next” button (Google Photos app) or the “Open” button (Google Photos website) to proceed.
It’s worth noting that Google Photos supports various file formats, including JPEG, PNG, GIF, and RAW. Therefore, you can upload a wide range of image types to your Google Photos library.
If you have a large number of pictures to upload, it may take some time to select them all. However, Google Photos provides a streamlined interface that allows you to easily browse and select the pictures you want, making the process efficient and hassle-free.
Now that you have selected the pictures you want to upload, let’s move on to the next step and learn how to choose the storage options for your uploaded pictures.
Step 5: Choose the Storage Option
After selecting the pictures you want to upload to Google Photos, the next step is to choose the storage option that best suits your needs. Google Photos offers two storage options: High Quality and Original Quality.
The High Quality option allows you to store an unlimited number of photos and videos for free. However, the uploaded files may be compressed, which could slightly affect the image quality. For most users, the High Quality option provides a good balance between storage space and preserving image quality.
On the other hand, the Original Quality option allows you to store your photos and videos without any compression. However, the storage space used by the Original Quality option counts towards your Google account’s storage limit. If you have a large number of high-resolution images or videos, choosing the Original Quality option may consume a significant amount of your available storage.
To choose the storage option for your uploaded pictures, follow these steps:
- After selecting the pictures you want to upload, you will be prompted to choose the storage option.
- Read the information about the storage options and select either “High Quality” or “Original Quality” based on your preferences.
- If you choose the Original Quality option and you have limited space in your Google account, you may be prompted to upgrade your storage to accommodate the files.
- After making your selection, tap on the “Upload” button (Google Photos app) or click on the “Upload” button (Google Photos website) to initiate the upload process.
It’s important to note that the storage option you choose applies to all the pictures and videos you upload to Google Photos. You can change the storage option at any time by accessing the settings within the Google Photos app or website.
Now that you have chosen the storage option for your uploaded pictures, let’s move on to the next step and start the upload process.
Step 6: Start the Upload Process
After selecting the storage option for your uploaded pictures in Google Photos, it’s time to initiate the upload process. This step varies slightly depending on whether you are using the Google Photos app on your mobile device or accessing Google Photos through a web browser on your computer.
To start the upload process, follow these steps:
- Google Photos App:
- If you are using the Google Photos app on your mobile device, you will be taken to the upload screen where you can see the progress of the upload process.
- Google Photos will automatically start uploading the selected pictures to your Google account.
- You can monitor the progress of the upload in the upload screen. Depending on the number and size of the pictures, the upload process may take some time. Make sure your device is connected to a stable internet connection throughout the upload.
- You can also choose to upload the pictures in the background, allowing you to use your device for other tasks while the upload continues. Simply tap on the “Continue in Background” option.
- Google Photos Website:
- If you are accessing Google Photos through a web browser on your computer, the selected pictures will begin uploading to your Google account.
- You can monitor the progress of the upload in the upload screen. The upload progress will be displayed as individual files are uploaded to your Google account.
- It’s important to keep the web browser window open during the upload process to ensure that the pictures are successfully uploaded to your Google account.
During the upload process, you can continue to use Google Photos to browse, organize, and manage your pictures. The app or website will display the uploaded pictures in your library once the upload is complete.
Now that you have started the upload process, all you need to do is wait for the upload to complete. Grab a cup of coffee, relax, and let Google Photos handle the rest!
Step 7: Wait for the Upload to Complete
After initiating the upload process in Google Photos, the next step is to patiently wait for the upload to complete. The time it takes for the upload to finish depends on several factors, including the number and size of the pictures, the internet connection speed, and any potential interruptions or network congestion.
While you wait for the upload to complete, here are a few things you can do:
- Keep an eye on the progress: The Google Photos app or website will display the progress of the upload. You may see a progress bar or a visual indicator showing the number of pictures uploaded. This will give you an idea of how much longer the process will take.
- Create albums or organize your pictures: If you have spare time, you can start creating albums or organizing your pictures in Google Photos. This will help keep your photo library well-structured and make it easier to find specific pictures in the future.
- Explore other features of Google Photos: Take the opportunity to explore the various features and functionalities of Google Photos. From creating collages and animations to using the powerful search capabilities, there are plenty of ways to enhance and enjoy your photo collection.
- Double-check your settings: While waiting for the upload to complete, you may want to review and customize your Google Photos settings. This includes privacy options, backup and sync settings, and notifications. Ensure that your preferences are properly configured to align with your needs and preferences.
Remember to keep your device connected to a stable internet connection throughout the upload process. If you experience any interruptions or issues, such as a network outage or a weak signal, the upload may pause or fail. In such cases, the upload will resume automatically once the connection is restored.
Once the upload is complete, you will have successfully uploaded your pictures to Google Photos. You can access them from any device with Google Photos installed and sign in to your Google account.
Now that you have followed all the steps and patiently waited for the upload to finish, you can enjoy the convenience of having your pictures backed up in the cloud and easily accessible whenever you need them.
Conclusion
Uploading pictures to Google Photos is a straightforward process that allows you to safely store and organize your visual memories. Whether you choose to use the Google Photos app on your mobile device or access Google Photos through a web browser on your computer, the steps remain the same.
By signing in to your Google account, installing the Google Photos app, accessing the upload feature, selecting the pictures you want to upload, choosing the storage option, starting the upload process, and patiently waiting for the upload to complete, you can effortlessly upload your pictures to Google Photos.
Google Photos offers a range of benefits, including unlimited storage for high-quality photos and videos, powerful search and organizational features, and easy access from any device connected to the internet. It provides a convenient way to safeguard your pictures, create backups, and share your visual content with others.
By following the steps outlined in this article, you can take full advantage of the capabilities of Google Photos and ensure that your pictures are securely stored and readily accessible whenever and wherever you need them. So, don’t wait any longer – start uploading your pictures to Google Photos and unlock the endless possibilities of managing and preserving your visual memories!