To put your own picture on Google Chrome background, you only need to change the New Tab page, there is no setting to replace the browser frame or the Google.com homepage with a personal photo. Open a new tab, click the pencil icon, upload a JPG under 16MB, and the image becomes your backdrop instantly. You can similarly personalize your TV screen if you change Roku background.
What you can (and can't) customize with your own picture in Chrome
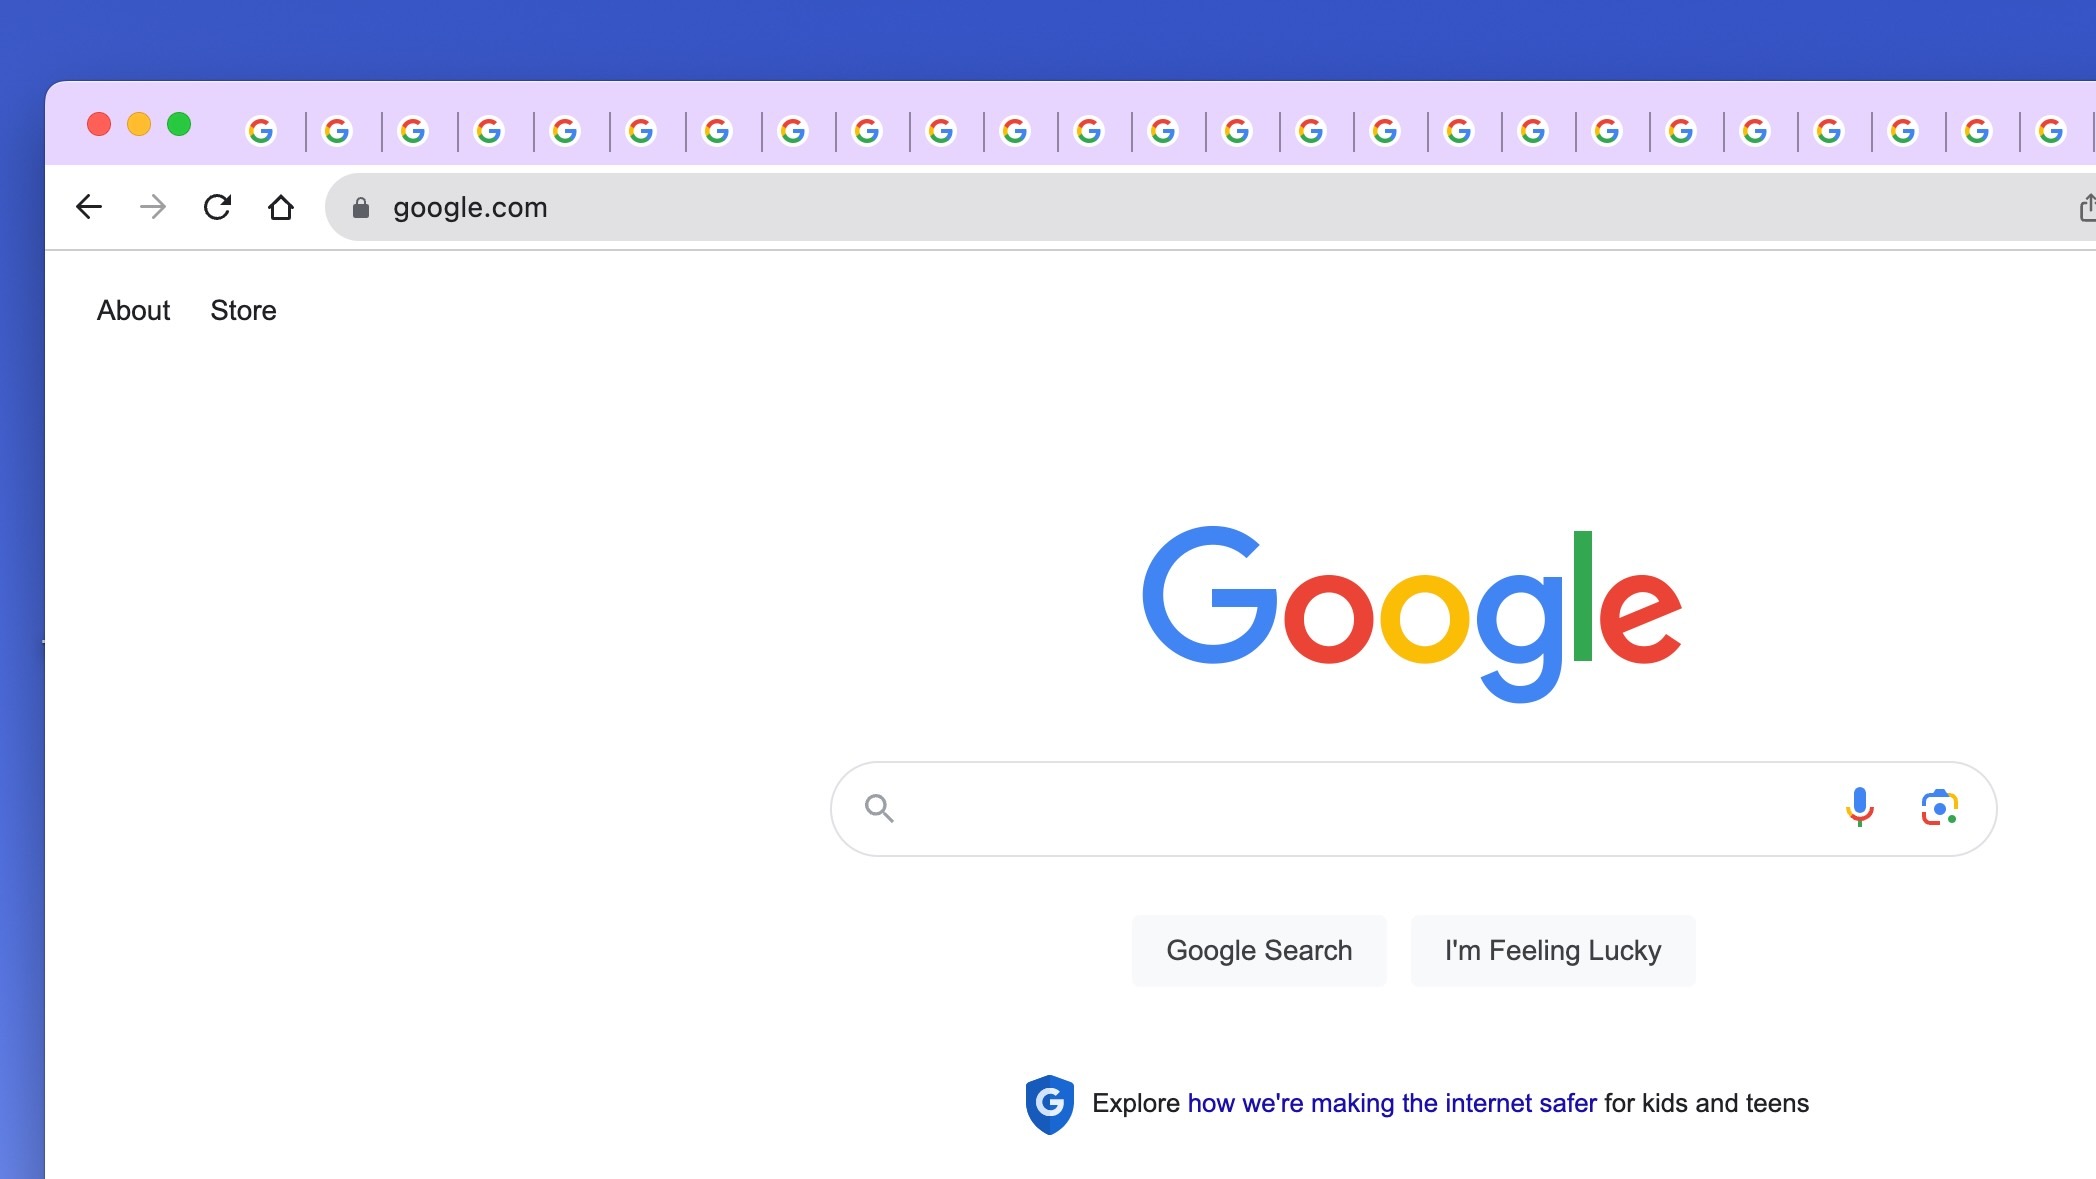
Your custom image applies exclusively to the New Tab page background. It does not change the look of Google.com, the tab strip, or the browser's outer frame. Those elements remain controlled by Chrome's default theme or any theme you install from the Chrome Web Store.
On mobile devices (Android, iPhone, iPad), Chrome does not support uploading custom background images. You can only choose from built-in themes or change the browser color on those platforms. This guide focuses on desktop Chrome (Windows, macOS, Linux, and ChromeOS).
Step 1: Choose an image that fits the screen
For a crisp, non-pixelated background, pick an image whose resolution matches or exceeds your display's resolution. A 1920×1080 pixel image works perfectly for Full HD screens, while 3840×2160 pixels is ideal for 4K displays. If your image is smaller, Chrome will stretch it, which can cause blurriness.
The file must be in .jpg format and under 16MB in size. Most phone photos and standard downloads meet this requirement. If your image is too large, resize it with any photo editor or convert it to JPG before uploading.
Step 2: Open a new tab and click the Customize Chrome pencil icon
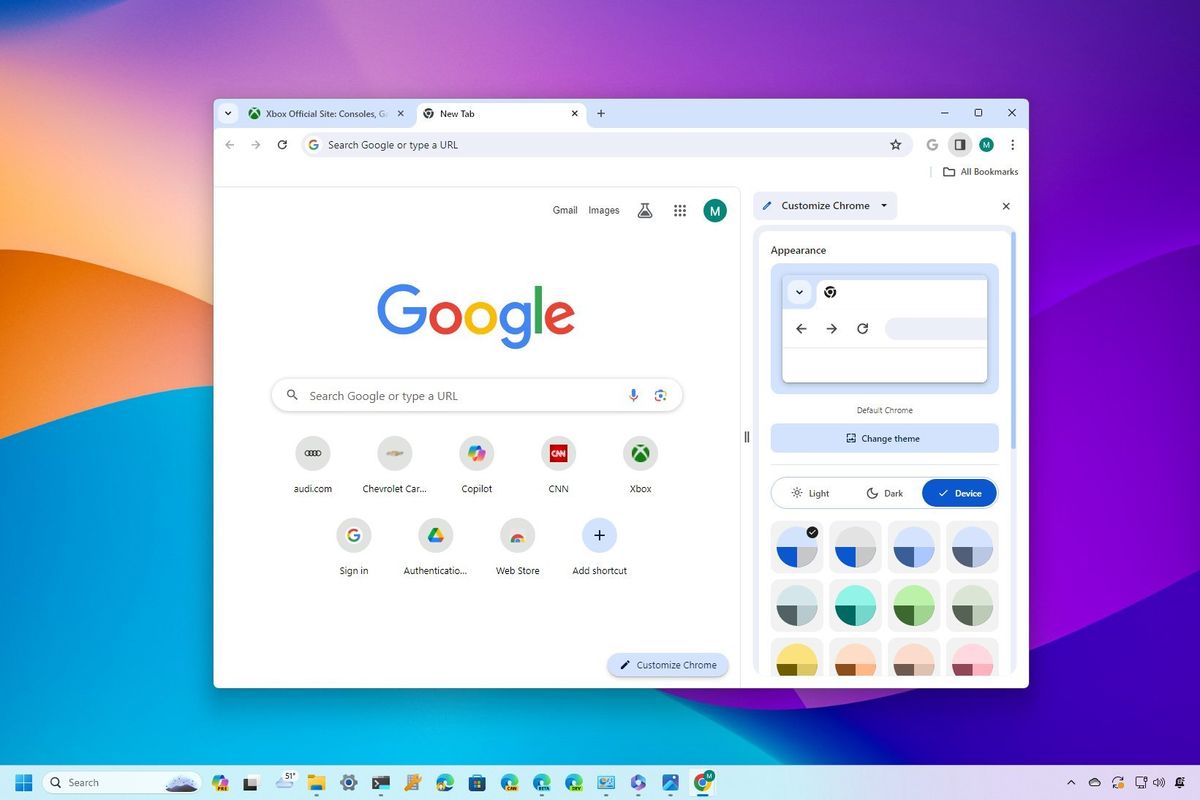
Open a new tab in Chrome (press Ctrl+T on Windows/Linux or Cmd+T on Mac). In the bottom-right corner of the New Tab page, you'll see a pencil icon labeled "Customize Chrome." Click it to open the customization panel.
This replaces the old path through Settings → Appearance, which no longer exists for background customization. The pencil icon is the only entry point for uploading your own image.
Step 3: Navigate to 'Change theme' and select 'Upload an image'
In the customization panel, you'll see several sections. Click Appearance (or the "Change theme" button, depending on your Chrome version). Then select Upload an image or Upload from device.
A file picker will open. Navigate to your chosen JPG, select it, and click Open. Chrome will immediately apply the image as the New Tab background. The upload process takes only a few seconds, and you'll see the new background appear behind the panel.
Step 4: Adjust the browser color to match your picture
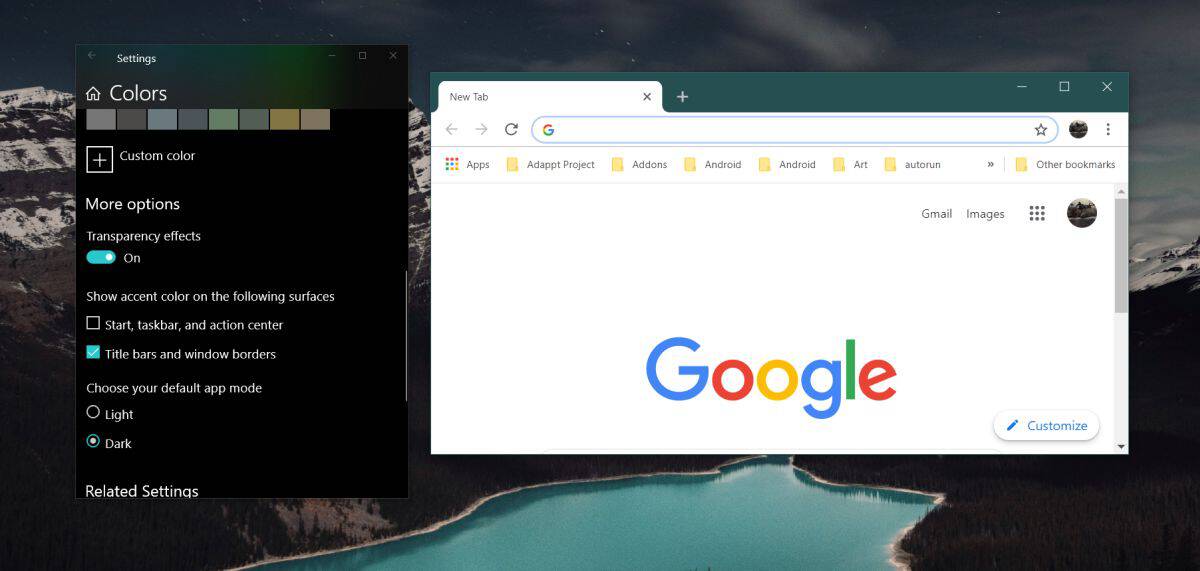
After uploading, Chrome automatically suggests a browser color based on the dominant tones in your image. This color appears in the top frame (the tab strip and toolbar) and helps create a cohesive look.
You can keep the suggested color or manually pick a different one. In the same customization panel, look for the color swatch or the "Browser color" section. Click it to open a color picker, then choose a shade that complements your image. If you want a neutral look, select a light gray or white.
This step is optional, Chrome will use the auto-suggested color if you don't change it. But adjusting it manually ensures the browser frame matches your photo's mood, whether that's a warm sunset or a cool mountain landscape.
How to reset to the default Chrome background or use a theme instead
To revert to Chrome's default background, click the pencil icon again and select Reset to Default Chrome. This removes your custom image and restores the standard white or dark background.
If you want a full browser theme (which changes the tab strip, toolbar, and New Tab background together), go to the Chrome Web Store and install any theme. Be aware: installing a theme overrides your custom image. The theme's background will replace your uploaded photo. If you later remove the theme, your custom image will not return automatically, you'll need to upload it again.
For managed devices (school or work Chromebooks), an administrator may have set a fixed wallpaper that prevents you from changing the background. In that case, the customization panel will show the option as disabled, and you'll need to contact your admin for permission.
Once you've set your image and adjusted the color, every new tab you open will display your personal photo. The change is immediate and persists across browser restarts until you manually reset it or install a theme.