Introduction
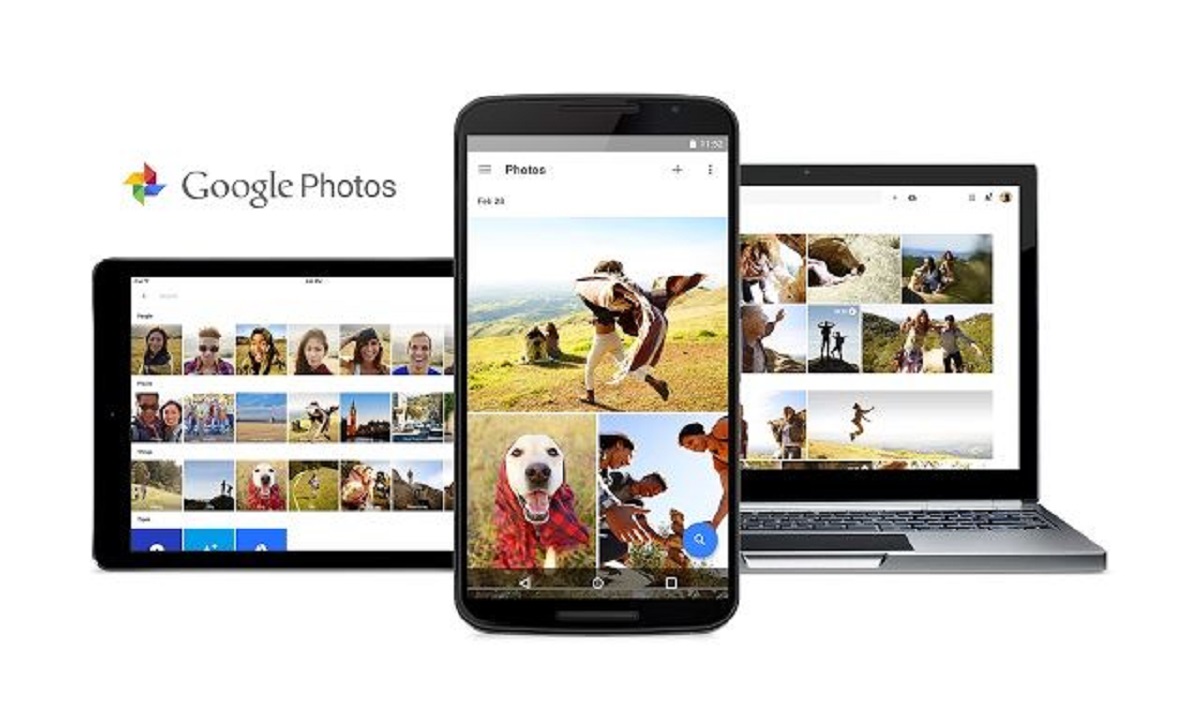
Google Photos is a powerful tool for organizing and managing your photo collection. With its user-friendly interface and robust features, you can easily store, categorize, and locate your photos whenever you need them. Whether you’re an avid photographer or a casual snap shooter, organizing your Google Photos can help you find specific memories quickly and efficiently. In this article, we’ll explore various methods to organize your Google Photos effectively.
As our digital photo collections continue to grow, it’s essential to have a system in place to keep everything organized and easy to navigate. Google Photos offers several features that can assist you in this process. From creating folders and albums to using labels and filters, there are multiple ways to categorize your photos based on different criteria.
In the following sections, we’ll discuss step-by-step instructions on how to organize your Google Photos effectively. We’ll cover creating folders, renaming folders, moving photos to folders, using albums, adding photos to albums, deleting photos, utilizing labels, utilizing the search bar, leveraging the Assistant, using filters, and archiving photos. By the end of this article, you’ll have a thorough understanding of various techniques that can help you maintain an organized and easily accessible photo collection.
So, let’s dive in and discover the tips and tricks to organize your Google Photos like a pro!
Create Folders
Creating folders in Google Photos is a simple yet effective way to organize your photo collection. Folders allow you to group related photos together, making it easier to locate and manage them. Follow these steps to create folders in Google Photos:
- Open Google Photos on your computer or mobile device.
- Sign in to your Google account if you haven’t already done so.
- Click on the “Albums” tab located at the bottom of the screen.
- Click on the “+” icon or the “Create Album” button.
- Enter a name for the folder that reflects the content or theme of the photos it will contain.
- Click on the “Add Photos” button to select the photos you want to add to the folder. You can choose multiple photos from your Google Photos library or upload new ones from your computer or device.
- Click on the “Create” or “Done” button to finalize the creation of the folder.
Once you’ve created a folder, it will appear under the “Albums” tab in your Google Photos account. You can easily access the folder at any time to view or manage the photos it contains.
Creating folders is especially useful for organizing photos by specific events, such as vacations, birthdays, or holidays. You can also create folders based on specific subjects, such as nature, food, or architecture. By categorizing your photos into folders, you can quickly locate and share them with others.
Organizing your Google Photos into folders not only helps you stay organized, but it also enables you to create a more personalized and curated photo collection. Whether you have a vast collection of photos or just a few, creating folders is an essential step in maintaining a highly organized and easily navigable photo library.
Rename Folders
Renaming folders in Google Photos can be helpful if you want to give them more descriptive or meaningful names. By renaming folders, you can provide a better understanding of the content or theme of the photos within them. Here’s how you can rename folders in Google Photos:
- Open Google Photos and sign in to your account.
- Go to the “Albums” tab to view your folders.
- Locate the folder you want to rename and click on it to open its contents.
- Look for the three vertical dots (more options) menu located at the top right corner of the screen and click on it.
- From the dropdown menu, select “Edit album.”
- In the “Title” field, delete the existing name and enter a new name for the folder.
- Click on the “Done” or “Save” button to save the changes.
After renaming a folder, the new name will appear in your Google Photos library. It’s important to choose descriptive names that accurately represent the contents of the folder. This will make it easier to locate and manage photos within the folder, especially when you have a large collection.
Renaming folders can also help you stay organized and find specific photos more efficiently. By using clear and concise names, you’ll have a better understanding of what each folder contains without needing to open it.
Remember, folders are a useful way to categorize and organize your photos, and renaming them can further enhance your organization system. Take the time to give your folders meaningful names that accurately reflect their contents to create a well-organized and easily navigable collection of photos in Google Photos.
Move Photos to Folders
Moving photos to folders in Google Photos allows you to reorganize and group your photos based on specific criteria. Whether you want to sort by event, location, or subject, moving photos to folders can help you keep your collection neatly organized. Here’s how you can move photos to folders in Google Photos:
- Open Google Photos and sign in to your account.
- Navigate to the photo you want to move to a folder.
- Click on the photo to view it in full screen.
- Look for the three vertical dots (more options) icon located at the top right corner of the screen and click on it.
- From the dropdown menu, select “Move to archive” to remove the photo if it’s already in a folder. If the photo isn’t in a folder, skip this step.
- After moving the photo to the archive, click on the three vertical dots icon again.
- This time, select “Move to album” from the dropdown menu.
- Choose the folder you want to move the photo to or create a new folder by clicking on the “+” icon.
- Click on the “Move” or “Done” button to complete the process.
Once you’ve moved a photo to a folder, it will no longer appear in your main photo feed. Instead, you’ll find it within the designated folder. By organizing your photos into specific folders, you can quickly locate and browse through them based on your preferred categories.
Moving photos to folders is particularly useful when you have a large collection with a variety of subjects or events. It allows you to declutter your main photo feed, making it easier to view and manage specific sets of photos.
Remember to periodically check your main photo feed to ensure that all photos are appropriately sorted into folders. This will help you maintain an organized library and easily find the photos you’re looking for.
By utilizing the ability to move photos to folders in Google Photos, you can create a tidy and structured collection that fits your organizational needs.
Use Albums
Google Photos provides a powerful feature called albums, which allows you to group and organize photos in a more flexible and customizable way. Unlike folders, albums in Google Photos don’t physically move or duplicate photos but rather act as virtual containers that can include photos from multiple sources. Here’s how you can utilize albums to organize your photos:
- Open Google Photos and sign in to your account.
- On the main screen, click on the “Albums” tab located at the bottom of the screen.
- Click on the “+” icon or the “Create Album” button to start creating a new album.
- Enter a name for your album that reflects the theme or content of the photos you want to include.
- Click on the “Add photos” button to select the photos you want to add to the album. You can choose photos from your Google Photos library or upload new ones from your computer or device.
- Click on the “Done” or “Create” button to finalize the creation of the album.
Once you’ve created an album, it will be listed under the “Albums” tab in your Google Photos account. You can easily access the album to view or manage the photos it contains.
Albums are a great way to organize and share specific collections of photos, irrespective of their physical location in your Google Photos library. For example, you can create an album for your favorite travel photos, a collection of family moments, or a group of photos from a particular event.
Another advantage of using albums is that you can add photos to them without duplicating the original photo. This means you can include a single photo in multiple albums, allowing for more flexibility and customization in your organizing process.
With albums, you can curate your collection and create personalized groupings based on your preferences and interests. It’s an excellent way to showcase your best moments or categorize photos based on specific themes or memories.
By leveraging albums in Google Photos, you can take your organization to the next level, creating dynamic collections that reflect your unique photographic journey.
Add Photos to Albums
One of the key benefits of using albums in Google Photos is the ability to add photos to them. Adding photos to albums allows you to easily organize and categorize your photos based on specific themes, events, or interests. Here’s how you can add photos to albums in Google Photos:
- Open Google Photos and sign in to your account.
- Go to the “Albums” tab located at the bottom of the screen.
- Choose the album you want to add photos to or create a new album by clicking on the “+” icon or the “Create Album” button.
- Click on the “Add photos” button within the album.
- Select the photos you want to add from your Google Photos library or upload new ones from your computer or device.
- Click on the “Done” or “Add” button to add the selected photos to the album.
Once you’ve added photos to an album, they will be associated with that specific album in your Google Photos library.
Adding photos to albums gives you greater control and organization over your photo collection. Instead of searching through your entire library, you can easily access and view specific sets of photos within their respective albums. This makes it convenient to find and showcase the photos you want without sifting through unrelated images.
Additionally, you can add the same photo to multiple albums without creating duplicate copies. This allows you to organize your photos based on various criteria and themes without cluttering your library with unnecessary duplicates.
Whether you want to create albums for specific events, locations, people, or themes, Google Photos provides a seamless way to add photos to albums and enhance your organization system.
By utilizing the “Add photos to albums” feature in Google Photos, you can curate and personalize your photo collections based on your unique interests and preferences.
Delete Photos
Deleting unnecessary or unwanted photos is an essential step in keeping your Google Photos collection well-organized and clutter-free. Google Photos provides a straightforward process for deleting photos, allowing you to easily remove any images that no longer serve a purpose. Here’s how you can delete photos in Google Photos:
- Open Google Photos and sign in to your account.
- Locate the photo you want to delete.
- Click on the photo to view it in full screen.
- Look for the trash can icon or the three vertical dots (more options) icon located at the top right corner of the screen.
- Click on the trash can icon or the three vertical dots icon to access the options menu.
- From the menu, select “Delete” to delete the photo permanently.
- Confirm the deletion when prompted.
Once you’ve deleted a photo, it will no longer appear in your Google Photos library. However, it’s important to note that deleting a photo from Google Photos will also remove it from other connected devices and any albums or shared links associated with the photo.
Deleting unwanted photos not only helps keep your library organized but also frees up storage space. If you’re running out of space in your Google account, regularly deleting unnecessary photos can help make room for new ones.
Consider reviewing your photos periodically and deleting any duplicates, blurry images, or shots that no longer hold sentimental or practical value. This will ensure that your Google Photos collection remains streamlined and contains only the images that truly matter to you.
Remember, deleting photos is a permanent action, so it’s essential to review your selection before confirming the deletion. If you’re unsure about permanently deleting a photo, you can always archive it instead, which we’ll discuss in a later section.
By regularly deleting unwanted photos, you can maintain a well-organized Google Photos collection that truly reflects your most cherished memories and moments.
Use Labels
Labels are a powerful tool in Google Photos that allow you to add descriptive tags to your photos. By using labels, you can easily categorize and search for specific photos based on keywords or themes. Labels provide an efficient way to organize and group your photos beyond folders and albums. Here’s how you can use labels in Google Photos:
- Open Google Photos and sign in to your account.
- Locate the photo you want to label or categorize.
- Click on the photo to view it in full screen.
- Look for the “i” (info) icon or the three vertical dots (more options) icon located at the top right corner of the screen.
- Click on the “i” icon or the three vertical dots icon to access the photo details or options menu.
- From the menu, select “Add a label” or “Add tags” option.
- Enter one or more descriptive labels or tags that represent the content or theme of the photo.
- Press Enter or click outside the label/tag field to save the labels/tags.
Once you’ve labeled a photo, you can easily search for it using the specified labels. Labels help you quickly locate specific photos based on common themes, such as “beach,” “family,” or “food.” This can be especially useful when you have a vast photo collection and want to find photos related to a particular topic or event.
In addition to manually adding labels, Google Photos uses its algorithms to suggest labels for your photos based on its analysis of the image content. These automatic labels can be a helpful starting point, and you can enhance them or add additional labels as needed.
By utilizing labels, you can create a more comprehensive organizational system for your Google Photos. Labels provide a flexible and customizable way to categorize your photos, making it easier to find and browse through specific sets of images.
Remember to use relevant and descriptive labels that accurately represent the content or theme of your photos. This will improve the searchability and organization of your Google Photos library, allowing you to quickly locate the photos you need.
With the power of labels, you can enhance your photo organization and streamline the process of finding specific photos in your Google Photos collection.
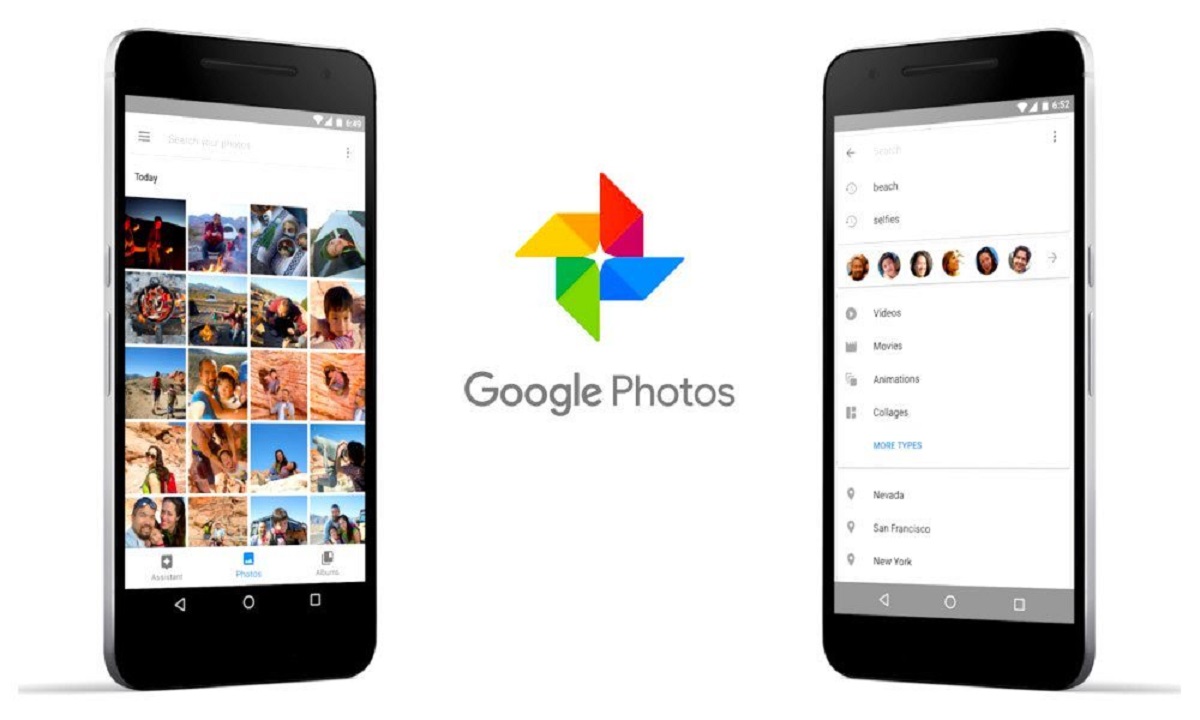
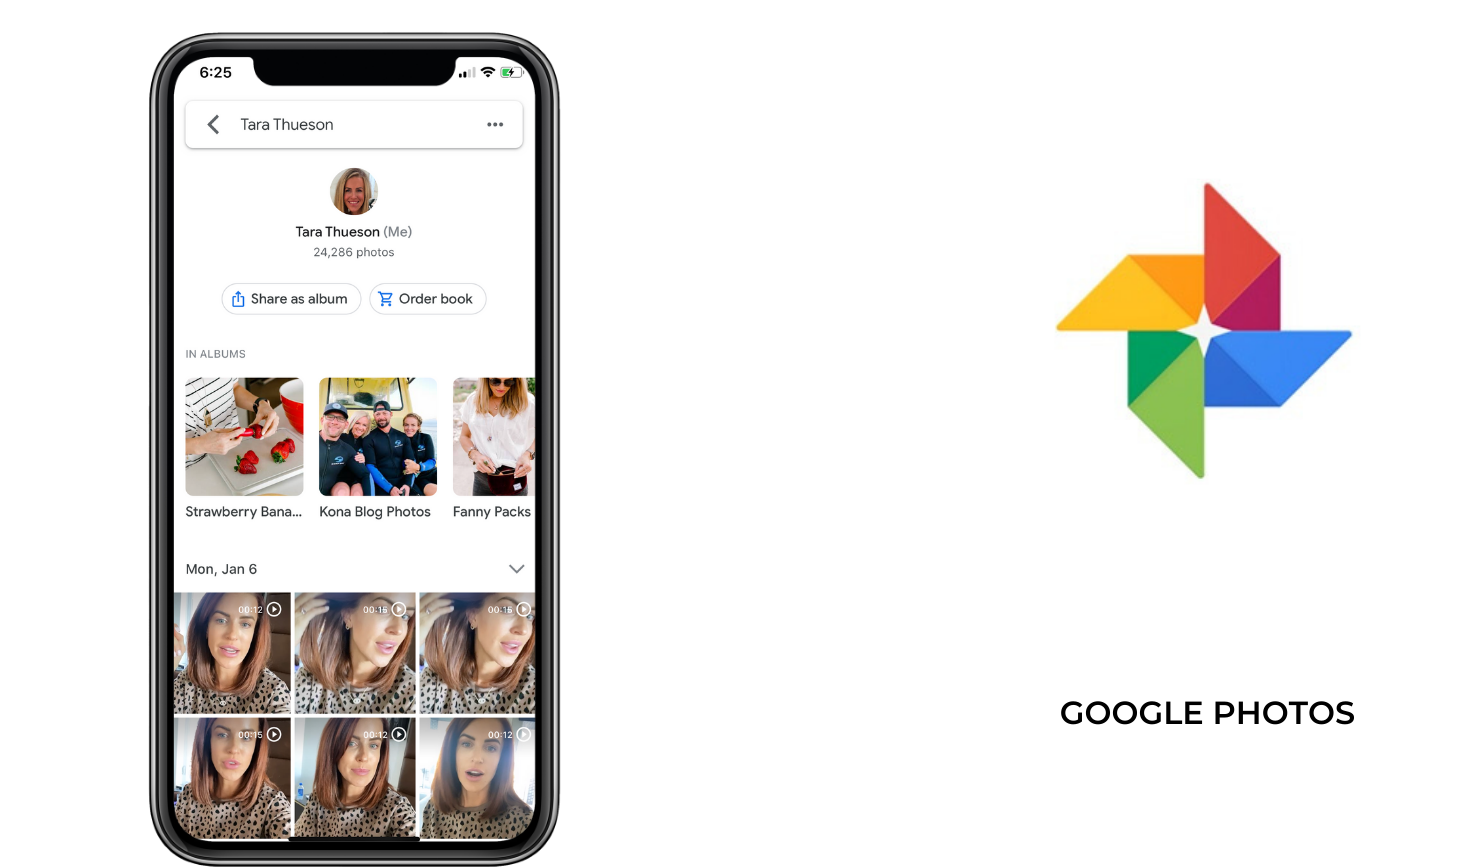
Use the Search Bar
The search bar in Google Photos is a powerful tool that allows you to quickly find specific photos based on various criteria. By using the search bar, you can easily locate photos by keywords, dates, locations, people, and even specific objects. Here’s how you can make the most of the search bar in Google Photos:
- Open Google Photos and sign in to your account.
- Locate the search bar at the top of the screen or app.
- Enter the keyword, date, location, person, or object you want to search for.
- As you type, Google Photos will start displaying instant results based on the matching criteria.
- Click on the suggested search term or press Enter to view the search results.
The search bar in Google Photos is incredibly versatile and can help you quickly narrow down your photo collection to find the specific images you’re looking for. Here are some examples of how you can use the search bar:
- Keywords: Enter descriptive terms, such as “beach,” “birthday,” “sunset,” or “dog,” to find photos related to specific subjects or themes.
- Dates: Use the search bar to find photos taken on specific dates or within a specific date range. For example, enter “July 2021” to find photos from that month or “2019” to find photos from a specific year.
- Locations: If you have enabled location services, you can search for photos taken at specific places, such as “Paris,” “New York,” or “Grand Canyon.”
- People: With the help of facial recognition technology, Google Photos can identify and group photos of specific individuals. You can search for photos of people by typing their names in the search bar.
- Objects: Google Photos can also recognize objects within photos. You can search for specific objects like “car,” “tree,” or “bike” to find photos that contain those objects.
By utilizing the search bar in Google Photos, you can save time and effort by quickly locating the exact photos you’re looking for. Whether you remember a specific keyword, date, location, person, or object, the search bar can help you narrow down your search and find the desired photos in no time.
Take advantage of the versatility of the search bar to efficiently navigate through your photo collection and locate specific images based on your preferred criteria.
Utilize the Assistant
The Assistant feature in Google Photos serves as a helpful digital assistant that can assist you in organizing and managing your photo collection. It provides recommendations, automated creations, and suggested actions based on the content of your photos. Here’s how you can make the most of the Assistant in Google Photos:
- Open Google Photos and sign in to your account.
- Locate the Assistant tab, usually located at the bottom of the screen or app.
- Tap on the Assistant tab to access personalized recommendations and automated creations.
- Browse through the suggestions provided by the Assistant, such as animations, collages, albums, and more.
- If you like a suggestion, you can choose to save or share it with others.
- Additionally, the Assistant may provide suggestions for actions such as archiving similar photos or creating albums based on specific events or locations.
- Act on the suggestions provided by the Assistant to enhance your photo organization and create personalized creations.
The Assistant in Google Photos is designed to make managing your photo collection easier and more enjoyable. It uses advanced algorithms to analyze your photos and offer personalized recommendations based on the content and patterns it detects.
By utilizing the Assistant, you can automate certain organizational tasks and access unique photo creations without having to do all the work manually. It can save you time and effort in organizing and curating your photos.
Keep in mind that the Assistant’s suggestions are based on algorithms and may not always align perfectly with your preferences. However, it can still serve as a valuable starting point for organizing your photos or creating memorable visual presentations.
Take advantage of the Assistant in Google Photos to discover new ways to organize and showcase your photos. Explore the suggestions and recommendations provided by the Assistant to make the most of your photo collection.
Use Filters
Filters are a useful feature in Google Photos that allow you to sort and view your photos based on a specific criterion. By using filters, you can quickly narrow down your photo collection and find photos that meet certain criteria such as date, location, people, or even specific photo attributes. Here’s how you can use filters in Google Photos:
- Open Google Photos and sign in to your account.
- Locate the search bar at the top of the screen or app.
- Click on the search bar to access the filter options.
- Choose the filter option you want to use, such as “Date,” “Location,” or “People.”
- Select the specific parameters or criteria within the chosen filter option.
- Google Photos will display the filtered results based on your selected criteria.
Using filters in Google Photos allows you to refine your search and view only the photos that match specific conditions. Here are some examples of how you can utilize filters:
- Date: Use the date filter to view photos from a specific day, month, or year. For example, you can choose to view all photos from “October 2021” or photos taken on “June 15th.”
- Location: If your photos have location data, you can use the location filter to find photos taken at a particular place. You can specify a city, landmark, or even a specific address to view matching photos.
- People: If you’ve assigned names to people in your photos, you can use the people filter to find all photos containing specific individuals. This is especially useful when you want to quickly locate photos of a particular person or group of people.
- Photo Attributes: Google Photos can recognize certain attributes of your photos, such as “sunset,” “food,” or “beach.” Using the attributes filter, you can view photos that have these specific characteristics.
By utilizing filters in Google Photos, you can streamline your photo browsing experience and quickly find the photos that meet specific criteria. Whether you’re searching for photos by date, location, people, or photo attributes, filters can help you narrow down your search and view the desired photos efficiently.
Experiment with different filters to explore and rediscover your photo collection based on various criteria and parameters. Using filters can provide a new perspective on your photos and make it easier to browse through your collection with specific preferences in mind.
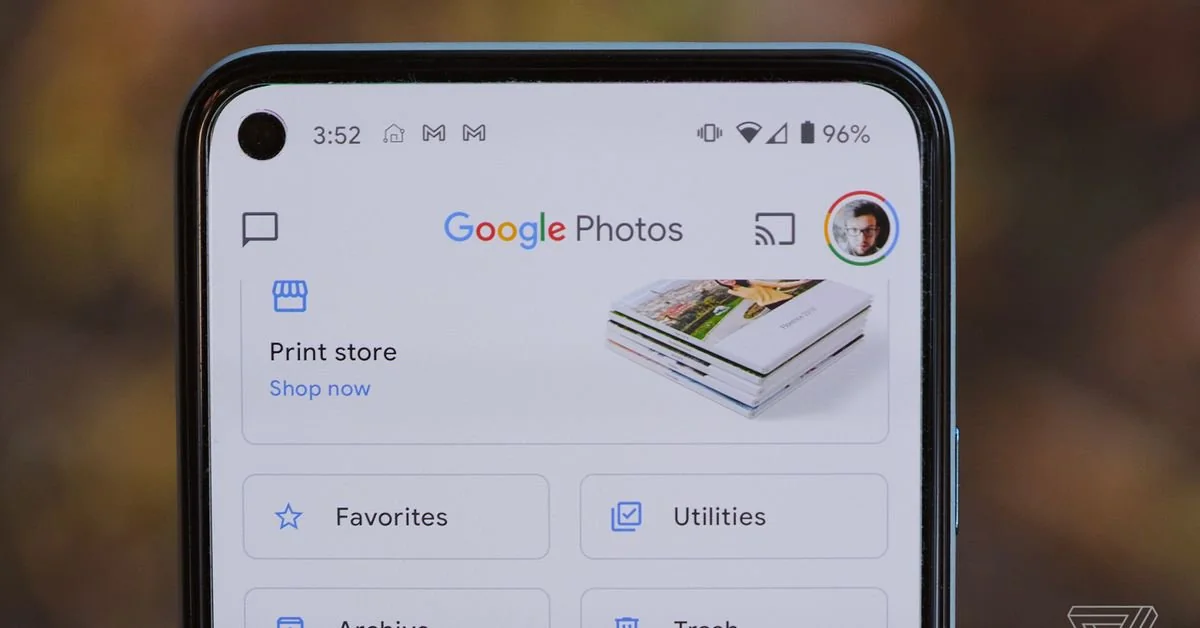
Archive Photos
The archive feature in Google Photos provides a convenient way to declutter your main photo feed while still keeping your photos easily accessible for future reference. Archiving photos is especially useful when you have images that you want to temporarily hide from your main library without permanently deleting them. Here’s how you can archive photos in Google Photos:
- Open Google Photos and sign in to your account.
- Locate the photo or photos you want to archive.
- Click on the photo(s) to select them.
- Look for the three vertical dots (more options) icon located at the top right corner of the screen.
- Click on the icon to access the options menu.
- From the menu, select “Archive” to move the selected photo(s) to the archive.
Archived photos will no longer appear in your main photo feed, but they are still accessible whenever you need them. To view and manage your archived photos, follow these steps:
- Open Google Photos and sign in to your account.
- Tap on the three horizontal lines (hamburger icon) located at the top left corner of the screen to open the sidebar menu.
- From the sidebar menu, select “Archive” to access your archived photos.
From the Archive section, you can browse through your archived photos, unarchive them to restore them to your main photo feed, or permanently delete them if desired.
The archive feature is particularly useful when you want to keep your main photo feed tidy and focused on the photos you frequently access or want to showcase. By archiving photos, you can declutter your library without the need to delete them permanently.
For example, you may have multiple shots of the same subject, but you only want to keep one in your main library. Instead of deleting the extra shots, you can archive them, keeping them out of sight but easily retrievable if needed in the future.
Additionally, archived photos are excluded from automatic creations and suggestions, which allows you to have more control over the content that appears in your Google Photos assistant.
By utilizing the archive feature, you can maintain a clean and organized main photo library while still having the flexibility to access and manage your archived photos when necessary.
Conclusion
Organizing your Google Photos collection is essential to easily locate and manage your photos. With the wide range of features available in Google Photos, such as creating folders, renaming folders, moving photos to folders, using albums, adding photos to albums, deleting photos, utilizing labels, using the search bar, leveraging the Assistant, using filters, and archiving photos, you can maintain a well-organized and easily navigable photo library.
Creating folders helps you group related photos together, making it easier to find and manage them. Renaming folders allows you to give them descriptive names that accurately reflect their contents. Moving photos to folders helps you organize your collection based on specific criteria, such as events or subjects. Utilizing albums provides a flexible way to group and showcase photos without physically moving or duplicating them.
The search bar is a powerful tool that allows you to quickly find specific photos based on keywords, dates, locations, people, and objects. The Assistant provides personalized recommendations and automated creations, making organizing and managing your photos more effortless. Filters allow you to sort and view photos based on specific criteria, narrowing down your photo collection to find specific images. Archiving photos helps declutter your main photo feed while still keeping them easily accessible.
By implementing these tips and techniques, you can create a well-organized and easily searchable Google Photos collection. Whether you have a vast collection or just a few photos, having a systematic organization system in place will make it easier to find and enjoy your cherished memories.
Take the time to review and organize your photos regularly to ensure that your collection remains organized and clutter-free. With a well-organized Google Photos library, you’ll be able to navigate through your photos effortlessly and quickly find the images that matter most to you.
Start implementing these techniques today and enjoy the benefits of an organized and easily accessible Google Photos collection!