Introduction
Welcome to the world of Google Photos, where you can store, organize, and share your precious memories with just a few clicks. One of the most exciting features of Google Photos is its ability to recognize and tag faces. By adding names to the faces in your photos, you can easily search for specific people and create personalized albums.
Whether you want to quickly find all the pictures of your kids or create a dedicated album for your best friends, tagging faces in Google Photos makes it a breeze. In this step-by-step guide, we will walk you through the process of adding faces to your Google Photos library.
With Google’s advanced facial recognition technology, you can rest assured that your privacy is protected. The face tagging feature works locally on your device, meaning that the face data is not shared with Google or stored in the cloud unless you choose to do so.
Now, let’s dive into the world of face tagging and unleash the full potential of your Google Photos library. Follow along as we show you how to effortlessly add names to the faces in your photos and take your photo organization to the next level.
Step 1: Sign in to Google Photos
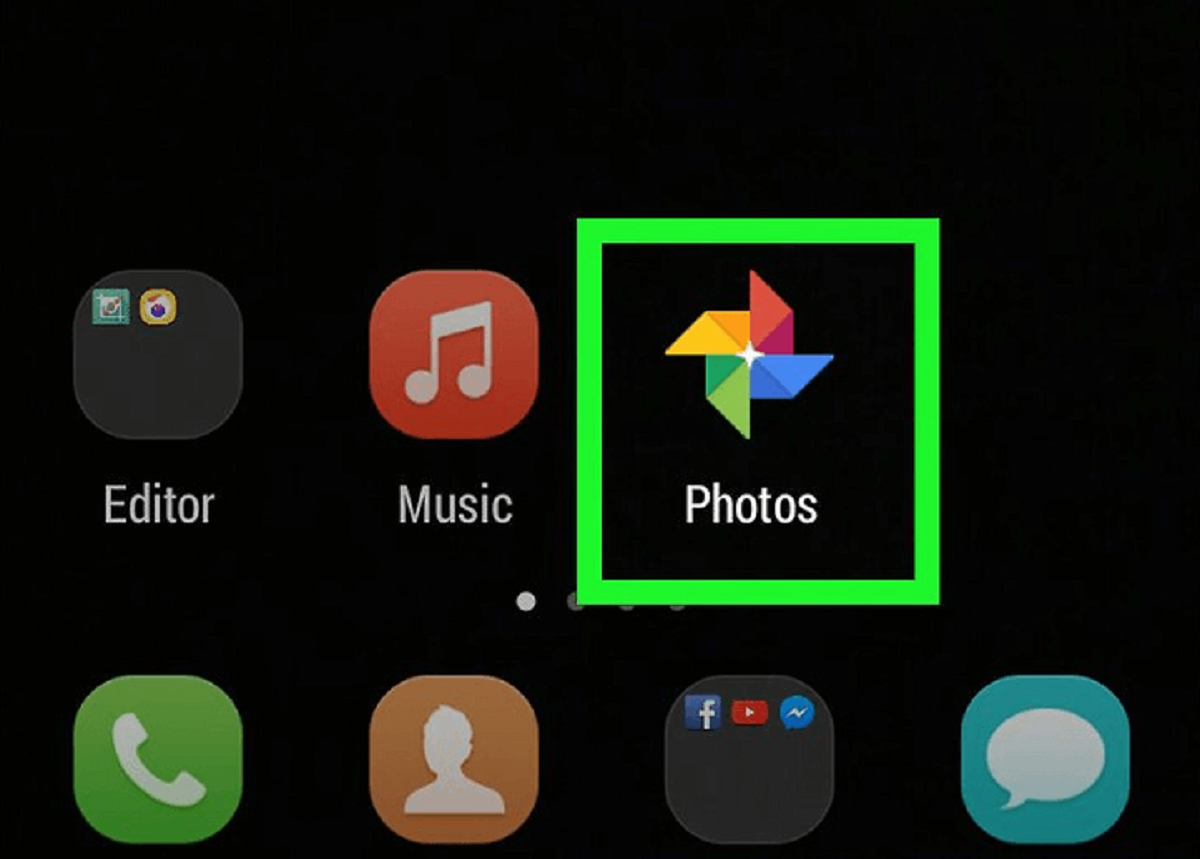
The first step in adding faces to Google Photos is to sign in to your Google account and access the Google Photos website or app. If you don’t have a Google account, you can easily create one by visiting the Google Account Creation page.
Once you have signed in to your Google account, navigate to the Google Photos website or open the Google Photos app on your device. The interface may vary slightly depending on whether you are using the website or the app, but the steps for adding faces remain the same.
If you are using the website, simply visit https://photos.google.com and sign in with your Google account credentials. If you are using the app, open it on your device and ensure that you are signed in with your Google account.
Once you have successfully signed in to Google Photos, you are ready to move on to the next step and start tagging faces in your photos.
Step 2: Open the People tab
After signing in to Google Photos, the next step is to open the People tab. The People tab is where you can manage and organize the faces that have been detected in your photos.
In the Google Photos website, you can find the People tab in the left sidebar. Click on the People tab to access it. If you are using the Google Photos app, you can find the People tab by tapping on the three lines icon in the top-left corner of the screen. From there, select “People” in the menu.
When you open the People tab, you will see a collection of all the faces that Google Photos has detected in your photos. Each face represents a person, and the photos containing that person’s face will be grouped together.
Take some time to explore the People tab and familiarize yourself with the interface. You can scroll through the faces, zoom in and out to see more or less detail, and even customize the view by selecting either grid or list mode.
Now that you have opened the People tab and are ready to start tagging faces, let’s move on to the next step and learn how to tag the faces in your photos with names.
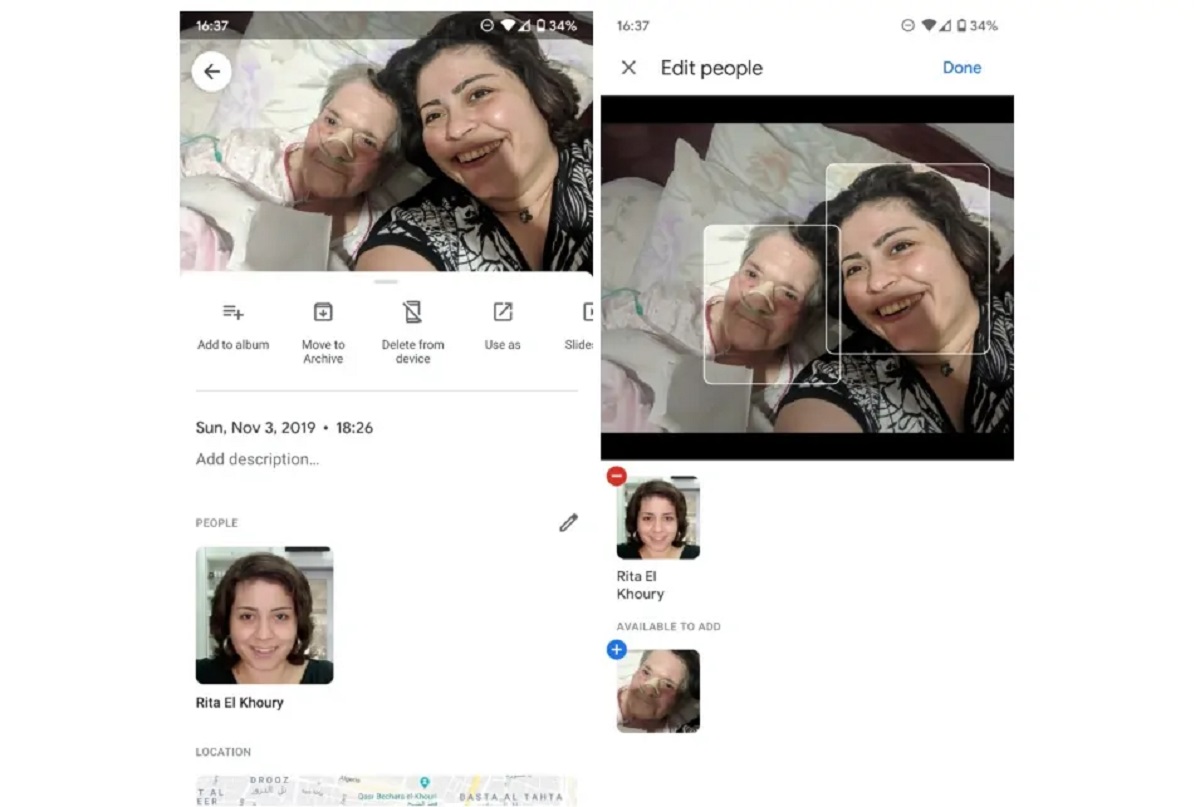
Step 3: Start tagging faces
Now that you have opened the People tab in Google Photos, it’s time to start tagging the faces that have been detected in your photos. Tagging faces is a simple and intuitive process that allows you to assign names to the faces in your photos.
To begin tagging faces, click on a face in the People tab. Google Photos will automatically suggest a name based on your contacts, but you can also enter a new name manually. If you prefer, you can skip the suggestion and add a name of your choice.
As you tag faces in your photos, Google Photos will learn and improve its accuracy in recognizing that person’s face in future photos. This means that the more you tag, the better Google Photos will become at identifying the same person across multiple images.
If you come across a photo with multiple faces that need to be tagged, simply click on each face and assign the appropriate name. Google Photos will keep track of the individual tags and link them to the corresponding faces in the photo.
Remember, the more you tag, the more organized and searchable your Google Photos library will be. So, take your time and tag as many faces as you can to make the most of this feature.
Now that you know how to start tagging faces, let’s move on to the next step and learn what to do with suggested face tags.
Step 4: Confirm or skip suggestions
When tagging faces in Google Photos, you may notice that the platform offers suggestions for the names of the people in your photos. These suggestions are based on the contacts in your Google account and the names you have assigned to faces in previous photos.
As you start tagging faces, Google Photos will automatically suggest names for the detected faces. You have two options when it comes to these suggestions: you can either confirm the suggestion or skip it.
If the suggestion is correct, simply click on the “Confirm” button or tap on the checkmark icon for the suggested name. This will assign the name to the face in the photo and Google Photos will continue to recognize that person in other images.
If the suggestion is incorrect or there is no suggestion available, you can manually enter the correct name for the face. Just click on the text field next to the face and type in the name. Google Photos will update the tag with the name you have entered.
If you come across a photo with faces that you do not wish to tag, you have the option to skip the suggestions altogether. Simply click on the “Skip” button or the “X” icon next to the face. This will move on to the next face and allow you to focus on the ones you want to tag.
By confirming or skipping suggestions, you can quickly and efficiently tag the faces in your photos. This will help Google Photos refine its facial recognition capabilities and make your photo organization even more accurate and personalized.
Now that you know how to handle suggestions, let’s move on to the next step and add names to the tagged faces.
Step 5: Add names to tagged faces
After tagging the faces in your photos, it’s time to add names to the tagged faces to make your Google Photos library more personalized and searchable. Adding names to the tagged faces is a simple process that ensures you can easily find specific people in your photos.
To add names to the tagged faces, simply click on the tagged face in the People tab. A text field will appear next to the face where you can enter the name of the person. Type in the name and press enter or click outside the text field to save it.
If you have multiple photos with the same person, Google Photos will automatically group them together under the person’s name. This makes it easy to browse through all the photos of that person and create customized albums or share them with friends and family.
It’s important to note that the names you assign to the faces in Google Photos are private and only visible to you. Google does not use the names for advertising or any other purposes. So, feel free to add names to your heart’s content without any privacy concerns.
Furthermore, if you ever need to change a name or remove a tag from a face, you can simply click on the face in the People tab, edit the name or remove it altogether, and save your changes.
By adding names to the tagged faces in your photos, you make them more meaningful and easier to navigate. Now, let’s move on to the final step and learn how to search for the tagged faces.
Step 6: Search for tagged faces
Once you have tagged and named the faces in your Google Photos library, the next step is to take advantage of the powerful search functionality to quickly find specific people in your collection of photos.
To search for tagged faces, navigate to the search bar in Google Photos. You can find the search bar at the top of the page or screen in both the website and app versions.
Click on the search bar, and a list of suggested faces will appear below it. These suggestions are based on the names you have assigned to the faces in your photos. Simply click on a suggested name to search for all the photos of that specific person.
If the person you are looking for does not appear in the suggested list, you can manually type their name in the search bar. Google Photos will instantly filter your library and display all the photos with the tagged faces of the person you searched for.
As you search for tagged faces, you can further refine your search by adding additional search criteria. For example, you can search for photos of a specific person taken in a certain location or during a particular time frame.
By using the search functionality and leveraging the tagged faces in your Google Photos library, you can save valuable time and quickly locate the photos you need. Whether you want to reminisce about a specific person or create a personalized album, the search feature is your key to effortless photo organization.
Now that you know how to search for tagged faces, you are ready to explore the full potential of your Google Photos library. Enjoy the convenience and efficiency of easily finding photos based on the people in them!
Conclusion
Congratulations! You have now learned how to add faces to your Google Photos library and take control of your photo organization. By following the step-by-step guide outlined in this article, you can now easily tag faces, assign names, and search for specific people in your photos.
Adding faces to Google Photos not only improves the visual organization of your photo library but also enhances the overall experience of reliving and sharing your cherished memories. You can create personalized albums, share specific photos with friends and family, and easily locate photos of your loved ones with just a few clicks or taps.
Remember, as you continue to tag faces and add names to your Google Photos library, the platform will become more accurate in recognizing and suggesting names for faces in future photos. The more you engage with the face tagging feature, the more tailored and personalized your photo organization will become.
So, don’t hesitate to explore the People tab in Google Photos, start tagging faces, and make the most of the search functionality to effortlessly find the photos you’re looking for.
Now, grab your coffee, sit back, and immerse yourself in the world of organized and easily accessible memories with Google Photos. Happy tagging!