Introduction
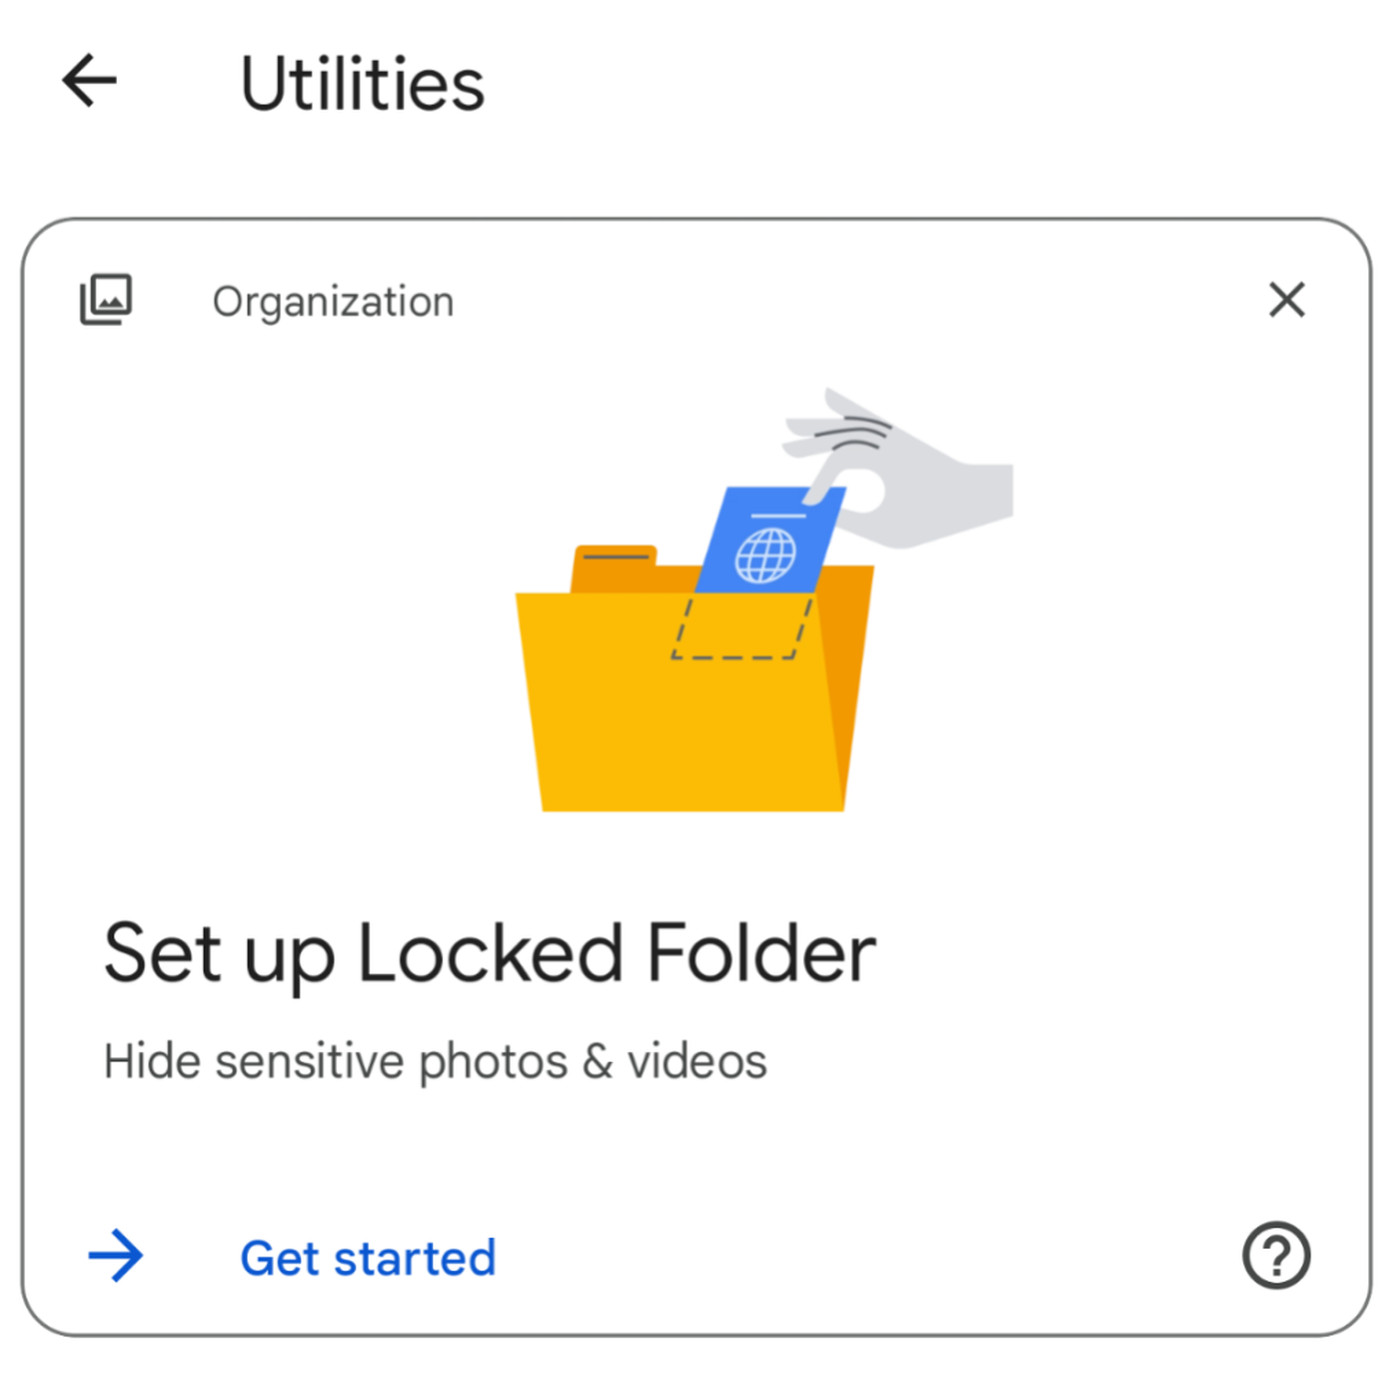
Google Photos is a widely used cloud-based storage platform that allows users to store and organize their photos and videos. While it provides a convenient way to store and share memories, there may be instances where you come across a locked folder in Google Photos, preventing you from accessing its content. This can be frustrating, especially if the folder contains important photos or videos that you want to view or share with others.
Fortunately, there are several methods you can try to gain access to a locked folder in Google Photos. In this article, we will explore six different methods that can help you unlock and regain control over your folders. These methods range from utilizing built-in features in Google Photos to using third-party apps that offer additional functionalities.
Whether you are a professional photographer, a hobbyist, or simply someone who loves capturing moments, being able to access all your photos and videos is essential. By understanding how to unlock locked folders in Google Photos, you can ensure that you have full control over your media and can easily share and enjoy your memories whenever you want.
Method 1: Using the Link Sharing Feature
One of the simplest ways to gain access to a locked folder in Google Photos is by using the link sharing feature. When the owner of the folder shares a link with you, you can easily view and access the content stored within it. Here’s how it works:
1. The folder owner needs to open Google Photos and navigate to the locked folder.
2. Once in the locked folder, they can select the specific photos or videos they want to share.
3. Next, the owner needs to click on the share icon, usually represented by an upward arrow or the word “Share”.
4. A pop-up window will appear with different sharing options. The folder owner should select the “Create link” option.
5. Now, the owner can copy the generated link and share it with you through a messaging app, email, or any other preferred method.
6. Upon receiving the link, you need to open it in your browser.
7. The link will direct you to a page where you can view the photos and videos in the locked folder. You may be required to sign in to your Google account if you haven’t already.
By utilizing the link sharing feature, you can bypass the locked status of the folder and gain access to the media content. Keep in mind that the folder owner may have set permissions on the link, such as allowing only viewing or also allowing editing options. Be sure to communicate with the owner if you require any additional permissions or if you encounter any issues with accessing the content.
Method 2: Inviting Others to Collaborate
If you are unable to access a locked folder in Google Photos, another option is to ask the owner to invite you to collaborate on the folder. By granting you collaboration access, the owner can give you permission to view and edit the content within the folder. Follow these steps to request access:
1. Reach out to the owner of the locked folder and inform them that you would like to collaborate. Make sure to clearly communicate your intentions, such as whether you only need viewing access or require editing capabilities as well.
2. The owner will need to open Google Photos and navigate to the locked folder.
3. Once in the locked folder, they can click on the three-dot menu icon or the word “More” to access additional options.
4. From the menu, the owner should select the “Share” option.
5. A sharing window will appear, and the owner needs to enter your email address or Google account username in the designated field.
6. After entering your email address or username, the owner can select the appropriate permission level for you – whether it’s viewing, commenting, or editing rights.
7. Finally, the owner can click on the “Send” button or the equivalent option to initiate the invitation.
Once the invitation is sent, you will receive an email or notification informing you that you have been invited to collaborate on the folder. Accept the invitation, and you will gain access to the locked folder in Google Photos. Depending on the permission level granted by the owner, you will be able to view, comment on, or edit the photos and videos within the folder.
Collaborating on a locked folder is a great way to access and work on the content alongside the owner. However, keep in mind that any changes made to the content or folder settings will be visible to all collaborators. Therefore, be sure to communicate and coordinate with the owner to ensure a smooth collaboration experience.
Method 3: Changing the Folder’s Access Level
If you find yourself unable to access a locked folder in Google Photos, you can try changing the folder’s access level to gain the necessary permissions. Here’s how you can do it:
1. Request the folder owner to open Google Photos and navigate to the locked folder.
2. Once in the folder, the owner can click on the three-dot menu icon or the word “More” to access additional options.
3. From the menu, the owner should select the “Sharing options” or “Share settings” option.
4. On the sharing options page, the owner can view and adjust the current access level settings for the folder.
5. If the access level is set to “Private” or restricted to specific individuals, the owner can change it to a more open access level, such as “Anyone with the link can view” or “Public on the web”.
6. Save the changes to update the access level of the folder.
By changing the access level of the folder, the owner can make the content accessible to a broader audience, including yourself. Once the access level is modified, you should be able to view and interact with the photos and videos within the previously locked folder.
However, it’s important to keep in mind that changing the access level of a folder may have privacy implications. Ensure that everyone involved is comfortable with the level of access being granted to the content. Additionally, remember to communicate with the owner regarding these changes and any concerns or requirements you may have.
Method 4: Requesting Access from the Owner
If you’re encountering a locked folder in Google Photos and none of the previous methods have been successful, you can directly request access from the owner. By reaching out to the owner and explaining your need for access, they may grant you permission to view and interact with the content within the folder. Follow these steps to request access:
1. Contact the owner of the locked folder and respectfully explain your situation. Clearly outline why you need access to the folder and what you intend to do with the content.
2. Express your appreciation for their consideration and willingness to grant you access.
3. Wait for the owner’s response. They will review your request and decide whether or not to grant you access.
4. If the owner agrees to provide access, they will need to open Google Photos and navigate to the locked folder.
5. Once in the folder, the owner should click on the three-dot menu icon or the word “More” to access additional options.
6. From the menu, the owner can select the “Sharing options” or “Share settings” option.
7. On the sharing options page, the owner can manually add your email address or Google account username to grant you access.
8. Save the changes to finalize the access request.
If the owner approves your request, you will receive an email or notification confirming that you have been given access to the locked folder in Google Photos. From there, you should be able to view and interact with the photos and videos contained within it.
When requesting access, it’s crucial to be respectful and provide a valid reason for your request. Remember, the owner has the final say on granting access to the locked folder. Open and clear communication with the owner is key to increasing the chances of being granted the access you need.
Method 5: Syncing with Google Drive
If you’re facing difficulty accessing a locked folder in Google Photos, another method you can try is to sync the folder with Google Drive. By syncing the folder, you can access the photos and videos within it through Google Drive, even if it’s locked in Google Photos. Follow these steps to sync the folder:
1. Ask the owner of the locked folder to open Google Photos and navigate to the folder in question.
2. Once in the folder, the owner should click on the three-dot menu icon or the word “More” to access additional options.
3. From the menu, the owner needs to select the “Add to Google Drive” or “Save to Drive” option.
4. Google Photos will prompt a confirmation message asking if the owner wants to sync the folder with Google Drive. The owner should confirm the action by clicking “OK” or the equivalent.
5. After syncing the folder, the owner can navigate to Google Drive and find the synced folder in the “Google Photos” or “Photos” folder section.
6. When accessing the synced folder in Google Drive, you should be able to view and manage the photos and videos within it, even if the folder remains locked in Google Photos.
By leveraging the syncing feature between Google Photos and Google Drive, you can bypass the locked status of the folder and access the content through an alternative platform. This method can be particularly useful if you prefer the interface and functionality of Google Drive or if you already use it for file management.
Remember, syncing the folder with Google Drive may not grant you editing capabilities, as it depends on the permission settings set by the owner. Ensure you communicate with the owner if you require any additional permissions or need assistance with accessing specific functionalities.
Method 6: Using Third-Party Apps
If you’re still unable to access a locked folder in Google Photos using the previous methods, you can explore alternative solutions by utilizing third-party apps. These apps offer additional features and functionalities that may help you bypass the locked status of the folder. Here’s how you can try using third-party apps:
1. Search for third-party apps specifically designed for managing and accessing Google Photos folders. Some popular options include FolderSync, Piktures, and Solid Explorer.
2. Install the chosen app on your device from your app store and grant the necessary permissions when prompted.
3. Launch the app and navigate to the section or feature that allows you to connect and manage your Google Photos folders.
4. Follow the app’s instructions to sign in with your Google account and authorize it to access your Google Photos folders.
5. Once connected, you should be able to view and manage your locked folders within the third-party app. The app may provide options to unlock, download, or sync the folder’s content.
6. Use the app’s features to access and interact with the photos and videos within the locked folder.
Third-party apps can provide a workaround for accessing locked folders in Google Photos by utilizing different methods or technologies. However, it’s essential to exercise caution and choose reputable apps from trusted developers to ensure the security and privacy of your data.
Keep in mind that each app may have its own interface and workflow, so familiarize yourself with the app’s features and functionalities to make the most of it. Additionally, be aware that the availability and compatibility of these apps may vary depending on your device’s operating system.
If you opt to use a third-party app to access locked folders, understand the risks and obligations associated with granting the app access to your Google Photos data. Before installing any app, read user reviews, check its privacy policy, and ensure that it meets your specific requirements.
By exploring third-party apps, you may find a solution that suits your needs and allows you to access and manage locked folders in Google Photos with ease.
Conclusion
Encountering a locked folder in Google Photos can be frustrating, but there are several methods you can try to gain access to the content within. From utilizing the link sharing feature and requesting collaboration access to changing access levels and syncing with Google Drive, there are various approaches to unlock and view the locked folders.
Additionally, exploring third-party apps can provide alternative solutions, offering additional features and functionalities that may help you bypass the locked status and access the content. However, it’s crucial to choose reputable apps and be mindful of the security and privacy implications.
When attempting to gain access, clear communication with the owner of the locked folder is essential. Requesting access, explaining your need, and keeping the owner informed throughout the process can increase the likelihood of being granted permission to view and interact with the content.
Remember to respect the owner’s decisions and permissions when accessing locked folders. It’s crucial to adhere to proper etiquette and usage guidelines, ensuring a positive and collaborative experience for everyone involved.
While these methods provide alternatives to access locked folders, it’s important to note that they may not work in all situations. Depending on the folder settings and permissions set by the owner, some folders may remain inaccessible without their explicit approval or cooperation.
By understanding how to unlock locked folders in Google Photos and exploring different methods, you can navigate through potential restrictions and ensure that you have full control over your photos and videos stored in the platform.
Ultimately, the goal is to have a seamless experience accessing and enjoying your memories in Google Photos. By utilizing these methods and maintaining open communication, you can overcome locked folders and fully leverage the features and functionalities the platform has to offer.