Introduction
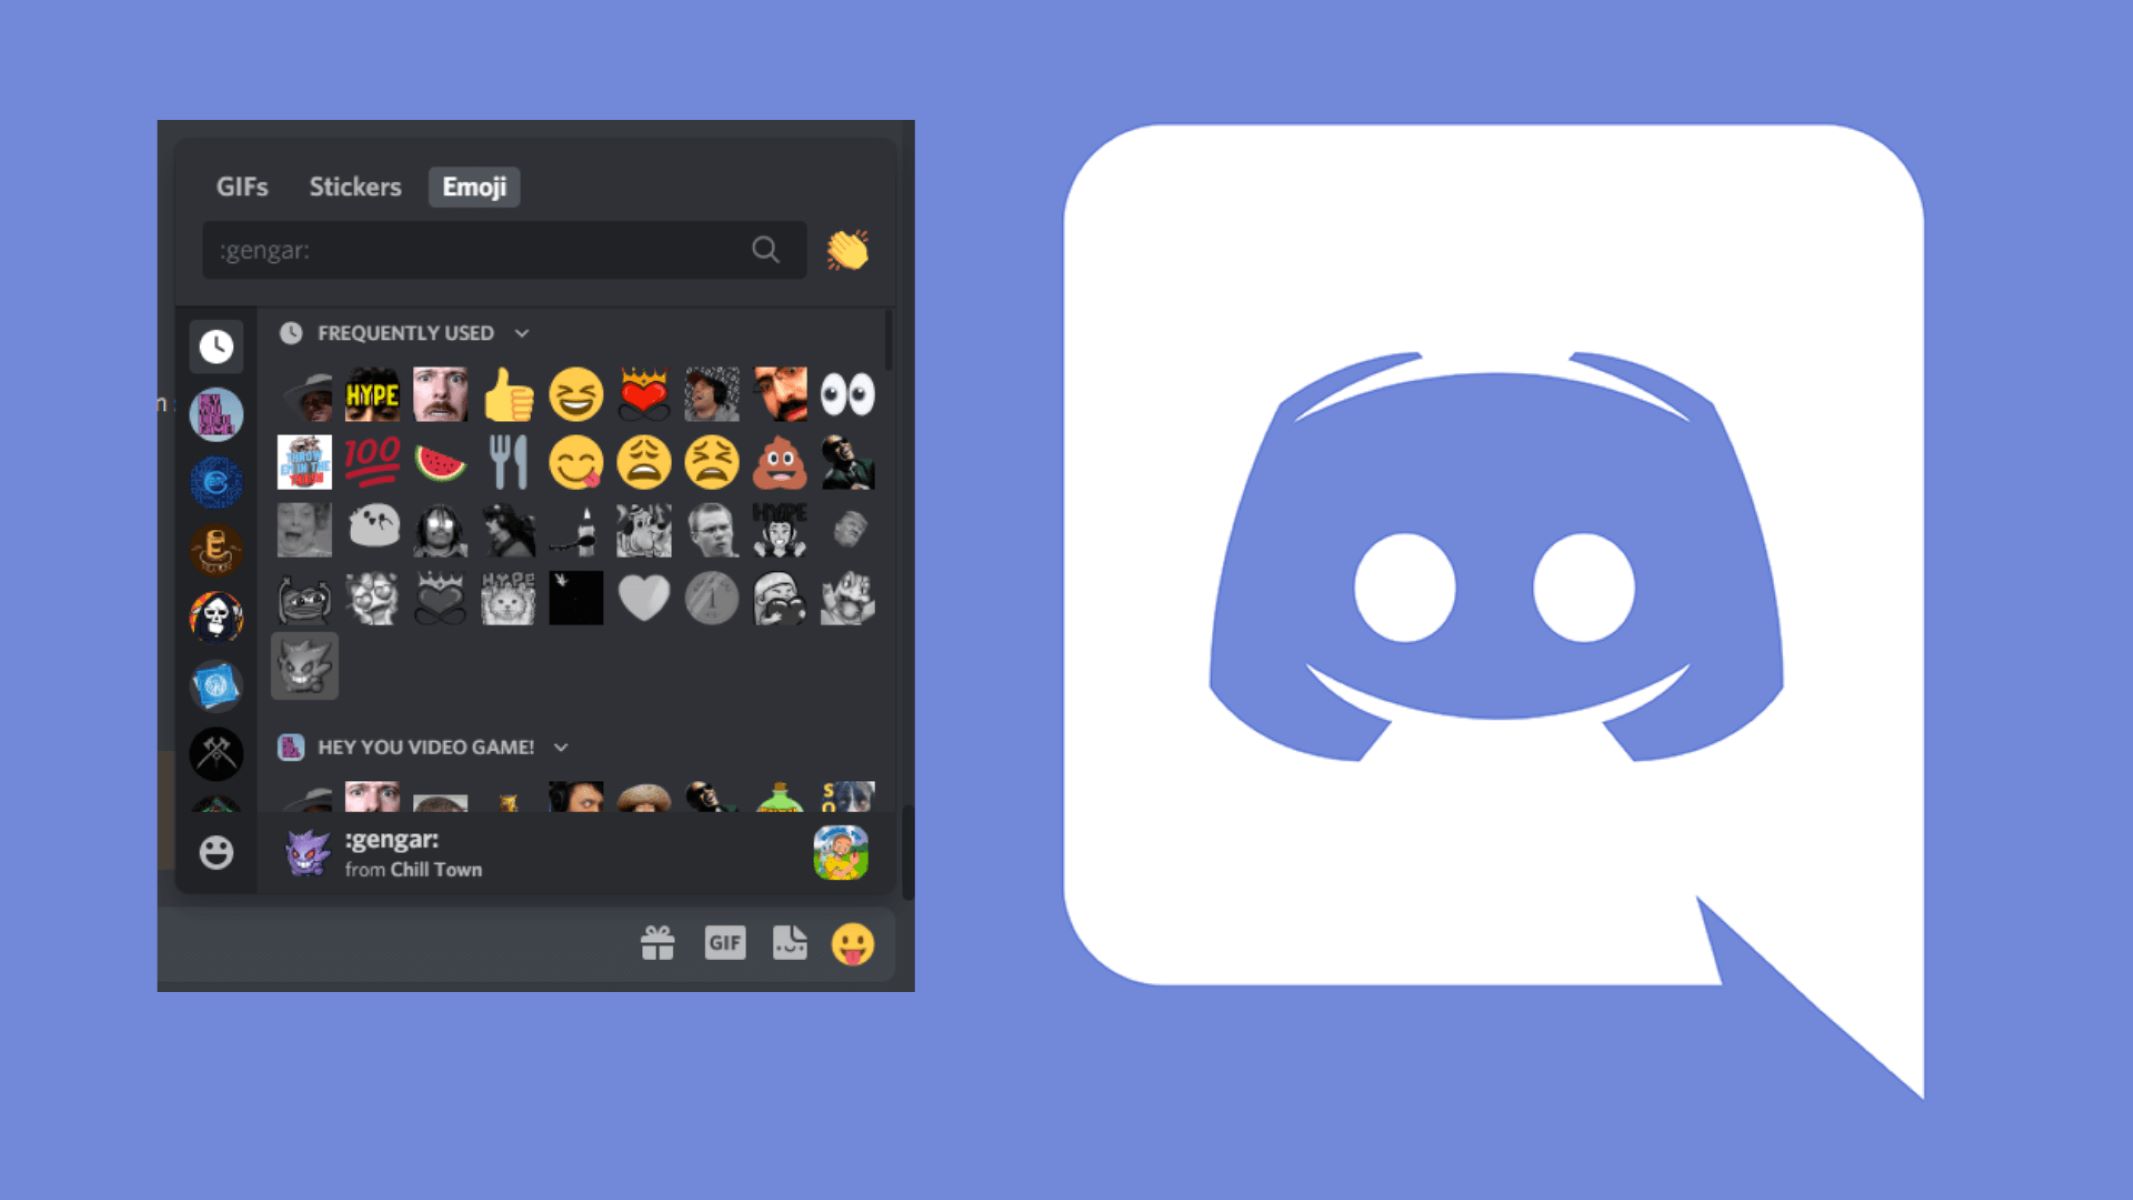
Discord is a popular platform for communication among gamers, streamers, and various online communities. It allows users to chat, voice call, and share media with fellow members. One of the exciting features of Discord is the ability to upload and share GIFs, which adds a touch of fun and visual appeal to conversations.
Whether you want to express your emotions, share a funny moment, or provide visual context to a conversation, uploading a GIF to Discord is a simple process. In this guide, we will walk you through the steps to upload a GIF on Discord, so you can start adding some animated flair to your server.
Before we dive into the process, it’s important to note that Discord supports the upload of various file formats, including GIFs. So, as long as you have a GIF file ready, you can easily showcase your creativity and share it with others on Discord.
Now, let’s get started with the step-by-step process of uploading a GIF to Discord!
Step 1: Creating or finding a GIF
The first step in uploading a GIF to Discord is to either create or find a GIF that you want to share. Here are two common methods to obtain a GIF:
Create your own GIF: If you’re feeling creative, you can create your own GIF using various tools and software available online. There are plenty of free GIF-making websites and applications that allow you to convert short videos or images into GIF format. You can also use video editing software to create a GIF from a longer video. Customize your GIF with effects, stickers, or captions to make it uniquely yours.
Find a GIF online: If you prefer to save time, you can search for existing GIFs online. There are numerous websites and platforms that offer a vast collection of GIFs on various topics. You can search for specific keywords related to the type of GIF you’re looking for. Additionally, social media platforms like Tumblr or GIPHY are popular places to find and share GIFs.
Once you have either created or found a GIF, ensure that it is saved to your device or computer. Remember the file location, as you will need it in the later steps to upload the GIF to Discord.
Now that you have your GIF ready, let’s move on to the next step and learn how to save the GIF to your device.
Step 2: Saving the GIF to your device
Once you have selected or created a GIF that you want to upload to Discord, the next step is to save the GIF to your device. Here’s how you can do it:
1. Right-click on the GIF: If you found the GIF online, right-click on the GIF image. A menu will appear with various options.
2. Click on “Save image as” or “Save video as”: From the menu, select the option that allows you to save the image or video file to your device. This option may vary depending on the web browser you are using.
3. Choose a file location: A window will open, allowing you to choose the location where you want to save the GIF on your device. Select a folder or destination that you can easily locate later during the upload process. You can also choose to rename the file if desired.
4. Save the GIF: Once you have selected the file location and entered a name for the GIF if necessary, click on the “Save” button. The GIF will now be saved to your device’s storage.
If you have created your own GIF, most software and online GIF-making tools provide an option to save the GIF directly to your computer. Simply follow the on-screen instructions to save the GIF file to your desired location.
Now that you have successfully saved the GIF to your device, we can move on to the next step and start uploading it to Discord.
Step 3: Opening Discord and selecting a server
Now that you have the GIF saved to your device, it’s time to open Discord and select the server where you want to upload and share the GIF. Here’s how you can do it:
1. Launch Discord: Open the Discord application on your computer or launch the Discord website in your preferred web browser.
2. Log in to your account: If you’re not already logged in, enter your Discord username and password to access your account.
3. Select a server: In the left sidebar of the Discord interface, you will see a list of servers you are a member of. Click on the server where you want to upload the GIF. If you haven’t joined any servers yet, you can create one or join an existing server by clicking the “+” button below the server list.
4. Access the channel: Once you’ve selected a server, you will see a list of channels within that server. Choose the channel where you want to share the GIF. If the server includes multiple text channels, consider the purpose and topic of the GIF when selecting the appropriate channel.
Now that you’ve opened Discord and selected the desired server and channel, we can move on to the next step and learn how to upload the GIF.
Step 4: Choosing a channel to upload the GIF
Once you are inside the Discord server, you will need to choose the specific channel where you want to upload and share the GIF. Follow these steps to select the appropriate channel:
1. Look for text channels: Within the Discord server, locate the list of channels displayed on the left side of the screen. Text channels are typically indicated by a hashtag symbol (#) followed by the channel name.
2. Consider the channel’s topic: Each channel within a server usually has a specific topic or purpose. Take a moment to review the channel names and their descriptions to identify the most suitable channel for your GIF. If there is a channel dedicated to media sharing, memes, or general discussions, it might be a good fit.
3. Choose the relevant channel: Click on the channel name to select it. Once you’ve selected the desired channel, the main chat window will display the ongoing conversations and previous messages in that channel.
By selecting the appropriate channel, you ensure that your GIF reaches the intended audience and aligns with the conversation topic or theme. It’s important to respect the guidelines and rules set by the server administrators when choosing a channel to upload your GIF to.
Now that you have chosen the channel for your GIF, let’s move on to the next step and learn how to upload it in the Discord chat.
Step 5: Clicking on the text input field in Discord
Once you have selected the appropriate channel to upload your GIF, you will need to click on the text input field in Discord to prepare for the upload. Here’s how you can do it:
1. Locate the text input field: Within the selected Discord channel, look for the text input field at the bottom of the chat window. It is usually labeled with “Message” or “Type a message” and is where you can enter text and send messages.
2. Click on the text input field: Position your cursor over the text input field and click on it. This will activate the field and allow you to start typing or pasting your message or files.
By clicking on the text input field, you are indicating that you are ready to share a message or file with the other members in the selected channel. This action ensures that the following steps allow you to upload and send the GIF successfully.
Now that you have clicked on the text input field in Discord, we can proceed to the next step and learn how to upload the GIF file.
Step 6: Dragging and dropping the GIF file into Discord
Once you have clicked on the text input field in Discord, you can proceed to upload the GIF file by using the drag-and-drop feature. Follow these steps to successfully upload the GIF:
1. Open the folder containing the GIF: Use your file explorer or finder to locate the folder where you saved the GIF file on your device.
2. Drag the GIF file: Click and hold the GIF file with your mouse cursor, and drag it over to the Discord window.
3. Drop the GIF file into Discord: While holding the mouse button, position the GIF file over the text input field or the chat area in Discord. Release the mouse button to drop the GIF file into Discord.
By using the drag-and-drop method, you can easily move the GIF file from your device’s folder directly into the Discord chat, without the need to manually click on an upload button. This method provides a seamless and efficient way to share your GIF with others.
It’s important to note that some Discord versions may not support drag-and-drop file uploads. In such cases, you may need to resort to alternative methods, such as using the “Attach” button or the file upload button provided in the Discord interface.
Now that you have successfully dragged and dropped the GIF file into Discord, we can move on to the final step and complete the upload process.
Step 7: Confirming the upload and sending the GIF
After dragging and dropping the GIF file into Discord, you need to confirm the upload and send the GIF to share it with others in the selected channel. Follow these steps to complete the process:
1. Verify the GIF preview: Once you have dropped the GIF file into Discord, you should see a preview of the GIF in the text input field or chat area. Take a moment to ensure that the correct GIF is displayed and that it appears as intended.
2. Add a message (optional): If desired, you can include a message to accompany the GIF. This can provide context, a description, or simply add some text to complement the visual aspect of the GIF. To add a message, click on the text input field and type your message.
3. Send the GIF: Finally, press the Enter key on your keyboard or click on the send button (usually represented by a paper plane icon) in the Discord interface to send the GIF and message to the selected channel. The GIF will now be visible to other members in the channel.
Once the GIF is sent, you and other members will be able to view, react to, and discuss the GIF in the chat. GIFs often enhance the conversation and add a touch of excitement and humor to discussions on Discord.
It’s important to note that the availability and functionality of certain features, such as previewing the GIF or adding a message, may vary depending on the specific version of Discord you are using. However, the overall process of confirming the upload and sending the GIF remains the same.
Congratulations! You have successfully completed the process of uploading and sharing a GIF on Discord. Now you can enjoy the animated flair and engage in lively conversations with other members in the server.
Conclusion
Uploading a GIF to Discord is a simple and enjoyable process that allows you to share animated images with others in your favorite servers and channels. By following the step-by-step guide outlined above, you can easily showcase your creativity and add a touch of fun to conversations on Discord.
From creating your own unique GIFs to finding existing ones online, you have the flexibility to choose the perfect GIF to express your emotions, convey a message, or simply entertain others. Saving the GIF to your device ensures that it is readily available for upload when the time comes.
Opening Discord and selecting the appropriate server and channel is crucial to ensuring that your GIF reaches the intended audience and aligns with the conversation topic. Utilizing the drag-and-drop feature simplifies the upload process, allowing you to effortlessly share the GIF with just a few clicks.
Finally, confirming the upload and sending the GIF wraps up the process, making it visible to other members in the channel. Optionally, you can include a message to provide context or to enhance the conversation further.
Now that you’ve learned how to upload a GIF to Discord, you can unleash your creativity and inject animated excitement into your interactions with fellow Discord users. Have fun expressing yourself, sharing funny moments, and contributing to the vibrant community on Discord!