Introduction
Welcome to the world of laptop upgrades! Upgrading the graphics card in your laptop can significantly enhance your gaming experience, improve video rendering capabilities, and even boost overall system performance. With the rapid advancement of graphics technology, it’s no surprise that many laptop owners are looking to upgrade their graphics cards to keep up with the latest demands of modern software and games.
Whether you’re a casual gamer, a professional video editor, or simply someone who wants to squeeze every bit of performance out of their laptop, upgrading the graphics card can be a game-changer. It can unlock a whole new level of visual detail, smoother gameplay, and faster processing, giving you the edge you need in today’s competitive digital world.
But before we dive into the nitty-gritty of how to upgrade your laptop’s graphics card, it’s important to note that not all laptops are designed to be easily upgradeable. Some laptops have graphics cards that are integrated into the motherboard, making them impossible or extremely difficult to replace. Therefore, it’s crucial to check if your laptop is compatible with graphics card upgrades before proceeding.
In this guide, we will walk you through the process of upgrading the graphics card in a laptop that allows for such an upgrade. We will cover everything from checking compatibility to purchasing the right graphics card and performing the installation. By the end of this article, you’ll have a clear understanding of what it takes to upgrade your laptop’s graphics card and the steps involved in doing so.
So, if you’re ready to take your laptop’s graphics performance to the next level, let’s roll up our sleeves and get started!
Significance of Upgrading Graphics Card in Laptop
The graphics card, also known as the GPU (Graphics Processing Unit), plays a crucial role in handling the visual processing tasks of your laptop. It is responsible for rendering graphics, videos, and animations, as well as supporting complex 3D applications and games. Upgrading your laptop’s graphics card can have several significant advantages:
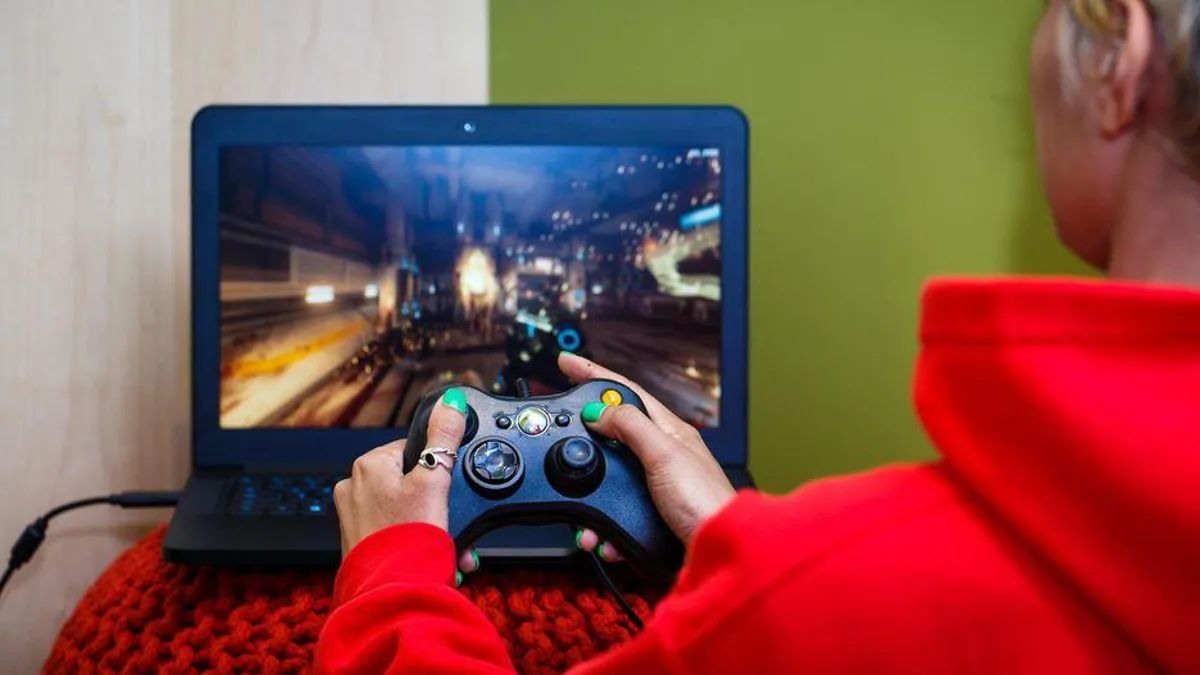
- Improved Gaming Performance: One of the main reasons people choose to upgrade their graphics card is to improve their gaming experience. With a more powerful graphics card, you can run modern games at higher resolutions and smoother frame rates, resulting in more immersive and visually stunning gameplay.
- Enhanced Video Editing and Rendering: If you work with video editing software or perform tasks that involve rendering videos, upgrading your graphics card can greatly reduce rendering times. A more capable GPU can handle graphics-intensive tasks more efficiently, allowing you to complete projects faster and with higher quality.
- Support for Virtual Reality (VR): Virtual reality is gaining popularity in the gaming and entertainment industry. To fully embrace VR experiences, a powerful graphics card is essential. Upgrading your graphics card can provide the necessary performance and compatibility to enjoy immersive virtual reality games and applications.
- Increased Productivity: Apart from gaming and multimedia tasks, a better graphics card can also improve productivity. Applications that rely on GPU acceleration, such as graphic design software and 3D modeling programs, will benefit from the increased rendering capabilities, resulting in smoother workflows and quicker project completion.
- Future-Proofing Your Laptop: As technology advances, software and games become more demanding on system resources. By upgrading your graphics card, you can ensure that your laptop stays capable of running the latest software and games for a longer period, future-proofing your investment and saving you from the need to purchase a new laptop anytime soon.
Upgrading the graphics card in your laptop can bring a noticeable performance boost, elevating your gaming and multimedia experience to new heights. However, it’s crucial to remember that not all laptops have upgradeable graphics cards. Therefore, before proceeding with the upgrade, it’s vital to check your laptop’s specifications and determine if it allows for graphics card replacements.
Now that we understand the significance of upgrading a laptop’s graphics card, let’s move on to the next step: preparing for the upgrade process.
Preparing for the Upgrade
Before diving into the process of upgrading your laptop’s graphics card, there are a few essential steps you need to take to ensure a smooth and successful upgrade:
- Research and Compatibility Check: Start by researching your laptop model and checking its compatibility with graphics card upgrades. Some laptops have dedicated slots for graphics card replacements, while others have integrated graphics that cannot be upgraded. Consult your laptop’s manual or manufacturer’s website to determine if your laptop supports graphics card upgrades and what types of graphics cards are compatible.
- Backup Your Data: It’s best to back up all your important data before attempting any hardware upgrades. While the upgrade process itself may not affect your data, it’s always good practice to have a backup in case of any unforeseen issues during the installation.
- Create a Clean and Safe Workspace: Find a well-lit, clean, and static-free workspace to perform the upgrade. Make sure to have proper lighting, a static wristband or mat to prevent static electricity damage, and a clean surface to keep all the tools and components organized.
- Gather the Necessary Tools: To successfully upgrade your laptop’s graphics card, you’ll need a set of tools, including a screwdriver (usually a Phillips #0 or #1), an anti-static wristband or mat, thermal paste, and rubbing alcohol or cleaning wipes for cleaning the old thermal paste.
- Download Latest Drivers and BIOS Updates: Before removing your old graphics card, visit the manufacturer’s website and download the latest drivers and BIOS updates for the new graphics card. This will ensure you have the required software ready for installation once the hardware upgrade is complete.
By following these preparatory steps, you will be setting yourself up for a smooth and hassle-free graphics card upgrade process. It’s crucial to take your time, do thorough research, and gather all the necessary tools and software before proceeding to the next step: checking the compatibility of your laptop with the new graphics card.
Checking the Compatibility
Before proceeding with the purchase of a new graphics card, it’s crucial to verify its compatibility with your laptop. Here are the steps to check the compatibility:
- Consult Your Laptop’s Manual: Begin by consulting your laptop’s manual or the manufacturer’s website to determine if your laptop supports graphics card upgrades. Look for information specifically mentioning the compatibility of external graphics cards or expansion slots available for upgrades.
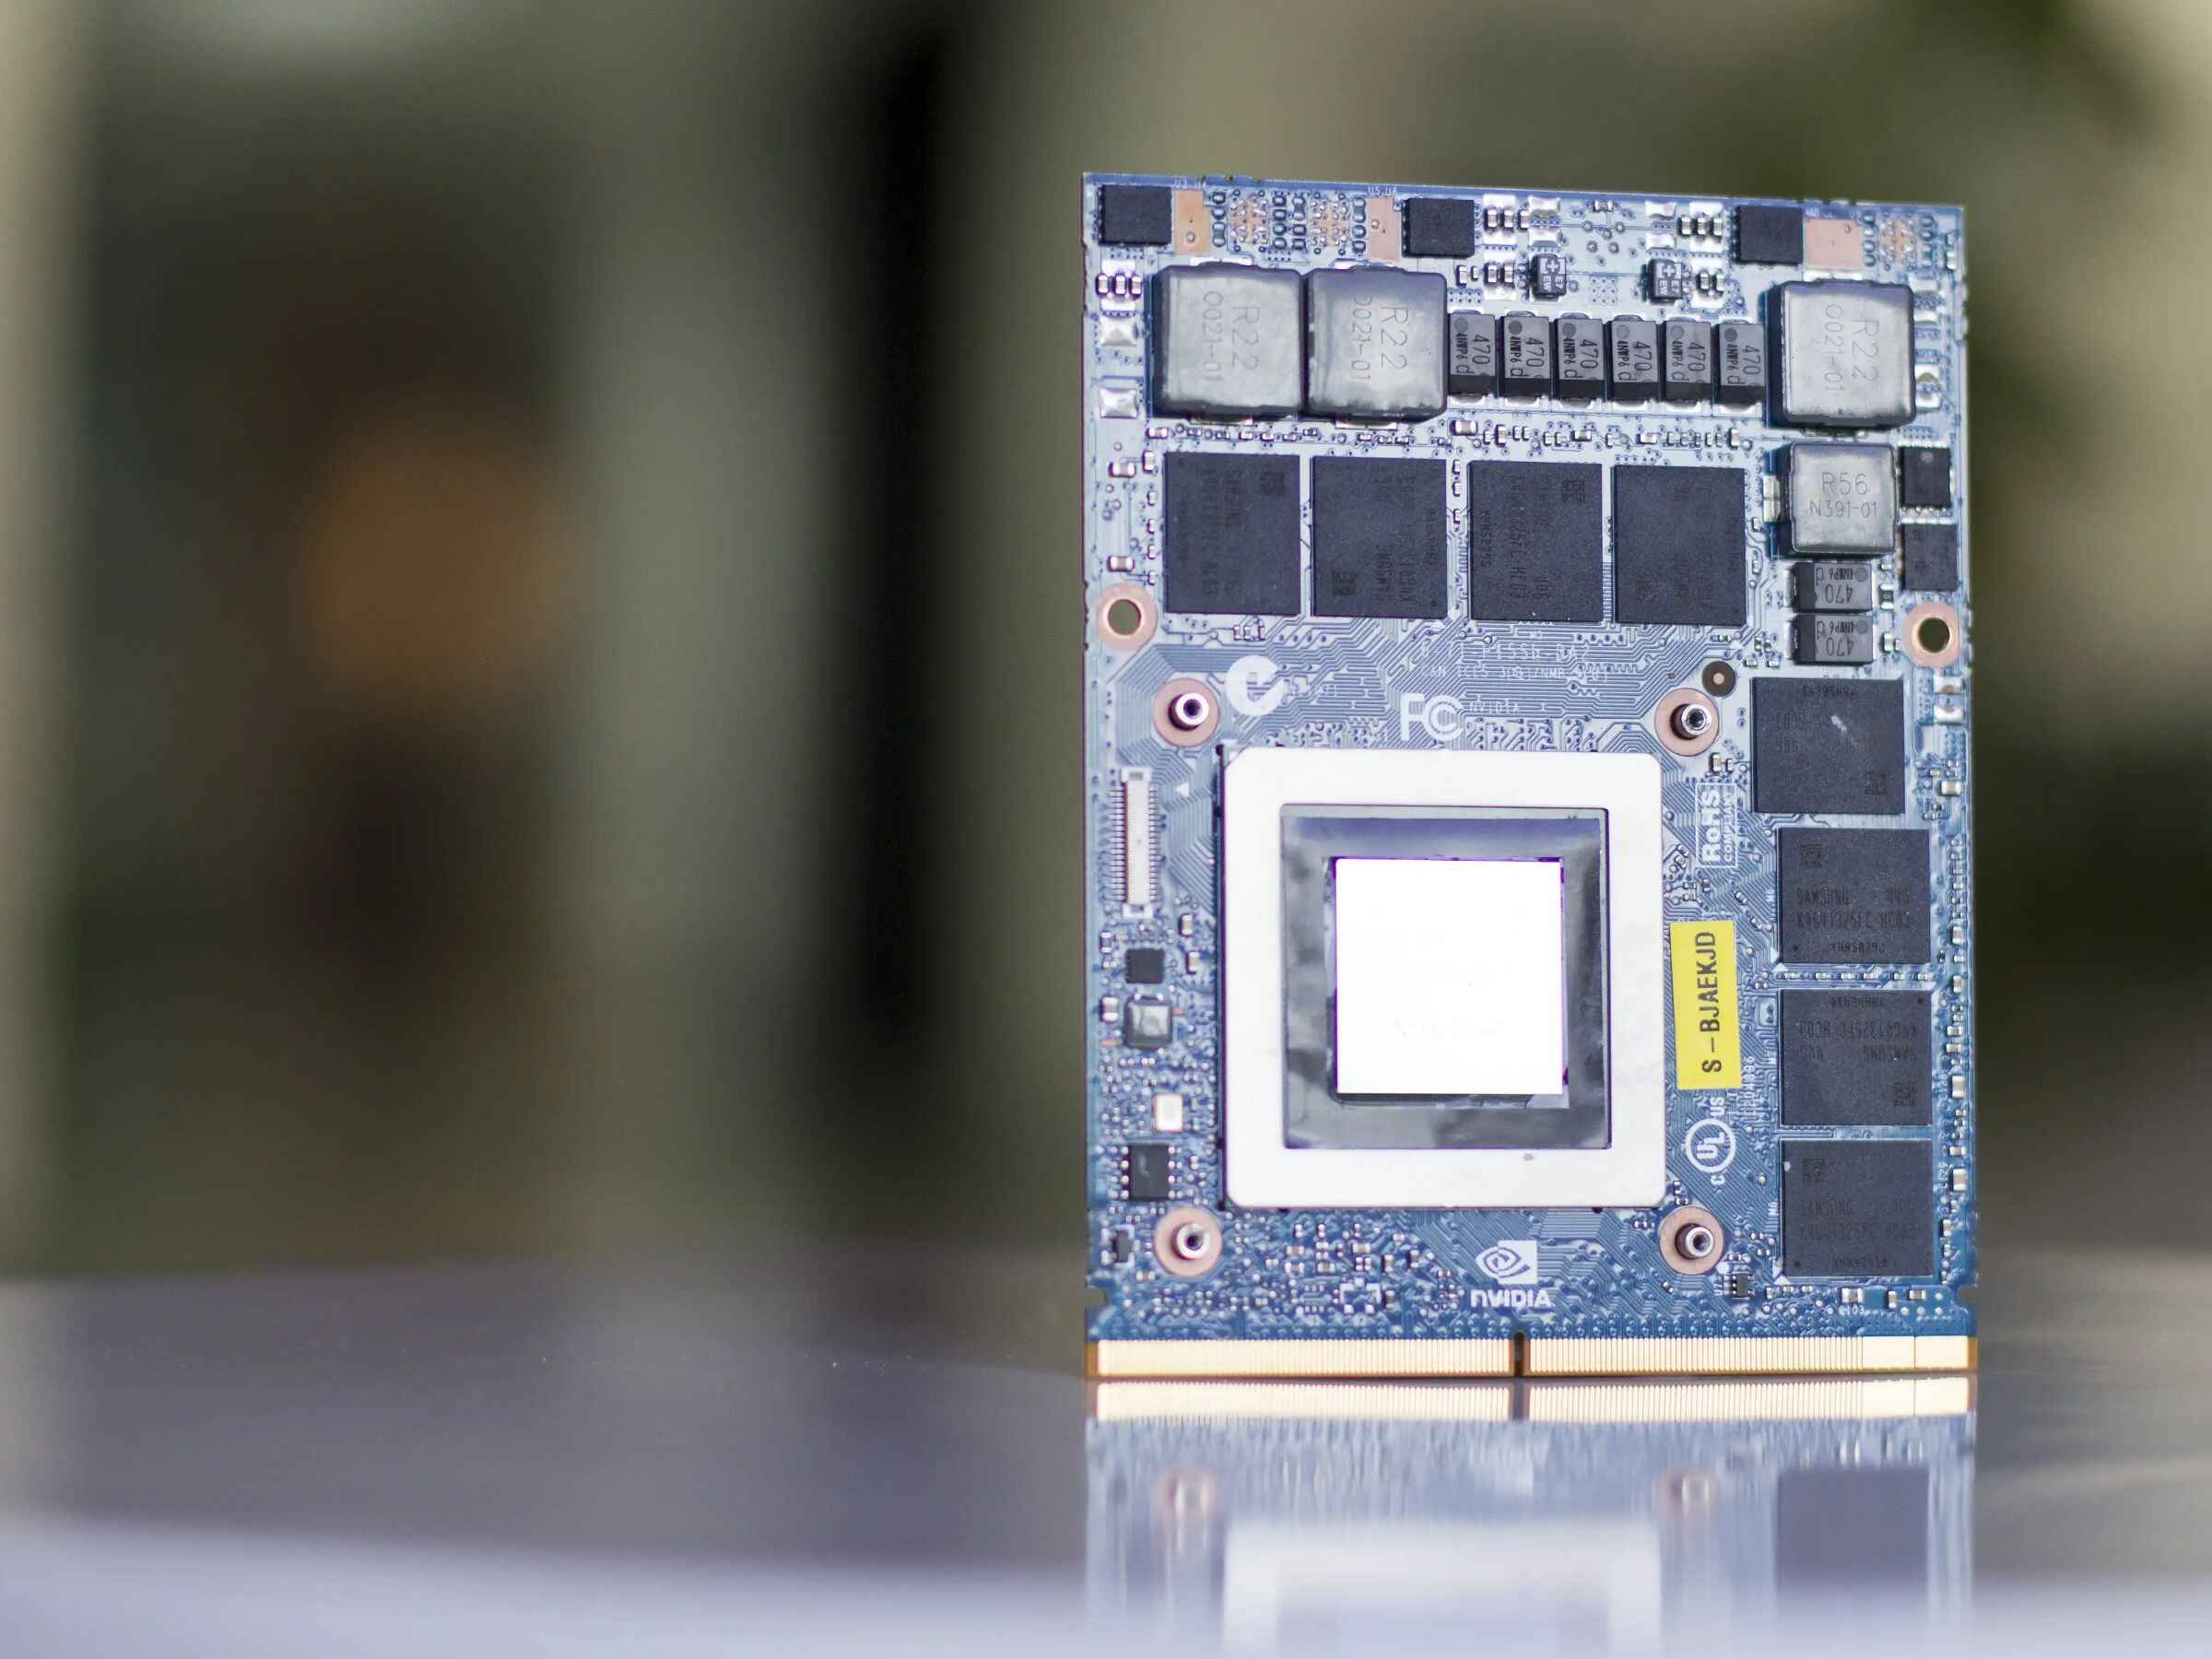
- Identify the Slot Type: If your laptop supports graphics card upgrades, identify the type of slot available for installation. The most common slot types are PCIe (Peripheral Component Interconnect Express) and MXM (Mobile PCI Express Module) slots. Knowing the slot type will help you choose a graphics card that fits and works correctly with your laptop.
- Check Power Requirements: Graphics cards require a certain amount of power to operate. Check the power supply specifications of your laptop and the power requirements of the graphics card you wish to purchase. Ensure that your laptop’s power supply can provide enough power to support the new graphics card.
- Consider Physical Space and Cooling: Graphics cards come in various sizes, and it’s essential to make sure the chosen card fits within your laptop’s physical space. Measure the available clearance inside your laptop and compare it with the dimensions of the graphics card. Additionally, consider the cooling requirements of the new graphics card and ensure that your laptop’s cooling system can adequately handle the heat generated by the upgraded card.
- Research and Read Reviews: Finally, research and read reviews of the specific graphics card model you intend to purchase. This will give you insights into any potential compatibility issues or known problems with your laptop model or the graphics card itself.
By thoroughly checking the compatibility of the graphics card with your laptop, you can ensure that the new card will fit properly and function seamlessly. In case you are unsure or have any doubts, don’t hesitate to consult official support forums, online communities, or seek guidance from technical experts who specialize in laptop hardware upgrades.
With the compatibility check completed, you can now proceed to the exciting step of purchasing a new graphics card that meets all the necessary requirements.
Purchasing the New Graphics Card
Now that you have determined the compatibility of your laptop with graphics card upgrades, it’s time to purchase a new graphics card that meets your needs and fits within your budget. Here are some important factors to consider when purchasing a new graphics card:
- Performance Requirements: Consider your specific requirements, such as gaming, video editing, or graphic design. Determine the level of performance you need and choose a graphics card accordingly. Research different models and compare their specifications, benchmark reviews, and user feedback to find the right balance between performance and affordability.
- Budget: Set a budget for your graphics card purchase. Graphics cards can vary significantly in price, so it’s important to determine your spending limit. Consider the future longevity and relevance of the card to ensure you’re making a wise investment.
- Brand and Model: Stick to reputable brands known for their reliability and customer support. Research various brands and models to find the one that best fits your requirements. Check for warranties and after-sales service options as well.
- Review and Comparison: Read expert reviews and user feedback to gain insights into the overall performance and reliability of different graphics card models. Pay attention to factors like power consumption, noise levels, and compatibility with your operating system.
- Consider Future Upgrades: If you plan on upgrading other components in the future, such as increasing system memory or adding an SSD, ensure that the selected graphics card is compatible with those future upgrades.
- Buy from Authorized Sellers: Purchase your graphics card from authorized sellers or reputable online retailers to ensure you receive a genuine product with warranty coverage. Beware of counterfeit or refurbished products that may not perform up to standards.
Taking these factors into consideration will help you make an informed decision when purchasing a new graphics card for your laptop. Once you have selected the right graphics card, proceed with the purchase and ensure that it comes with all the necessary accessories and documentation.
With the new graphics card in hand, you’re now ready to embark on the journey of upgrading your laptop’s graphics card and unlocking its full potential.
Gathering the Necessary Tools
Before you begin the process of upgrading your laptop’s graphics card, it’s important to gather all the necessary tools to ensure a smooth and successful installation. Here are the essential tools you will need:
- Screwdriver: Most laptops use small Phillips #0 or #1 screws. Check the screwdriver size required for your laptop and have it ready before starting the upgrade.
- Anti-Static Wristband or Mat: Static electricity can damage sensitive electronic components. Wear an anti-static wristband or work on an anti-static mat to discharge any static electricity and prevent damage to your laptop or the new graphics card.
- Thermal Paste: When removing the old graphics card, you will likely need to clean off the existing thermal paste and apply new thermal paste before installing the new card. Have a tube of high-quality thermal paste ready for this step.
- Rubbing Alcohol or Cleaning Wipes: To clean off the old thermal paste, use rubbing alcohol or cleaning wipes. These will help ensure a clean and smooth surface for the application of the new thermal paste.
- Soft Cloth or Microfiber Cloth: Have a soft cloth or microfiber cloth on hand to wipe away any dust or smudges during the upgrading process. This will help keep the components clean and prevent any debris from interfering with the installation.
- Patience and Precision: While not a physical tool, having patience and maintaining precision during the upgrade process is crucial. Take your time and carefully follow the instructions to avoid any mistakes that could potentially damage your laptop.
By gathering these essential tools, you will be well-prepared to perform the graphics card upgrade with confidence and minimize the risk of any unnecessary complications. Additionally, it’s always a good idea to have a clean and organized workspace to keep all the tools and components easily accessible throughout the process.
With the necessary tools in hand, you’re ready to move on to the next step: opening your laptop and removing the old graphics card.
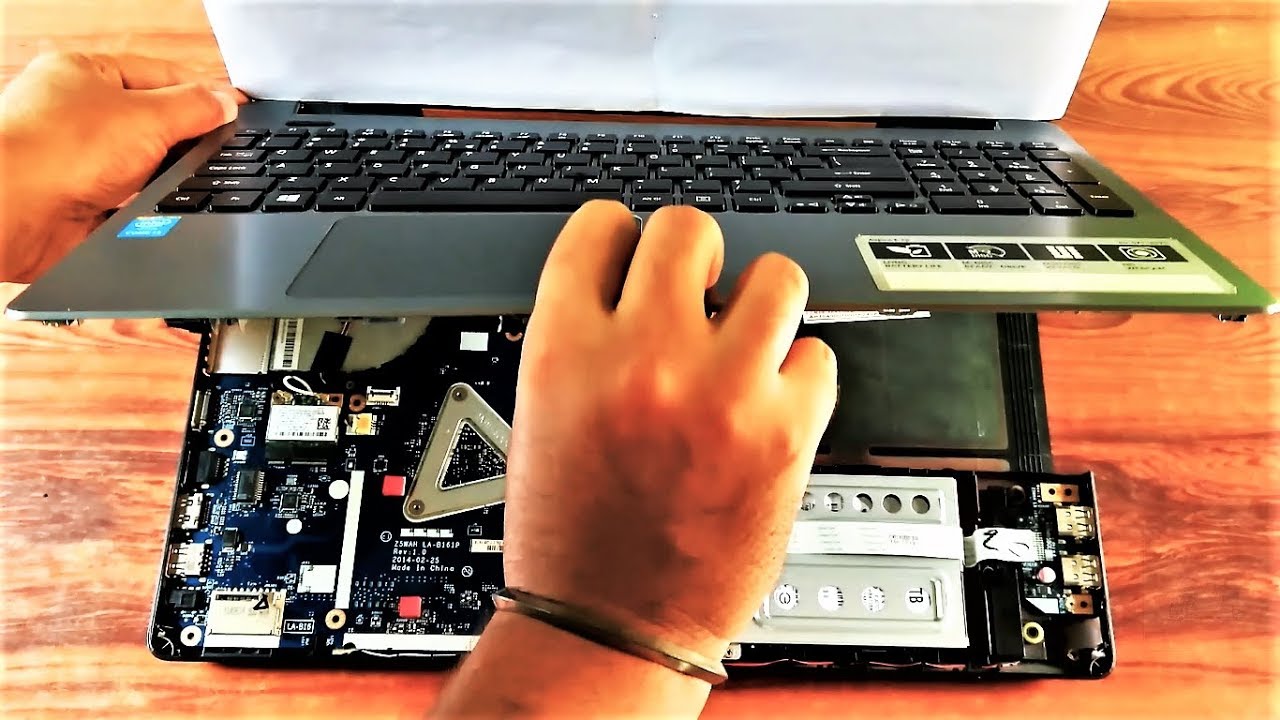
Opening the Laptop and Removing the Old Graphics Card
Now comes the exciting part of actually opening your laptop and removing the old graphics card. Follow these step-by-step instructions to ensure a safe and successful removal:
- Power Off and Unplug: Ensure your laptop is completely powered off and disconnected from any power source. This will prevent any accidental damage and ensure your safety during the process.
- Remove the Battery: If your laptop has a removable battery, remove it by sliding the battery release latch and gently pulling it out. This will minimize the risk of electrical shock and allow for easier access to the internal components.
- Ground Yourself: Ground yourself by touching a metal object or wearing an anti-static wristband. This will discharge any static electricity and reduce the risk of damaging sensitive components.
- Locate the Access Panel: Depending on your laptop model, you may need to remove an access panel to reach the graphics card. Consult your laptop’s manual or manufacturer’s website to locate the access panel and its removal instructions.
- Detach Cables: Carefully detach any cables connected to the graphics card. These may include display cables, power cables, and any other connectors. Take note of their arrangement and placement for reconnection later.
- Remove the Retaining Screws: Depending on your laptop model, there may be one or more retaining screws holding the graphics card in place. Use your screwdriver to carefully remove these screws and set them aside for reassembly.
- Gently Remove the Old Graphics Card: With the screws removed, gently slide out the old graphics card from its slot. Be cautious not to apply excessive force or bend any components during the removal process.
- Inspect for Thermal Paste and Clean if Necessary: Take a moment to inspect the area where the old graphics card was connected. If there is residual thermal paste, clean it off using a soft cloth or rubbing alcohol. Ensure the surface is clean and ready for the application of new thermal paste.
By carefully following these steps, you will successfully open your laptop, disconnect the necessary cables, remove the retaining screws, and detach the old graphics card. Take your time and exercise caution throughout the process to avoid any accidental damage to your laptop’s components.
Now that the old graphics card is removed, you’re ready to move on to the next step: installing the new graphics card in your laptop.
Installing the New Graphics Card
With the old graphics card successfully removed, it’s time to install the new graphics card into your laptop. Follow these step-by-step instructions to ensure a smooth and proper installation:
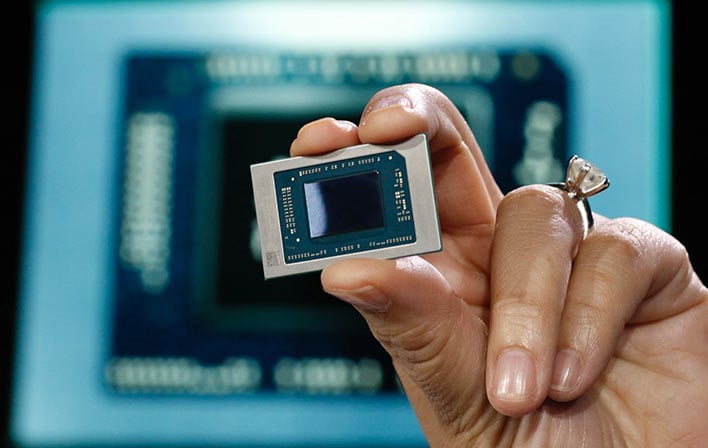
- Prepare the New Graphics Card: Carefully unpack the new graphics card from its packaging and ensure that it is the correct model and compatible with your laptop. Take note of any protective covers or tabs that may need to be removed before installation.
- Apply Thermal Paste: Apply a small amount of thermal paste on the newly cleaned surface of the laptop where the graphics card will be seated. Use a spreader or the edge of a plastic card to evenly distribute the thermal paste over the surface. Be sure not to use too much paste as it can lead to improper heat transfer.
- Align and Insert the New Graphics Card: Align the new graphics card’s connector with the slot in your laptop. Gently insert the card into the slot, making sure it is secure and properly seated. Avoid using excessive force and ensure that the card is aligned correctly.
- Secure with Retaining Screws: Use the retaining screws that were previously removed to secure the new graphics card in place. Tighten the screws in a diagonal pattern to ensure even pressure. Be careful not to overtighten the screws, as it can damage the graphics card or the laptop.
- Reconnect Cables: Carefully reconnect any cables that were previously detached from the old graphics card. Refer to your notes or documentation to ensure that the cables are connected to the correct ports. Secure them firmly but gently to avoid any loose connections.
- Replace the Battery and Access Panel: If you removed the laptop battery, slide it back into place. Then, reattach the access panel by securing it with the appropriate screws. Ensure that the panel is properly aligned and snugly in place.
- Double-Check Everything: Before closing up the laptop, double-check all connections, screws, and components to ensure everything is in place. This will help prevent any issues or loose connections later on.
By following these steps carefully, you will successfully install the new graphics card into your laptop. Take your time and pay close attention to detail throughout the process to avoid any unnecessary problems. It’s important to handle the components with care and be cautious not to damage any delicate parts.
With the new graphics card securely installed, it’s time to move on to the next step: connecting the necessary cables and closing up your laptop.
Connecting the Cables and Closing the Laptop
After successfully installing the new graphics card in your laptop, the next step is to connect the necessary cables and securely close up your laptop. Follow these steps to ensure a proper connection and ensure your laptop is ready for use:
- Reconnect Display Cables: Attach the display cables, such as HDMI or DisplayPort, to the appropriate ports on the new graphics card. Make sure the connections are secure and ensure that the cable is properly inserted.
- Connect Power Cables: If your new graphics card requires additional power, make sure to connect the necessary power cables from your power supply unit (PSU) or external power source. Ensure that the power cables are fully inserted and securely connected.
- Close and Secure the Laptop: Carefully close the laptop and ensure that all the edges are aligned properly. Secure any screws or latches that hold the laptop’s casing in place. Make sure the laptop is firmly closed and there are no loose parts.
- Reinsert the Battery: If you removed the laptop battery earlier, slide it back into place until it clicks into position. Ensure that the battery is properly aligned and making full contact with the laptop.
- Power On and Test: Plug in your laptop and power it on. Check that the new graphics card is recognized by your system. To ensure proper functionality, install the latest drivers and updates for the new graphics card. Run graphics-intensive applications or games to test the performance of the new graphics card.
- Monitor Temperature and Performance: Keep an eye on the temperature and performance of your new graphics card. Use software monitoring tools or utilities to monitor temperature levels and adjust fan speeds if necessary. This will help ensure optimal performance and prevent overheating.
Following these steps will help you connect the necessary cables to your new graphics card and ensure that your laptop is closed up securely. It’s important to double-check all connections, screws, and parts to ensure everything is in place before powering on the laptop.
Once your laptop is fully powered on and the new graphics card is recognized, you can proceed with installing the latest drivers and updates, and begin enjoying the improved performance and visual experience that comes with your upgraded graphics card.
Updating Drivers and BIOS
After installing the new graphics card in your laptop, it’s important to update the drivers and BIOS (Basic Input/Output System) to ensure proper functionality and compatibility with your system. Follow these steps to update the drivers and BIOS:
- Download the Latest Drivers: Visit the manufacturer’s website of your new graphics card and navigate to the support or downloads section. Download the latest drivers specifically designed for your graphics card model and your operating system. It is crucial to get the correct drivers to ensure optimal performance and compatibility.
- Install the Graphics Card Drivers: Run the driver installation file you downloaded and follow the on-screen instructions to install the graphics card drivers. It is recommended to choose the custom installation option if available, as it enables you to select the necessary components and settings for your system.
- Restart Your Laptop: After the driver installation is complete, restart your laptop to ensure that the changes take effect. This will allow the new drivers to properly integrate with your operating system and graphics card.
- Check for BIOS Updates: Visit your laptop manufacturer’s website and navigate to the support or downloads section. Look for any available BIOS updates for your specific laptop model. BIOS updates can improve system stability, compatibility, and performance.
- Read the Instructions: Before proceeding with a BIOS update, carefully read the instructions provided by the manufacturer. Follow the recommended steps to ensure a smooth and safe update process. Some laptops have specific procedures for BIOS updates, such as creating a backup or using a specific software tool.
- Perform the BIOS Update: If a BIOS update is available and you are confident in proceeding, follow the manufacturer’s instructions to perform the update. This typically involves downloading a BIOS update file and running it from a USB drive or using a specialized updating software provided by the manufacturer.
- Restart Your Laptop Again: After the BIOS update is complete, restart your laptop once more to finalize the changes. This ensures that the updated BIOS settings are applied and integrated into your system.
By updating the drivers and BIOS, you ensure that your new graphics card is fully optimized and working in harmony with your laptop’s system. It helps to improve stability, performance, and compatibility, allowing you to make the most of your upgraded graphics card.
Remember, it’s important to regularly check for driver and BIOS updates even after the initial installation. This will help you stay up-to-date with the latest improvements and ensure a smooth and efficient performance from your graphics card and laptop.
Testing the New Graphics Card
Now that you have installed the new graphics card and updated the drivers and BIOS, it’s time to test its performance and ensure everything is functioning as expected. Here are some steps to test your new graphics card:
- Benchmarking Software: Install benchmarking software such as 3DMark, Unigine Heaven, or FurMark. These tools assess the graphics card’s performance by subjecting it to various intensive tests and provide benchmark scores for comparison.
- Testing Games and Applications: Launch graphically demanding games or applications that you frequently use. Pay attention to the visual quality, frame rate stability, and overall performance. Assess if the gameplay or rendering experience has noticeably improved with the new graphics card.
- Monitor Temperature and Fan Speed: Use GPU monitoring software to keep an eye on the temperature of the new graphics card. Ensure that the temperature stays within acceptable limits, and the fan speed adjusts accordingly. High temperatures or abnormal fan speeds may indicate a need to adjust cooling or reevaluate settings.
- Overclocking (Optional): If you are comfortable with advanced settings, you may consider overclocking your new graphics card to further enhance its performance. However, caution must be exercised, as overclocking can increase heat generation and potentially void warranties if done incorrectly.
- Stress Tests: Run stress tests like Prime95 or AIDA64 to push the graphics card to its limits. Stress tests help identify potential stability and cooling issues by subjecting the card to maximum utilization for an extended period.
- System Stability: Monitor the overall stability of your system after the graphics card upgrade. Check for any unexpected crashes, blue screens, or other anomalies that may arise. If stability issues occur, consider reviewing driver versions, reinstalling drivers, or seeking assistance from the manufacturer’s support.
By conducting these tests, you can evaluate the performance and stability of your new graphics card. The benchmarking software, games, and stress tests provide valuable insights into the capabilities of the graphics card and help ensure it is functioning optimally.
If any issues or concerns arise during testing, refer to the documentation provided with your graphics card or reach out to the manufacturer’s support for guidance and troubleshooting. With everything tested and verified, you can now fully enjoy the enhanced graphics performance and capabilities that the new graphics card brings to your laptop.
Conclusion
Congratulations on successfully upgrading the graphics card in your laptop! By taking the time to research compatibility, gather the necessary tools, and follow the step-by-step process, you have unlocked a new level of performance and visual experience for your device.
Upgrading the graphics card in your laptop can have a significant impact on gaming, video editing, productivity, and overall system performance. With a more powerful graphics card, you can enjoy smoother gameplay, faster rendering times, and better visual quality. It also future-proofs your laptop, allowing it to handle the demands of upcoming software and games.
Throughout the upgrade process, you learned important steps such as checking compatibility, purchasing the right graphics card, opening the laptop, removing the old graphics card, installing the new graphics card, connecting cables, updating drivers and BIOS, and testing the new graphics card’s performance. Each of these steps helped ensure a smooth and successful upgrade.
Remember, proper maintenance and regular updates are essential to keep your graphics card running optimally. Stay up-to-date with the latest drivers and software updates, monitor temperatures, and periodically clean the card and its cooling components to prevent dust buildup.
If you encounter any difficulties or have specific questions about your laptop model or the graphics card, consult official support forums, online communities, or seek guidance from technical experts. It’s always better to seek assistance than risk damaging your laptop or components.
Enjoy the improved graphics performance and take advantage of the capabilities of your new graphics card. Whether you’re a gamer, content creator, or power user, the upgraded graphics card will enhance your digital experiences and provide you with countless hours of enjoyment.
Now that you have successfully upgraded your graphics card, you can fully immerse yourself in the world of high-resolution gaming, seamless video editing, and visually stunning applications. Embrace the power of your upgraded graphics card and unleash your creativity and gameplay possibilities!