Introduction
Unzipping files is a common task that computer users often encounter. Whether you’ve downloaded a compressed file from the internet or received a zip file as an attachment, being able to unzip files is essential to access the content within. If you’re a Windows 10 user, you’ll be pleased to know that unzipping files is a breeze.
In this article, we will explore various methods to unzip files on Windows 10, providing you with step-by-step instructions along the way. Whether you prefer using the built-in File Explorer, third-party software, or even the command prompt, we’ve got you covered.
Unzipping files can come in handy for various reasons. It allows you to access multiple files contained within a single compressed file, saving storage space and making file organization easier. For example, you may have downloaded a collection of photos in a zip file, or you may have received a zip file containing important documents. By unzipping these files, you can quickly view, edit, or share them.
Now, let’s dive into the different methods available for unzipping files on Windows 10. Whether you’re a beginner or an experienced user, you’ll find a method that suits your needs.
Method 1: Using File Explorer
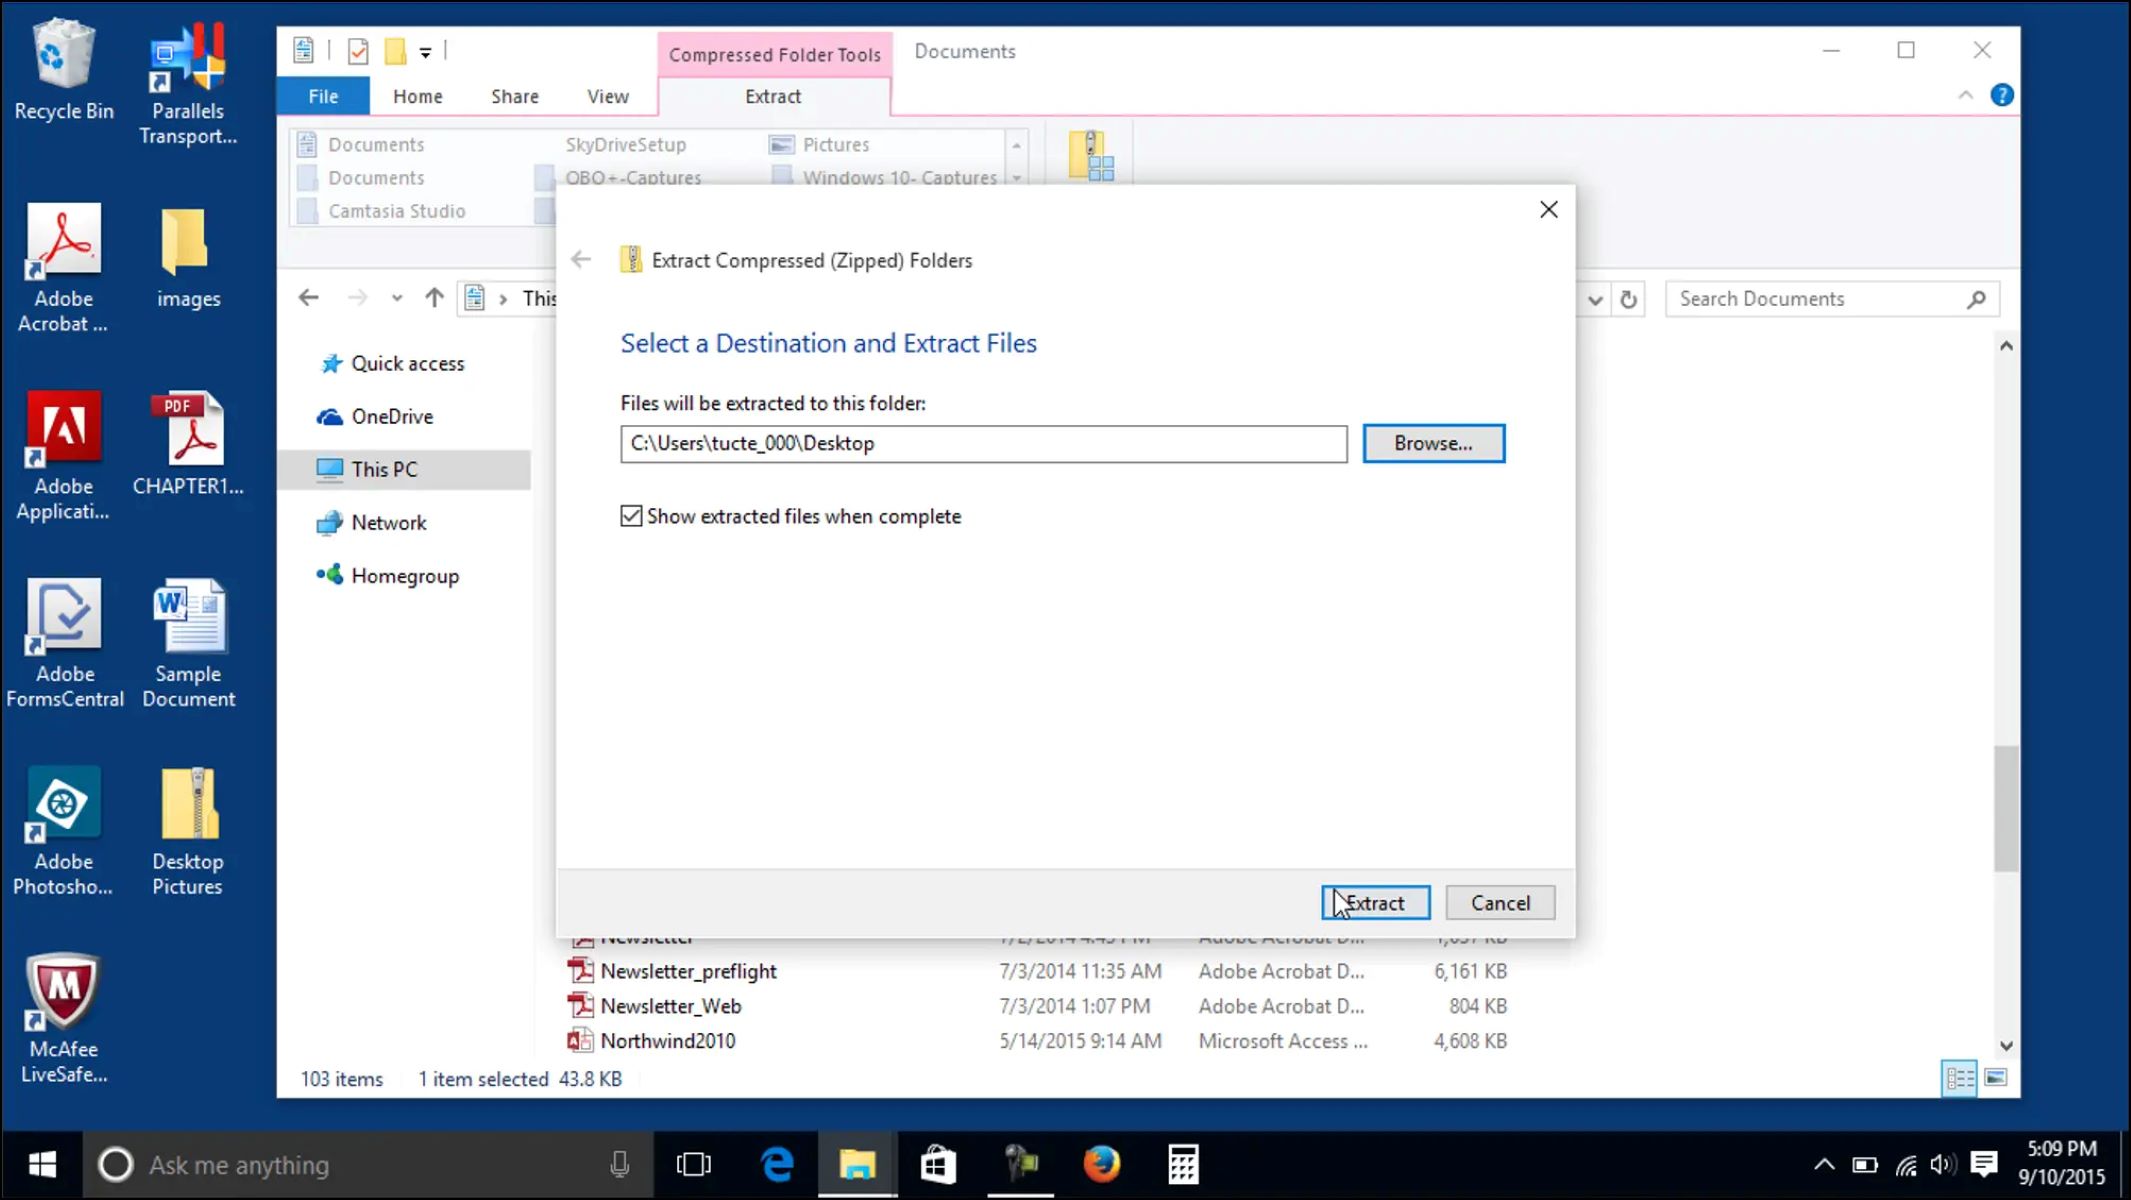
The first and most straightforward method to unzip files on Windows 10 is by using the built-in File Explorer. Here’s how you can do it:
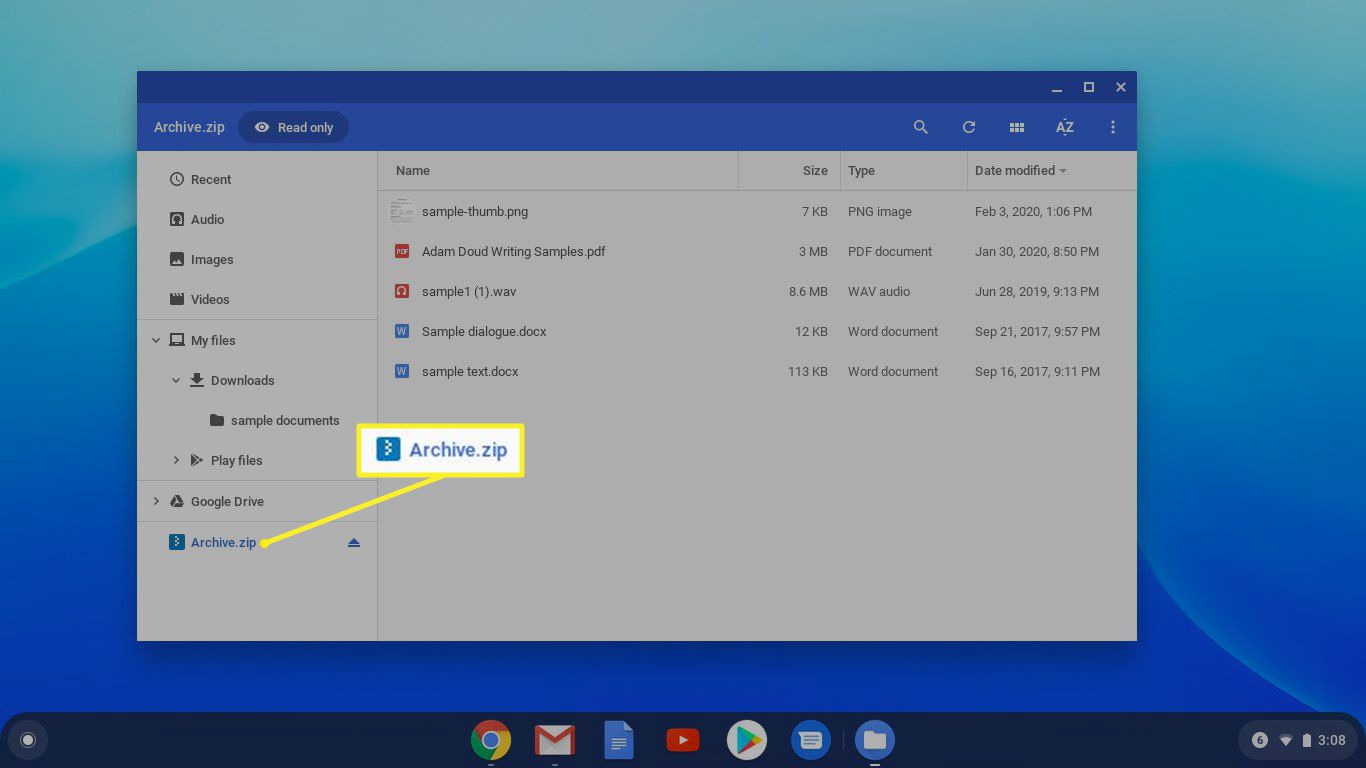
- Locate the zipped file on your computer. It is usually denoted by a .zip extension.
- Double-click on the zipped file to open it in File Explorer.
- In File Explorer, navigate to the top menu and click on the “Extract” tab.
- Click on the “Extract all” button to begin the extraction process.
- A new window will appear, allowing you to choose the destination folder where you want to extract the files. You can either select an existing folder or create a new one.
- After selecting the destination folder, click on the “Extract” button to start extracting the contents of the zip file.
- Once the extraction process is complete, you will find the unzipped files in the selected destination folder.
Using File Explorer to unzip files is a simple and efficient method, especially for basic file extraction needs. However, if you want more advanced features or prefer a more user-friendly interface, there are third-party software options available.
Now that you know how to unzip files using File Explorer, let’s explore an alternative method using third-party software.
Method 2: Using a Third-Party Software
If you’re looking for additional features and a more user-friendly interface, using a third-party software is a great option for unzipping files on Windows 10. There are several popular options available, such as WinRAR, 7-Zip, and WinZip. Here’s how you can use a third-party software to unzip files:
- Download and install the third-party software of your choice. Make sure to select a reputable and trusted software source.
- Once the software is installed, locate the zipped file on your computer.
- Right-click on the zipped file and select the option to extract or unzip using the third-party software. The exact option may vary depending on the software you’re using.
- A new window or dialogue box specific to the third-party software will appear.
- Choose the destination folder where you want to extract the files and click on the extract or unzip button.
- The third-party software will start the extraction process and display a progress bar or status indicator.
- Once the extraction is complete, you will find the unzipped files in the chosen destination folder.
Using a third-party software can offer additional functionalities, such as advanced compression options, password protection, and the ability to extract files from various archive formats. It provides flexibility and greater control over the zipping and unzipping process.
Now that you’re familiar with using third-party software to unzip files on Windows 10, let’s move on to another method using the command prompt.
Method 3: Using Command Prompt
If you’re comfortable with using the command line interface, you can unzip files on Windows 10 using the Command Prompt. Here’s how you can do it:
- Open the Command Prompt by typing “cmd” in the Windows search bar and selecting the Command Prompt app.
- Locate the zipped file that you want to unzip.
- Use the “cd” command to navigate to the directory where the zipped file is located. For example, if the zipped file is on your desktop, you can use the command “cd Desktop” to navigate to the desktop directory.
- Once you’re in the correct directory, use the “unzip” command followed by the name of the zipped file. For example, if the zipped file is named “example.zip”, the command would be “unzip example.zip”.
- Press Enter to execute the command.
- The Command Prompt will start extracting the files from the zipped file and display the progress as it goes.
- Once the extraction is complete, you will find the unzipped files in the same directory.
Using the Command Prompt to unzip files provides a fast and efficient method, especially if you’re familiar with command line interfaces. It allows for precise control over the extraction process and can be useful for automating tasks and scripting.
Now that you know how to unzip files using the Command Prompt, let’s explore another method using PowerShell.
Method 4: Using PowerShell
If you prefer a more powerful and flexible command-line tool, you can unzip files on Windows 10 using PowerShell. PowerShell is a robust scripting language and command-line shell that is built on top of the Windows operating system. Here’s how you can use PowerShell to unzip files:
- Open PowerShell by typing “PowerShell” in the Windows search bar and selecting the PowerShell app.
- Locate the zipped file that you want to unzip.
- Use the “cd” command to navigate to the directory where the zipped file is located. For example, if the zipped file is on your desktop, you can use the command “cd Desktop” to navigate to the desktop directory.
- Once you’re in the correct directory, use the following command to unzip the file:
Expand-Archive -Path "filename.zip" -DestinationPath "destination_folder". Replace “filename.zip” with the name of the zipped file and “destination_folder” with the path where you want to extract the files. - Press Enter to execute the command.
- PowerShell will start extracting the files from the zipped file and display the progress as it goes.
- Once the extraction is complete, you will find the unzipped files in the specified destination folder.
Using PowerShell to unzip files provides a versatile and efficient method, especially for advanced users and scripting purposes. PowerShell offers a wide range of capabilities and can be customized to suit specific requirements.
Now that you’re familiar with using PowerShell to unzip files on Windows 10, let’s wrap up the article.
Conclusion
Unzipping files on Windows 10 is a necessary skill that allows you to access the contents of compressed files effortlessly. In this article, we explored four different methods to unzip files: using File Explorer, utilizing third-party software, leveraging the Command Prompt, and utilizing PowerShell.
Method 1, using File Explorer, provides a simple and straightforward approach for basic file extraction. Method 2, using a third-party software, offers additional features and functionalities, giving users more control over the unzipping process. Method 3, using the Command Prompt, provides a command-line option for advanced users comfortable with the command line interface. Method 4, using PowerShell, offers a powerful scripting language that can be customized for specific needs.
Each method has its advantages, and the choice depends on your preferences, experience level, and specific requirements.
Remember, being able to unzip files is not only convenient but also saves storage space and makes organizing and accessing files much easier.
Now that you have a solid understanding of the different methods available, you can confidently unzip files on Windows 10. Whether you choose the simplicity of File Explorer, the added functionalities of third-party software, the flexibility of the Command Prompt, or the power of PowerShell, unzipping files will be a breeze.
So go ahead and give it a try! Unzip those files and unlock the valuable content within.