Introduction
Split screen functionality is a valuable feature that allows users to multitask and efficiently manage their workflow on Windows operating systems. Whether you’re working on a research assignment, writing a report, or simply browsing the web, the split screen feature can significantly enhance productivity by allowing you to view and interact with multiple applications simultaneously.
Many users often find themselves juggling between multiple windows and constantly resizing and repositioning them to maintain a productive workflow. Fortunately, Windows offers a built-in split screen feature that eliminates the hassle and streamlines the process of working with multiple applications side by side.
In this article, we will explore the various methods to enable and utilize the split screen feature on Windows. We will also cover useful keyboard shortcuts and customization options to enhance your split screen experience. Whether you’re a seasoned Windows user or a beginner, this guide will equip you with the knowledge and tools to harness the full potential of your Windows operating system.
By mastering the split screen feature, you can seamlessly view and interact with two or more applications simultaneously, eliminating the constant need to switch back and forth between windows. This can greatly enhance your productivity, as you can easily reference information from one application while typing or editing in another.
So, whether you need to compare documents side by side, monitor real-time data while working on a project, or engage in online research while taking notes, the split screen feature on Windows is an invaluable tool that can make your multitasking experience smooth and efficient.
In the following sections, we will dive into the details of how to enable split screen on Windows, explore different methods to achieve the split screen view, and provide helpful tips and tricks to troubleshoot any issues that may arise. Let’s get started and unlock the power of split screen productivity on your Windows device!
Understanding Split Screen
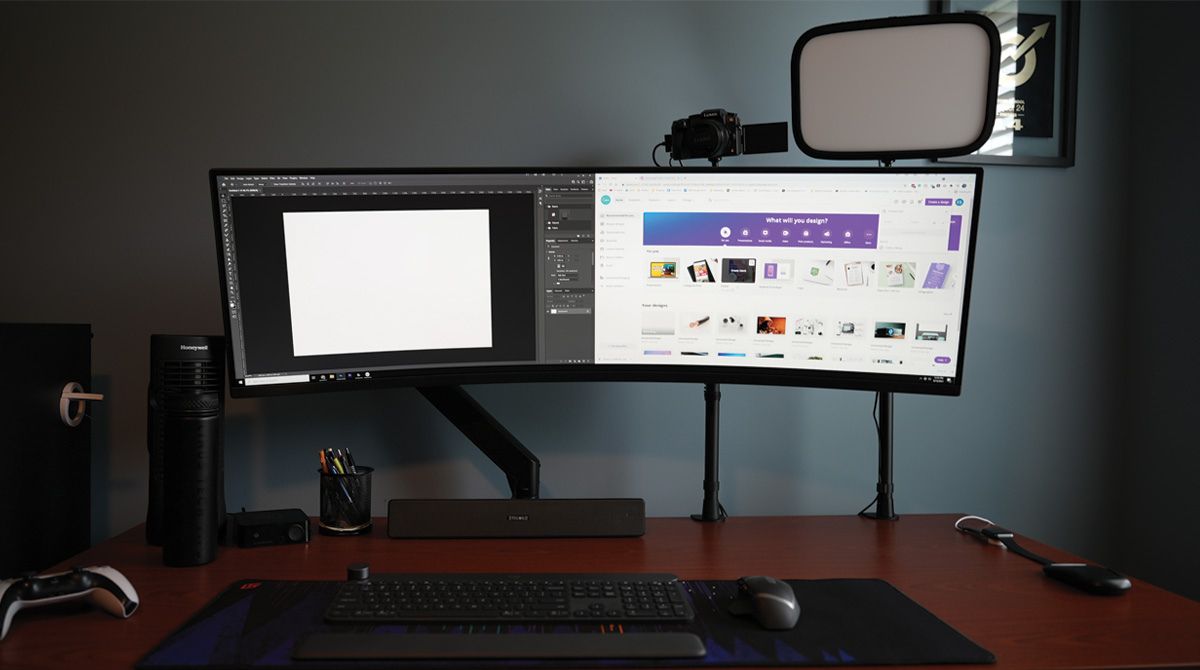
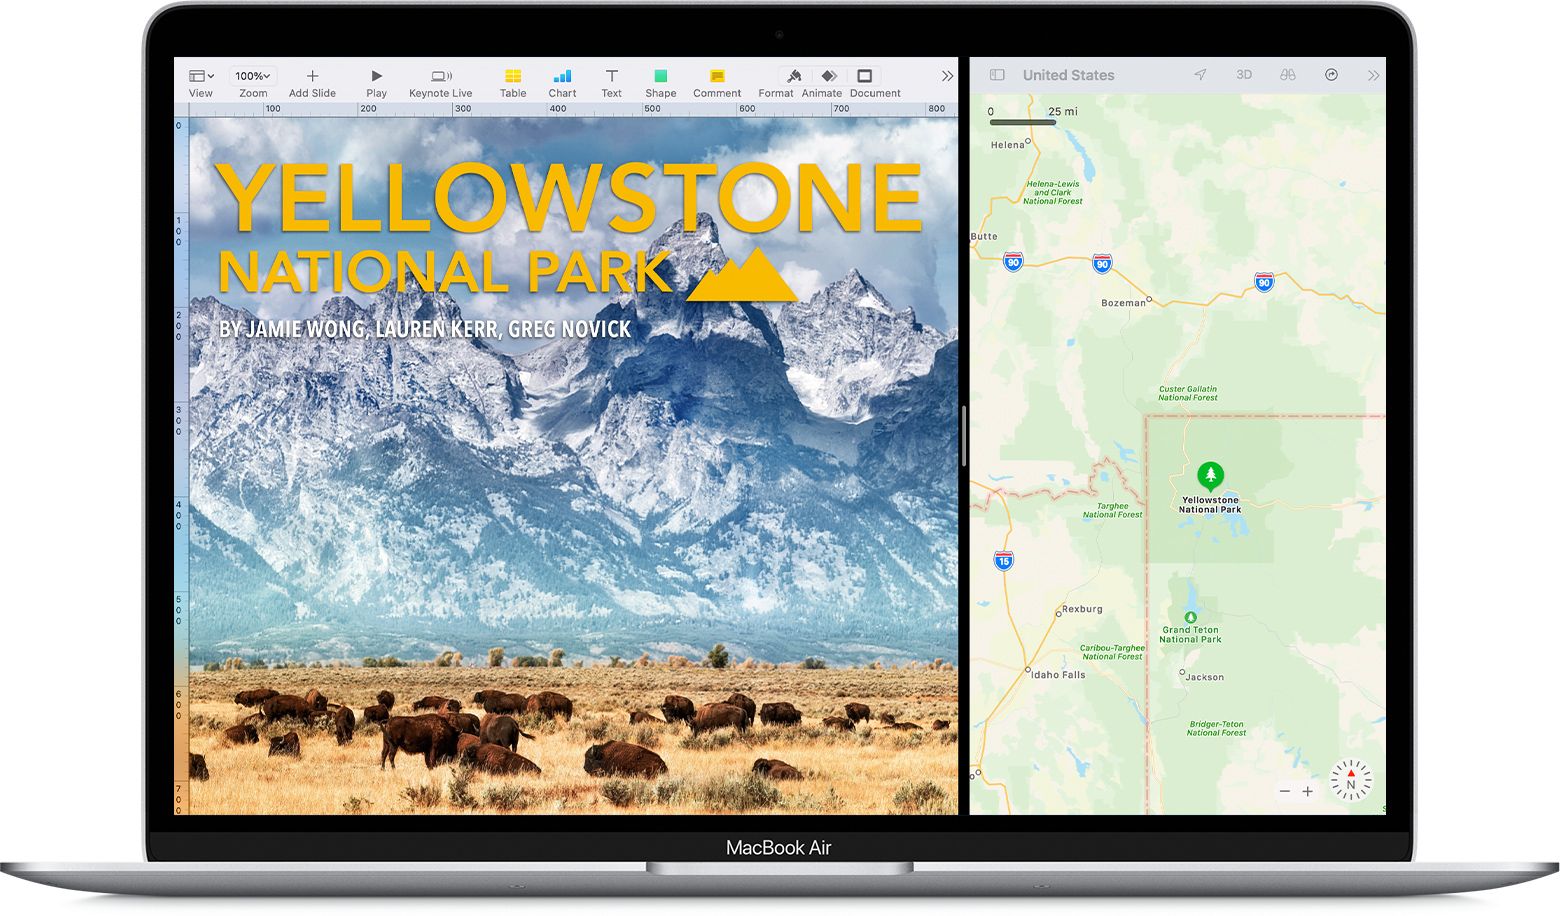
Split screen refers to the ability to divide your computer screen into two or more sections, allowing you to view and work with multiple applications simultaneously. Instead of constantly switching between different windows, split screen enables you to have a more efficient workflow by having all the necessary information and tools readily available on a single screen.
The split screen feature on Windows is especially beneficial for tasks that require referencing multiple sources or working on multiple projects simultaneously. By utilizing split screen, you can improve your productivity and streamline your workflow.
Split screen can be especially useful for tasks such as comparing documents, copying and pasting between applications, monitoring real-time data, and conducting research while taking notes. Instead of constantly switching back and forth between windows, split screen enables you to have a seamless and uninterrupted multitasking experience.
There are different methods to achieve the split screen view on Windows, including using the Snap Assist feature or utilizing keyboard shortcuts. The flexibility of split screen allows you to choose the method that works best for your workflow and personal preferences.
It’s important to mention that the availability of the split screen feature may vary depending on the version of Windows you are using. While the concept remains the same, the specific steps to enable split screen may differ slightly between different versions of Windows.
In the following sections, we will explore various methods to enable and utilize the split screen feature on Windows and provide step-by-step instructions on how to achieve this split screen view. We will also discuss helpful keyboard shortcuts and customization options to enhance your split screen experience.
Understanding and effectively utilizing the split screen feature on Windows can greatly enhance your productivity and multitasking capabilities. So, let’s move on to the next section and uncover the different ways to enable split screen on your Windows device.
Enabling Split Screen on Windows
Enabling the split screen feature on Windows is a straightforward process that can be done using various methods. Below, we will explore two popular methods to enable split screen: using the Snap Assist feature and utilizing keyboard shortcuts.
1. Snap Assist Feature:
Windows provides a built-in feature called Snap Assist, which allows you to easily arrange and resize windows in a split screen view. Here’s how to use it:
– Open the applications you want to use in split screen mode.
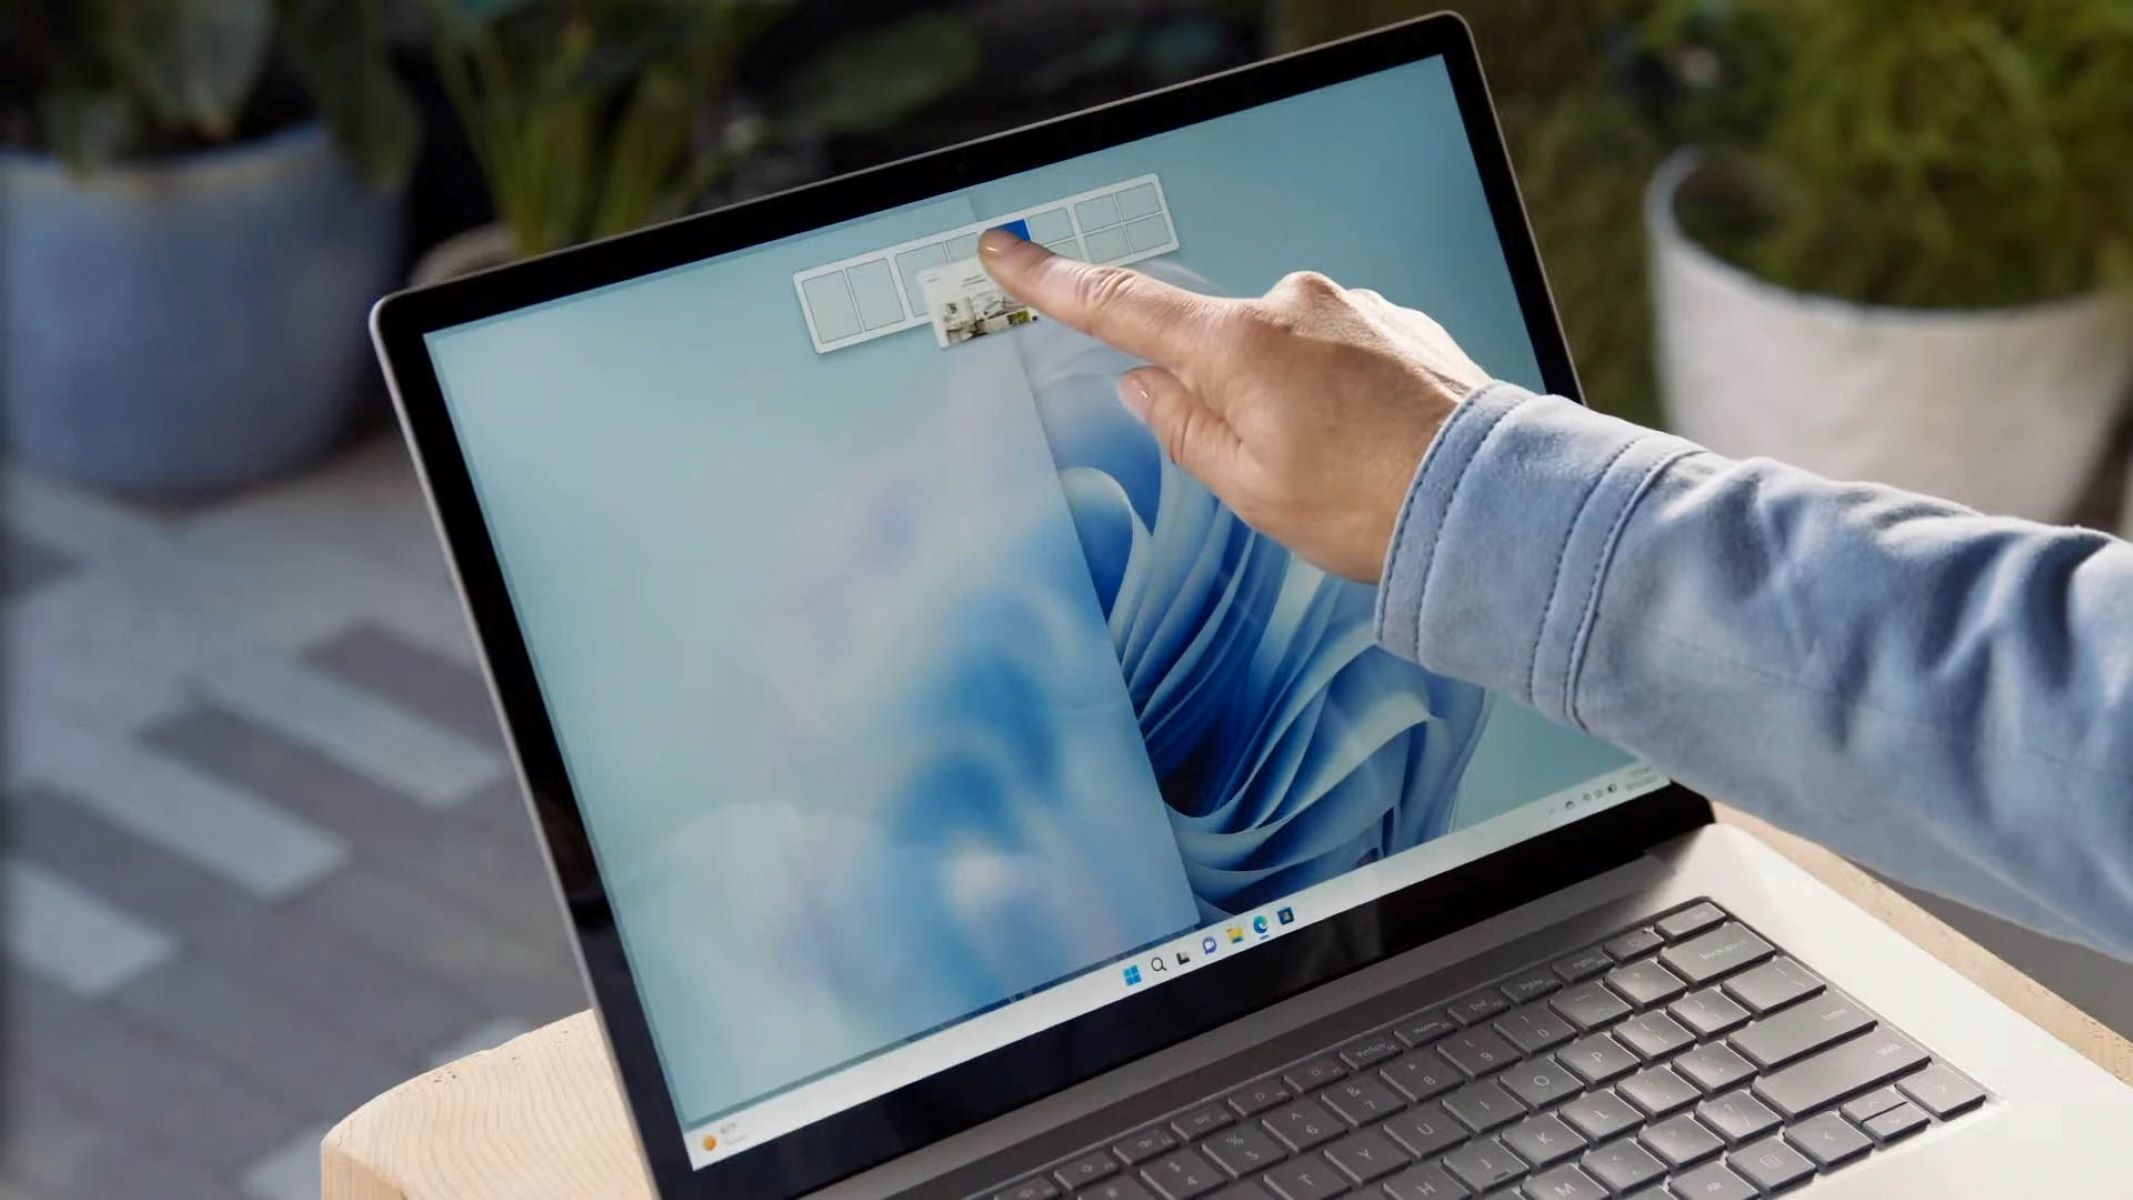
– Click and hold the title bar of the first window, then drag it to the left or right side of the screen until your cursor reaches the edge.
– Release the mouse button, and the window will snap to that side of the screen.
– On the other side of the screen, you will see thumbnails of the other open windows.
– Click the thumbnail of the second window you want to use in split screen mode, and it will automatically fill the other side of the screen.
You can adjust the size of each window by dragging the divider between them. You can also open additional windows and snap them into the remaining space on the screen.
2. Keyboard Shortcuts:
Windows also offers convenient keyboard shortcuts to enable split screen quickly. Here are the common shortcuts:
– Windows key + Left arrow: Snaps the active window to the left side of the screen.
– Windows key + Right arrow: Snaps the active window to the right side of the screen.
– Windows key + Up arrow: Maximizes the active window.
– Windows key + Down arrow: Restores the active window to its previous size or minimizes it.
By using these keyboard shortcuts, you can effortlessly enable and manage the split screen view on Windows.
It’s worth noting that not all applications support the split screen feature. Some applications may not resize or snap properly, which can limit their compatibility with split screen functionality. In such cases, consider using alternative applications that are optimized for split screen usage.
Enabling split screen on Windows allows you to maximize your screen real estate and work with multiple applications simultaneously. Whether you prefer using the Snap Assist feature or keyboard shortcuts, splitting your screen can greatly enhance your productivity and multitasking capabilities.
In the next section, we will delve deeper into using the Snap Assist feature and explore additional customization options to further optimize your split screen experience. So, let’s continue and uncover more about utilizing split screen on Windows devices.
Using Snap Assist
Snap Assist is a powerful feature on Windows that simplifies the process of managing multiple windows in split screen mode. With Snap Assist, you can easily arrange and resize windows, making multitasking a breeze. Here’s how to make the most of this feature:
1. Snapping Windows:
To snap windows using Snap Assist, follow these steps:
– Open the applications you want to use in split screen mode.
– Click and hold the title bar of the first window and drag it to either the left or right side of the screen until your cursor reaches the edge.
– Release the mouse button, and the window will snap to that side of the screen.
– On the other side of the screen, you will see thumbnails of the other open windows.
– Click the thumbnail of the second window you want to use in split screen mode, and it will automatically fill the other side of the screen.
You can also use the keyboard shortcut + Arrow keys to snap windows quickly.
2. Resizing Windows:
Snap Assist allows you to resize windows in split screen mode easily. Here’s how:
– Move your cursor to the divider between the two snapped windows until it turns into a double-sided arrow.
– Click and drag the divider left or right to adjust the size of each window. This flexibility enables you to allocate more space to the window you’re currently working on or achieve a balanced split screen view.
3. Adding Additional Windows:
Snap Assist also provides the option to add more windows to the split screen view. Here’s how:
– Open the desired application that you want to add to the split screen.
– Click and hold the title bar of the new window and drag it to the empty area of the split screen until you see a transparent overlay indicating the position where it will be placed.
– Release the mouse button, and the window will snap into the designated area.
You can repeat this process to add as many windows as you need, allowing for a highly customizable split screen experience.
Snap Assist is a versatile tool that can streamline your workflow and make multitasking more efficient. By following these steps, you can easily snap and resize windows, creating an organized and productive split screen setup.
In the next section, we will explore useful keyboard shortcuts that you can use to enable and manage split screen mode on Windows. So, let’s continue and uncover more about the power of keyboard shortcuts in split screen multitasking.
Keyboard Shortcuts for Split Screen
Windows provides a variety of keyboard shortcuts that can make enabling and managing split screen mode a breeze. These shortcuts allow you to quickly arrange and resize windows, maximizing your productivity. Here are some key shortcuts to enhance your split screen experience:
1. Windows Key + Left/Right Arrow:
Pressing the Windows key along with the left or right arrow key allows you to snap the active window to the left or right side of your screen, respectively. This instantly enables split screen mode, making it effortless to work with two windows side by side.
2. Windows Key + Up/Down Arrow:
The Windows key combined with the up arrow key maximizes the active window to fill the entire screen. Pressing the Windows key and the down arrow key restores the active window to its previous size or minimizes it.
3. Alt + Tab:
While not exclusive to split screen mode, the Alt + Tab shortcut is useful for quickly switching between open windows. Pressing Alt + Tab displays an overlay of all your open applications. Continue holding the Alt key and press the Tab key repeatedly to cycle through the windows. Release the Alt key to switch to the selected window.
4. Windows Key + Tab:
The Windows key along with the Tab key activates the Task View, providing a more visually appealing and dynamic interface for switching between applications. Use this shortcut to manage and select windows in split screen mode easily.
These shortcuts empower you to navigate and manage split screen mode efficiently, allowing you to seamlessly switch between applications and allocate screen space according to your needs.
It’s important to note that the availability and functionality of certain shortcuts may vary depending on your version of Windows. If a particular shortcut doesn’t work as expected, refer to the Windows documentation or consult the instructions specific to your operating system.
By incorporating these keyboard shortcuts into your workflow, you can significantly enhance your productivity and multitasking capabilities. They provide a quick and convenient way to enable, navigate, and adjust split screen mode on Windows.
In the next section, we will explore how to customize the split screen layout to best suit your preferences and workflow. So, let’s continue and unlock the power of personalized split screen multitasking on Windows.
Customizing Split Screen Layout
Windows offers several customization options to personalize your split screen layout, allowing you to optimize the arrangement and appearance of windows to suit your preferences and workflow. Here are some ways to customize your split screen:
1. Resizing Windows:
While in split screen mode, you can manually adjust the size of each window by clicking and dragging the divider between them. Drag the divider left or right to increase or decrease the size of one window relative to the other. This feature gives you the flexibility to allocate more screen space to the window you’re actively using or achieve a balanced split screen view.
2. Switching Windows Positions:
You can easily switch the positions of two snapped windows. Click and drag the title bar of one of the windows and move it to the other side of the screen, swapping its position with the other window. This allows for more intuitive arrangement and customization of your split screen layout.
3. Drag and Drop Window:
Windows also supports a drag-and-drop functionality that allows you to move applications freely between different monitors or within the same monitor. You can click and drag the title bar of a window and move it to a different position or even onto another monitor, providing you with even greater flexibility in managing your split screen setup.
4. Using Different Snap Configurations:
Windows provides multiple snap configurations that you can use to customize your split screen layout. To access these configurations, right-click on the title bar of an application, select “Snap,” and then choose the desired snap arrangement from the list. This feature enables you to quickly switch between different split screen layouts without manually resizing and rearranging windows.
By utilizing these customization options, you can tailor your split screen layout to suit your specific needs and working style. Whether you prefer a side-by-side view, a vertical split, or a combination of different window arrangements, Windows allows you to create a personalized split screen setup that enhances your productivity and multitasking capabilities.
It’s worth mentioning that the customization options may vary depending on the version of Windows you are using. Newer versions of Windows tend to offer more advanced features and customization options. Therefore, it’s advisable to explore the settings and options specific to your operating system.
In the next section, we will address common troubleshooting issues that you may encounter while using split screen on Windows. So, let’s continue and learn how to resolve any potential challenges that may arise.
Troubleshooting Split Screen Issues
While split screen on Windows is a powerful feature, you may encounter some common issues along the way. Here are a few troubleshooting tips to help you resolve potential problems:
1. Application Compatibility:
Not all applications fully support split screen functionality. Some applications may not resize or snap properly, resulting in an uneven split screen view. In such cases, consider using alternative applications that are optimized for split screen usage. You can also check for updates or contact the application’s support team for assistance.
2. Snap Assist Not Working:
If Snap Assist doesn’t work as expected, ensure that the feature is enabled in your Windows settings. Go to Settings > System > Multitasking and make sure the “Arrange windows automatically by dragging them to the sides or corners of the screen” option is toggled on. Restart your computer if necessary.
3. Unresponsive Windows:
Occasionally, a window may become unresponsive or freeze when using split screen mode. Try closing and reopening the affected application. If the issue persists, check for updates for the application and your Windows operating system. Alternatively, you can restart your computer to resolve any temporary system glitches.
4. Display Resolution Issues:
Split screen may not work properly if your display resolution is set too low. Ensure that your resolution is set to the recommended or higher settings. To adjust your display resolution, right-click on the desktop, select Display Settings, and adjust the resolution accordingly.
5. Unbalanced Window Sizes:
Sometimes, when resizing windows in split screen mode, you may find that one window becomes significantly larger than the other. To resolve this, simply click and drag the divider between the windows to adjust their sizes until you achieve the desired balance.
6. Limited Screen Space:
If you have a small monitor size or multiple windows open, the available screen space might be limited for an optimal split screen experience. Consider using an external monitor or reducing the number of open windows to free up more space for split screen usage.
By following these troubleshooting tips, you can overcome common split screen issues and optimize your multitasking experience on Windows. If you encounter persistent issues or unique challenges, it may be helpful to search online forums or consult Windows support resources for further assistance.
In the concluding section, we will recap what we’ve covered in this article and emphasize the benefits of utilizing split screen on Windows for enhanced productivity. So, let’s proceed to the last section and wrap up our discussion.
Conclusion
The split screen feature on Windows is a valuable tool that enables users to multitask efficiently by viewing and working with multiple applications simultaneously. By utilizing methods such as Snap Assist and keyboard shortcuts, you can easily enable and manage split screen mode, improving your productivity and workflow.
We explored how to enable split screen on Windows using Snap Assist, allowing you to snap and resize windows effortlessly. The availability of keyboard shortcuts further enhances your split screen experience, enabling quick and seamless navigation between applications.
Customization options, such as resizing windows, switching window positions, and utilizing different snap configurations, allow you to personalize your split screen layout to suit your specific needs and preferences. This flexibility enhances your multitasking capabilities, making it easier to manage multiple tasks and references simultaneously.
In our troubleshooting section, we addressed common issues that may arise when using split screen mode and provided tips to resolve them. By troubleshooting compatibility issues, ensuring the Snap Assist feature is enabled, and managing window responsiveness, you can overcome technical challenges and optimize your split screen experience.
In conclusion, the split screen feature on Windows offers a powerful solution for efficient multitasking. Whether you’re comparing documents, monitoring real-time data, or conducting research, split screen allows you to have multiple applications readily accessible on a single screen, eliminating the need for constant window switching.
By taking advantage of the split screen functionality, you can boost your productivity, streamline your workflow, and accomplish tasks more effectively. So, embrace the power of split screen on Windows and unlock the potential for enhanced productivity and multitasking on your device.