Introduction
Welcome to our step-by-step guide on how to burn a DVD on Windows 10. Whether you want to create a backup of important files, share memorable moments with friends and family, or create a professional-looking DVD presentation, burning a DVD is a simple and effective way to achieve your goals.
In this article, we will walk you through the process of burning a DVD using the built-in Windows DVD burning tool. You don’t need any third-party software – just your Windows 10 computer and a blank DVD. This tool is perfect for basic DVD burning needs and provides a user-friendly interface.
Before diving into the steps, it’s important to note that the burning process may vary slightly depending on the version of Windows 10 you are using. However, the general steps remain the same, and we will provide any necessary variations along the way.
Now, let’s get started and learn how to burn a DVD on Windows 10!
Step 1: Prepare your files for burning
Before you start the DVD burning process, it’s important to gather and organize the files you want to include on your DVD. This will ensure a smooth and hassle-free experience.
Here are a few things to consider:
1. Select the files: Begin by choosing the files you want to burn onto the DVD. These can include photos, videos, documents, or any other files you wish to archive or share. Make sure to gather all the files in a single folder to simplify the burning process.
2. Check file formats: Windows DVD burning tool supports a wide range of file formats, including JPEG, MP4, AVI, DOC, and more. However, it’s always a good idea to check if the files you want to include are compatible. If you come across any unsupported file formats, consider converting them to a compatible format before proceeding.
3. Arrange the files: Once you have selected your files, it’s time to arrange them in the desired order. Think about how you want the content to flow on the DVD and organize the files accordingly. This step is particularly important if you are creating a slideshow or a video with a specific sequence of chapters.
4. Trim and edit (optional): If you need to make any adjustments, such as trimming videos or editing images, consider doing so before starting the DVD burning process. Windows offers a range of built-in editing tools, or you can use third-party software for more advanced editing.
By taking the time to properly prepare your files, you’ll ensure a more efficient and enjoyable DVD burning experience. Once you have everything ready, it’s time to move on to the next step: inserting a blank DVD into your computer.
Step 2: Insert a blank DVD into your computer
Now that you have gathered and organized your files, it’s time to insert a blank DVD into your computer’s DVD drive. This step is crucial as it provides the medium for your files to be burned and stored.
Follow these steps to insert a blank DVD:
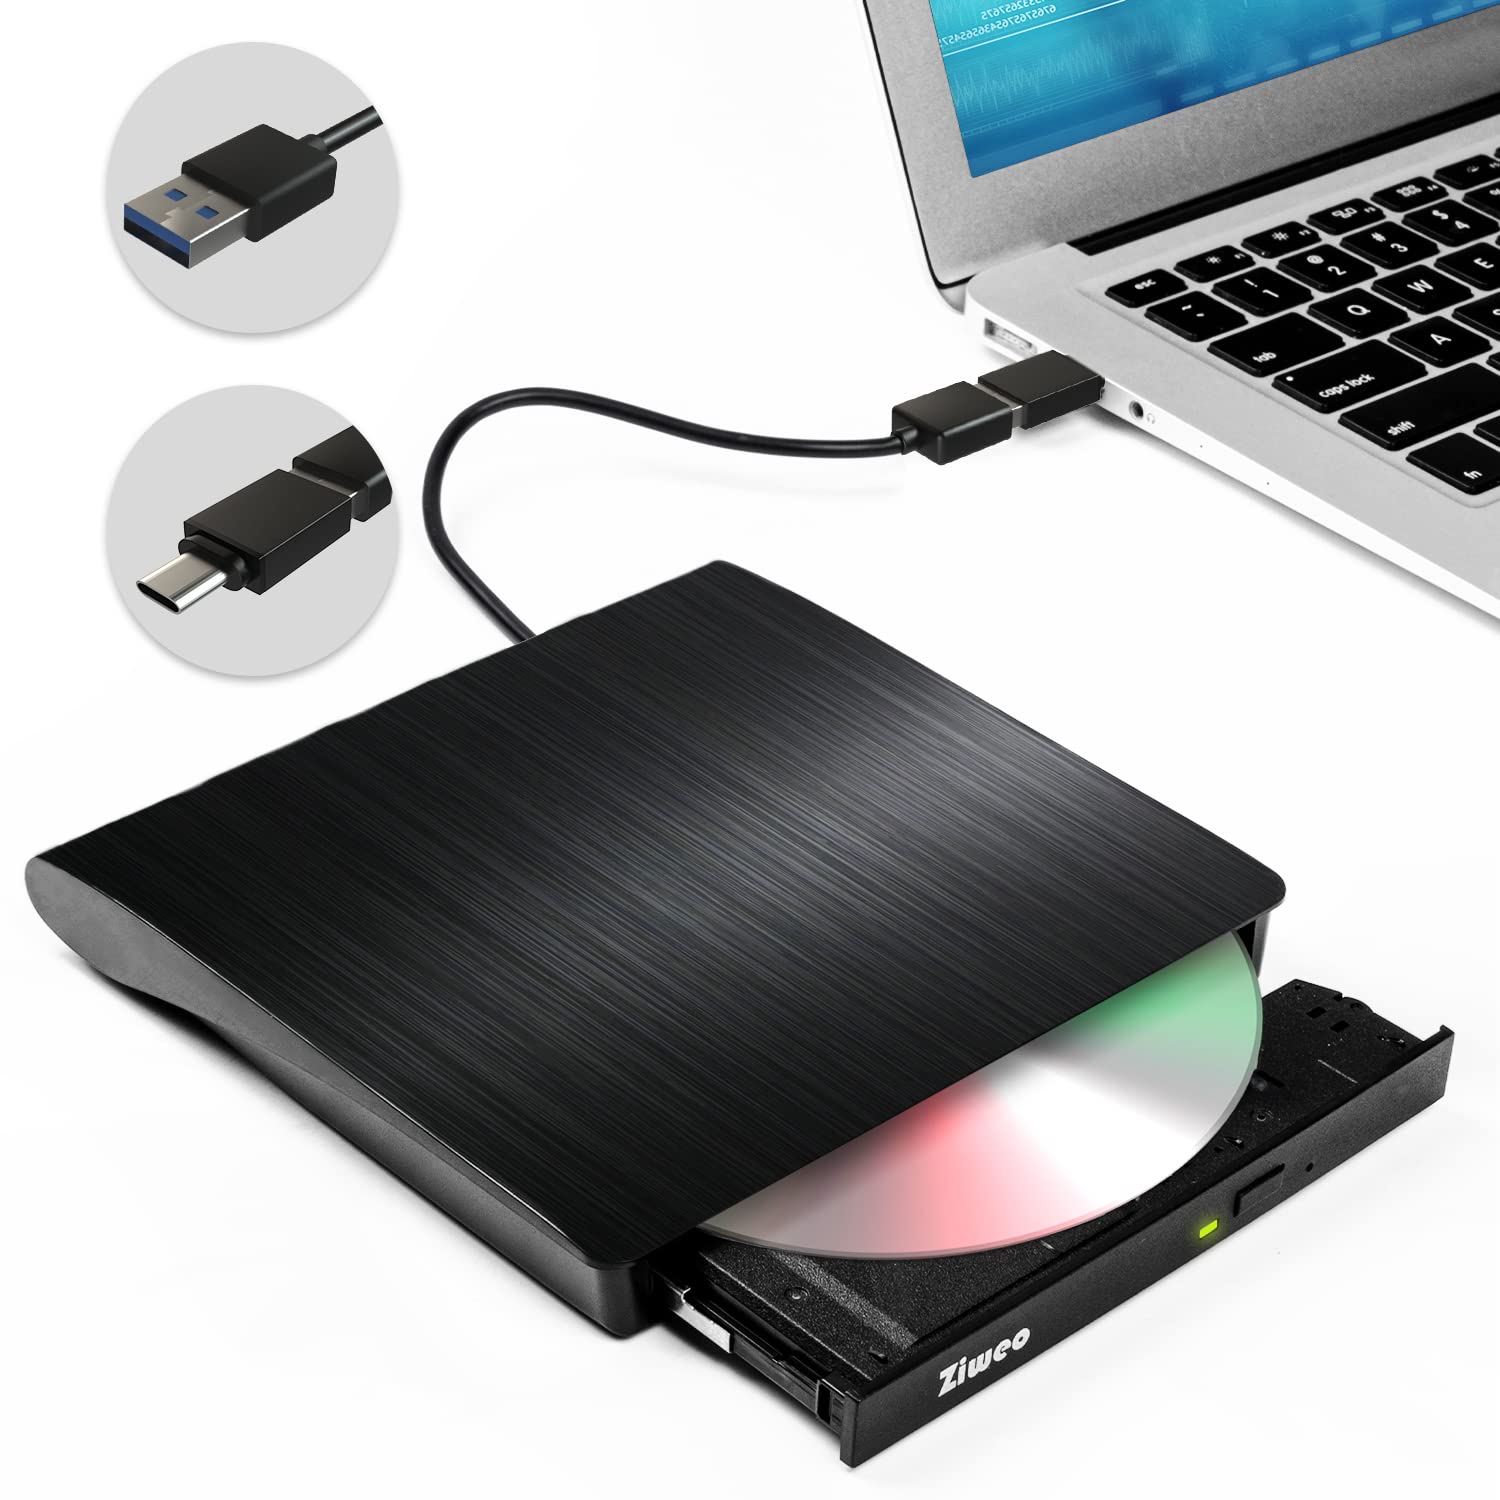
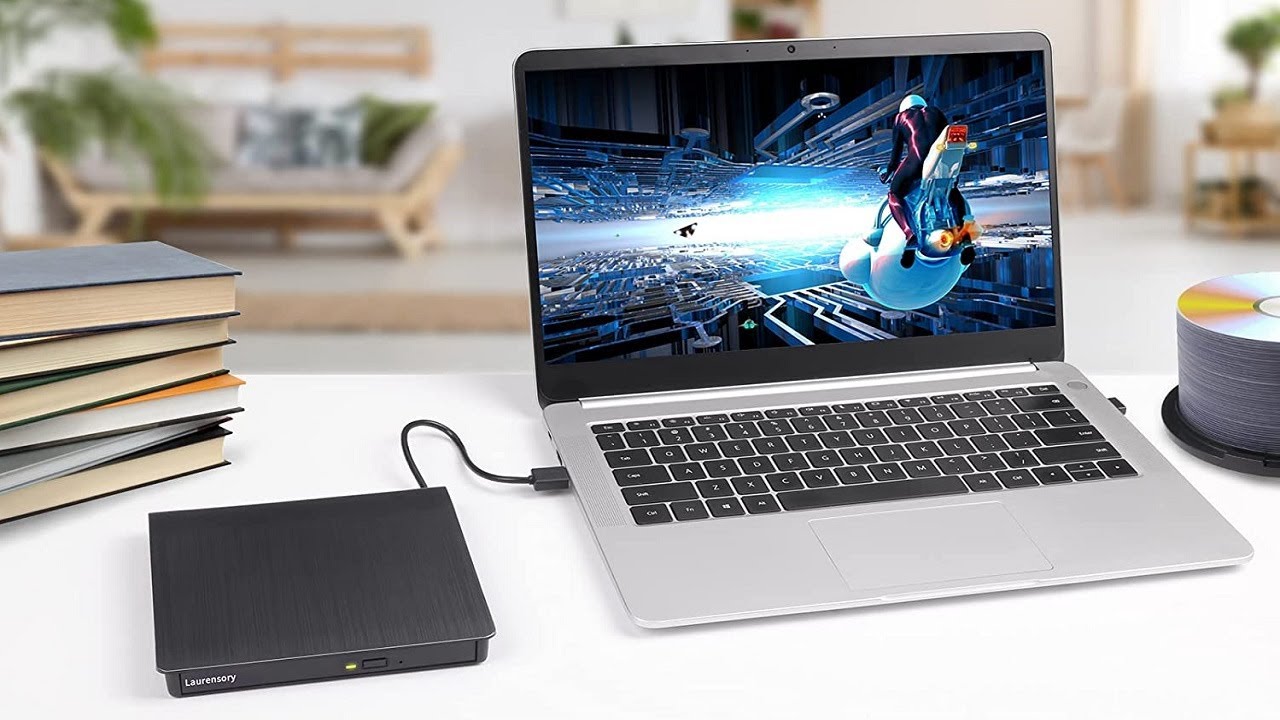
- Locate the DVD drive: Identify the DVD drive on your computer. It is usually located on the front or side of your computer tower or on the side of your laptop.
- Eject the tray: Press the eject button on the DVD drive to open the tray. If there is no physical button, you can right-click on the DVD drive in File Explorer and select “Eject”.
- Place the blank DVD: Gently place the blank DVD onto the tray with the labeling side facing up. Make sure to align it properly so that it sits securely in the center of the tray.
- Closing the tray: Carefully push the tray back into the DVD drive until it clicks into place. Ensure that the tray is fully closed to avoid any issues during the burning process.
Once you have successfully inserted the blank DVD, the Windows DVD burning tool will recognize it and you’ll be ready to proceed to the next step. It’s important to note that the burning process may require a specific type of DVD, such as DVD-R or DVD+R. Make sure to check your computer’s specifications or consult the DVD drive’s manufacturer for compatibility.
With the blank DVD in place, we can now move on to the next step: opening the Windows DVD burning tool.
Step 3: Open the Windows DVD burning tool
With the blank DVD inserted into your computer, it’s time to open the Windows DVD burning tool. This built-in tool provides a user-friendly interface that allows you to easily burn your files onto the DVD.
Here’s how to open the Windows DVD burning tool:
- Open File Explorer: Begin by opening File Explorer on your Windows 10 computer. You can do this by clicking on the folder icon in the taskbar or by pressing the Windows key + E.
- Navigate to the files: In File Explorer, locate the folder where you have stored your files for burning.
- Select the files: Once you have found the folder, select the files you want to include on the DVD by either clicking and dragging your mouse across multiple files or holding down the Ctrl key and clicking on individual files.
- Access the ‘Manage’ tab: With the files selected, navigate to the ‘Manage’ tab in the File Explorer menu.
- Click on the ‘Manage’ tab: On the ‘Manage’ tab, you will find various options related to managing your selected files. Look for the ‘Manage’ tab near the top of the File Explorer window and click on it to reveal additional options.
- Open the ‘Burn’ option: Within the ‘Manage’ tab, you will see the ‘Burn’ option. Click on it to open the Windows DVD burning tool. This will launch a new window dedicated to the burning process.
Once you have successfully opened the Windows DVD burning tool, you are ready to proceed to the next step: adding your files to the DVD.
Step 4: Add your files to the DVD
Now that you have the Windows DVD burning tool open, it’s time to add your selected files to the DVD. This step will ensure that your chosen content is transferred onto the blank DVD for storage or sharing purposes.
Follow these steps to add your files to the DVD:
- Drag and drop files: Within the Windows DVD burning tool, you will see an empty window or a section labeled “Drag items here.”
- Select files: From File Explorer, simply click and drag the files you want to burn onto the DVD and drop them into the empty window or the “Drag items here” section. As you do this, you will see the files being added to the DVD burning tool.
- Arrange file order: If the order of the files is important, you can rearrange them within the DVD burning tool by clicking and dragging them into the desired order.
- Verify file size: Before proceeding, take a quick look at the file size indicator displayed in the DVD burning tool. Ensure that the total file size does not exceed the storage capacity of the blank DVD, typically 4.7GB or 8.5GB for single-layer and dual-layer DVDs, respectively.
By adding your files to the DVD burning tool, you are now ready to move on to the next step: customizing your DVD settings (optional). This step will allow you to personalize the DVD and adjust specific settings to further enhance your burning experience.
Step 5: Customize your DVD settings (optional)
Customizing your DVD settings allows you to personalize the burning process and make specific adjustments according to your preferences. While this step is optional, it provides additional flexibility and control over how the DVD will be created.
Here are some options you can consider when customizing your DVD settings:
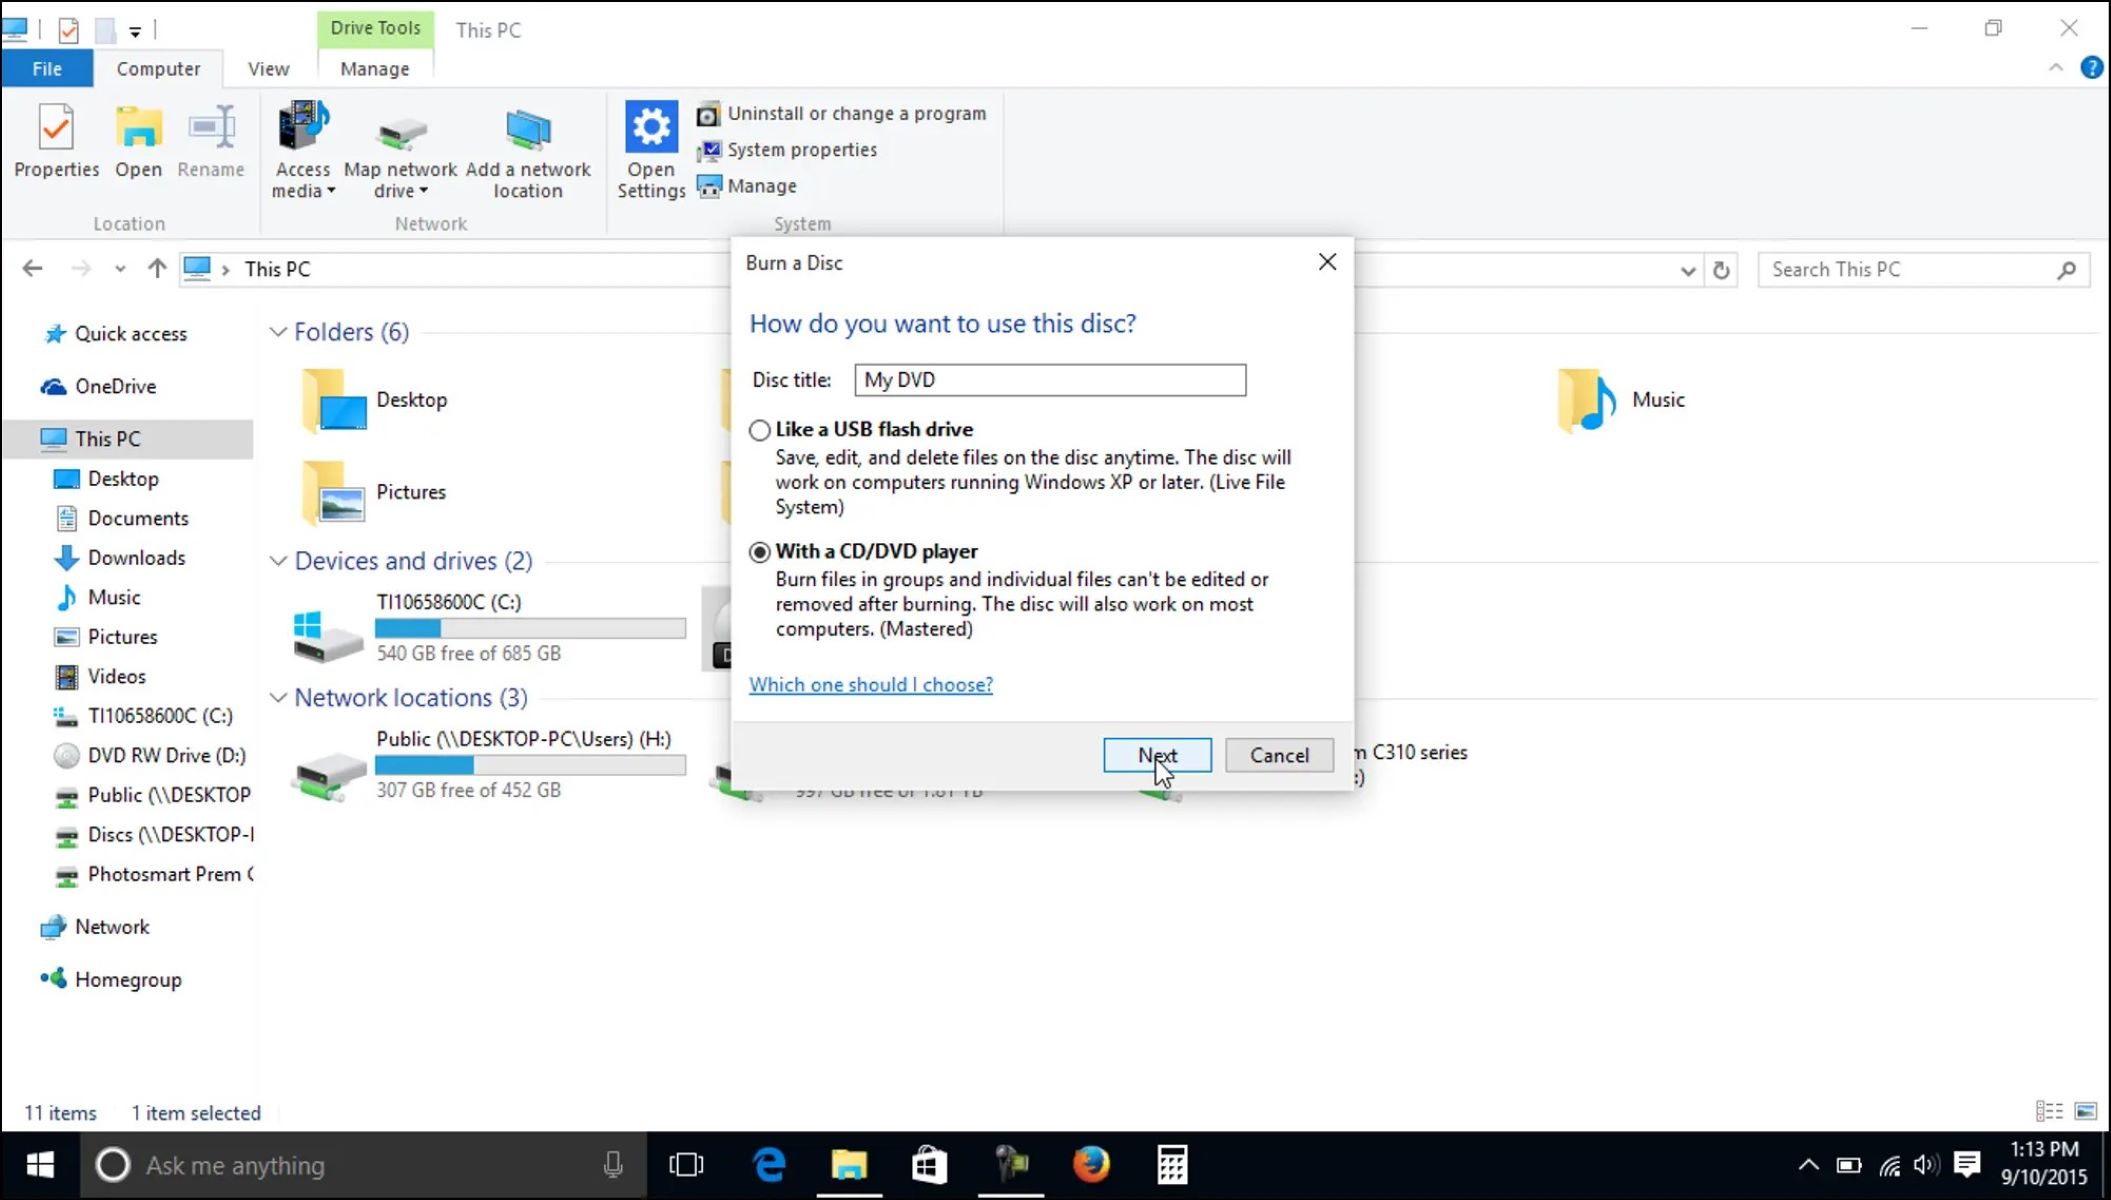
- DVD title: You can assign a title to your DVD to help identify its content. This can be done by clicking on the “Title” field within the DVD burning tool and typing in a name that accurately describes the DVD’s contents.
- Burn speed: The burn speed determines how quickly the files are transferred onto the DVD. Higher burn speeds result in faster burning times, but may also increase the risk of errors. Consider choosing an appropriate burn speed based on the DVD’s specifications and the capabilities of your DVD drive.
- File system: The file system determines how the files are organized and stored on the DVD. The default file system for Windows 10 is usually “UDF” (Universal Disk Format), which provides compatibility with other operating systems. However, if you intend to use the DVD on specific devices or players, you may need to choose a different file system such as “ISO 9660” or “Joliet”.
- Playback options (for video DVDs): If you are creating a video DVD, you can customize the playback options. This includes setting the DVD to play automatically when inserted into a DVD player, creating chapters for easy navigation, adding subtitles or closed captions, and more.
- Disc format: Depending on your DVD drive and its capabilities, you may have the option to choose between different disc formats such as DVD+R, DVD-R, DVD+RW, DVD-RW, etc. Refer to your DVD drive’s documentation or consult the manufacturer’s recommendations to select the appropriate format.
Take your time to explore these customization options within the Windows DVD burning tool and adjust them according to your needs. Once you are satisfied with your settings, you can proceed to the next step: starting the burning process.
Step 6: Start the burning process
Now that you have prepared your files, inserted the blank DVD, and customized your DVD settings (if desired), it’s time to start the burning process. This step will initiate the transfer of your selected files onto the DVD, transforming it into a fully functional and accessible medium.
Follow these steps to start the burning process:
- Double-check your settings: Before proceeding, take a final look at your DVD settings to ensure that everything is as desired. Confirm that the file order, title, burn speed, and any other customizations are correct.
- Initiate the burning process: Within the Windows DVD burning tool, look for a button or option that starts the burning process. This is usually labeled as “Burn” or “Start” and is located prominently within the tool’s interface.
- Confirm burning settings: A confirmation window may appear, asking you to verify the burning settings one last time. Make sure that the DVD target drive is correct and that the selected files match your intended DVD content.
- Begin the burn: Once you are satisfied with the settings and confirmations, click on the “Burn” or “Start” button to initiate the process. The Windows DVD burning tool will now start copying the selected files onto the blank DVD.
- Monitor the progress: During the burning process, you will be able to monitor the progress through an on-screen indicator. This will show you the estimated time remaining and keep you informed about the current status of the burn.
- Do not interrupt: It is important to avoid interrupting the burning process once it has started. Interruptions or ejecting the DVD prematurely may lead to errors or an incomplete burn.
Once the burning process is complete, you will receive a notification indicating that the DVD burn was successful. Congratulations! You have successfully burned your files onto the DVD. The final step is to proceed to the next and last section: finalizing the DVD.
Step 7: Finalize the DVD
After successfully completing the burning process, it’s important to finalize the DVD to ensure compatibility and optimal playback on different devices. Finalizing the DVD makes it readable and playable on most DVD players and computers.
Here’s how to finalize the DVD:
- Wait for the burning process to complete: Before finalizing the DVD, make sure that the burning process has finished successfully. Monitor the progress indicator in the Windows DVD burning tool until it reaches 100% and indicates that the burn is complete.
- Eject the DVD: Once the burn is complete, the Windows DVD burning tool may prompt you to eject the DVD from the drive. If not, you can manually eject the DVD by pressing the eject button on the DVD drive or right-clicking on the DVD drive in File Explorer and selecting “Eject”.
- Re-insert the DVD (optional): Some DVD burning tools may require you to re-insert the DVD after ejecting it to complete the finalization process. If prompted, carefully reinsert the DVD into the drive.
- Finalize the DVD: Once the DVD is back in the drive, the finalization process will typically begin automatically. During this process, the necessary structure and formatting information will be added to the DVD to make it compatible with most DVD players and computers.
- Follow any on-screen instructions: Depending on the DVD burning tool you are using, you may need to follow additional on-screen instructions to complete the finalization process. These instructions may include confirming the finalization settings or indicating that the process is complete.
- Remove the DVD: Once the finalization process is complete, carefully remove the DVD from the drive. Handle it by the edges to avoid smudging or scratching the surface.
With the DVD finalized, you have successfully completed the entire DVD burning process. Your DVD is now ready for playback on various DVD players and computers, allowing you to enjoy your chosen content or share it with others.
Congratulations! You have learned how to burn a DVD on Windows 10, from preparing your files to finalizing the disc. Now go ahead and explore the possibilities of DVD creation, whether it’s archiving memories, sharing special moments, or creating professional presentations.
Conclusion
Creating and burning a DVD on Windows 10 is a straightforward process that allows you to store and share your files in a physical medium. By following the step-by-step guide outlined in this article, you can successfully burn a DVD using the built-in Windows DVD burning tool.
We started by preparing the files, ensuring they were selected, organized, and in a compatible format. Then, we inserted a blank DVD into the computer’s DVD drive, taking care to align it correctly. Next, we opened the Windows DVD burning tool and added the selected files for burning. We also explored the option to customize DVD settings to suit our preferences, although this step was optional.
Once the customization was complete, we initiated the burning process, carefully monitoring its progress to ensure a successful burn. Finally, we concluded the DVD burning process by finalizing the disc, making it compatible with various DVD players and computers.
Now that you have completed the process, you can enjoy your DVD by sharing it with others, preserving important files, or presenting professional content. Remember to handle the DVD with care to avoid any damage to the surface and keep it in a safe place to maintain its longevity.
Whether you are archiving cherished memories, creating a slideshow of family photos, or sharing a video presentation, burning a DVD on Windows 10 provides you with a tangible and convenient way to store and distribute your content.
Thank you for following along with this guide. We hope it has been helpful in assisting you with the DVD burning process on your Windows 10 computer. Enjoy your newly created DVD!